Are you struggling to get rid of stubborn lice and wondering if freezing your hair brushes could be the answer? You’re not alone.
Many people find themselves in a battle against these pesky parasites, and it can be frustrating to feel like you’re not making progress. But here’s the good news: freezing can be an effective way to kill lice on hair brushes.
We’ll dive into how long you need to freeze your hair brushes to ensure those lice are gone for good. Imagine the relief of knowing your tools are truly clean and safe to use again. Keep reading to discover the simple steps you can take to achieve a lice-free life with just the power of your freezer.
Credit: www.gianteagle.com
Lice And Hair Brushes
Head lice are tiny insects that live on the human scalp. They feed on blood and cause itching. These pests spread easily, especially among children. Hair brushes can play a part in moving lice from one person to another. Understanding this can help prevent further infestation.
How Lice Spread
Lice spread mostly through direct head-to-head contact. They do not jump or fly but crawl quickly. Sharing personal items can also pass lice. Items like hats, pillows, and hairbrushes can carry lice or their eggs. Lice cling tightly to hair strands and can survive off the head for a short time. This makes indirect transmission possible.
Role Of Hair Brushes In Transmission
Hair brushes can hold lice or nits (lice eggs). When used by another person, lice can move onto their scalp. Brushes with many bristles trap lice easily. Regular cleaning of hair tools reduces this risk. Freezing brushes is one way to kill lice and prevent spread. Knowing how lice survive on brushes helps in managing infections.
Freezing As A Treatment
Freezing as a treatment for lice on hair brushes is a simple and chemical-free method that many people consider. It’s easy to do at home and doesn’t involve harsh pesticides or special products. But how effective is freezing, and why should you even try it?
Why Freeze Hair Brushes
Lice and their eggs can hide deep between the bristles of your hair brushes. Simply washing them might not be enough to remove or kill all the pests. Freezing your hair brushes can help kill lice and their eggs by exposing them to temperatures they cannot survive.
Freezing is convenient because you just need to place the brush in a sealed plastic bag and put it in the freezer. This method avoids the use of chemicals that could irritate your scalp or damage your brushes.
Effectiveness Of Freezing Against Lice
Research shows that lice and their eggs can survive for a short time outside the scalp, but they are sensitive to extreme cold. Freezing hair brushes at 0°F (-18°C) for at least 24 hours can effectively kill both lice and nits.
However, shorter freezing times may not be enough. Leaving your brushes in the freezer overnight or longer ensures maximum effectiveness. Remember, lice eggs are more resistant than adult lice, so patience is key.
Have you ever tried freezing your brushes and still found lice afterward? It might be worth checking if your freezing time was long enough or if re-infestation happened from other sources.
Recommended Freezing Duration
Freezing hair brushes is a common method to kill lice and their eggs. Knowing the right freezing duration is key to ensure all lice are eliminated. This section explains how long you should freeze your hair brushes for effective results.
Minimum Time Needed
Experts recommend freezing hair brushes for at least 24 hours. This duration is enough to kill adult lice and nits. Shorter freezing times may not reach the necessary cold temperature inside the brush. Freezing for a full day ensures lice cannot survive.
Factors Affecting Freezing Time
Several factors can change how long you need to freeze your brushes:
- Brush Material:Plastic brushes freeze faster than wooden ones.
- Brush Size:Larger brushes may need more time to freeze completely.
- Freezer Temperature:Standard freezers at 0°F (-18°C) work best.
- Brush Packaging:Leaving brushes in sealed bags helps maintain cold temperature.
Adjust freezing time slightly if your freezer is warmer or if the brush is thick. Always aim for a minimum of 24 hours to be safe.
Step-by-step Freezing Process
Freezing hair brushes is a simple and effective way to kill lice and their eggs. The process requires careful preparation and specific freezing times. Follow these steps to ensure your brushes are clean and safe for use again.
Preparing The Hair Brush
- Remove hair strands from the brush using a comb or fingers.
- Wash the brush with warm water and mild soap.
- Rinse thoroughly to remove all soap residue.
- Dry the brush completely using a clean towel.
- Place the brush in a sealable plastic bag to prevent moisture inside the freezer.
Freezing Guidelines
- Set the freezer temperature to 0°F (-18°C) or below.
- Place the sealed brush flat inside the freezer.
- Leave the brush in the freezer for at least 24 hours.
- Do not open the bag during freezing to avoid contamination.
Post-freezing Care
- Remove the brush from the freezer and bag carefully.
- Allow the brush to reach room temperature before use.
- Clean the brush again with warm soapy water for safety.
- Dry the brush completely before storing or using it.
Additional Methods To Kill Lice
Freezing hair brushes is one way to tackle lice, but it’s not the only option. Using additional methods can help you eliminate lice more effectively. Combining approaches ensures you don’t miss any lice or nits hiding in your hair or belongings.
Washing With Hot Water
One simple yet effective way to kill lice on brushes and other items is washing them with hot water. Water heated to at least 130°F (54°C) can kill lice and their eggs.
Soak brushes, combs, and hair accessories in hot water for 10 minutes. This method is easy to do at home and helps sanitize items that can’t be frozen.
Have you tried this before? You might be surprised how much this quick step can reduce lice on your tools.
Using Lice Combs
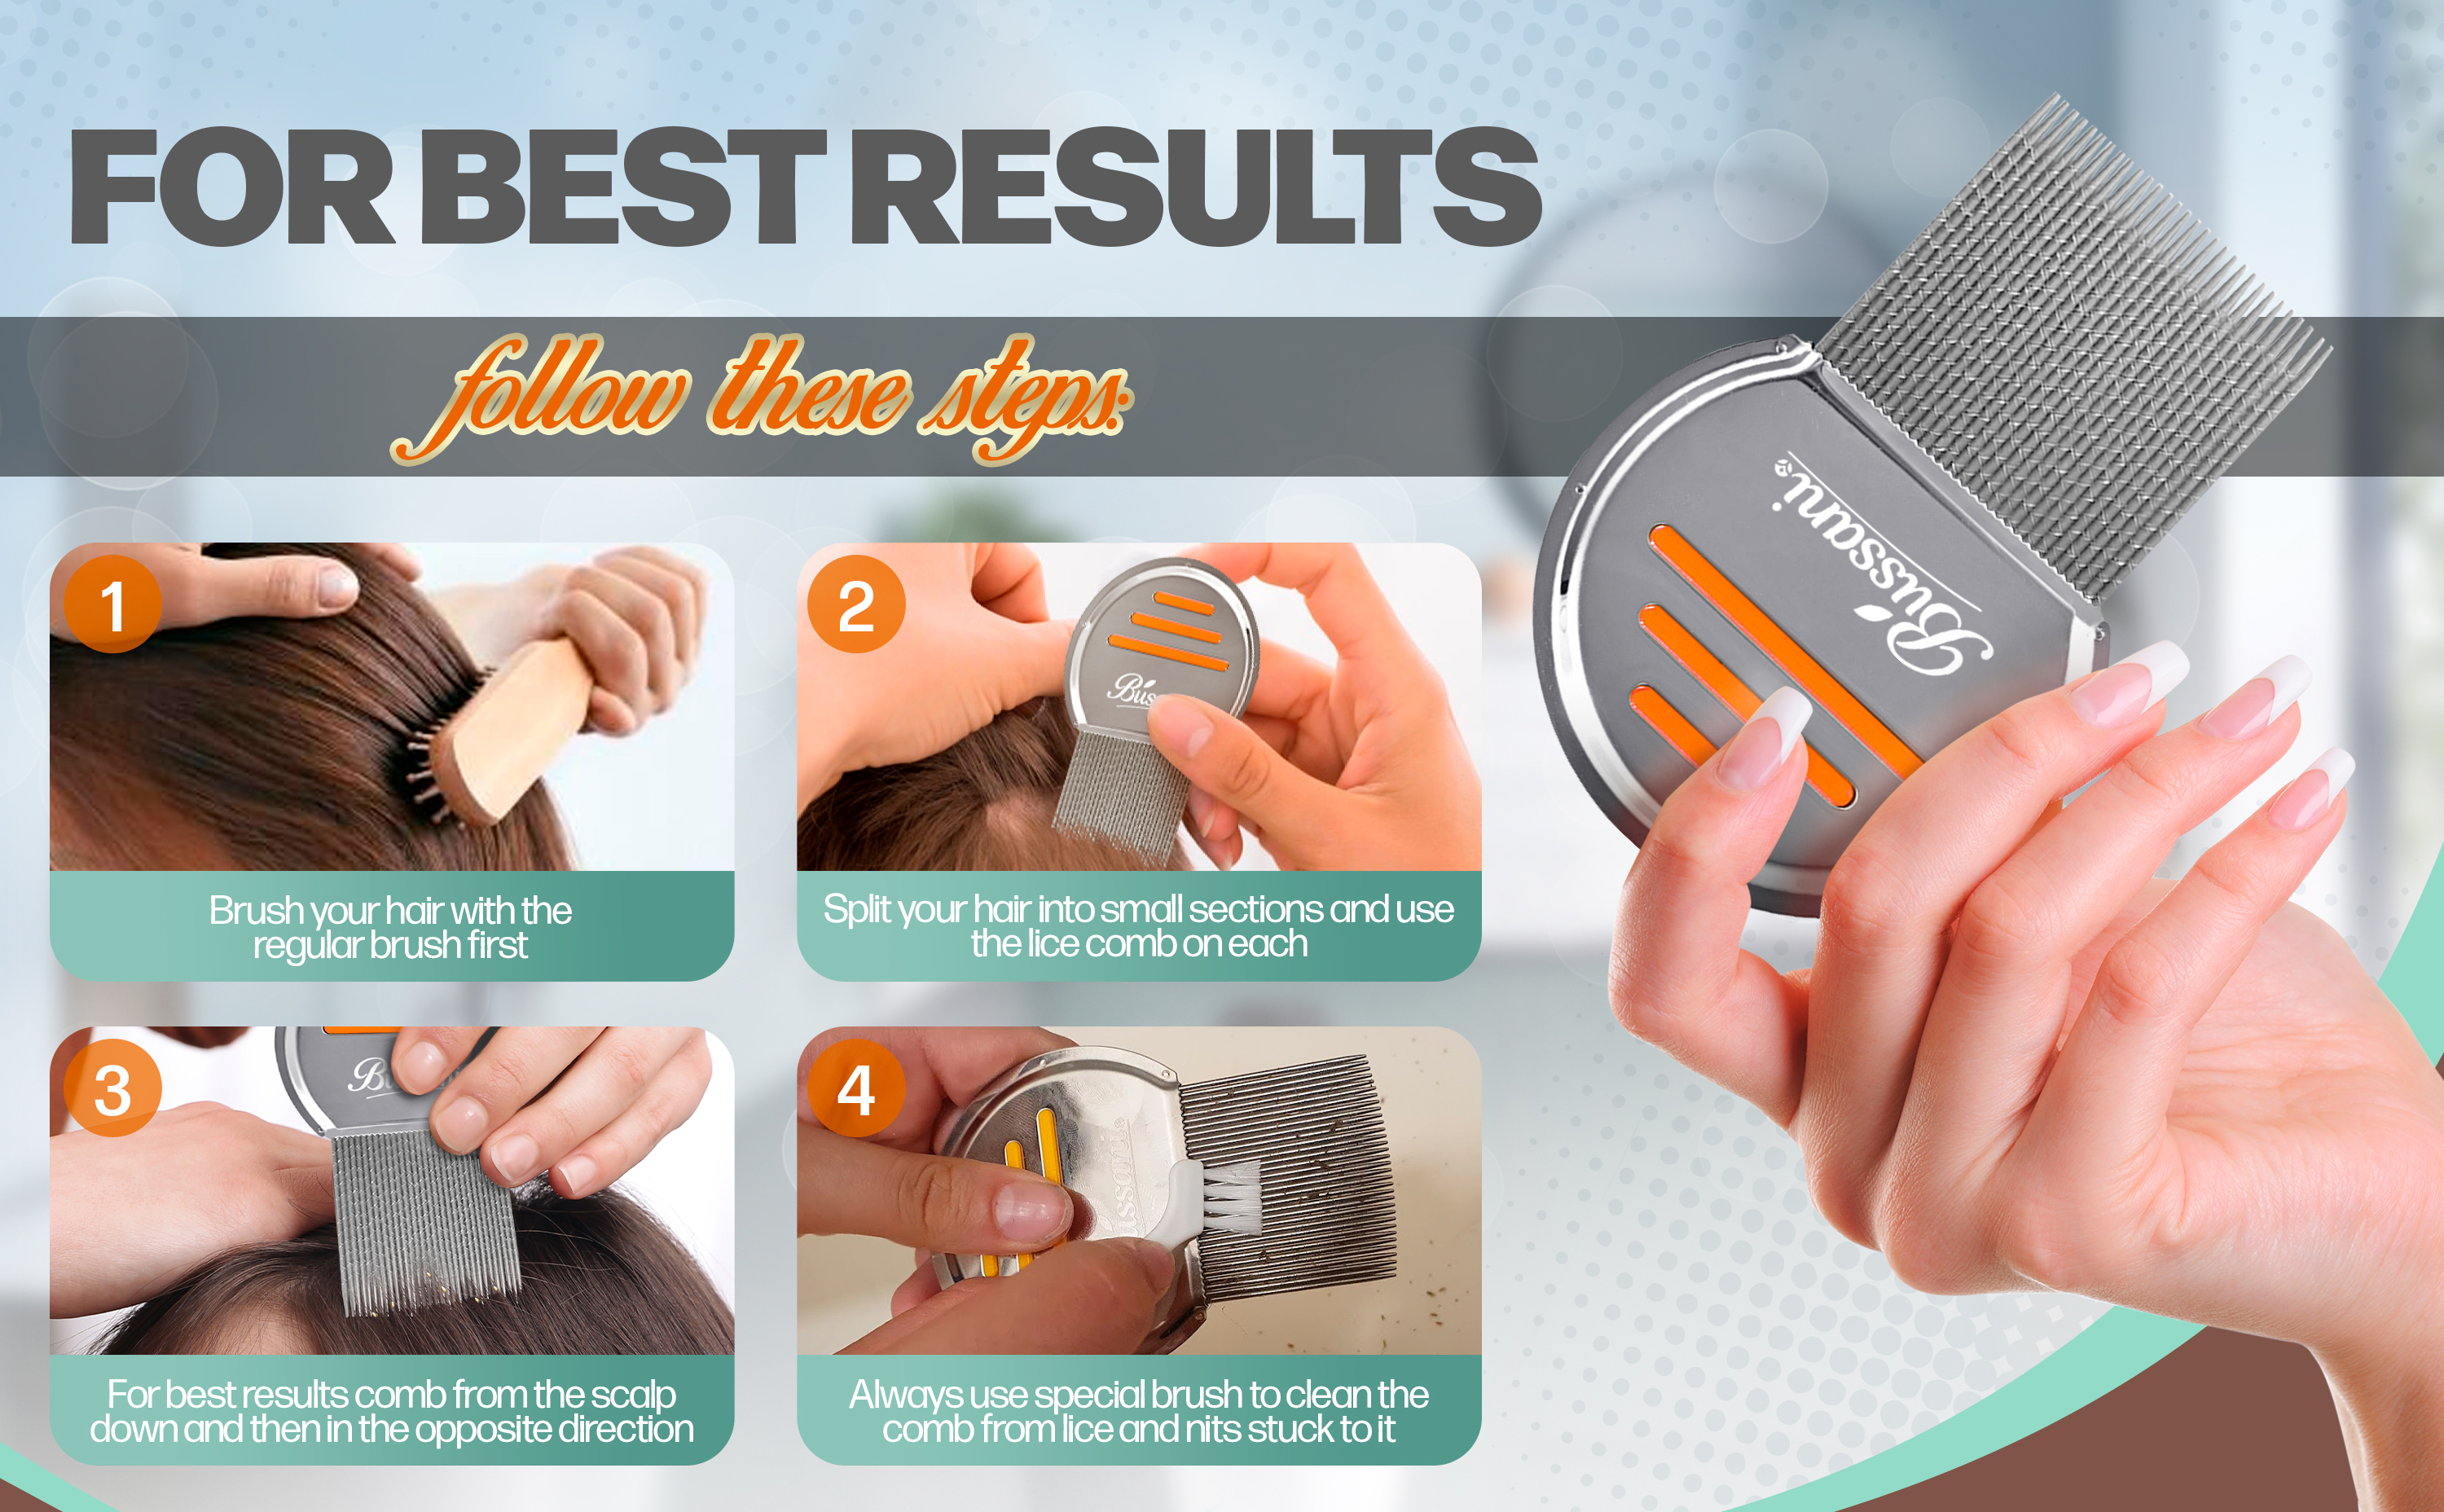
Fine-toothed lice combs are essential for removing lice and nits from your hair. These combs grab onto lice and eggs, physically removing them from the scalp.
Comb your hair thoroughly, section by section, over a white towel to spot any lice or nits falling out. Repeat this process every few days to ensure no lice remain.
Imagine the satisfaction of seeing tiny lice being removed each time you comb. It’s a hands-on way to take control of the problem.
Chemical Treatments
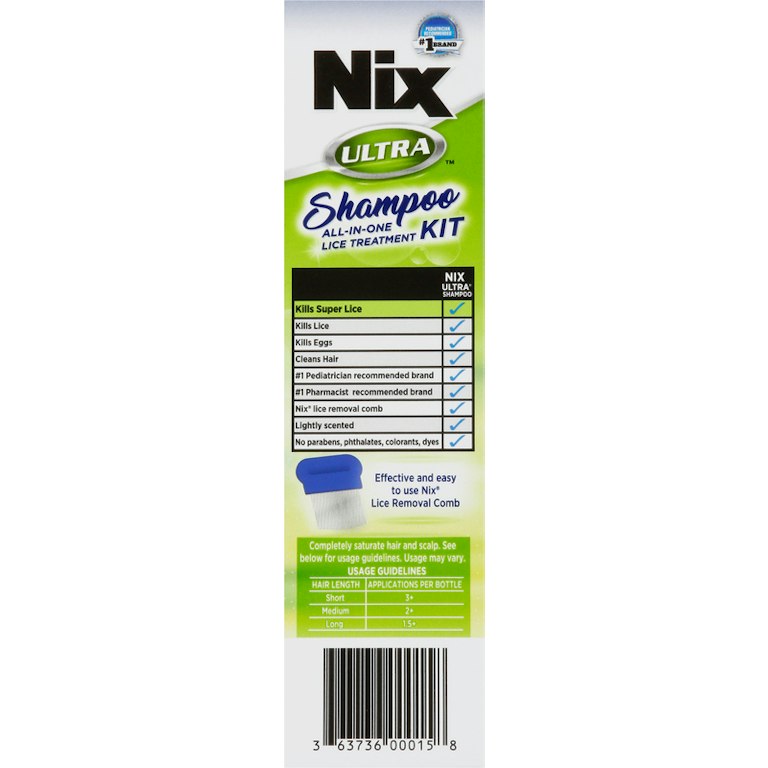
Over-the-counter or prescription lice treatments contain chemicals designed to kill lice quickly. These come in shampoos, lotions, or sprays.
Follow the instructions carefully, as misuse can reduce effectiveness or cause irritation. Some treatments need a second application after a week to catch newly hatched lice.
Consider if chemical treatments fit your needs—are you looking for fast results or prefer natural methods? Choosing the right approach can make all the difference.

Credit: www.goodrx.com
Preventing Lice Reinfestation
Preventing lice reinfestation goes beyond freezing your hairbrushes. It requires a thorough approach to stop lice from coming back and spreading. You need to treat your entire environment and habits carefully to keep lice away for good.
Cleaning Personal Items
Lice can live on items like hats, scarves, and pillowcases. Washing these items in hot water and drying them on high heat kills lice and their eggs. If washing isn’t an option, sealing items in a plastic bag for at least 48 hours can suffocate the lice.
Don’t forget smaller items like hair ties and barrettes. Soaking them in rubbing alcohol or a lice-killing spray can be effective. Taking these extra steps helps stop lice from hiding and reinfesting your hair.
Maintaining Hair Hygiene
Keeping your hair clean and well-groomed can make it harder for lice to settle. Regular shampooing and combing with a fine-toothed lice comb help spot and remove lice early. Pay close attention to the areas behind ears and at the nape of your neck.
Have you ever noticed how lice seem to prefer certain spots? That’s because these areas are warm and sheltered. Staying consistent with your hair hygiene routine reduces their chances to thrive.
Avoiding Sharing Brushes
Sharing brushes and combs is a quick way to spread lice. Even if you freeze your brushes, passing them to someone else can cause reinfestation. Make it a habit to use only your own hair tools.
Think about how often you lend or borrow hair accessories. Could this be a hidden risk? Encouraging everyone in your household to have individual brushes and combs limits lice transmission.
Credit: www.amazon.com
Frequently Asked Questions
How Long Should You Freeze Hair Brushes For Lice?
Freezing hair brushes for 24 to 48 hours effectively kills lice and their eggs. This method prevents lice from surviving and reproducing. Ensure brushes are sealed in a plastic bag before freezing to avoid contamination and preserve cleanliness.
Does Freezing Kill Lice Eggs On Brushes?
Yes, freezing for at least 24 hours kills lice eggs on brushes. The cold temperature stops egg development and hatches. This method is a safe, chemical-free way to disinfect brushes after lice exposure.
Can Freezing Hair Brushes Alone Eliminate Lice Infestation?
Freezing hair brushes helps but won’t fully eliminate lice infestation. Treating hair with lice shampoo or combing is necessary. Freezing complements these treatments by killing lice on tools and preventing reinfestation.
Is Freezing Better Than Washing Brushes For Lice Removal?
Freezing is a good alternative when washing isn’t possible. Washing with hot water over 130°F also kills lice effectively. Combining both methods ensures thorough removal and better hygiene.
Conclusion
Freezing hair brushes can help kill lice and their eggs. Keep brushes in the freezer for at least 24 hours. This method works best when combined with regular cleaning. It is simple, safe, and effective. Remember, lice do not survive long without a host.
Freezing stops them from spreading through brushes. Clean brushes often to keep lice away. This step supports other lice removal treatments. Stay consistent and patient for the best results. Your hair tools will stay lice-free with this easy tip.