Have you ever wanted a clear, perfect block of ice right at home? Whether you’re planning a special drink, need ice for an art project, or just want to impress your friends, making your own block of ice is easier than you think.
You’ll discover simple steps to create crystal-clear ice blocks using items you already have. Get ready to learn a cool trick that will change the way you chill your beverages and add a touch of style to your gatherings. Keep reading—you’ll be amazed at how satisfying and useful this skill can be!

Credit: www.hungryhuy.com
Choosing The Right Water
Choosing the right water is key to making clear, solid ice blocks at home. The quality and type of water affect how the ice freezes and looks. Pure water creates ice that is clearer and lasts longer. Impurities in water cause cloudy and brittle ice. Understanding your water options helps you get the best ice block possible.
Tap Water Vs. Distilled Water
Tap water contains minerals and chemicals that affect ice clarity. These elements cause small bubbles and cloudiness inside the ice. Distilled water has almost all minerals and impurities removed. It freezes more evenly and produces clearer ice. Using distilled water is best for smooth, transparent ice blocks.
Filtering Water For Purity
Filtering tap water improves ice quality by removing many impurities. Simple filters reduce chlorine, sediments, and some minerals. This leads to clearer ice than unfiltered tap water. Carbon or reverse osmosis filters work well for purifying water. Filtered water still may not be as pure as distilled water, but it is a good middle ground for making ice.
Preparing The Freezing Container
Preparing the freezing container is a key step for making clear, solid ice blocks at home. The right container shapes the ice and affects freezing speed and clarity. Cleanliness also matters to avoid odors or cloudiness. Choosing and preparing the container carefully leads to better ice results.
Selecting The Mold
Choose a mold that fits your freezer space well. Look for containers made of silicone or plastic. Silicone molds release ice easily without breaking it. Plastic molds are sturdy but may stick if not prepared. Avoid metal molds unless designed for ice, as they freeze unevenly. Consider the size and shape you want. Larger molds make bigger blocks but take longer to freeze. Smaller molds freeze faster but create smaller blocks.
Cleaning The Container
Clean the mold thoroughly before use. Wash it with warm water and mild soap. Rinse well to remove soap residue. Wipe dry with a clean cloth or let air dry. Avoid using harsh chemicals or strong detergents. These can leave smells or tastes in the ice. Clean molds prevent cloudiness and keep ice fresh. Always clean molds after each use to keep them ready.
Techniques For Clear Ice
Creating clear ice at home may seem challenging. But with the right techniques, you can achieve that crystal-clear appearance. This guide explores two popular methods to make clear ice: the Boiling Water Method and the Directional Freezing Approach. Both methods have their own unique processes and benefits. Let’s dive in!
Boiling Water Method
This method involves using boiled water to make clear ice. Boiling removes impurities and air bubbles.
- Boil water twice to remove dissolved gases.
- Let the water cool after boiling.
- Pour the cooled water into an ice tray.
- Place the tray in the freezer carefully.
- Wait for the ice to freeze completely.
The result is clearer ice compared to using regular tap water. This method is simple and effective.
Directional Freezing Approach
The directional freezing method is another way to achieve clear ice. It involves controlling the direction in which water freezes.
- Use an insulated cooler to slow the freezing process.
- Fill the cooler with water and leave the lid off.
- Place the cooler in the freezer.
- Ice will freeze from the top down, pushing impurities to the bottom.
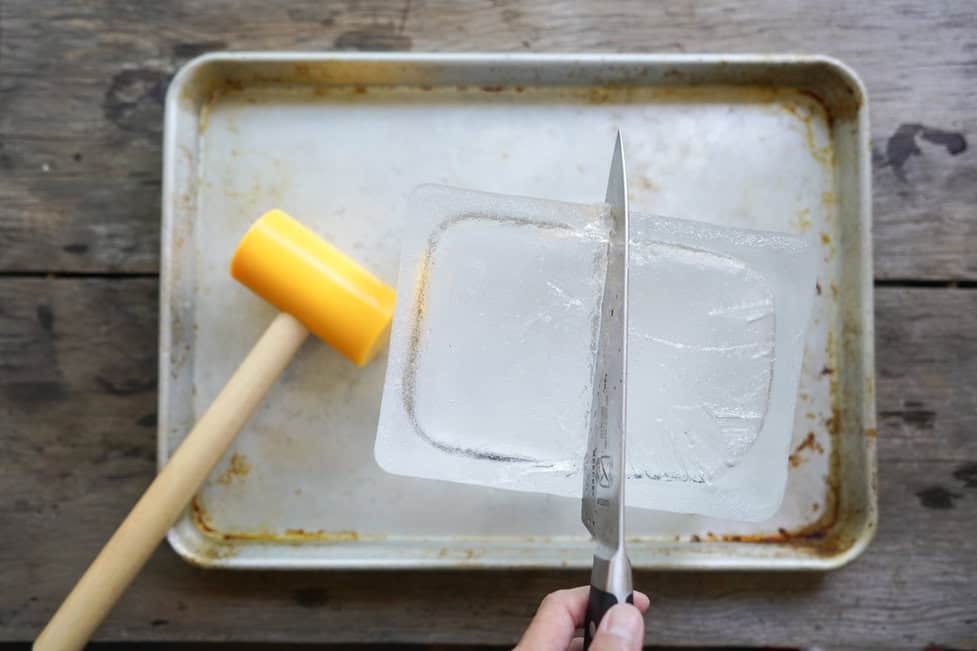
- Remove the clear ice block and chip off the cloudy parts.
This method creates large blocks of clear ice. It is perfect for special occasions or cocktails.

Credit: www.hungryhuy.com
Freezing Process Tips
Freezing a block of ice at home might seem straightforward, but small details in the freezing process can make a huge difference. Paying attention to these tips will help you create clearer, stronger ice blocks without unwanted cracks or bubbles. Let’s dive into what you need to know to get it right.
Optimal Freezing Temperature
Setting the right temperature is key to freezing a perfect block of ice. Aim for a temperature just below 32°F (0°C), ideally between 28°F and 30°F (-2°C to -1°C). This slower freezing process helps form clearer ice by allowing gases and impurities to escape before the water fully solidifies.
Freezers often run colder than necessary, which can cause the ice to freeze too quickly and trap bubbles. Have you checked your freezer’s actual temperature with a thermometer? Adjusting your freezer setting or placing the ice mold in a less cold area inside the freezer can improve results dramatically.
Avoiding Cracks And Bubbles
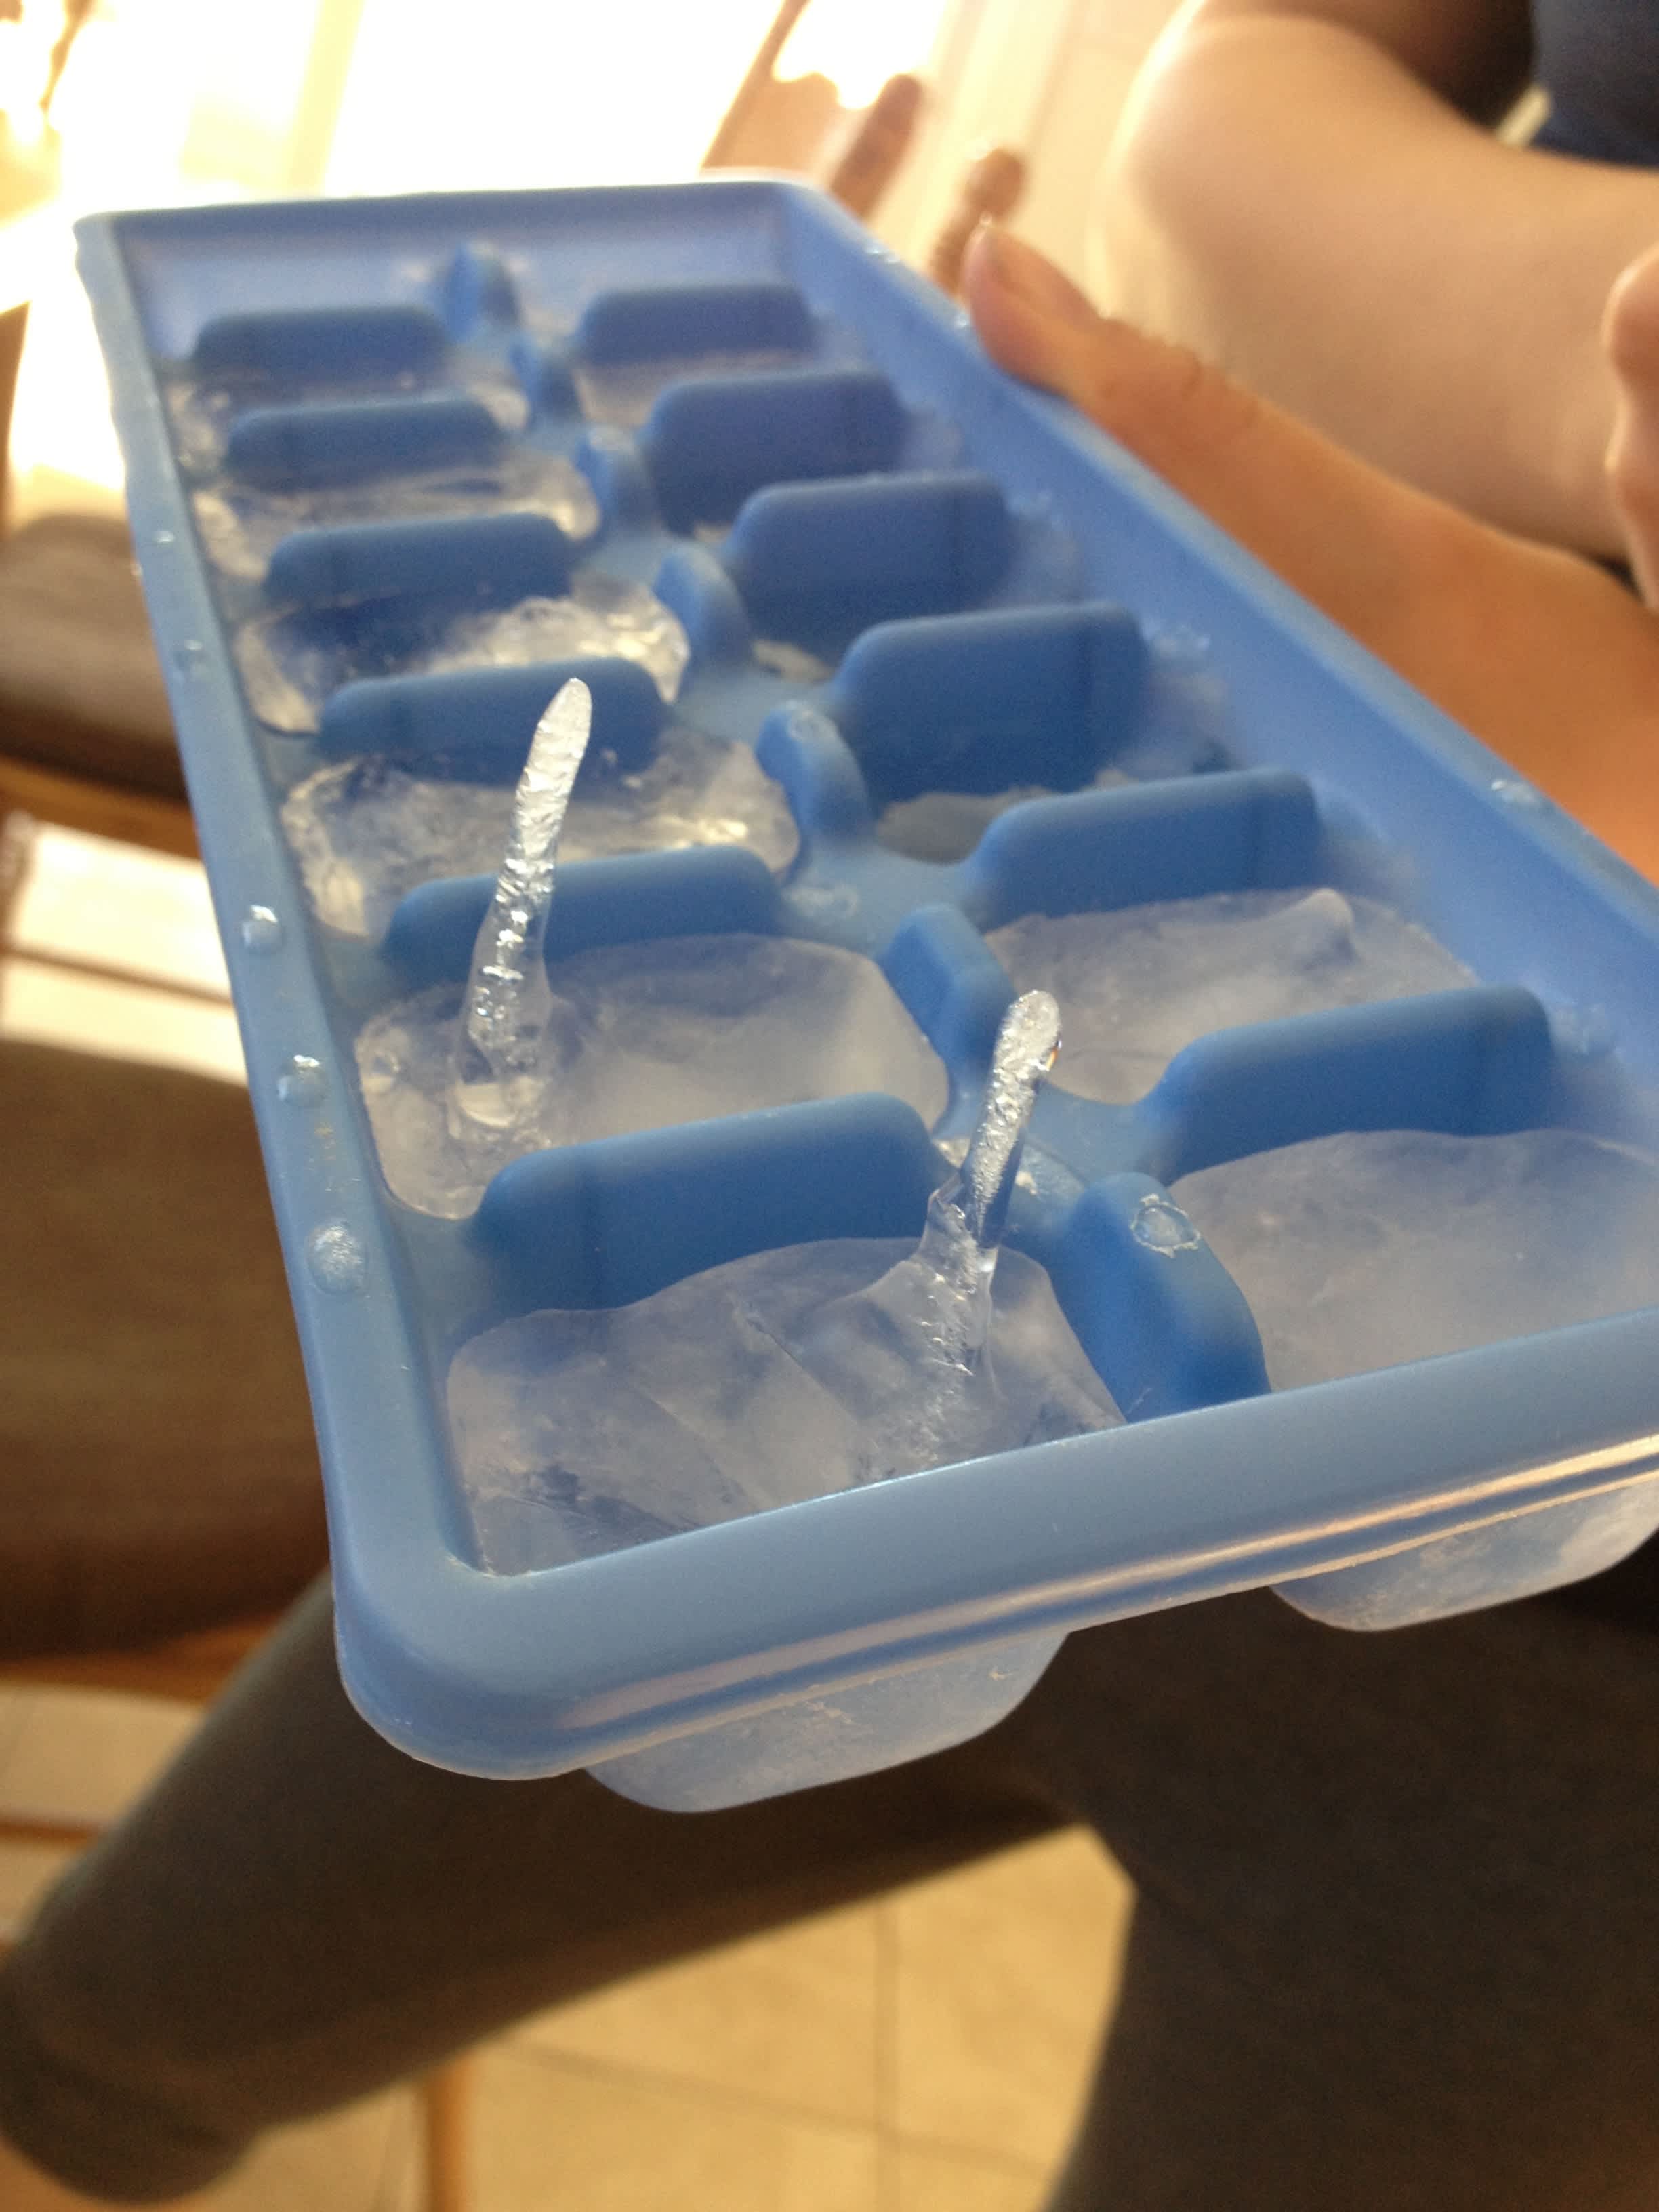
Cracks and bubbles make your ice block look cloudy and fragile. One trick is to use boiled or filtered water to reduce dissolved gases that form bubbles. Letting the water cool before freezing further decreases trapped air.
Another tip is to freeze your water slowly and in layers. Pour a small amount of water into your mold, freeze it partially, then add more water and freeze again. This layered approach reduces stress on the ice as it expands and contracts, minimizing cracks.
Have you tried insulating your ice mold with a towel or foam around the sides? It helps control the freezing speed and prevents rapid temperature changes that cause cracking. Experimenting with these small changes can lead to surprisingly better ice blocks for your drinks or projects.
Removing And Storing Ice Blocks
Removing and storing ice blocks properly is key to maintaining their shape and clarity. Careful handling prevents cracks and breaks. Proper storage keeps the ice solid longer and ready for use.
Safe Removal Techniques
Use warm water to loosen the ice block from the mold. Pour it gently around the edges. Avoid hot water to prevent cracking.
Tap the mold lightly on a surface to help release the ice. Do not use sharp tools to pry it out. Handle the ice with clean, dry hands or gloves to avoid slipping.
Storage For Longevity
Wrap the ice block in a clean plastic bag or airtight container. This prevents it from absorbing odors and moisture.
Store the ice block in the coldest part of the freezer. Keep the temperature steady to avoid melting and refreezing cycles.
Label the storage container with the date. Use older ice blocks first to maintain freshness.
Credit: www.food.com
Common Mistakes To Avoid
Making a block of ice at home might seem straightforward, but certain missteps can spoil the results. Avoiding common mistakes saves time and ensures clear, solid ice that lasts longer. Have you ever ended up with cloudy or cracked ice? Let’s look at key errors to watch out for.
Using Untreated Water
Using tap water straight from the faucet can lead to cloudy or weak ice blocks. This water often contains minerals and impurities that affect freezing quality.
Try using filtered or distilled water instead. These options reduce impurities and help create clearer, stronger ice. If you only have tap water, boiling it first and then letting it cool can help remove some gases and improve clarity.
Freezing Too Quickly
Rushing the freezing process usually results in cracks and cloudy spots inside your ice block. Quick freezing traps air and impurities, which spoil the smooth texture you want.
Freeze your water slowly by lowering your freezer’s temperature gradually or using an insulated container. This helps the ice freeze from the top down, pushing air bubbles toward the bottom for better clarity.
Have you noticed that slow-frozen ice stays solid longer in your drinks? That’s because it melts slower, making your effort worthwhile.
Frequently Asked Questions
How Long Does It Take To Freeze A Block Of Ice?
Freezing a block of ice usually takes 4 to 6 hours. The exact time depends on your freezer’s temperature and the water volume. Using distilled water can help create clearer ice faster by reducing impurities.
What Materials Do I Need To Make Ice Blocks At Home?
You need a clean container or mold, water, and a freezer. Using silicone molds or plastic containers works best. Optional: distilled water improves clarity, and a tray can help with easy handling.
How Can I Make Clear Ice Blocks At Home?
Boil water twice before freezing to remove air bubbles and impurities. Use distilled water for better clarity. Freeze the water slowly in an insulated container to avoid cloudiness.
Can I Use Tap Water To Make Ice Blocks?
Yes, you can use tap water, but it may produce cloudy ice. Tap water contains minerals and air bubbles. Boiling or using filtered water improves ice quality and appearance.
Conclusion
Making a block of ice at home is simple and fun. Just use clean water and a suitable container. Freeze it slowly for clear, solid ice. You can use this ice for drinks or cooling things. Remember, patience helps make better ice blocks.
Try it yourself and enjoy fresh ice anytime. Small effort, big results. Easy and useful!