
When winter hits, icy sidewalks and driveways become a real hazard. You want to keep your paths safe without spending a fortune on commercial ice melt products.
What if you could make your own ice melt brine quickly and easily? This simple solution can save you time and money while keeping your home safe all season long. You’ll discover step-by-step how to create effective ice melt brine using everyday ingredients.
Keep reading to learn how to protect your property and make winter less slippery and stressful.
Materials Needed
Gathering the right materials makes crafting ice melt brine simple and effective. Having everything at hand saves time and ensures your mixture works well in freezing conditions.
Common Ingredients
- Rock Salt or Table Salt:The main ingredient to lower the freezing point of water.
- Water:Acts as the solvent to dissolve the salt and create the brine.
- Calcium Chloride (Optional):Speeds up the melting process and works in lower temperatures.
- Magnesium Chloride (Optional):Less corrosive and environmentally friendly alternative.
- Dish Soap (Optional):Helps the brine stick to surfaces, improving effectiveness.
Have you ever wondered why some ice melts faster than others? The type of salt you choose can make a big difference.
Recommended Tools
- Large Container:A bucket or bin big enough to mix and store your brine safely.
- Measuring Cups or Scale:To get precise amounts of salt and water for the right concentration.
- Stirring Stick or Spoon:For mixing the solution thoroughly without spills.
- Protective Gloves:Salt and chemicals can irritate your skin, so gloves are a must.
- Storage Bottle or Spray Container:To easily apply the brine on icy surfaces.
Using the right tools not only makes the process cleaner but also safer. Do you have everything you need ready before you start mixing?
Choosing The Right Brine Formula
Choosing the right brine formula is key to making effective ice melt brine. The formula affects how fast the ice melts and how long the solution lasts. It depends on the type of salt used and the concentration of the solution. Picking the correct combination ensures safety and efficiency during icy conditions.
Salt Types
Different salts create different brine qualities. Common salts include:
- Rock Salt (Sodium Chloride):Affordable and widely available. Works best above 15°F (-9°C).
- Calcium Chloride:Works faster and at lower temperatures. More expensive but very effective below 0°F (-18°C).
- Magnesium Chloride:Less corrosive and eco-friendly. Effective at low temperatures, around 5°F (-15°C).
Choose salt based on temperature needs and environmental impact.
Concentration Ratios
The concentration of salt in water determines the brine’s freezing point. A common ratio is 23.3% salt by weight, which freezes around 0°F (-18°C). Lower concentrations melt ice slower but use less salt. Higher concentrations work in colder temperatures but may be corrosive.
| Concentration | Freezing Point | Use Case |
|---|---|---|
| 15% | 20°F (-6.7°C) | Mild winter conditions |
| 23.3% | 0°F (-18°C) | Standard ice melting |
| 30% | -6°F (-21°C) | Very cold conditions |
Test the brine to find the best ratio for your climate and needs.
Step-by-step Mixing Process
Creating an ice melt brine at home is simple and effective. This guide helps you mix the perfect solution for de-icing. Follow these steps to prepare your brine safely and efficiently.
Preparing The Solution
Start by gathering your materials. You will need rock salt and water. Use a large container to mix them. The typical ratio is three parts water to one part salt. Pour water into the container first. Gradually add the salt while stirring continuously. Stir until the salt dissolves completely.
Check the consistency of the brine. It should be clear with no visible salt particles. If the solution is cloudy, keep stirring until it clears. Use a hydrometer for accuracy. Aim for a specific gravity of 1.175. This ensures optimal melting power.
Safety Precautions
Wear protective gear while mixing. Gloves and goggles are essential. Salt can irritate skin and eyes. Work in a well-ventilated area. Avoid inhaling any dust from the salt. Keep children and pets away from the mixing area. Store the brine in a safe, sealed container. Label it clearly to prevent accidental misuse.
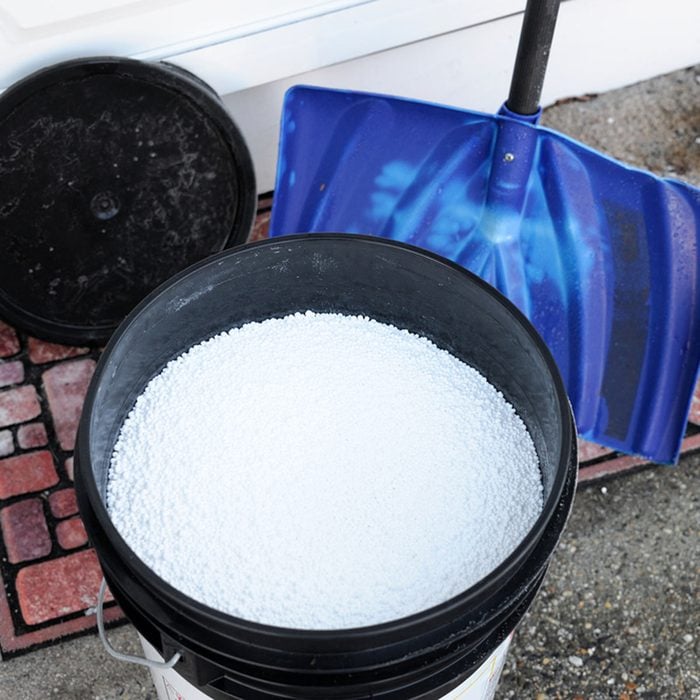
Credit: www.familyhandyman.com
Storage And Shelf Life
Proper storage of ice melt brine is important to keep it effective. The right container and storage conditions help maintain the brine’s strength. Poor storage can cause contamination or reduce shelf life. Understanding how to store ice melt brine keeps it ready for use when needed.
Proper Containers
Use containers made of plastic or glass. Avoid metal containers as they may rust. Containers should have tight-fitting lids to prevent spills and contamination. Clear containers help check the brine’s clarity and sediment. Choose containers that are easy to seal and transport. Label containers with the date of preparation to track shelf life.
Storage Conditions
Store the brine in a cool, dry place away from sunlight. Sunlight can break down the solution and reduce its effectiveness. Keep containers off the ground to avoid moisture contact. Avoid freezing the brine as it can change its chemical balance. Ideal storage temperature is between 40°F and 80°F (4°C to 27°C). Check the brine regularly for cloudiness or particles. Discard the brine if it smells strange or changes color.
Application Tips For Winter Safety
Applying ice melt brine properly is key for safe winter conditions. Proper application helps prevent slips and falls on icy surfaces. It also protects driveways, walkways, and roads from ice buildup. Understanding the right techniques and timing ensures the brine works effectively.
Effective Coverage Techniques
Spread the brine evenly over the surface. Use a sprayer for large areas like driveways and sidewalks. For smaller spots, apply with a brush or hand sprayer. Avoid puddles or thick spots to prevent damage. A thin, consistent layer melts ice quickly and lasts longer.
Timing And Frequency
Apply the brine before ice forms for best results. This prevents ice from sticking to the surface. Reapply after heavy snowfall or rain. Check surfaces regularly to decide if another application is needed. Avoid overuse to protect plants and concrete.

Credit: ninjadeicer.com
Environmental Considerations
Environmental considerations play a crucial role when making ice melt brine. The chemicals used can impact soil, plants, and water sources around your home or workplace. Understanding how to reduce this impact helps you protect the environment while still keeping your walkways safe.
Eco-friendly Alternatives
You might wonder if there are safer options than traditional salt-based brine. Luckily, there are several eco-friendly alternatives that you can try. Calcium magnesium acetate (CMA) and beet juice mixtures are popular choices because they break down faster and cause less harm to plants and animals.
Another alternative is using sand or kitty litter for traction instead of chemicals. These won’t melt ice but will reduce slipping risks without introducing harmful substances. Have you thought about trying a mix that combines natural ingredients with a small amount of salt? This can lower the environmental footprint while maintaining effectiveness.
Minimizing Impact
To reduce your brine’s environmental impact, start by using only what you need. Over-application not only wastes product but also increases the risk of runoff into nearby soil and water. Consider applying brine just before a storm to maximize its efficiency and minimize repeated use.
Be mindful of sensitive areas like gardens or storm drains. You can create barriers or use physical covers to protect these spots from brine exposure. Also, rinse tools and containers properly to avoid accidental spills. Taking these small steps can make a big difference in protecting your local ecosystem.
Troubleshooting Common Issues
Troubleshooting common issues with ice melt brine can save you time and frustration. Sometimes, even when you follow the recipe exactly, the brine might not perform as expected. Understanding why problems happen helps you adjust quickly and get back to melting ice effectively.
Brine Not Melting Ice
If your brine isn’t melting ice, first check the concentration. Too weak a solution won’t lower the freezing point enough. Try increasing the salt-to-water ratio slightly and retest.
Also, consider the type of salt used. Rock salt, table salt, and calcium chloride all behave differently. Calcium chloride works faster at lower temperatures, so switching salts might improve results.
Are you using the brine at the right temperature? Brine loses effectiveness if it’s too cold before application. Make sure you prepare it fresh and apply it before it gets too cold outside.
Handling Freezing Solutions
When your brine freezes, it usually means the solution is too dilute or temperatures have dropped too low. Keep your brine stored in insulated containers to reduce freezing risk.
If freezing is a frequent problem, adding a small amount of alcohol like rubbing alcohol can lower the freezing point further. Be careful not to add too much, as it can reduce ice-melting power.
Have you checked your storage location recently? Keeping brine near heat sources or in direct sunlight during the day can help maintain fluidity. Simple storage changes often make a big difference.

Credit: www.badgerstatemaintenance.com
Frequently Asked Questions
What Is Ice Melt Brine And How Does It Work?
Ice melt brine is a saltwater solution used to melt ice quickly. It lowers the freezing point of water, preventing ice formation and making surfaces safer during winter.
How Do I Make Ice Melt Brine At Home?
To make ice melt brine, dissolve rock salt in warm water until saturated. Use about 1 part salt to 2 parts water for an effective solution.
Can Ice Melt Brine Damage Concrete Or Plants?
When used properly, ice melt brine is less harmful than solid salt. However, excessive use can damage concrete surfaces and nearby plants, so apply sparingly.
What Types Of Salt Are Best For Ice Melt Brine?
Rock salt and calcium chloride are ideal for ice melt brine. They dissolve quickly and work efficiently at lower temperatures compared to regular table salt.
Conclusion
Making ice melt brine is simple and cost-effective. Mix salt and water in the right amounts. Use the brine to clear ice safely and quickly. It works well on driveways and sidewalks. Store it in a container for easy use.
This homemade solution helps prevent slips and falls. Save money by avoiding store-bought chemicals. Try making your own brine this winter. Stay safe and keep surfaces ice-free with ease.