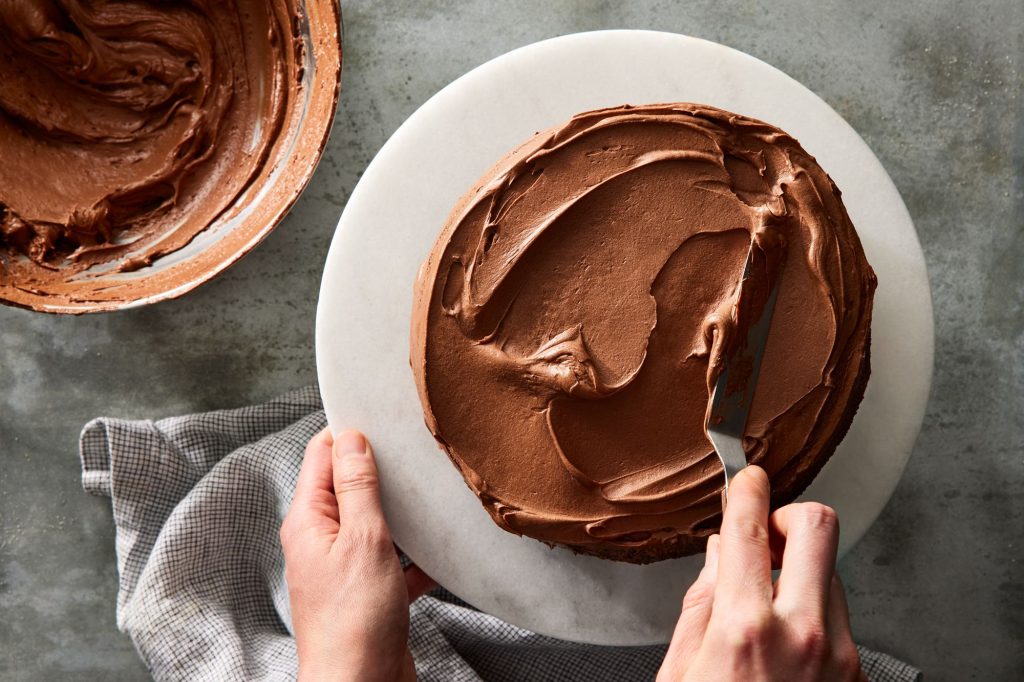
Are you looking to add a rich, delicious touch to your cakes and cookies? Knowing how to make brown icing is a simple skill that can transform your baking from ordinary to extraordinary.
Whether you want a deep caramel flavor or a classic chocolate tint, this guide will show you easy steps to create the perfect brown icing every time. Keep reading, and you’ll discover tips that save you time, boost flavor, and make your treats look irresistible.
Your baking deserves that extra wow factor—let’s get started!
Ingredients For Brown Icing
Knowing the right ingredients is key to making delicious brown icing that complements your baked goods perfectly. The ingredients you choose directly affect the texture, flavor, and color of your icing. Let’s look closely at what you need to get that rich, brown color and smooth consistency.
Essential Components
- Powdered Sugar:This is the base of most icings. It sweetens and thickens the mixture, giving you that smooth, spreadable texture.
- Butter or Margarine:Adds creaminess and richness. Using real butter often enhances the flavor but margarine works if you prefer a dairy-free option.
- Cocoa Powder or Melted Chocolate:The secret behind the brown color. Cocoa powder creates a deep chocolate flavor, while melted chocolate adds richness and shine.
- Milk or Cream:Used to adjust the consistency. A little goes a long way to make the icing spreadable without being too runny.
- Vanilla Extract:Enhances the overall taste, balancing the sweetness and chocolate notes.
Have you noticed how skipping or reducing one of these can change the entire flavor and texture? It’s worth experimenting to find your perfect balance.
Optional Additions
- Brown Sugar:Adds a caramel-like depth and can make your icing a little softer and richer.
- Cinnamon or Nutmeg:A pinch of spice can give your brown icing a unique twist, perfect for fall-themed treats.
- Espresso Powder:Enhances the chocolate flavor without making the icing taste like coffee.
- Salt:Just a tiny pinch can help cut through the sweetness and bring out other flavors.
- Honey or Maple Syrup:Natural sweeteners that add complexity and moisture.
Think about what kind of flavor profile you want. Do you prefer something straightforwardly chocolatey, or are you ready to try a spice or sweetener that surprises your taste buds?
Choosing The Right Brown Sugar
Choosing the right brown sugar is key to making perfect brown icing. Brown sugar affects the icing’s taste and color. Knowing the differences helps pick the best one for your recipe.
Light Vs Dark Brown Sugar
Light brown sugar has less molasses. It offers a mild, sweet flavor with a gentle brown color. Dark brown sugar contains more molasses. It has a stronger, richer taste and a deeper color.
Both types work for brown icing. Light brown sugar creates a softer hue. Dark brown sugar gives a bold, intense brown shade.
Impact On Flavor And Color
Brown sugar’s molasses content changes the icing’s flavor. More molasses means a stronger caramel taste. Less molasses results in a sweeter, more delicate flavor.
Color also shifts with molasses amount. Higher molasses makes darker icing. Lower molasses keeps it lighter. Choose based on the flavor and look you want.
Mixing Techniques
Mix brown icing by mixing cocoa powder or melted chocolate into your frosting. Stir well until the color is even and smooth. Adjust sweetness or color by adding more sugar or cocoa as needed.
Crafting the perfect brown icing isn’t just about selecting the right ingredients; it’s about mastering the mixing techniques. Mixing is the heart of baking, where the magic happens. By focusing on the methods used during mixing, you can ensure your icing is not just brown, but also smooth, creamy, and ready to impress.Creaming Butter And Sugar
The process begins by creaming together butter and sugar. Use room temperature butter for the best results. Beat them together until the mixture becomes light and fluffy, usually taking about 3-5 minutes with an electric mixer. This step is crucial as it incorporates air, giving your icing volume and a smooth texture. Have you ever tried rushing through this step? The end result can be dense and heavy. Take your time, and let the mixer do its work.Incorporating Liquid Ingredients
Adding liquid ingredients like vanilla extract or milk requires attention. Pour them in gradually, mixing at a low speed. This prevents the mixture from separating or becoming too runny. Have you ever thought about the importance of timing here? Adding liquids too quickly can make it difficult to achieve the right consistency. Keep an eye on the texture and adjust as necessary.Achieving Smooth Texture
The final mixing stage is all about achieving that coveted smooth texture. Sift your powdered sugar before adding it to avoid lumps. Mix on low speed at first, then increase to medium-high. This technique ensures everything blends evenly, giving you a silky icing. Remember that patience is key. If you’ve ever ended up with a grainy icing, it might be because you rushed through this step. Each mixing technique plays a vital role in the outcome of your brown icing. Are you ready to see the difference in your next baking adventure?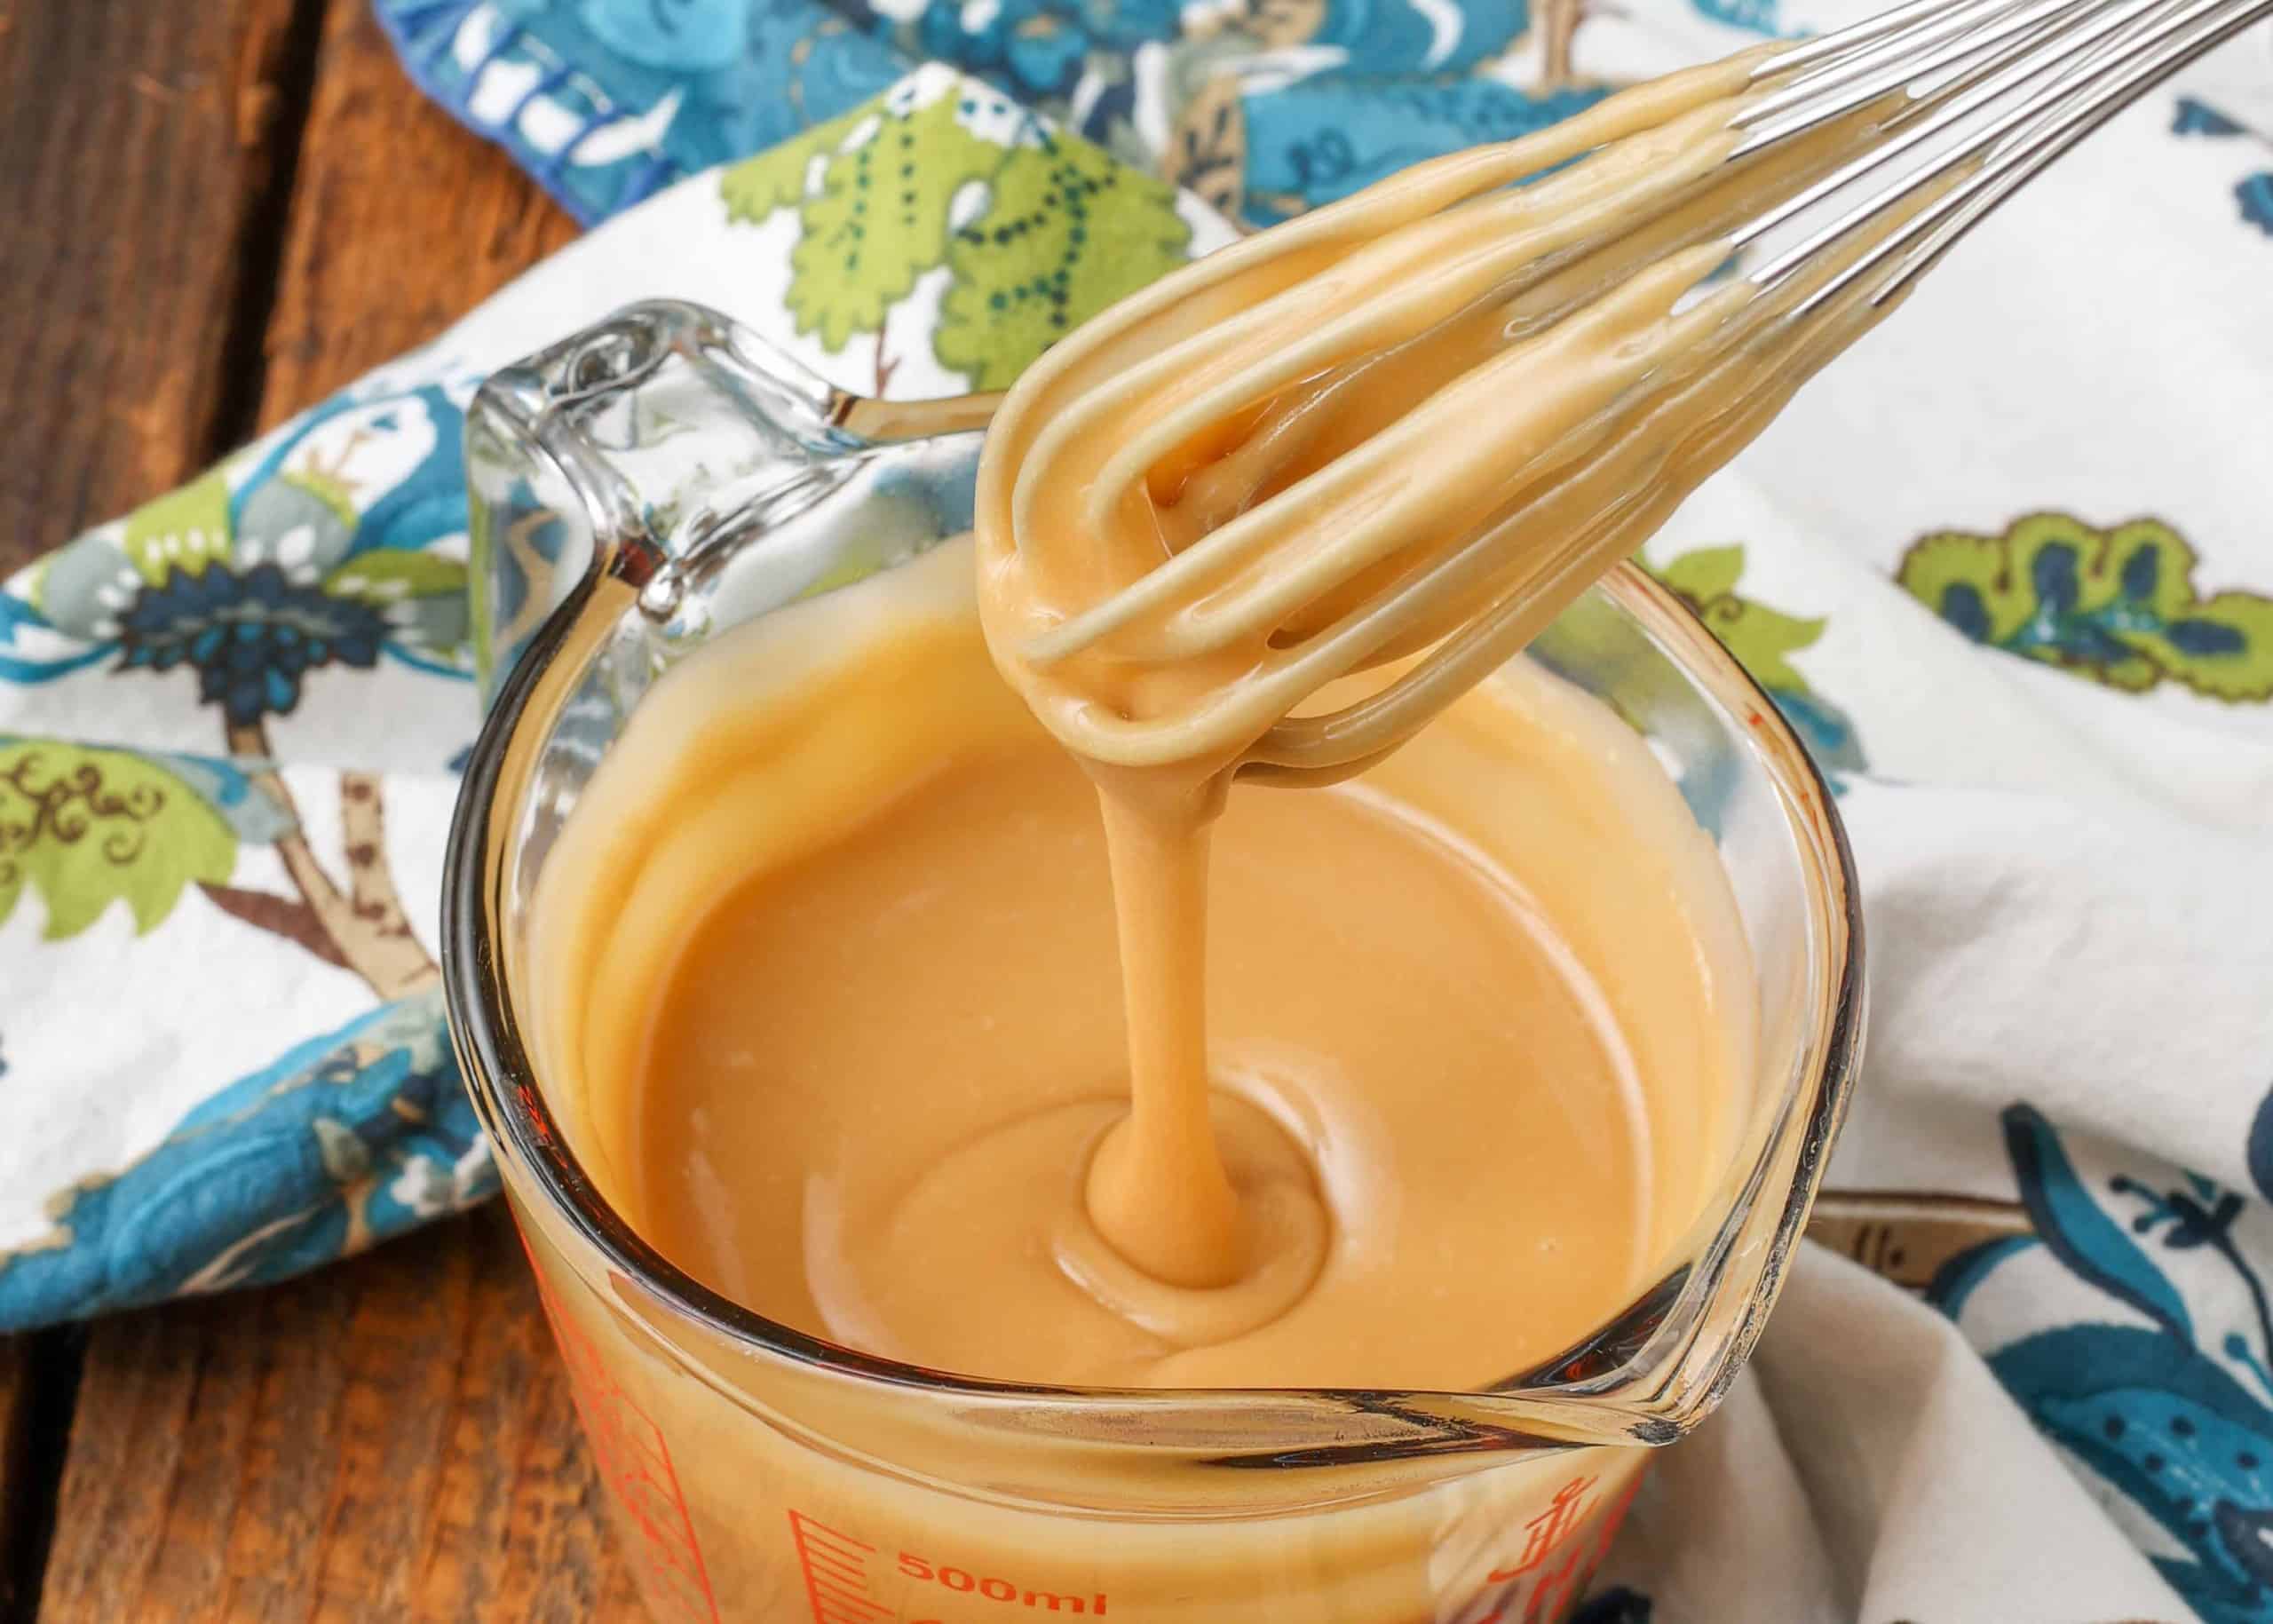
Credit: chocolatewithgrace.com
Adjusting Consistency
Adjusting the consistency of brown icing is key to perfect results. The right texture helps the icing spread smoothly and hold its shape. Consistency changes depending on the recipe and use. Some recipes need thick icing for piping. Others need thinner icing for drizzling or glazing. Knowing how to thicken or thin icing lets you customize it easily. Simple tweaks can make a big difference in your final look and taste.
Thickening Tips
To make brown icing thicker, try adding small amounts of powdered sugar. Stir well after each addition to avoid lumps. Let the icing rest for a few minutes. It will firm up as it sits. Another way is to chill the icing in the fridge. Cold icing becomes stiffer and easier to pipe. Avoid adding too much sugar at once. It can make the icing grainy or too sweet.
Thinning Methods
Thin brown icing by adding liquid slowly. Use milk, water, or cream in tiny amounts. Mix gently and check the texture often. Stop adding liquid when the icing flows easily but is not runny. Warm the icing slightly if it feels too stiff. Heat softens the ingredients and loosens the texture. Avoid pouring too much liquid. Thin icing can lose color and may not hold well on cakes.
Flavor Enhancements
Enhancing the flavor of your brown icing can transform a simple topping into a memorable treat. Small additions can bring depth and character to your icing, making it uniquely yours. Let’s look at some easy ways to boost the taste.
Adding Vanilla Or Spices
Vanilla extract is a classic choice that adds warmth and smoothness to brown icing. Just a teaspoon can brighten the flavors without overpowering the sweetness.
Spices like cinnamon, nutmeg, or even a pinch of cloves create cozy, rich notes. These work especially well if you’re making icing for fall-themed desserts or holiday treats.
Have you tried mixing vanilla with a touch of cinnamon? It’s a simple combo that makes your icing taste like a freshly baked spice cake.
Using Cocoa Or Coffee
Cocoa powder can deepen the brown color and add a subtle chocolate flavor that pairs perfectly with many cakes and cookies. Use unsweetened cocoa to avoid changing the sugar balance.
Coffee or espresso powder is another excellent option. Even a small amount enhances the chocolate notes and adds complexity to the icing.
Think about your favorite mocha drink—adding coffee to your icing can give it that same rich, bold flavor without making it bitter.

Credit: www.twosisterscrafting.com
Common Mistakes To Avoid
Making brown icing might seem straightforward, but small mistakes can throw off the texture and taste. Understanding what to avoid can save you from frustration and help you achieve that perfect, smooth finish every time. Let’s look at some common pitfalls that could be holding your icing back.
Overmixing
It’s tempting to mix your icing thoroughly, thinking it will become smoother. However, overmixing can introduce too much air, making the icing fluffy and unstable.
When I first tried making brown icing, I whipped it too long and ended up with a texture that was more like mousse than spreadable icing. The extra air also caused it to lose its rich density.
Instead, mix just until the ingredients come together smoothly. Keep an eye on the consistency and stop as soon as it looks creamy and unified.
Incorrect Sugar Ratios
Getting the sugar balance right is crucial for both taste and texture. Too much sugar can make the icing grainy and overly sweet, while too little can cause it to be runny and lack structure.
I once added extra powdered sugar, thinking it would help thicken the icing, but it ended up gritty and hard to spread. On the flip side, using less sugar made the icing too thin and prone to sliding off cakes.
Measure your sugar carefully and follow the recipe’s ratios. Adjust little by little if needed, and always taste as you go to find that perfect balance.
Storing Brown Icing
Storing brown icing properly keeps its rich flavor and smooth texture ready for your next baking adventure. Whether you made extra or want to prepare in advance, knowing how to store it can save you time and prevent waste.
Short-term Storage
If you plan to use your brown icing within a few days, storing it in the fridge works best. Place the icing in an airtight container to avoid it drying out or absorbing other smells from the fridge.
Before using refrigerated brown icing, bring it back to room temperature. Stir it gently to restore its creamy consistency. Have you noticed how cold icing can be stiff? Warming it slightly helps you spread it smoothly without losing flavor.
Freezing Guidelines
Freezing brown icing is a great option if you want to keep it longer than a week. Use a freezer-safe container or a heavy-duty freezer bag, squeezing out extra air to prevent freezer burn.
When you’re ready to use it, thaw the icing overnight in the fridge. Then, let it sit at room temperature for about 30 minutes. Stir well to bring back the texture you love. Don’t rush this step; patience helps avoid clumps and keeps your icing perfect for decorating.

Credit: www.twosisterscrafting.com
Frequently Asked Questions
How Do I Make Brown Icing At Home?
To make brown icing, mix powdered sugar with cocoa powder and butter. Add a little milk and vanilla extract. Whisk until smooth and creamy. Adjust cocoa or sugar to reach your preferred color and taste.
What Ingredients Give Brown Icing Its Color?
Cocoa powder is the main ingredient that gives brown icing its color. Adding melted chocolate or coffee can deepen the shade. Avoid food coloring for natural brown hues.
Can I Use Chocolate Instead Of Cocoa For Brown Icing?
Yes, melted chocolate works well for brown icing. It adds richness and a glossy texture. Substitute cocoa powder with melted chocolate, but reduce butter slightly to balance consistency.
How To Make Brown Icing Without Cocoa Powder?
Use melted chocolate or instant coffee to color your icing brown. Blend with powdered sugar, butter, and milk. This method creates a rich, flavorful brown icing without cocoa powder.
Conclusion
Making brown icing is simple and fun. You only need a few basic ingredients. Mix them well, and you get a smooth, tasty icing. Use it to decorate cakes, cookies, or cupcakes. Experiment with flavors to suit your taste. Practice a few times to get perfect results.
Soon, you will enjoy adding this sweet touch to your baked treats. Baking becomes more enjoyable with homemade icing. Try it today and see the difference yourself!