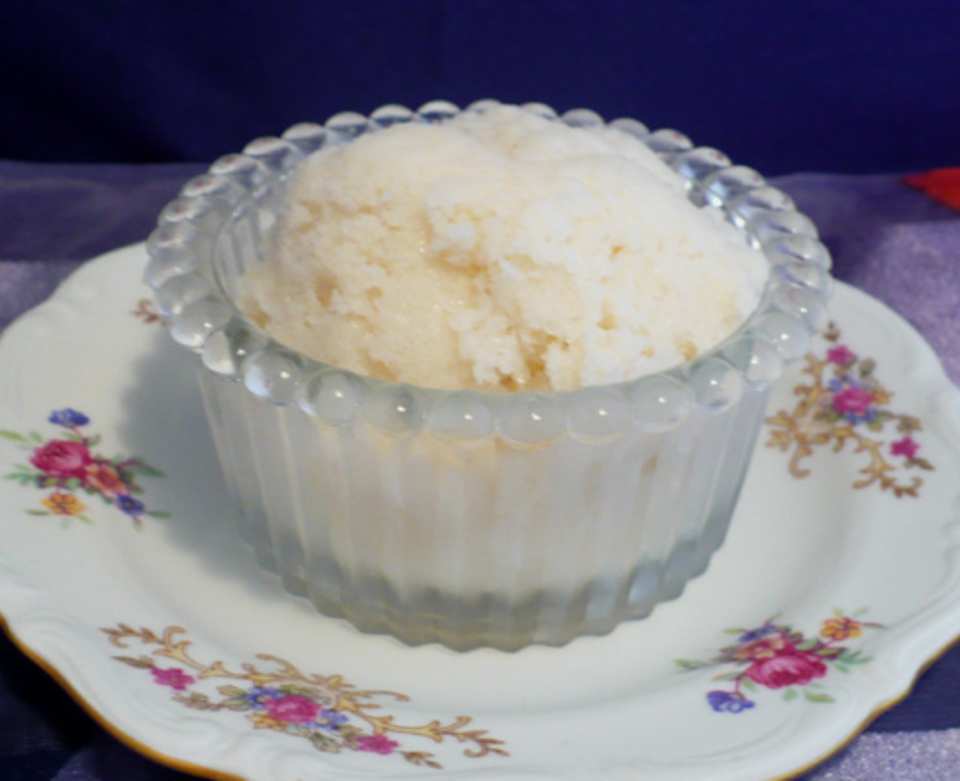
Are you craving a cool, creamy treat that’s easy to make at home? Ice milk might be just what you need.
It’s lighter than ice cream but still packed with delicious flavor. Imagine enjoying a refreshing dessert that you made yourself, with simple ingredients you probably already have. You’ll discover exactly how to make ice milk step-by-step. By the end, you’ll have a tasty, homemade delight ready to enjoy anytime.
Ready to whip up your own batch? Let’s dive in!
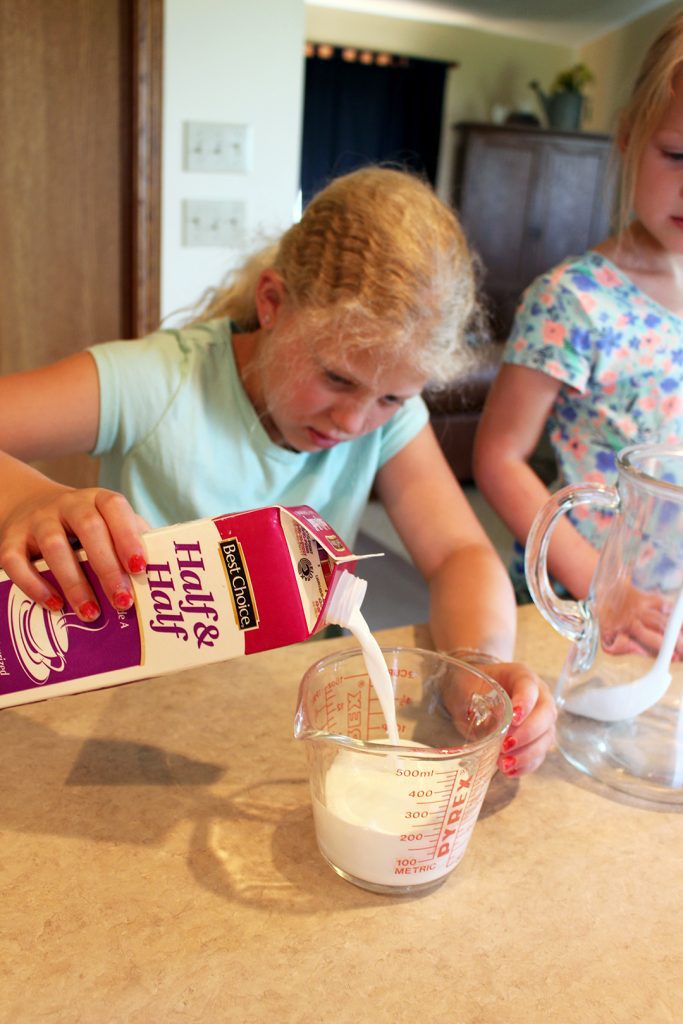
Credit: welcometonanas.com
Ingredients Needed
Knowing the ingredients needed for making ice milk is your first step to creating a refreshing treat at home. The right mix of components determines the texture and flavor of your ice milk. Before you start, it’s helpful to gather everything so you can focus on the fun part—mixing and tasting.
Basic Components
- Milk:Whole milk or low-fat milk works best to give a creamy texture without being too heavy.
- Sweetener:Granulated sugar is the traditional choice, but you can also use honey or maple syrup for a natural twist.
- Flavoring:Vanilla extract is classic, but cocoa powder or fruit purees can add variety.
- Stabilizer (optional):A small amount of cornstarch or gelatin helps improve texture and prevents ice crystals.
Think about how the milk’s fat content affects the final product. Would you prefer a lighter or richer ice milk? This choice shapes your experience before you even start mixing.
Optional Add-ins
- Fruit bits:Fresh strawberries, blueberries, or mango chunks add a burst of natural sweetness.
- Spices:Cinnamon, nutmeg, or even a pinch of chili powder can make your ice milk unique and exciting.
- Chocolate chips or nuts:These add texture and a delightful crunch.
- Extracts:Almond, peppermint, or coconut extracts offer alternative flavor profiles.
Have you ever considered how small additions can transform a simple recipe? Adding just a pinch of your favorite spice or a handful of nuts could turn your ice milk into a signature dessert.
Choosing The Right Milk
Choosing the right milk is the foundation of making delicious ice milk. The type of milk you pick affects the texture, creaminess, and overall flavor of your final treat. Understanding your options helps you create ice milk that matches your taste and dietary needs perfectly.
Whole Milk Vs Low-fat
Whole milk offers a rich and creamy texture that makes ice milk smooth and satisfying. Its higher fat content adds depth to the flavor, giving you a more indulgent experience.
Low-fat milk, on the other hand, creates a lighter version of ice milk. It’s less creamy but still tasty, making it a good choice if you want to cut calories without sacrificing too much flavor.
Think about what matters most to you: richness or lightness? Trying both types can help you decide which suits your preferences better.
Non-dairy Alternatives
If you’re lactose intolerant or prefer plant-based options, non-dairy milks are a great choice for ice milk. Almond, coconut, and oat milks each bring unique flavors and textures.
- Almond milkoffers a subtle nutty taste and a light texture, ideal if you want something refreshing.
- Coconut milkgives a creamy and slightly sweet flavor, perfect for tropical-inspired ice milk.
- Oat milkis naturally creamy and mildly sweet, making it a versatile option that blends well with many flavors.
Have you experimented with non-dairy options before? You might find your new favorite ice milk by trying different plant-based milks and seeing how they change the experience.
Preparation Steps
The magic of making ice milk lies in the simple preparation steps. These steps transform basic ingredients into a delightful frozen treat. Let’s explore how to create your own ice milk at home.
Mixing Ingredients
Start with fresh milk, the main ingredient. Whole milk works best for creaminess. Pour the milk into a mixing bowl. Add a pinch of salt to enhance flavor. Stir gently to blend the salt with the milk.
Sweetening Tips
Sweeten your ice milk with sugar or honey. For a classic taste, use granulated sugar. For a healthier option, choose honey. Stir the sweetener into the milk until it dissolves completely. Taste to check sweetness. Adjust as needed for your preference.
Freezing Methods
Freezing ice milk correctly is key to its creamy texture and smooth taste. Different freezing methods change the ice milk’s feel and flavor. Choosing the right method depends on your tools and time. Both machine and no-churn methods can create delicious ice milk at home.
Using An Ice Cream Maker
An ice cream maker churns the mixture while it freezes. This stops big ice crystals from forming. The result is smooth and creamy ice milk. Pour the chilled mixture into the machine. Let it run for 20 to 30 minutes. The constant stirring creates a soft, even texture.
Many ice cream makers have a built-in freezer bowl. Some need pre-freezing the bowl for 24 hours. Check your machine’s instructions before starting. After churning, transfer the ice milk to a container. Freeze it for a few hours to firm up before serving.
No-churn Techniques
No-churn methods do not need special machines. They are simple and great for beginners. Pour the ice milk mixture into a shallow dish. Place it in the freezer. Stir the mixture every 30 minutes to break ice crystals. Repeat this for about 3 to 4 hours.
This manual stirring keeps the texture creamy. Using a fork or whisk works well. No-churn ice milk may be a bit icier than churned versions. Still, it tastes fresh and homemade. Perfect for those without an ice cream maker.
Achieving Creamy Texture
Getting that rich, creamy texture in ice milk can transform a simple frozen treat into something truly delightful. It’s not just about freezing the mixture; how you handle it during the process plays a huge role. Little tweaks in stirring and churning, as well as preventing ice crystals, make all the difference.
Stirring And Churning Tips
Constant movement is key to a smooth ice milk texture. Stir or churn your mixture frequently to stop large ice crystals from forming. Using a hand mixer or an ice cream maker can help maintain a consistent motion.
Try stirring every 30 minutes if you’re freezing it in a container. This keeps the texture soft and creamy instead of hard and icy. Don’t forget to scrape the sides and bottom to mix in any frozen bits.
Have you noticed how some ice creams feel grainy? That’s often due to insufficient churning. Keeping the mixture moving evenly avoids that unpleasant texture.
Avoiding Ice Crystals
Ice crystals can ruin the smoothness of your ice milk. Adding a little sugar or fat, like cream or milk fat, lowers the freezing point and helps prevent crystals.
Another trick is to chill your mixture thoroughly before freezing. Starting with a cold base reduces the time it takes to freeze, which means fewer crystals form.
Also, cover your ice milk tightly while freezing to avoid moisture from the air creating ice on the surface. Have you ever had ice cream with a crunchy top layer? That’s exactly what you want to avoid.
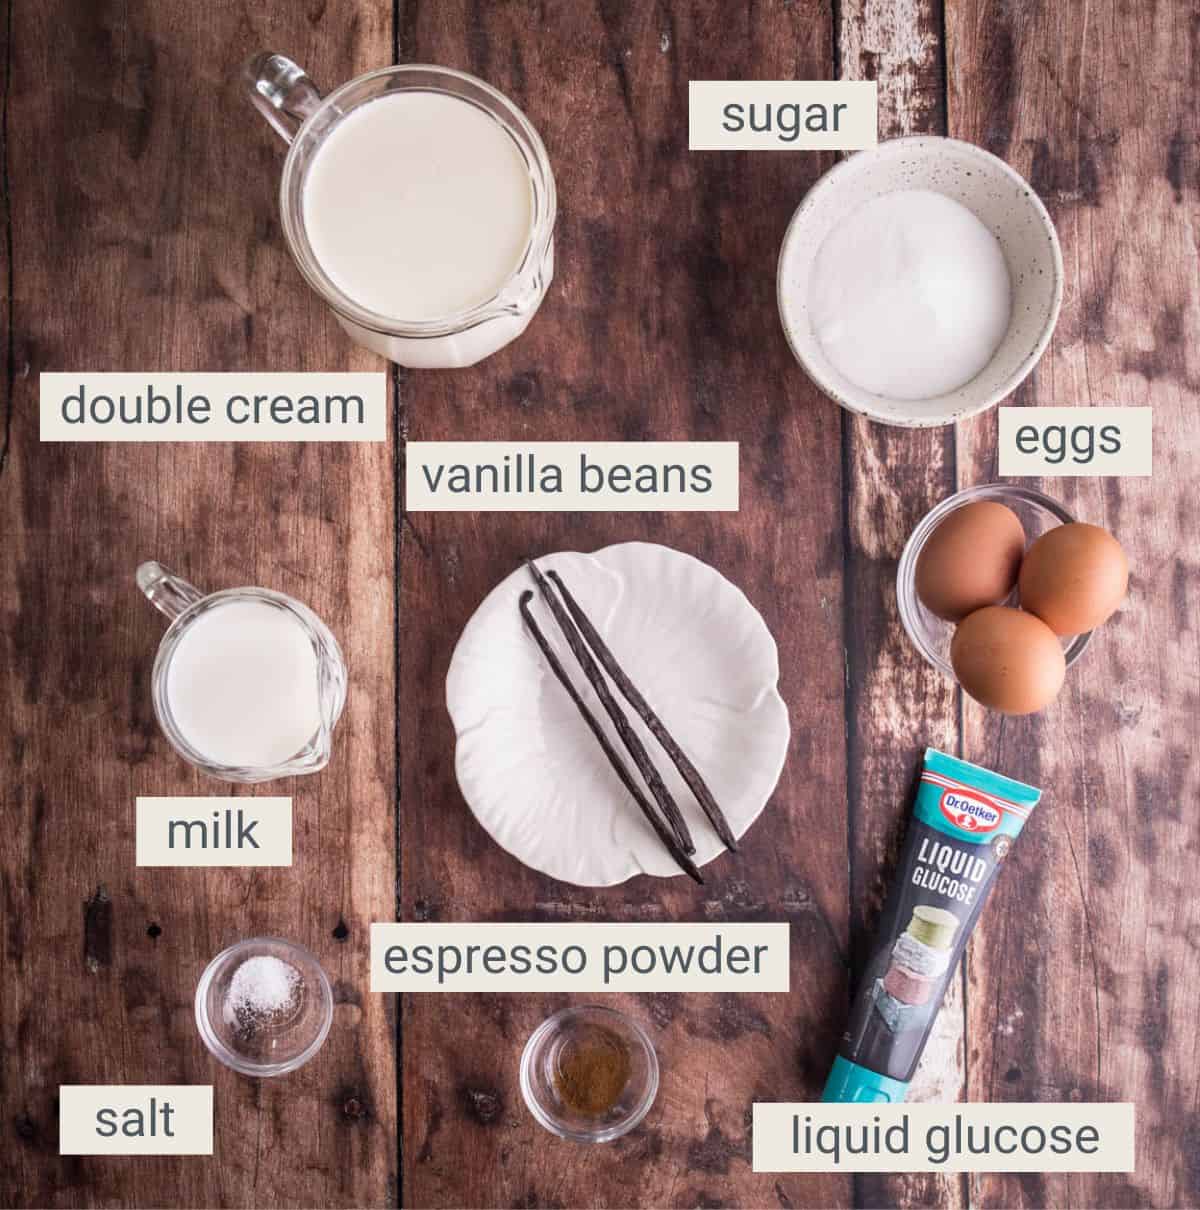
Credit: fromthelarder.co.uk
Serving Suggestions
Serving ice milk is a fun chance to get creative. It tastes great on its own, but toppings and presentation make it even better. Simple touches can turn ice milk into a delightful treat for any occasion.
Toppings And Mix-ins
Sprinkle chopped nuts like almonds or pistachios for a crunchy bite.
Fresh fruits such as strawberries, blueberries, or mango add natural sweetness.
Chocolate chips or small cookie pieces bring extra texture and flavor.
A drizzle of honey, caramel, or fruit syrup enhances the taste.
Mix-ins like crushed candy or granola can make each spoonful exciting.
Presentation Ideas
Serve ice milk in colorful bowls or clear glass cups for a bright look.
Use waffle cones or cups for a classic, easy-to-hold treat.
Layer ice milk with fruit or syrup in a parfait glass for a pretty effect.
Top with a fresh mint leaf or edible flower for a fancy touch.
Place a small spoon or decorative stick to invite a fun eating experience.
Storage And Shelf Life
Storing ice milk properly is key to keeping its creamy texture and fresh flavor. The shelf life depends a lot on how you freeze and handle it after making. If you don’t store it right, you might end up with icy chunks or a loss of taste, which nobody wants.
Freezing Tips
Use an airtight container to prevent ice crystals from forming on the surface. I like to press a piece of plastic wrap directly on top of the ice milk before sealing the lid. This extra step keeps air out and helps maintain smoothness.
Freeze your ice milk at the back of the freezer where the temperature stays most consistent. Avoid the freezer door, since frequent opening causes temperature fluctuations and affects texture. Also, try not to freeze it for more than two weeks; beyond that, quality starts to drop noticeably.
Reheating And Softening
If your ice milk is too hard to scoop, don’t rush to microwave it. Let it sit at room temperature for 5-10 minutes instead. This gentle softening keeps the creamy texture intact without melting it completely.
For a quicker option, scoop small portions into a bowl and stir gently. This breaks up icy bits and makes it easier to enjoy right away. Have you noticed how reheating ice milk too fast changes its flavor? Taking it slow really pays off.

Credit: omgyummy.com
Frequently Asked Questions
What Ingredients Are Needed To Make Ice Milk?
To make ice milk, you need milk, sugar, and flavorings like vanilla. Optional ingredients include cream or fruit puree for richness and taste.
How Do You Make Ice Milk Without An Ice Cream Maker?
Mix ingredients well, pour into a shallow container, freeze. Stir every 30 minutes to break ice crystals until smooth and creamy.
Can I Use Any Type Of Milk For Ice Milk?
Yes, you can use whole, skim, or plant-based milk. Whole milk gives creamier texture, while skim milk results in lighter ice milk.
How Long Does Homemade Ice Milk Take To Freeze?
Ice milk usually takes 4-6 hours to freeze fully. Stirring occasionally helps achieve a smooth, creamy texture faster.
Conclusion
Making ice milk at home is simple and fun. You only need a few ingredients and some patience. This treat is creamy, cold, and perfect for hot days. You can try different flavors to find your favorite. Enjoy the process and share your creation with friends.
Homemade ice milk tastes fresh and natural. Give it a try and enjoy a sweet, cool dessert anytime. Easy, tasty, and refreshing. What could be better?