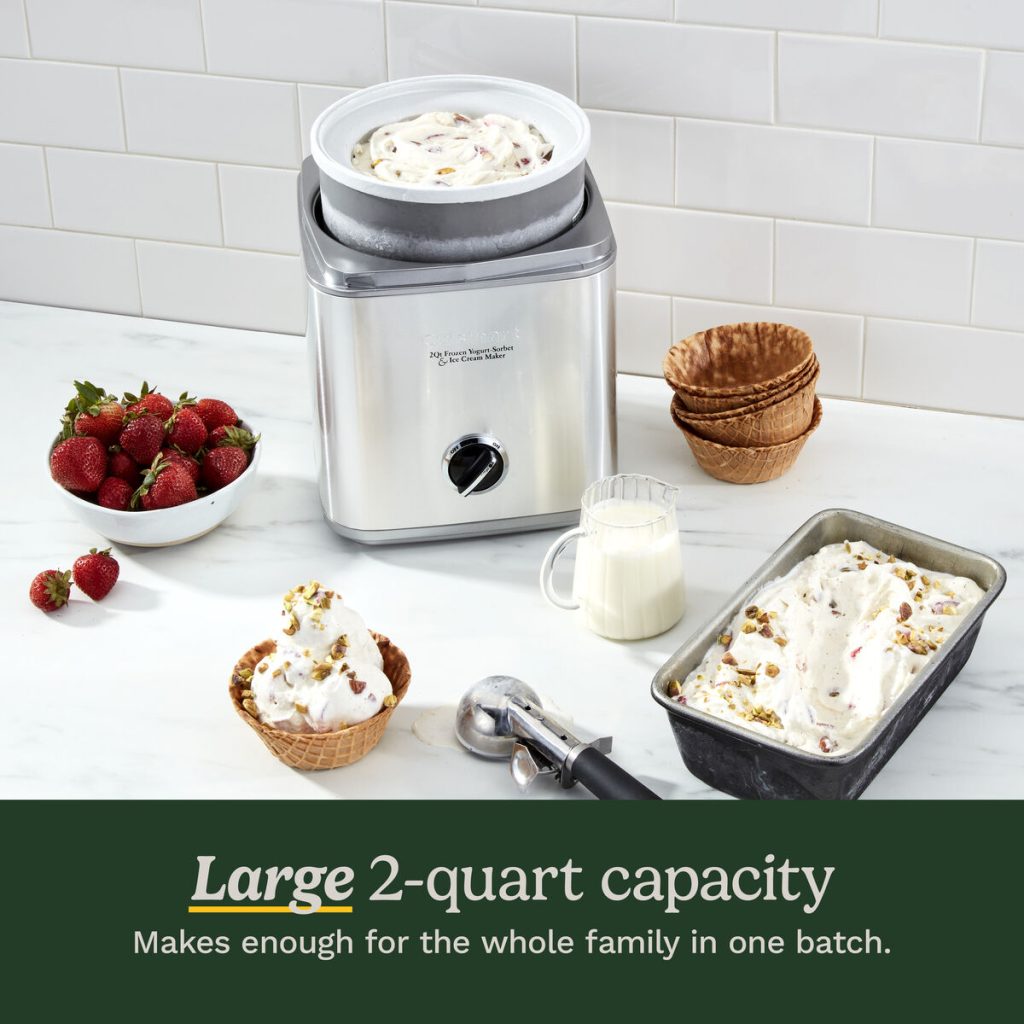
Are you ready to make delicious, creamy ice cream right at home? Using a Cuisinart ice cream maker is easier than you might think.
Whether you want classic vanilla, rich chocolate, or a fun fruity flavor, this machine helps you create your favorite frozen treats quickly and effortlessly. You’ll learn simple, step-by-step instructions to get the best results every time. Keep reading, and soon you’ll be enjoying homemade ice cream that tastes even better than store-bought!
Preparing Your Ingredients
Preparing your ingredients is a key step to making delicious ice cream with your Cuisinart Ice Cream Maker. Fresh, high-quality ingredients create the best flavors and textures. Taking time to measure and mix ingredients correctly ensures smooth, creamy results every time.
Choosing The Right Ingredients
Choose fresh dairy like milk and cream for a rich taste. Use whole milk or heavy cream for creamier ice cream. Pick natural sweeteners like sugar or honey to balance flavors. Fresh fruits and pure vanilla extract add natural sweetness and aroma. Avoid artificial flavors or low-quality ingredients to keep the taste pure.
Measuring And Mixing
Accurate measurements keep the recipe balanced. Use standard measuring cups and spoons for best results. Combine sugar and milk first to dissolve sugar completely. Whisk eggs and cream together until smooth and slightly thickened. Mix all ingredients evenly to avoid lumps or uneven texture. Chill the mixture in the fridge before pouring it into the ice cream maker.

Credit: www.cuisinart.com
Setting Up The Ice Cream Maker
Setting up your Cuisinart ice cream maker correctly is key for perfect results. The process involves preparing the bowl and assembling the machine. Each step ensures smooth operation and creamy ice cream. Follow these simple instructions to get started quickly.
Freezing The Bowl
Place the ice cream maker’s bowl in the freezer. It needs to be cold for at least 12 hours. The bowl holds the ice cream mixture and freezes it as you churn. Make sure the bowl is completely frozen before use. This step is essential for thick and creamy texture.
Assembling The Machine
Start by placing the frozen bowl into the machine’s base. Attach the mixing paddle inside the bowl. Secure the lid firmly on top to avoid spills. Plug in the machine and you are ready to pour your ice cream mixture. Proper assembly ensures smooth churning and consistent freezing.
Operating The Ice Cream Maker
Place the frozen bowl into the machine and pour your ice cream mix inside. Turn on the Cuisinart Ice Cream Maker and let it churn until the mixture thickens. Enjoy fresh, creamy ice cream in about 20 minutes.
Operating the Cuisinart Ice Cream Maker can feel like a delightful science experiment that ends with a sweet reward. The process is simple, yet each step requires a touch of precision to achieve the perfect creamy texture. If you’ve ever wondered how to ensure your homemade ice cream turns out just right, here’s a guide to help you make the most of your Cuisinart Ice Cream Maker.Starting The Machine
Begin by ensuring your freezer bowl is completely frozen. This step is crucial for the best results. A tip? Store it in your freezer so it’s ready whenever the ice cream craving strikes. Once the bowl is frozen, place it on the machine’s base. Make sure it sits securely to avoid any mishaps during churning. Next, attach the mixing paddle and cover, then plug in your machine. You’re now ready to embark on your ice cream-making adventure!Adding Ingredients At The Right Time
Pour your prepared ice cream mixture into the machine while it’s running. This prevents the mixture from freezing to the sides immediately. Timing is everything. For add-ins like chocolate chips or nuts, wait until the last five minutes. This ensures they distribute evenly without sinking to the bottom. Have you tried experimenting with flavors? Consider adding a splash of vanilla or a pinch of sea salt to elevate your ice cream game. Operating your Cuisinart Ice Cream Maker is a straightforward yet rewarding experience. Are you ready to create your next frozen masterpiece?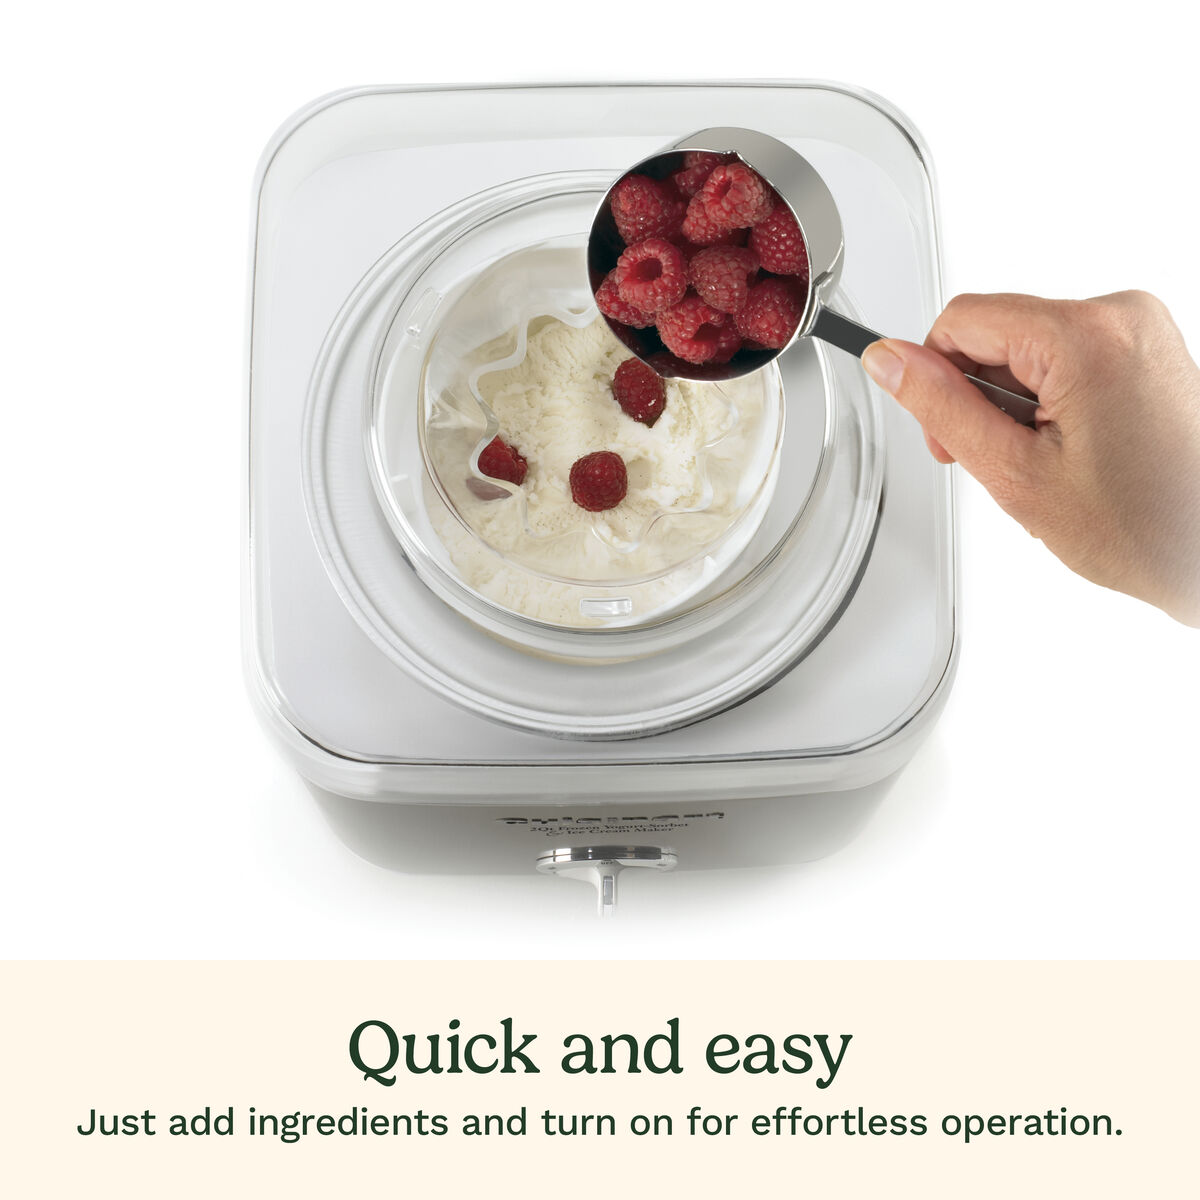
Credit: www.cuisinart.com
Churning Process Tips
The churning process is where your ice cream starts to take shape, and getting it right can make all the difference. Knowing how to watch and adjust during this stage will help you achieve the perfect creamy texture every time. Let’s dive into some practical tips that can make your churning experience smoother and more successful.
Monitoring Texture
Keep an eye on the consistency as your ice cream churns. It should gradually thicken and look creamy rather than watery. If you notice it’s still too runny after a typical churn time, don’t hesitate to let it run a bit longer.
Texture can tell you a lot about when to stop the machine. For example, if your mixture starts pulling away from the sides of the bowl and holds soft peaks, that’s a good sign it’s almost done. Have you ever stopped too early and ended up with icy or grainy ice cream? Watching the texture closely helps you avoid that.
Adjusting Churn Time
Not all recipes or batch sizes need the same amount of churning. If you’re making a smaller batch or adding mix-ins like nuts or chocolate chips, you might want to shorten or extend the churn time slightly. It’s about experimenting to see what works best for your ingredients and your machine.
Keep notes on your churning times for different recipes. This helps build a reference for future batches and improves your results. Have you tried varying the churn time to see how it impacts the creaminess and airiness? Small tweaks can lead to big improvements.
Finishing And Storing
Finishing and storing your homemade ice cream is just as important as making it. How you handle these final steps affects the texture, flavor, and how long your ice cream lasts. Let’s dive into the best ways to remove, freeze, and clean up after using your Cuisinart ice cream maker.
Removing The Ice Cream
Once your ice cream reaches the perfect creamy consistency, it’s time to remove it from the machine. Use a silicone or plastic spatula to gently scrape the ice cream from the sides and bottom of the bowl. Avoid metal tools, as they can damage the non-stick surface.
Be patient and thorough—sometimes small pockets of ice cream stick in corners. Getting it all out ensures you don’t waste any of your delicious creation. Have you ever noticed how much better your ice cream tastes when you remove it carefully?
Freezing For Firmer Texture
If you prefer a firmer texture, transfer the ice cream to an airtight container and place it in your freezer. This extra step lets the ice cream harden, turning it into a scoopable treat similar to store-bought versions.
Keep in mind, freezing times vary but typically 2 to 4 hours will do. To avoid ice crystals, press a piece of parchment paper or plastic wrap directly on the surface before sealing. How long do you usually wait before digging in?
Cleaning The Machine
Cleaning your Cuisinart ice cream maker right after use keeps it in top shape. Remove the bowl and paddle, then wash them with warm, soapy water. Never put the frozen bowl in the dishwasher, as extreme heat can damage the freezing element inside.
Wipe down the motor base with a damp cloth—never immerse it in water. Proper cleaning means your machine will be ready for the next batch without any leftover flavors mixing in. What’s your cleaning routine after making ice cream?
Troubleshooting Common Issues
Troubleshooting common issues with your Cuisinart ice cream maker can save time and frustration. Many problems have simple fixes. Understanding these can help you get perfect ice cream every time.
Some issues happen because of temperature, timing, or machine setup. Checking these details can improve your results quickly. Here are solutions to common problems users face.
Ice Cream Too Soft
Soft ice cream usually means it needs more freezing time. The ice cream maker bowl might not be cold enough. Try placing the bowl in the freezer for at least 12 hours before use.
Overfilling the bowl can also cause soft ice cream. Fill only to the recommended level. Reducing liquid ingredients or adding more cream can help firm up the texture.
Machine Not Churning
Check if the machine is plugged in and turned on. The paddle must be properly attached to churn the mixture. Make sure the lid is secure, as some models won’t start without it.
Inspect the motor for any blockages or damage. If the machine still won’t churn, unplug it and let it cool down before trying again.
Ice Cream Too Hard
Ice cream that is too hard may be left in the freezer too long after churning. Let it sit at room temperature for a few minutes before serving. This softens the texture nicely.
Using too much liquid or not enough fat can also cause hardness. Adjust your recipe by adding more cream or sugar to keep ice cream smooth and creamy.
Creative Recipe Ideas
Using a Cuisinart ice cream maker opens up many creative possibilities. You can make simple flavors or try exciting new combinations. Experimenting with recipes lets you enjoy fresh, homemade ice cream anytime.
Classic Vanilla
Classic vanilla is a perfect starting point. Use quality vanilla extract or real vanilla beans. The creamy, smooth texture of homemade vanilla ice cream feels rich and fresh. It pairs well with almost any dessert or topping.
Try this simple base:
- 2 cups heavy cream
- 1 cup whole milk
- 3/4 cup sugar
- 1 tablespoon vanilla extract or scraped vanilla bean
Mix ingredients, chill, then pour into the ice cream maker. In about 20 minutes, you get creamy vanilla ice cream ready to enjoy.
Fruit Sorbets
Fruit sorbets are light and refreshing. They need no cream, just fruit, sugar, and water. Use ripe fruits like mango, strawberry, or lemon for bold flavor.
- Puree fruit until smooth
- Add sugar syrup to balance sweetness
- Chill mixture well before churning
Sorbets freeze quickly in the Cuisinart and come out smooth. Perfect for a cold treat or palate cleanser.
Mix-ins And Toppings
Mix-ins add texture and fun to ice cream. Think chocolate chips, nuts, or cookie crumbs. Add them near the end of churning for even spread.
Toppings bring extra flavor and crunch. Fresh fruit, caramel sauce, or sprinkles work great. Serve your ice cream with a variety of toppings for a personalized touch.

Credit: www.goodhousekeeping.com
Frequently Asked Questions
How Long Does It Take To Make Ice Cream In A Cuisinart?
It usually takes 20-30 minutes to churn ice cream in a Cuisinart. The exact time depends on your recipe and mixture consistency. You should freeze the bowl for at least 12 hours before use for best results.
Can You Use A Cuisinart Ice Cream Maker For Sorbet?
Yes, you can make sorbet in a Cuisinart ice cream maker. Use a fruit-based recipe with sugar and water. The machine churns the mixture to create smooth and refreshing sorbet in about 20-30 minutes.
How Do You Clean A Cuisinart Ice Cream Maker?
Disassemble the removable parts and wash them with warm, soapy water. Wipe the motor base with a damp cloth. Avoid immersing the motor base in water to prevent damage.
Is It Necessary To Pre-freeze The Cuisinart Bowl?
Yes, pre-freezing the bowl for at least 12 hours is essential. It ensures the mixture freezes properly during churning. Without freezing, the ice cream may not set or churn evenly.
Conclusion
Using a Cuisinart ice cream maker is simple and fun. You just mix your ingredients, pour them in, and let the machine do the work. In less than an hour, you get fresh, creamy ice cream. It’s a great way to enjoy homemade treats any time.
Try different flavors to find your favorite. Making ice cream at home saves money and feels special. Give it a go and enjoy the cool, sweet results!