
Imagine enjoying creamy, homemade ice cream anytime you want—without needing a fancy machine. What if you could make it quickly, have fun doing it, and impress your friends with your tasty creation?
Using an ice cream ball, you can turn simple ingredients into delicious ice cream right in your hands. Ready to discover how easy and exciting it is? Keep reading, and you’ll be making your own ice cream in no time!
Credit: mikeomearashow.com
Ingredients Needed
To make ice cream with an ice cream ball, gather fresh and simple ingredients. These items create a creamy and tasty treat. Using quality ingredients improves the final flavor and texture. You need both the ice cream base and the materials for the ice cream ball process.
Basic Ice Cream Ingredients
- 2 cups heavy cream
- 1 cup whole milk
- ¾ cup granulated sugar
- 1 teaspoon pure vanilla extract
- Pinch of salt
Optional Flavor Add-ins
- Chocolate chips or chunks
- Fresh fruit pieces
- Crushed cookies or nuts
- Sprinkles or candy bits
- Flavor extracts like mint or almond
Ice Cream Ball Materials
- Ice cream ball container with lid
- Ice cubes
- Rock salt or coarse sea salt
- Clean towel or gloves for grip
Choosing The Right Ice Cream Ball
Choosing the right ice cream ball can make a big difference in your ice cream-making adventure. The perfect ball ensures your ice cream freezes evenly and mixes well, giving you that creamy texture you crave. But how do you pick one that fits your needs and style?
Material And Durability
The material of the ice cream ball affects both its durability and how well it keeps cold. Stainless steel balls are tough and hold cold better, which means faster freezing. Plastic balls are lighter and often cheaper, but they might not last as long or keep the ice as cold.
Think about how often you’ll use it. If you plan to make ice cream regularly, investing in a sturdy stainless steel ball is smart. If it’s just for occasional fun, a good-quality plastic one could work well.
Size And Capacity
Ice cream balls come in various sizes, usually ranging from 1 to 2 quarts. Choose a size based on how much ice cream you want to make at once. A larger ball means more ice cream but also takes more effort to shake and freeze.
I found that a 1.5-quart ball hits the sweet spot. It’s enough for a small group but still easy to handle. What’s your ideal batch size? That answer can guide your choice.
Ease Of Use And Cleaning
Look for an ice cream ball that’s easy to open, shake, and clean. Some models have simple locking mechanisms and wide openings that make adding ingredients and scooping ice cream easier. Cleaning can be a hassle if the design has many crevices.
Personally, I prefer balls with dishwasher-safe parts—it saves time and keeps things hygienic. How much time do you want to spend cleaning up after your ice cream session?
Additional Features
Some ice cream balls come with extras like non-slip grips, measurement markings, or even insulated covers. These features can improve your experience but often come with a higher price tag. Decide which features matter most to you.
For example, a non-slip grip helped me keep control while shaking vigorously. What small feature would make your ice cream-making easier or more fun?
Preparing The Ice Cream Mixture
Preparing the ice cream mixture is a key step to delicious homemade ice cream. The mixture needs to be smooth and well combined. This helps the ice cream freeze evenly in the ice cream ball. Simple ingredients create a creamy base that can be changed with flavors or made dairy-free.
Basic Vanilla Recipe
- 1 cup heavy cream
- 1 cup whole milk
- 3/4 cup sugar
- 2 teaspoons vanilla extract
Mix sugar and milk until sugar dissolves. Stir in heavy cream and vanilla. Chill the mixture before using it in the ice cream ball. This classic vanilla base is smooth and creamy.
Flavor Variations
Change the basic recipe by adding flavors or mix-ins. Try these options:
- Chocolate: Add 1/3 cup cocoa powder to sugar and milk.
- Strawberry: Blend 1 cup fresh strawberries and mix into the base.
- Mint: Add 1 teaspoon peppermint extract instead of vanilla.
- Cookies and Cream: Crush cookies and fold them in before freezing.
Mix flavors well to ensure even taste throughout the ice cream.
Dairy-free Options
Use dairy-free milks to make ice cream for lactose intolerance or vegan diets.
- Coconut milk: Use full-fat canned coconut milk for creaminess.
- Almond milk: Choose unsweetened almond milk and add 1/4 cup coconut cream.
- Oat milk: Combine with a little coconut oil for better texture.
Sweeten with maple syrup or agave instead of sugar for a natural touch. Chill the mixture well before freezing for best results.
Setting Up The Ice Cream Ball
Fill the Ice Cream Ball with ice, salt, and your ice cream mixture. Roll it around for 20 minutes. Enjoy delicious homemade ice cream with ease.
Setting up the Ice Cream Ball is a fun, hands-on activity. It’s perfect for family gatherings or a creative dessert night. The process is straightforward and enjoyable. With each step, you get closer to homemade ice cream.Adding Ice And Salt
First, open the ice compartment of the ball. Fill it halfway with ice cubes. Add rock salt to the ice. Salt lowers the ice temperature, helping to freeze the mixture. Use one cup of salt for a better result. Leave some space for shaking.Pouring The Mixture
In another bowl, mix your ice cream ingredients. Common ingredients include cream, sugar, and vanilla. Pour this mixture into the metal cylinder inside the ball. Do not overfill; leave room for the mixture to expand. Seal the lid tightly to avoid leaks.Shaking Techniques
Shaking an ice cream ball is where the magic happens. The way you shake affects the texture and creaminess of your homemade treat. Mastering the right techniques ensures your ice cream freezes evenly and tastes just like from a shop.
How Long To Shake
Shaking time usually ranges from 10 to 20 minutes, but it depends on how cold your ice and salt mixture is. You want to shake until the mixture inside thickens and resembles soft serve ice cream. Stop shaking too early, and you’ll get a slushy; shake too long, and it can become too hard or icy.
Try checking the ball every 5 minutes to feel the texture. Are you surprised by how quickly it changes? Adjust your shaking time based on these small checks.
Tips For Even Freezing
To get smooth ice cream, you need even freezing throughout the ball. Shake vigorously but consistently, making sure to rotate the ball so every part gets chilled. Avoid letting the ball rest on one side for too long.
- Use a mix of crushed ice and rock salt around the ball to lower the freezing point.
- Keep the ice and salt mixture replenished if it starts melting too fast.
- Shake with both hands to maintain control and steady motion.
Have you noticed how uneven shaking can create icy chunks? A steady rhythm is your best friend here.
Fun With Kids
Shaking the ice cream ball can turn into a lively activity for children. It’s a great way to teach them about science and teamwork while making a tasty snack. Let them take turns shaking and watch their excitement grow as the ice cream forms.
Encourage kids to keep the ball moving and guess when the ice cream is ready. This hands-on approach makes the whole process memorable and educational.
Checking Ice Cream Consistency
Checking the ice cream consistency is key to getting creamy, smooth results. It shows if the ice cream is ready or needs more mixing. The right texture is soft but firm enough to hold shape. You want no icy chunks or runny spots.
Test the texture often during the ice cream ball shaking process. This helps catch the perfect moment to stop. Knowing what to look for saves time and effort.
Visual Signs Of Proper Consistency
- The mixture thickens and clings to the sides of the ball.
- Surface looks smooth and creamy, not watery or grainy.
- No separation of liquid or ice crystals on the surface.
Feel The Texture By Touch
- Open the ball and scoop a small amount with a spoon.
- It should feel cold and slightly firm but easy to scoop.
- Too soft means continue shaking; too hard means freeze longer.
Time To Stop Shaking
- Stop when the ice cream holds its shape on a spoon.
- It should be thick but still scoopable without melting fast.
- Check consistency every 5 minutes for best results.
Serving Suggestions
Serving your homemade ice cream made with an ice cream ball is where you can get really creative. The right toppings and presentation can turn a simple scoop into a delightful treat that everyone will remember. Think about what you enjoy and how you can make each serving feel special.
Toppings And Mix-ins
You can easily elevate your ice cream by adding toppings and mix-ins that bring extra flavor and texture. Consider classic options like chocolate chips, crushed cookies, or fresh fruit. Adding a handful of nuts or a drizzle of caramel sauce can also make a big difference.
Try mixing in ingredients during the last few minutes of shaking the ice cream ball for an even distribution. I once added mini marshmallows and peanut butter chips, and the result was a fun surprise in every bite. What toppings excite your taste buds?
- Sprinkles and chocolate shavings
- Chopped nuts like almonds or pecans
- Fresh berries or sliced bananas
- Crumbled cookies or brownie pieces
- Caramel, chocolate, or fruit syrups
Creative Presentation Ideas
How you serve your ice cream can transform the eating experience. Try serving scoops in waffle cones or edible bowls made from cookies or chocolate. Using colorful bowls or fun-shaped scoops can also add a playful touch.
Think about layering your ice cream with fruit or sauce in a clear glass for a parfait effect. I once served ice cream in hollowed-out oranges, which not only looked stunning but also added a hint of citrus flavor. What presentation style will make your ice cream the star at your next gathering?
- Waffle cones or bowls
- Layered parfait glasses with fruit and syrup
- Ice cream sandwiches with cookies or brownies
- Edible bowls made from chocolate or cookie dough
- Garnishes like mint leaves or edible flowers

Credit: dinnerthendessert.com
Cleaning And Storing The Ice Cream Ball
Cleaning and storing your ice cream ball properly keeps it in top shape. It helps avoid smells and sticky residue. This makes your next ice cream session easier and more fun. Follow simple steps to clean and store it right after use.
Cleaning The Ice Cream Ball
First, rinse the ball with warm water to remove leftover ice cream. Use a soft sponge and mild soap to clean the inside and outside. Avoid harsh scrubbing to protect the ball’s surface.
Make sure to clean all parts, including the lid and seals. Rinse thoroughly to remove all soap. Dry the ball completely with a clean towel or air dry it.
Removing Stubborn Residue
For sticky spots, soak the ball in warm soapy water for 10 minutes. Use a soft brush to gently scrub away residue. Rinse and dry well before storing.
Storing The Ice Cream Ball
Store the ice cream ball in a cool, dry place. Avoid direct sunlight or damp areas. Keep the lid slightly open to prevent moisture buildup inside.
Use a clean cloth or paper towel to cover the ball if you need to close it tightly. This helps keep it fresh and ready for your next ice cream making.
Troubleshooting Common Issues
Making ice cream with an ice cream ball can be fun but sometimes tricky. Some common problems may stop you from getting the perfect texture. Knowing how to fix these issues helps you enjoy your treat every time.
Ice Cream Too Soft
Soft ice cream often means it did not freeze long enough. Try rolling the ball more to help the mixture chill faster. Use cold salt and ice for better freezing. Also, check your recipe for the right cream-to-milk ratio. Less cream can make ice cream too soft.
Mixture Not Freezing
When the mixture stays liquid, the ice or salt may not be cold enough. Use plenty of ice and add enough salt to lower the freezing point. Keep the ice cream ball moving continuously to spread the cold evenly. Avoid opening the ball too often, as this lets warmth in.
Salt And Ice Problems
Salt melts ice and makes the mixture cold. Use coarse salt, not table salt, for best results. Too little salt means poor freezing, and too much salt can make the ice melt too fast. Replace melted ice often to keep the temperature low. Balance salt and ice well for smooth ice cream.
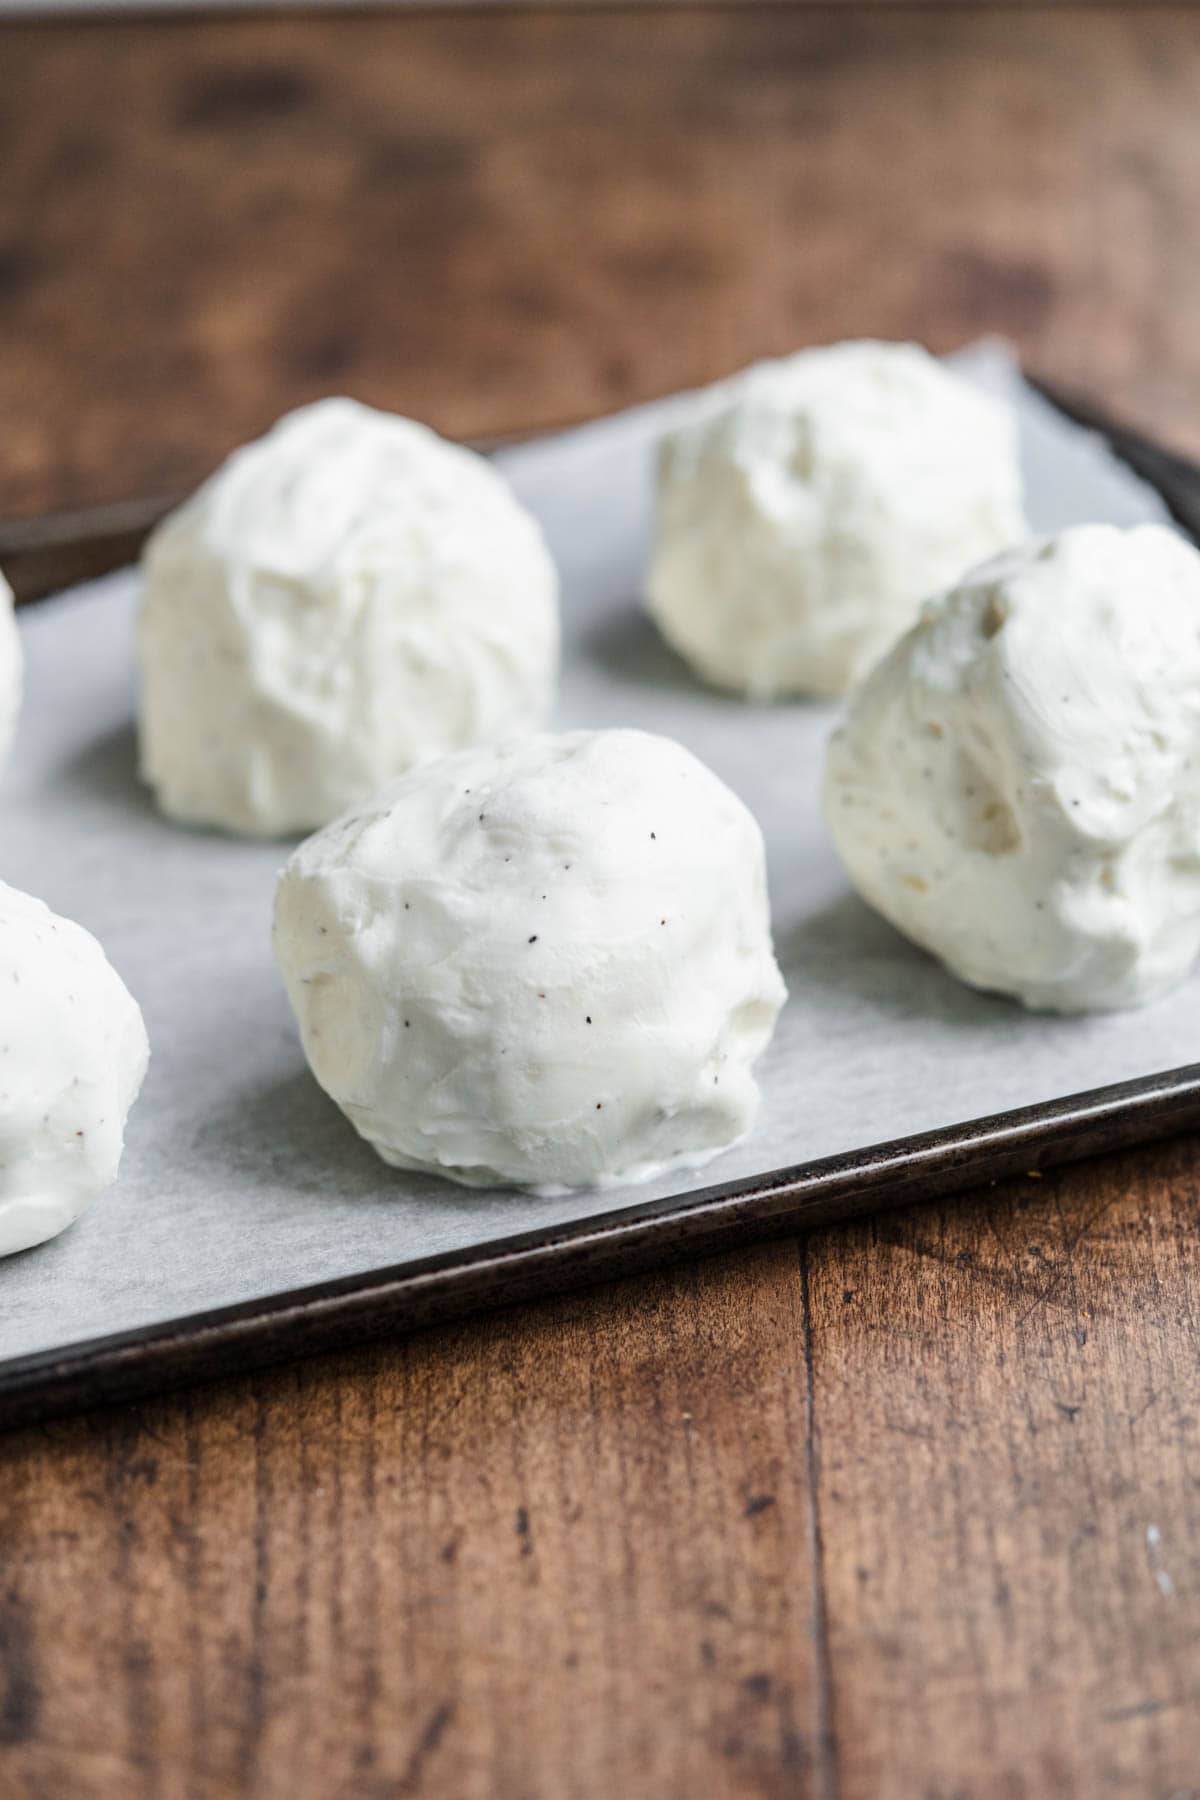
Credit: dinnerthendessert.com
Frequently Asked Questions
How Does An Ice Cream Ball Work For Making Ice Cream?
An ice cream ball churns and freezes simultaneously using ice and salt. Rolling the ball mixes ingredients evenly. This process creates smooth, homemade ice cream quickly without electricity.
What Ingredients Are Needed For Ice Cream Ball Recipes?
Basic ingredients include cream, sugar, and flavorings like vanilla or fruit. You also need ice and rock salt to freeze the mixture inside the ball effectively.
How Long Does It Take To Make Ice Cream In A Ball?
Making ice cream typically takes 10 to 20 minutes of rolling. The time varies based on temperature and how vigorously you shake or roll the ball.
Can Kids Safely Use An Ice Cream Ball?
Yes, ice cream balls are safe for kids under supervision. They are fun, hands-on, and help children learn about cooking and science.
Conclusion
Making ice cream with an ice cream ball is simple and fun. You just need a few ingredients and some shaking. Anyone can do it at home without special machines. It’s a great way to enjoy fresh, cold ice cream anytime.
Kids love to help and watch the mixture turn into ice cream. Try different flavors and add toppings for variety. This method saves money and brings joy to your kitchen. Give it a try and enjoy your homemade treat today!