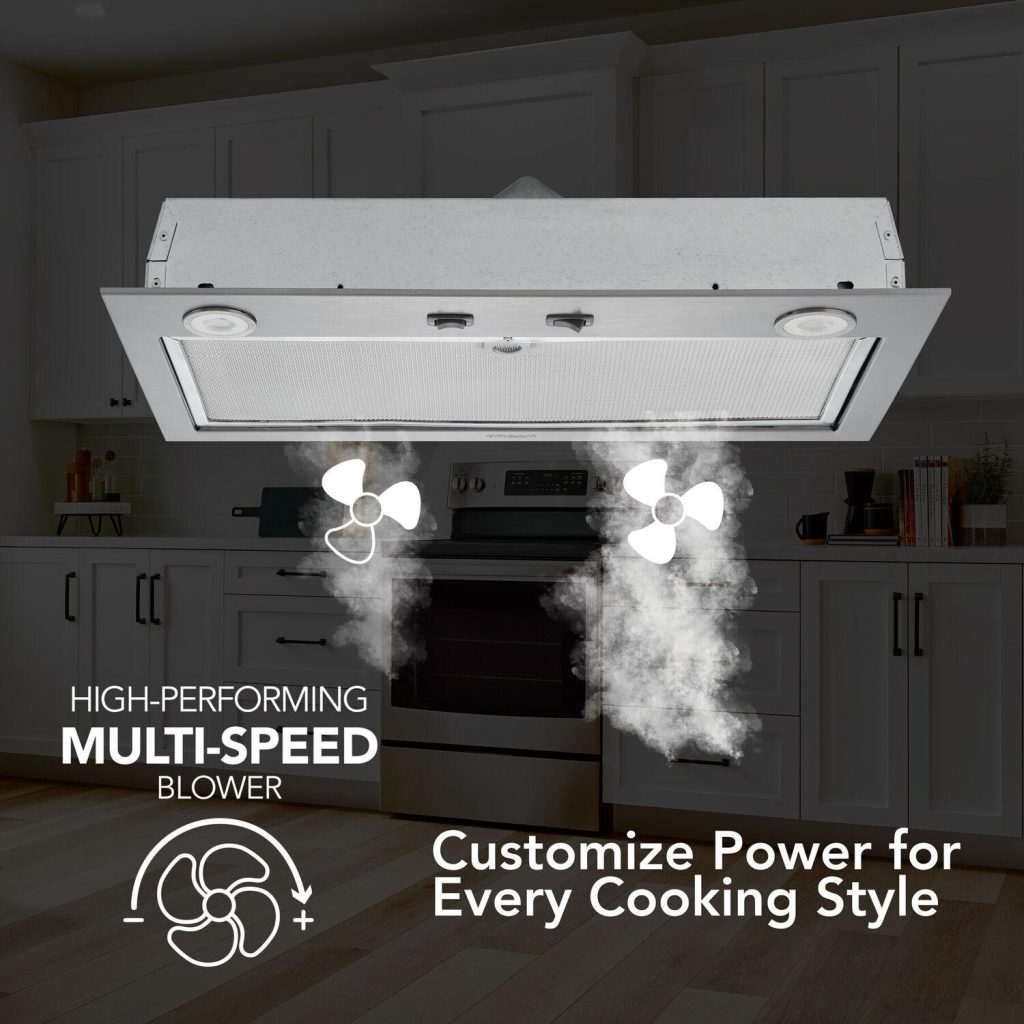
Installing a Broan range hood can transform your kitchen, elevating both its style and functionality. Imagine cooking without the lingering odors or smoke clouding your space.
With a Broan range hood, you gain cleaner air and a more pleasant cooking environment. You might be wondering, “Is it complicated? ” Or “Can I do it myself? ” Don’t worry, you’re not alone. Many homeowners have successfully installed their own range hoods, and you can too.
In this guide, you’ll discover a step-by-step process tailored to make the installation straightforward and stress-free. Stick with us, and by the end, you’ll have the confidence and know-how to enhance your kitchen with a Broan range hood. Ready to get started? Let’s dive in!
Preparing For Installation
Preparing for the installation of your Broan range hood is crucial to ensure the process goes smoothly and safely. Taking the time to get organized and check your space can save you from headaches later. Let’s look at what you need to do before you start the actual installation.
Gathering Tools And Materials
Having the right tools ready makes a big difference. You’ll typically need a drill, screwdriver, tape measure, level, and possibly a stud finder. Don’t forget safety gear like gloves and goggles to protect yourself.
Also, check if your Broan range hood kit includes all necessary mounting brackets and screws. Missing parts can delay your project, so double-check everything before you begin.
Measuring Your Space
Measure the area where you plan to install the range hood carefully. Consider the width of your stove and the height above it—Broan recommends a certain clearance for optimal performance.
Are there any obstacles like cabinets or vents that could affect placement? Knowing these details helps you avoid surprises once you start drilling.
Turning Off Power
Safety first: always turn off the power at the circuit breaker before starting. Even if you’re only handling basic wiring, electricity poses serious risks.
After switching off, use a voltage tester to confirm that the power is off. It’s a simple step that can prevent accidents and keep you safe throughout the installation.
Removing The Old Range Hood
Removing the old range hood is the first task in installing a new Broan range hood. This step prepares your kitchen for a clean and smooth installation. Safety and care are important to avoid damage to your kitchen walls and electrical system. Follow these simple actions to remove the existing hood properly.
Disconnecting Electrical Wiring
Turn off the power to the range hood at the circuit breaker. Use a voltage tester to confirm no electricity flows to the hood. Remove the cover panel to access the wiring. Carefully disconnect the wires by unscrewing the wire nuts. Note the wire colors and connections for later use. Wrap the wire ends with electrical tape to prevent shorts.
Detaching The Hood
Locate the screws or bolts holding the hood to the wall or cabinet. Use a screwdriver or drill to remove these fasteners. Have a helper support the hood as you loosen it. Gently pull the hood away from the wall to avoid damaging drywall or cabinets. Set the old hood aside for disposal or recycling.
Cleaning The Area
Remove any grease, dust, or debris left on the wall or ceiling. Use a mild cleaner and a soft cloth for this task. Check for any damage or holes that need repair before installing the new hood. Clear the area of tools and materials to create a safe workspace. A clean surface helps secure the new range hood firmly.
Installing The Mounting Bracket
Installing the mounting bracket is a key step in setting up your Broan range hood. It holds the hood firmly and ensures safe operation. Careful placement and secure attachment of the bracket are essential for a stable installation.
Marking Drill Points
Start by holding the mounting bracket against the wall. Use a level to keep it straight. Mark the spots where you will drill holes. These marks guide where the screws will go. Double-check the marks to avoid mistakes.
Securing The Bracket
Drill holes at the marked points using the right drill bit. Insert wall anchors if the wall is drywall or plaster. Align the bracket with the holes and screw it tightly to the wall. Use a power drill or screwdriver to make sure the bracket is firm.
Checking Stability
After securing, gently shake the bracket. It should not move or wobble. If it does, tighten the screws more. A stable bracket supports the range hood safely. Take time to confirm its strength before proceeding.
Credit: www.homedepot.com
Wiring The New Range Hood
Wiring your new Broan range hood is a crucial step that ensures it operates safely and efficiently. Handling electrical connections might seem intimidating, but breaking it down into clear actions makes the task manageable. Paying close attention to each detail can save you from future headaches and keep your kitchen safe.
Connecting Electrical Wires
Start by turning off the power at the circuit breaker to avoid any shock risks. Inside the range hood’s junction box, you’ll find wires that need to connect to your home’s wiring system.
Typically, you will match wires by color: black to black (hot), white to white (neutral), and green or bare copper to ground. Use wire nuts to secure each connection firmly and wrap them with electrical tape for extra safety.
Have you noticed how simple color coding makes wiring more straightforward? This system is designed to help even beginners get it right.
Ensuring Safety
Safety isn’t just about turning off the power; it’s about checking your connections thoroughly before restoring electricity. Make sure no wires are loose or exposed outside the wire nuts.
Use a voltage tester to confirm that the power is off before touching any wires. Also, ensure the range hood is properly grounded to prevent electrical shocks.
Remember, a secure setup prevents electrical fires and protects everyone in your home.
Testing Connections
Once you’ve connected and secured all wires, it’s time to test the hood. Restore power at the breaker and turn on the range hood’s switch.
Listen for the motor’s sound and check that the lights come on. If the hood doesn’t respond, double-check your wiring connections or consult the manual.
Have you ever found that a quick re-check of your wiring solved what seemed like a big problem? Testing early can save you time and frustration.
Attaching The Broan Range Hood
Attaching your Broan range hood is a crucial step to ensure it functions properly and looks great in your kitchen. This part requires precision and care to align the hood perfectly and secure it safely. Let’s walk through the process to help you achieve a sturdy and neat installation.
Lifting And Aligning The Hood
Begin by having a helper lift the range hood into position. Make sure the hood’s vent and electrical connections line up with your kitchen’s setup. Take your time to adjust the hood so it sits flush against the wall and over the cooking surface.
Check the level carefully using a spirit level or a smartphone app. A crooked hood can affect both performance and appearance, so it’s worth the extra effort to get it right. Have you noticed how a small misalignment can throw off the whole kitchen’s balance?
Securing With Screws
Once aligned, secure the hood to the wall using the screws provided in the Broan installation kit. Use a drill to drive the screws into the mounting brackets or studs behind the wall. Tighten them firmly but avoid over-tightening, which could damage the hood or wall.
Double-check that the hood feels solid and doesn’t shift when you apply gentle pressure. A well-secured range hood minimizes vibrations and noise during operation, which makes cooking more enjoyable. It’s worth pausing to confirm stability before moving forward.
Installing Filters And Covers
After securing the hood, install the filters and any decorative covers. Broan hoods typically come with metal mesh or charcoal filters that slide or snap into place. Follow the instructions carefully to ensure filters fit snugly and cover the ventilation area completely.
Don’t forget to attach any screws or clips that hold the covers in place. These parts not only protect the internal components but also give your hood a polished, finished look. How often do you think about the role these simple parts play in keeping your kitchen air clean?
Final Setup And Testing
After securing your Broan range hood, the final setup and testing phase ensures everything works smoothly and safely. This step confirms that your installation is complete and that the unit performs as expected. Taking the time to carefully restore power, test all functions, and adjust settings will save you from future headaches.
Restoring Power
Before restoring power, double-check that all wiring connections are tight and properly insulated. Safety is key, so make sure your circuit breaker or fuse box is ready to be turned back on.
Once confirmed, switch the power back on and watch for any unusual sparks or smells. If something feels off, turn off the power immediately and review your connections.
Testing Fan And Lights
Turn on your range hood using the control panel or switch. The fan should start smoothly without strange noises or vibrations.
Next, test the lights. They should illuminate brightly and without flickering. If either the fan or lights don’t work, recheck the wiring or the bulbs.
Adjusting Fan Speed
Your Broan range hood typically offers multiple fan speeds. Try each setting to ensure they respond correctly and provide the right airflow for your kitchen.
Consider how each speed feels: Is the lowest quiet enough for light cooking? Does the highest speed clear smoke quickly? Adjust as needed to match your cooking habits.
Troubleshooting Tips
Installing your Broan range hood can sometimes lead to unexpected issues. Troubleshooting these problems early helps you avoid damage and saves time. Let’s look at common problems you might face and how to handle them effectively.
Dealing With Noise Issues
Hearing unusual sounds from your range hood is frustrating. First, check if the fan blades are clean and free from debris. Dirt buildup can throw off balance and cause rattling noises.
Loose screws or parts also create annoying vibrations. Tighten all screws around the hood and mounting brackets.
Is the ductwork properly secured? Loose ducts can amplify noise. Ensure all duct connections are sealed tightly with metal tape.
Fixing Installation Errors
Improper installation leads to poor performance and safety risks. Double-check that the hood is mounted at the right height—usually 24 to 30 inches above your cooktop.
Incorrect duct size or routing reduces airflow. Make sure ducts are the size recommended in the installation manual and avoid sharp bends.
Wiring mistakes can stop your range hood from working or create hazards. Always match wire colors correctly and use wire nuts to secure connections.
When To Call A Professional
Some problems need expert attention. If your range hood doesn’t turn on after checking the power supply, it could be an electrical issue beyond basic fixes.
Complex ductwork or wall modifications might require specialized tools and skills. Don’t hesitate to call a professional if you feel unsure about your setup.
Remember, safety comes first. Handling electrical components without proper knowledge can be dangerous.
Credit: www.broan-nutone.com

Credit: www.bestappliance.biz
Frequently Asked Questions
How Do I Prepare To Install A Broan Range Hood?
First, turn off power and gas supply. Measure the space carefully. Gather necessary tools and read the manual. Clear the installation area for easy access.
What Tools Are Needed For Broan Range Hood Installation?
You will need a drill, screwdriver, measuring tape, wire nuts, and a level. A stud finder and duct tape may also be helpful.
Can I Install A Broan Range Hood Myself?
Yes, if you follow the instructions carefully and have basic DIY skills. Ensure electrical and ventilation connections meet local codes for safety.
How Do I Connect Ductwork For The Range Hood?
Use rigid or semi-rigid metal ducting. Securely fasten ducts with screws and seal joints with foil tape. Avoid plastic ducts for safety and efficiency.
Conclusion
Installing a Broan range hood is easier than you think. Follow each step carefully for best results. Take your time to measure and secure the hood properly. Double-check your electrical connections before turning it on. A well-installed range hood keeps your kitchen fresh and smoke-free.
Enjoy cleaner air and a better cooking experience every day. Stay safe and enjoy your new kitchen upgrade.