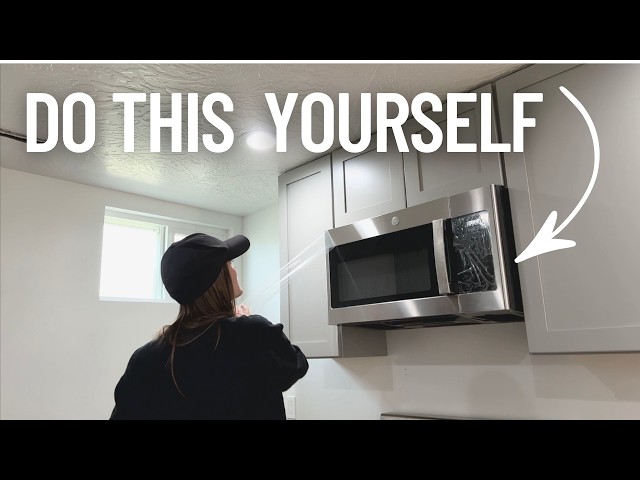
Are you tired of a cluttered kitchen counter and looking for a way to free up some space? Installing a vented microwave oven might just be the perfect solution for you.
Not only does it give your kitchen a sleek and modern look, but it also helps in efficiently venting out smoke and odors. Imagine cooking your favorite meals without worrying about lingering smells. Sounds great, right? You’ll discover a step-by-step guide on how to install a vented microwave oven with ease.
Whether you’re a DIY enthusiast or a first-timer, we’ve got you covered. Keep reading to learn how you can transform your kitchen and enhance your cooking experience.

Credit: www.youtube.com
Choosing The Right Location
Choosing the right location for your vented microwave oven is crucial. It affects both the appliance’s performance and your kitchen’s safety. The spot must fit the microwave perfectly and allow proper airflow for ventilation. Careful planning avoids future problems and ensures smooth operation.
Measuring Space Requirements
Measure the available space before installation. Check the microwave’s dimensions in the manual. Consider the width, height, and depth needed. Leave extra room for easy access and cleaning.
- Measure cabinet width and height precisely.
- Allow a few inches for proper clearance.
- Check the space behind for electrical cords.
Correct measurements prevent tight fits and damage. Make sure the microwave can slide in without force.
Considering Ventilation Needs
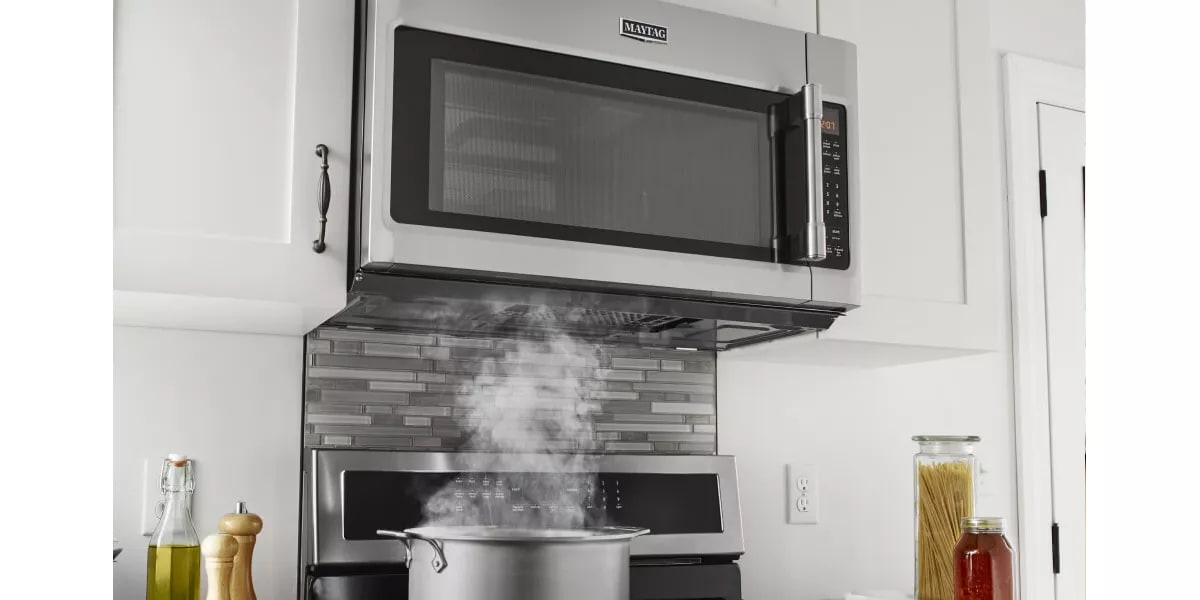
Vented microwaves need proper air flow to work well. The vent must release steam and cooking odors outside the kitchen. Choose a location near an external wall or above a range hood.
- Ensure vents are not blocked by cabinets or walls.
- Check if ductwork fits easily behind or above the microwave.
- Avoid places where air can recirculate inside the kitchen.
Good ventilation keeps your kitchen fresh and prevents overheating. Plan the vent path carefully before installation.

Credit: www.amazon.com
Gathering Necessary Tools
Gathering the right tools is the first step to installing a vented microwave oven. Having everything ready makes the job smoother and safer. It helps prevent interruptions and saves time. This section covers the essential tools and safety gear for the task.
Tools For Installation
- Drill with various drill bits
- Stud finder to locate wall studs
- Screwdrivers, both flathead and Phillips
- Measuring tape for accurate placement
- Level to ensure the microwave is straight
- Wrench or adjustable pliers
- Utility knife for cutting packaging or drywall
- Electrical tape for securing wiring
- Pencil or marker for marking spots
Safety Equipment
- Safety glasses to protect your eyes
- Work gloves to shield your hands
- Dust mask to avoid inhaling particles
- Closed-toe shoes for foot protection
- Hearing protection if using loud power tools
Preparing The Area
Preparing the area for installing a vented microwave oven is key to a smooth and safe setup. Taking the time to clear the space and ensure everything is ready can save you from unexpected delays or hazards. Let’s focus on two crucial tasks that will get your kitchen ready for the new appliance.
Removing Old Appliances
Start by carefully removing any existing microwave or range hood in the installation area. Unplug the appliance and disconnect any venting or electrical connections. If the old unit is heavy, ask for help to avoid injury or damage.
Check the wall and cabinetry for any leftover screws or brackets and remove them. Clean the surface thoroughly to provide a solid, even base for the new microwave. This step helps the new appliance fit perfectly and operate efficiently.
Checking Electrical Connections
Before you install the new microwave, examine the electrical outlet closely. Make sure it matches the power requirements stated in your microwave’s manual. Using the wrong outlet can cause malfunctions or pose safety risks.
Look for any signs of wear or damage on the outlet and wiring. If you notice frayed wires or loose connections, consider hiring a licensed electrician to fix these issues. A secure and compatible electrical connection is essential for your microwave’s performance and your peace of mind.
Credit: www.maytag.com
Mounting The Microwave
Mounting the microwave is a key part of the installation process. It needs to be safe and secure. The microwave should sit firmly on the wall or cabinet. Proper mounting prevents accidents and ensures the vent works well. Follow clear steps to install the mounting bracket and secure the microwave properly.
Installing The Mounting Bracket
Find the studs in the wall using a stud finder. Mark the spots where the bracket will attach. Hold the mounting bracket against the wall or cabinet. Use a level to keep it straight. Drill pilot holes at the marked points. Secure the bracket with heavy-duty screws. The bracket must hold the microwave’s weight. Check the bracket for any movement before proceeding.
Securing The Microwave
Lift the microwave carefully and align it with the mounting bracket. Most microwaves have hooks or slots that fit the bracket. Slide the microwave into place until it clicks or locks. Open the microwave door and find the screws underneath. Use these screws to attach the microwave firmly to the cabinet or wall. Tighten all screws to avoid wobbling. Test the microwave by gently shaking it. It should feel stable and secure before finishing.
Connecting The Ventilation
Connecting the ventilation is a key part of installing a vented microwave oven. It ensures that cooking smoke, steam, and odors leave your kitchen efficiently. Proper ventilation keeps the air fresh and prevents damage to walls and cabinets. Follow the steps carefully to attach the vent duct and ensure proper airflow.
Attaching The Vent Duct
Start by selecting the right vent duct size that matches your microwave’s outlet. Usually, a 3 or 4-inch round duct works best. Use metal duct tape to secure the duct to the microwave’s vent collar. Avoid using screws that can block airflow inside the duct.
Connect the other end of the duct to the wall or ceiling vent. Seal all joints tightly with duct tape or clamps. This prevents air leaks and maintains strong ventilation. Make sure the duct runs straight without sharp bends or kinks.
Ensuring Proper Airflow
Check the duct path for any obstacles or blockages. Clear any debris or dust from the vent opening. A smooth airflow path improves the microwave’s performance and reduces noise. Use insulated ducting if the vent runs through unheated spaces to prevent condensation.
Test the ventilation by turning on the microwave’s fan. You should feel a strong pull of air at the vent outside. If airflow feels weak, recheck all connections and duct layout. Proper airflow keeps your kitchen clean and comfortable during cooking.
Final Checks And Testing
After installing your vented microwave oven, the final checks and testing are crucial to ensure everything works smoothly and safely. This step confirms that your appliance functions as intended and that the venting system effectively removes smoke and odors. Taking the time to thoroughly test your microwave and inspect the vent will save you headaches later on.
Testing Microwave Functions
Start by plugging in your microwave and powering it on. Test basic functions like heating, defrosting, and timer settings to make sure each feature operates correctly.
Try heating a cup of water for one minute. If it heats evenly and the timer counts down properly, your microwave is working well.
Listen carefully for unusual noises or vibrations that might signal installation issues. Also, check the door seal by closing and opening it several times to ensure it fits tightly and safely.
Inspecting Vent Operation
Turn on the vent fan to check its operation. You should feel a steady airflow from the vent or see the vent hood’s light turn on if your model includes one.
Place a small piece of tissue paper near the vent opening. If it holds steady or is drawn toward the vent, the airflow is effective. This simple test confirms your vent is pulling air properly.
Look for any unusual sounds or vibrations from the vent. These could indicate loose parts or blockages that need addressing before regular use.
Have you noticed any lingering smells or smoke when using your microwave? If so, the vent might not be working efficiently, and you should recheck the duct connections or clean the vent filters.
Common Installation Issues
Installing a vented microwave oven can be straightforward, but some common issues tend to trip up even experienced DIYers. These problems often relate to ventilation efficiency and electrical connections. Identifying these issues early can save you time, money, and frustration.
Troubleshooting Vent Problems
One frequent challenge is poor airflow. This usually happens when the vent duct is too long, has too many bends, or is obstructed.
Check for these signs:
- Excessive smoke or odors lingering after cooking
- Unusual noise from the vent fan
- Visible damage or blockages in the duct
Using a rigid metal duct instead of flexible foil duct can improve airflow. Also, ensure the vent hood matches the duct size exactly. Have you measured the duct length and bends before installing? Keeping it short and straight makes a big difference.
Addressing Electrical Concerns
Electrical issues can cause your microwave to malfunction or not power on at all. Confirm that the outlet is grounded and matches the microwave’s power requirements.
Look out for these electrical red flags:
- Frequent tripping of circuit breakers
- Microwave sparks or smells burning
- Loose or exposed wiring behind the unit
Always turn off power before checking connections. If you notice any damaged wiring, replace it immediately. Have you tested the outlet with another appliance to ensure it works correctly? Sometimes the problem lies outside the microwave itself.
Frequently Asked Questions
How Do I Install A Vented Microwave Oven?
To install, first measure the space and check ventilation requirements. Mount the microwave securely, connect the vent duct, and plug it in. Follow the manufacturer’s instructions for venting options like recirculating or external exhaust.
What Tools Are Needed For Microwave Installation?
You’ll need a drill, screwdriver, measuring tape, level, and vent ducting materials. Safety gear like gloves and goggles is recommended. Having these tools ready ensures a smooth, efficient installation process.
Can I Install A Vented Microwave Without Professional Help?
Yes, if you have basic DIY skills and follow the instructions carefully. Ensure proper venting to avoid smoke or odor issues. However, hiring a professional is safer for complex ductwork or electrical connections.
How To Choose The Right Vent Type For My Microwave?
Choose between recirculating or external venting based on your kitchen layout. External vents expel air outside, while recirculating filters and returns air inside. Check your microwave’s compatibility and local building codes before deciding.
Conclusion
Installing a vented microwave oven improves kitchen air quality. Follow each step carefully to ensure proper setup. Use the right tools and check measurements twice. Secure the microwave firmly to avoid accidents. Test the vent to confirm it works well.
Enjoy cooking with less smoke and odors. A well-installed microwave adds convenience and safety. Take your time and stay patient throughout the process. You’ll feel proud of your new kitchen upgrade. Simple steps lead to great results.