Imagine you’re in your kitchen, ready to heat up a delicious meal, but you notice the clock on your GE microwave oven is showing the wrong time. A misaligned clock can throw off your entire schedule, especially when you’re racing against the clock to get things done.
Setting the clock on your microwave might seem like a small task, but it can make a big difference in keeping your kitchen routine seamless and stress-free. This guide will walk you through the easy steps to set the clock on your GE microwave oven, ensuring you’re always on time for every meal and occasion.
Dive in to discover how a simple adjustment can transform your daily kitchen experience.
Locate The Clock Controls
Locating the clock controls on your GE microwave oven is the first step to setting the correct time. Understanding where these controls are helps you quickly adjust the clock without hassle.
The controls are usually on the front panel of the microwave. This area contains all the buttons you need to operate your microwave, including cooking settings and the clock.
Identify The Control Panel
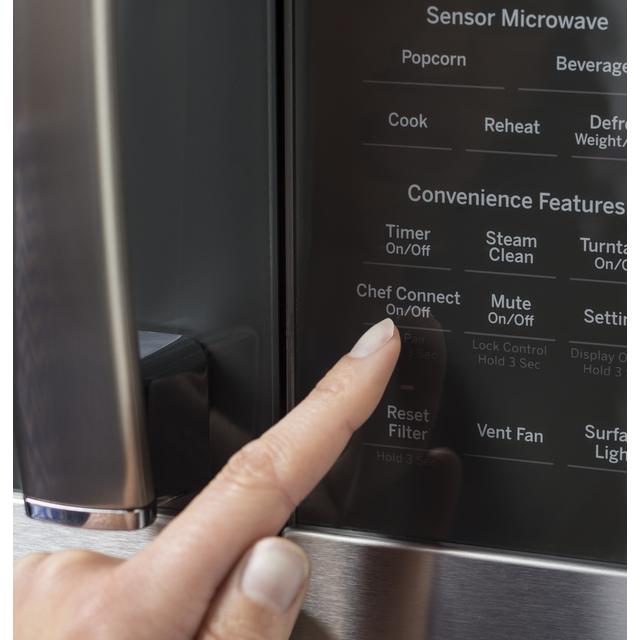
The control panel is the section with buttons and a digital screen. It sits on the front of the microwave, just above or beside the door handle. You will see numbers, cooking options, and other function keys here.
Look for a clear display screen showing the time or cooking settings. This screen confirms you have found the right place to set the clock.
Find The Clock Button
On the control panel, find the button labeled “Clock” or a symbol resembling a clock. This button allows you to enter clock-setting mode.
Some GE microwaves may combine the clock button with other functions. Look carefully for small text near the buttons to find the correct one.
Pressing the clock button prepares the microwave to accept the time input. This step is necessary before entering the correct hour and minutes.

Credit: www.brothersmain.com
Prepare The Microwave For Setting
Getting your GE microwave clock set correctly starts with a little preparation. This ensures the process goes smoothly and avoids confusion from leftover settings. Taking a moment to ready your microwave can save you time and frustration.
Ensure The Microwave Is Powered On
First, check that your microwave is plugged in and the display screen is lit. A powered-off microwave won’t respond to any clock-setting commands. If the screen is blank, try pressing the “Clear/Off” button or check your power outlet.
Have you ever tried setting a clock only to realize the appliance was off? It’s a common oversight that wastes time. Confirming power before you start helps you move forward quickly.
Clear Previous Settings
Before setting the new time, clear any prior clock or timer settings. Press the “Clear/Off” button to reset the display to its default state. This prevents old settings from interfering with your new time input.
Sometimes, leftover settings can cause the microwave to behave oddly during clock setup. Clearing them out is like giving your microwave a fresh start. This simple step avoids confusion and ensures your new time is accurate.
Set The Time
Setting the time on your GE microwave oven is quick and simple. This helps your microwave display the correct time and keeps your kitchen running smoothly. Follow these easy steps to set the clock accurately.
Press The Clock Button
Locate the “Clock” button on the microwave’s control panel. Press it once to start the clock setting mode. The display will begin to blink, showing it is ready for you to enter the time.
Enter The Correct Time
Use the number keypad to type in the current time. Enter the hour and minutes in a four-digit format. For example, for 3:30, press 0 3 3 0. Make sure to use the correct format for AM or PM if your microwave requires it.
Confirm The Setting
After entering the time, press the “Clock” button again to confirm. The blinking will stop, and the display will show the time you set. Your microwave clock is now set and ready to use.

Credit: manuals.plus
Adjust For 12 Or 24 Hour Format
Adjusting your GE microwave oven’s clock between the 12-hour and 24-hour formats lets you tailor the display to your daily routine and preferences. Some people prefer the simplicity of the 24-hour format, especially for meal prep timing, while others stick with the familiar 12-hour clock. Knowing how to check and switch these settings can make your microwave more intuitive to use.
Check The Current Time Format
Before changing anything, first see which time format your microwave is currently using. Look at the clock display on the microwave screen.
- If the time reads something like “3:00” without an AM or PM indicator, it’s likely set to 24-hour format.
- If you see “3:00 PM” or “3:00 AM,” it’s using the 12-hour format.
Knowing this helps you decide if a change is necessary. Have you noticed your microwave showing confusing times during certain parts of the day?
Switch Between Formats
Changing between 12-hour and 24-hour formats on your GE microwave is straightforward but varies slightly by model. Generally, the process involves accessing the clock or settings menu.
- Press the “Clock” or “Settings” button on your microwave.
- Hold down the button or press repeatedly until the time format option appears.
- Use the number pad or arrow keys to toggle between 12-hour and 24-hour formats.
- Press “Start” or “Clock” again to save your preference.
Have you ever struggled with a clock display that didn’t match your usual timekeeping style? Switching formats can prevent that daily frustration and help you track cooking times more accurately.
Troubleshooting Clock Issues
Having trouble setting the clock on your GE microwave? Clock issues can be frustrating, especially when you rely on the timer for cooking precision. Let’s look at common problems and how you can fix them quickly to keep your microwave running smoothly.
Clock Not Responding
If your microwave’s clock isn’t responding when you press the buttons, the first thing to check is whether the control panel is clean and dry. Dirt, grease, or moisture can block the touch sensors and stop them from working properly.
Try gently wiping the control panel with a soft, damp cloth. Avoid harsh cleaners that might damage the surface. If that doesn’t help, unplug the microwave for a minute and then plug it back in to reset the system.
Still no response? The control board might be faulty. At this point, contacting a technician or GE customer support can save you time and guesswork.
Time Reset After Power Outage
Has your microwave clock reset after a power outage? This happens because microwaves don’t have a backup battery to save the time settings.
After a power cut, you’ll need to set the clock again manually. To avoid forgetting, keep a note of the time-setting steps near your microwave. This small trick can save you from repeated frustration.
If power outages happen often in your area, consider plugging your microwave into a surge protector. This won’t keep the clock running during outages, but it can protect your microwave from electrical damage that might cause more serious issues.
Tips For Maintaining Clock Accuracy
Keeping your GE microwave oven clock accurate helps you manage cooking times better. A correct clock prevents confusion and missed reminders. Simple habits improve clock performance and reduce errors. Follow these tips to maintain clock accuracy on your microwave.
Regularly Check The Time
Check the microwave clock daily or weekly. Compare it with a reliable time source like your phone or watch. Adjust the time if you notice any difference. Small errors can grow over days. Fixing time early keeps the clock accurate longer.
Avoid Frequent Power Interruptions
Power outages or unplugging reset the microwave clock. The clock loses its setting and starts from zero. Avoid unplugging the microwave unless necessary. Use a surge protector to protect from sudden power cuts. This helps keep the clock running smoothly without resetting.

Credit: www.espares.co.uk
Frequently Asked Questions
How Do I Set The Clock On A Ge Microwave Oven?
Press the “Clock” or “Time” button on your GE microwave. Use the number pad to enter the current time. Press the “Clock” button again to confirm and start the clock.
Can I Set The Ge Microwave Clock In 24-hour Format?
Most GE microwaves use a 12-hour format by default. Check your microwave’s manual to see if 24-hour clock setting is available. If supported, follow the manual instructions to switch formats.
What If The Ge Microwave Clock Won’t Set?
Ensure the microwave is plugged in properly. Try pressing the “Clear” or “Stop” button before setting the clock again. If it still doesn’t work, consult the user manual or contact GE support.
Why Is The Ge Microwave Clock Resetting Frequently?
Frequent resets may indicate a power interruption or electrical issue. Check your home’s power supply and ensure the microwave is on a stable circuit. Persistent problems may require professional service.
Conclusion
Setting the clock on your GE microwave is simple and quick. Just follow the steps carefully, and you will have the right time in no time. A correctly set clock helps you keep track of cooking times better. This small task improves your kitchen routine.
Now, your microwave is ready to use with the correct time. Keep this guide handy for future reference. Enjoy using your GE microwave with ease and confidence.