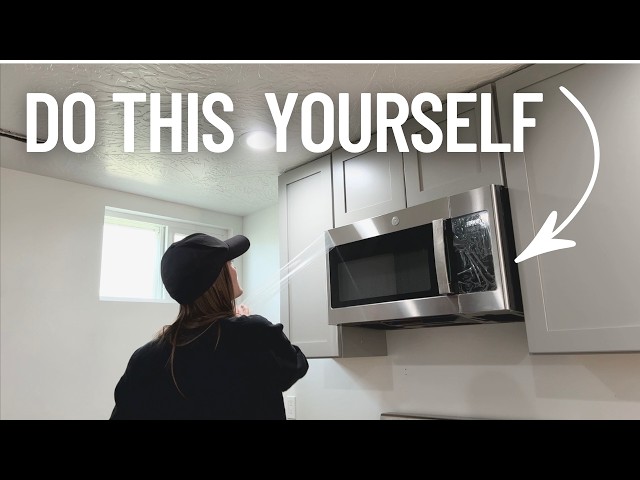
Are you ready to transform your kitchen into a more functional and stylish space? Installing a microwave above your oven can free up counter space, improve efficiency, and give your kitchen a sleek, modern look.
You might think this task is a job for professionals only, but with the right guidance, you can do it yourself. Imagine the satisfaction you’ll feel every time you use your perfectly positioned microwave, knowing you installed it on your own.
In this guide, we’ll walk you through each step, making the process simple and stress-free. Keep reading to discover how you can easily tackle this home improvement project and enjoy the benefits of a well-organized kitchen.
Credit: www.maytag.com
Tools And Materials Needed
Before you start installing a microwave above your oven, gathering the right tools and materials is essential. Having everything ready not only speeds up the process but also keeps you safe and ensures a secure installation.
Think about the last time you had to stop mid-project because you were missing a tool. Avoid that frustration here by preparing ahead.
Essential Tools For Installation
- Drill with Various Bits:You’ll need this for making precise holes in the wall and cabinet.
- Stud Finder:Finding the studs behind your wall is crucial for securely mounting the microwave.
- Level:A level guarantees your microwave sits straight, preventing any awkward angles.
- Screwdrivers:Both Phillips and flathead screwdrivers help with different screws during the mounting process.
- Measuring Tape:Accurate measurements help you position the microwave perfectly above the oven.
- Wrench or Socket Set:Useful for tightening bolts and fasteners firmly.
- Pencil:Marking drill spots and alignment points is easier with a pencil.
Materials You’ll Need
- Mounting Bracket:Usually comes with the microwave, but double-check to ensure it fits your model.
- Anchors and Screws:Use heavy-duty anchors if you can’t mount directly into studs.
- Electrical Cord or Hardwire Kit:Depending on your microwave model and your kitchen’s setup.
- Protective Gear:Gloves and safety glasses protect your hands and eyes during installation.
- Flashlight or Work Light:Good lighting helps you see the small details clearly.
Why Being Prepared Makes A Difference
When I installed my microwave above the oven, I underestimated the need for a stud finder. That mistake led to a shaky mount that needed fixing later.
Don’t let a small oversight like this slow you down. Have the right tools and materials ready before you begin, and your installation will be smoother and safer.
Are you confident your workspace is set up with everything needed? Taking a few extra minutes to double-check will save you hours down the line.

Credit: www.maytag.com
Choose The Right Microwave
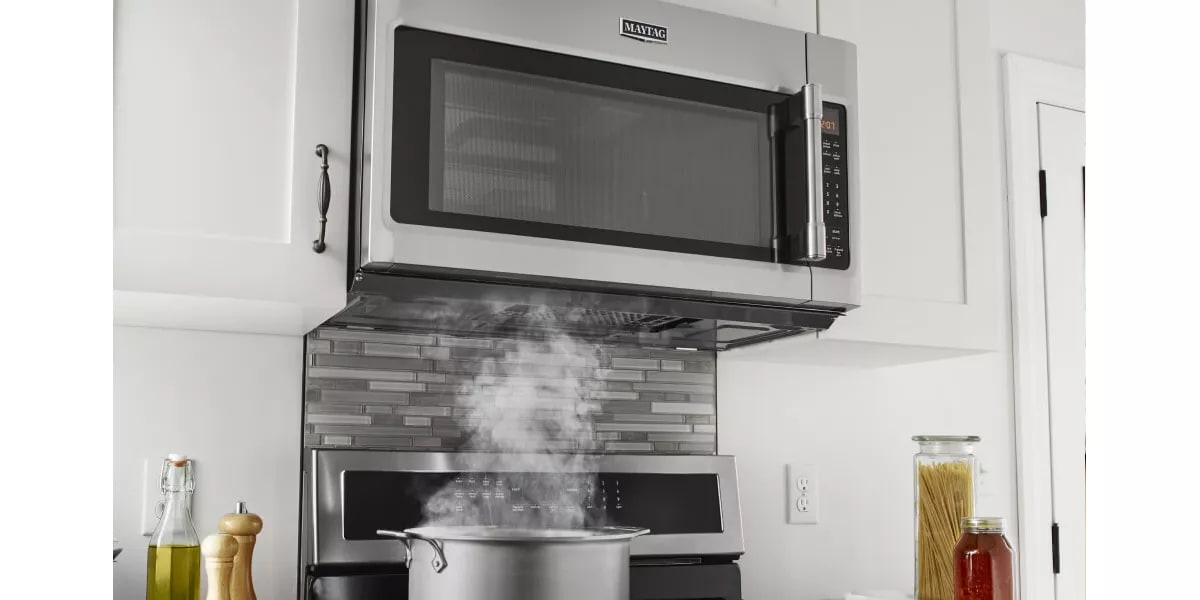
Choosing the right microwave is key for a safe and efficient installation above your oven. The perfect microwave fits well in the space and meets your cooking needs. It should also work with your kitchen’s venting system for proper airflow.
Check Size And Weight
Measure the space above your oven carefully before buying a microwave. The microwave must fit without blocking cupboards or other appliances.
Consider the microwave’s weight. It should not be too heavy for the mounting area. Most overhead microwaves come with weight guidelines in the manual.
Look at the microwave’s dimensions:
- Width
- Height
- Depth
Compare these with the space available. A snug fit ensures stability and good appearance.
Consider Venting Options
Microwaves above ovens often have built-in ventilation. Check if the microwave vents outwards or recirculates air.
External venting is best. It removes smoke and odors outside the house.
Recirculating vents use filters to clean the air. They are easier to install but need filter replacements.
Match the microwave vent type with your kitchen setup. Proper venting prevents heat and grease buildup.
Prepare The Installation Area
Preparing the installation area is a key step before mounting a microwave above your oven. A clean and measured space ensures the microwave fits well and works safely. Take time to clear the area and check all necessary connections. This helps avoid problems later and makes the installation smoother.
Measure Space Above Oven
Start by measuring the width, height, and depth of the space above the oven. Use a tape measure for accuracy. Write down these dimensions. Compare them with the microwave’s size. Make sure there is enough room for ventilation. Leave extra space for air to flow. This prevents overheating and keeps your microwave safe.
Ensure Proper Electrical Outlet
Check for an electrical outlet near the installation area. The outlet should match the microwave’s power needs. Use a grounded outlet for safety. Avoid using extension cords or adapters. If the outlet is too far, consider hiring an electrician to install a new one. Make sure the power source is reliable and meets local electrical codes.
Install Mounting Bracket
Installing the mounting bracket is a key step in placing a microwave above the oven. It holds the microwave securely to the wall and prevents accidents. The bracket must be strong and properly aligned to support the appliance’s weight. Follow these steps carefully to ensure a safe and stable setup.
Locate Studs
Studs are vertical wooden beams inside the wall. They provide the best support for heavy items like a microwave. Use a stud finder to locate them behind the drywall. Mark each stud location with a pencil. Ensure the marks are level so the bracket will sit straight. Avoid attaching the bracket only to drywall, as it won’t hold the microwave securely.
Secure Bracket Firmly
Place the mounting bracket against the wall, aligning it with the stud marks. Use a level to check that the bracket is perfectly horizontal. Drill pilot holes through the bracket holes and into the studs. Insert strong screws into the pilot holes and tighten them. The bracket should feel solid with no movement. Double-check all screws are tight before hanging the microwave.
Mount The Microwave
Mounting the microwave above your oven is a key step that requires careful handling and precision. This part of the installation ensures your microwave is secure and functions properly. Taking your time here can prevent future problems like vibrations or misalignment.
Lift Microwave Safely
Before lifting, make sure you have a clear path and enough space to move comfortably. Microwaves can be bulky and heavy, so it’s best to have a helper. Gripping the microwave firmly on both sides helps maintain control and balance.
Use your legs, not your back, to lift the microwave to avoid injury. If you’ve ever tried lifting something awkward alone, you know how quickly it can slip or cause strain. Don’t rush—steady and careful movements reduce the risk of dropping or damaging the unit.
Align And Attach Microwave
Once you have the microwave lifted, position it carefully onto the mounting bracket. Check that the screw holes on the microwave line up perfectly with the bracket slots. Misalignment here can cause the microwave to hang unevenly or even fall.
Use a level to ensure the microwave sits straight. Then, secure it using the provided screws, tightening them firmly but not excessively. Over-tightening can strip the screws or damage the microwave’s frame.
Have you noticed how a slight tilt in appliances can make a whole kitchen look off? Taking a moment to align your microwave properly keeps your space neat and functional.
Connect Electrical Components
Connecting the electrical components is a crucial step in installing a microwave above an oven. Proper connection ensures the microwave works safely and efficiently. It requires careful handling to avoid any electrical hazards.
Before plugging in, double-check the power source and wiring. Make sure the outlet can handle the microwave’s power needs. Secure connections prevent power interruptions and potential damage.
Plug In Microwave
Locate the dedicated power outlet behind or near the microwave. Use the microwave’s power cord to plug it in securely. Avoid using extension cords or adapters, as they can cause electrical issues.
Ensure the plug fits tightly and the outlet is grounded. This reduces the risk of electrical shocks or short circuits. Keep the cord away from heat sources and water.
Check Power Functionality
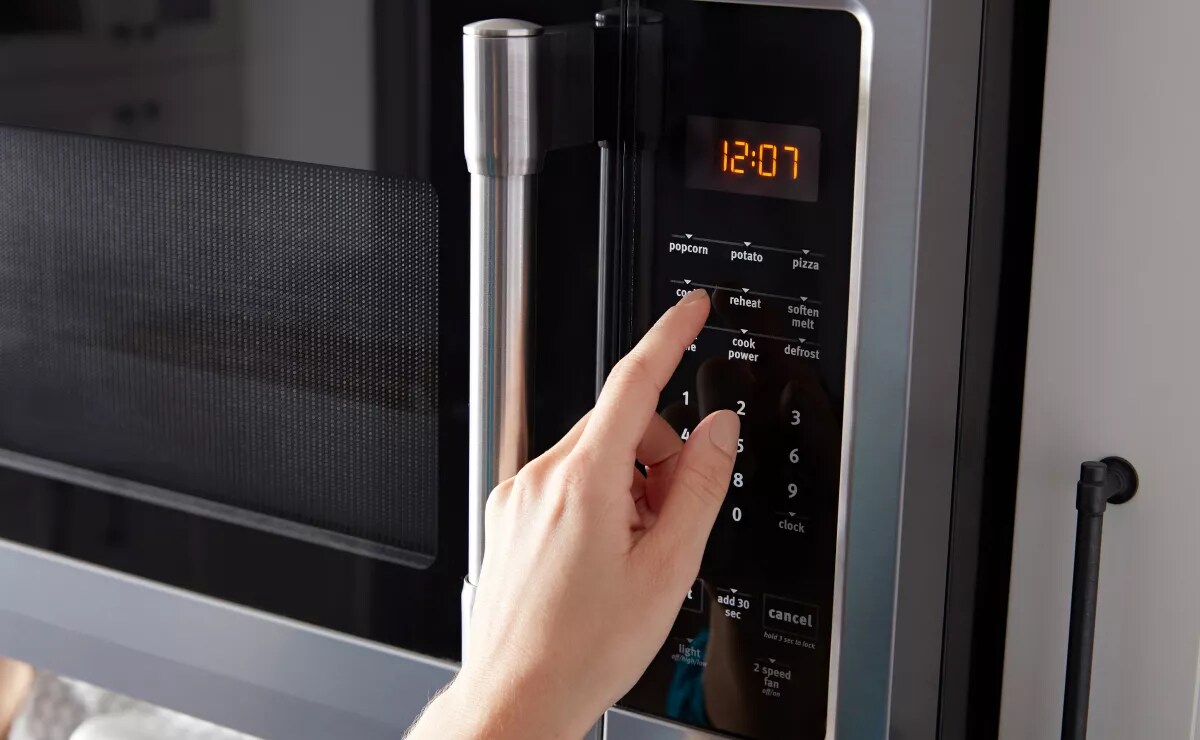
Switch on the microwave to verify it powers up correctly. Look for lights or sounds indicating it is working. Test basic functions like the keypad and display.
If the microwave does not turn on, unplug it and check the outlet with another device. Confirm the circuit breaker is not tripped. Fix any power problems before proceeding.
Test And Adjust
After mounting your microwave above the oven, the crucial phase is to test and adjust. This step ensures everything functions safely and smoothly. It’s your chance to catch any issues before the installation is fully complete.
Test Microwave Operation
Start by plugging in the microwave and turning it on. Check if the display lights up clearly and the buttons respond instantly. Run a simple test by heating a cup of water for one minute.
Listen carefully for any unusual noises during operation. Is the turntable spinning evenly without wobbling? If the microwave shuts off unexpectedly or doesn’t heat properly, it signals a problem that needs fixing.
Don’t forget to test the exhaust fan and light, if your model includes these. Do they activate when you press their respective buttons? Confirming these features work adds to your kitchen’s safety and convenience.
Make Final Adjustments
If you notice the microwave is slightly off-center or the door doesn’t close flush, it’s time to tweak the mounting brackets. Loosen the screws just enough to shift the unit, then tighten them securely.
Check the alignment between the microwave and the oven below. Is there a consistent gap all around? Uneven spacing can affect both look and function.
Consider the ventilation too. Is the exhaust unobstructed and directing air correctly? Adjust the vent cover or reposition the microwave slightly if needed to ensure optimal airflow.
Have you ever ignored a small misalignment only to regret it later? Taking these final moments to perfect your setup saves headaches down the road. Your microwave should feel like it was made for your kitchen, not just placed there.
Safety Tips
Installing a microwave above the oven requires careful attention to safety. This area combines heat and electrical components, so safety is critical. Following key safety tips helps prevent accidents and damage. Keep these points in mind during installation and daily use.
Check Electrical Requirements
Verify the microwave’s power needs and the outlet’s capacity. Use a dedicated circuit for the microwave to avoid overload. Ensure the outlet is grounded properly. Avoid extension cords or adapters.
Secure Proper Ventilation
Microwaves need space to release heat safely. Confirm there is enough clearance around the unit. Blocked vents can cause overheating and damage. Follow the manufacturer’s ventilation guidelines strictly.
Use Strong Mounting Hardware
Select brackets and screws rated for microwave weight. Attach them to wall studs or solid framing. Avoid drywall anchors alone. Double-check all fasteners for tightness after installation.
Maintain Safe Distance From Oven Heat
Keep the microwave away from direct oven heat sources. Heat can weaken mounting hardware or damage the microwave. Use heat shields if necessary. Monitor both appliances during use to catch issues early.
Test Stability Before Use
Gently shake the microwave to confirm it is secure. It should not wobble or shift. Check stability regularly over time. A loose microwave risks falling and injury.
Follow Manufacturer Instructions
Read the installation manual carefully. Follow all safety warnings and guidelines. Use only recommended parts and tools. Manufacturer instructions are tailored for each model’s safety.
Credit: www.maytag.com
Frequently Asked Questions
How Do I Safely Install A Microwave Above An Oven?
First, ensure the microwave is compatible with above-oven mounting. Use a sturdy mounting bracket and secure it into wall studs. Follow the manufacturer’s instructions carefully. Keep proper clearance around the microwave to avoid heat damage and ensure ventilation.
What Tools Are Needed To Install Microwave Above Oven?
You will need a drill, stud finder, screwdriver, level, measuring tape, and mounting brackets. Safety goggles and gloves are also recommended. Having all tools ready before starting makes the installation process easier and faster.
Can I Install Any Microwave Above My Oven?
Not all microwaves are designed for above-oven installation. Check the microwave’s specifications for over-the-range compatibility. It must have proper ventilation features and fit the space above your oven safely.
How High Should Microwave Be Installed Above Oven?
Install the microwave about 13 to 18 inches above the cooking surface. This distance provides enough clearance for heat and safe operation. Always follow your microwave manufacturer’s height recommendations for best results.
Conclusion
Installing a microwave above your oven can save space and improve kitchen flow. Follow safety steps carefully to avoid problems. Measure twice and check all connections before starting work. Take your time to secure the microwave firmly. This setup keeps your kitchen neat and your appliances easy to use.
With patience and care, the job is simple and rewarding. Enjoy your new kitchen arrangement and its added convenience.