Have you ever wondered if you’re storing your flower bulbs correctly? If you’re like most gardening enthusiasts, you want to ensure your bulbs are perfectly preserved for the next planting season.
Storing bulbs in the refrigerator might just be the game-changer you need. Imagine your garden blooming with vibrant colors, all because you mastered the art of bulb storage. This simple method can save you time, money, and disappointment. Ready to unlock the secrets to keeping your bulbs fresh and ready to plant?
Dive into the following tips and tricks to learn how to do it right, and watch your garden thrive like never before.
Choosing Bulbs For Storage
Choosing the right bulbs for refrigeration is crucial to ensure they stay healthy and ready to bloom when planted. Not all bulbs respond well to cold storage, so knowing which types to pick can save you time and effort. Let’s explore which bulbs are suitable and how to spot ones that will thrive in your fridge.
Types Suitable For Refrigeration
Some bulbs need a cold period to break dormancy and bloom beautifully. Tulips, daffodils, hyacinths, and crocuses are among the most common bulbs that benefit from refrigeration. These bulbs mimic winter’s chill, helping them bloom indoors or when planted outside.
On the other hand, bulbs like gladiolus, dahlias, and lilies do not require refrigeration. Storing these in the fridge may cause damage or decay. If you’re unsure about a bulb, check the packaging or ask your local nursery for advice.
Signs Of Healthy Bulbs
Healthy bulbs feel firm and heavy for their size. Avoid bulbs that are soft, shriveled, or have visible mold or dark spots. These signs often indicate rot or disease, which won’t improve with cold storage.
Look for bulbs with intact outer layers and no signs of sprouting before storage. Bulbs showing early shoots might not survive the cold well and could waste your effort. Have you ever stored bulbs only to find them mushy or moldy later? Picking healthy bulbs first can prevent this frustration.
Preparing Bulbs For The Fridge
Preparing bulbs for the fridge is a crucial step to ensure they stay healthy and ready to grow when planted. Proper preparation helps prevent mold, rot, and premature sprouting. Taking the time to clean and trim your bulbs correctly can extend their storage life significantly.
Cleaning And Drying Techniques
Start by gently brushing off any loose soil from the bulbs. Avoid washing them with water unless absolutely necessary, as excess moisture can cause rot during storage. If you do rinse, make sure to dry the bulbs thoroughly by placing them in a warm, airy spot for a few days.
Good airflow is essential. You can spread the bulbs out on newspaper or a mesh screen to help them dry evenly. Have you noticed how damp bulbs tend to shrivel or mold quickly? That’s why drying is non-negotiable before refrigeration.
Trimming And Treating Bulbs
Trim off any dead or damaged roots and foliage using clean scissors or pruners. This reduces the risk of disease spreading while in storage. Be careful not to cut too deep into the bulb’s flesh, which can lead to infections.
Consider dusting the bulbs with a fungicide or a natural alternative like cinnamon powder. This step can protect your bulbs from fungal infections during their cold storage. Have you tried this simple trick before? It often makes a noticeable difference in bulb health.
Best Storage Conditions
Storing bulbs in the refrigerator requires attention to specific conditions to keep them healthy and ready for planting. The right environment slows down premature sprouting and prevents rot. Understanding these conditions helps you maintain your bulbs in the best shape until it’s time to plant them.
Ideal Temperature Range
Bulbs need a cool, consistent temperature to stay dormant. Aim for a temperature between 35°F and 45°F (2°C to 7°C). Temperatures below freezing can damage the bulbs, while warmer temperatures may cause early sprouting.
Have you ever placed bulbs in your fridge only to find them sprouted too soon? Keeping them in this narrow range helps avoid that problem and preserves their vitality.
Humidity Control
Maintaining proper humidity is just as important as temperature. Bulbs prefer a slightly humid environment, around 70% humidity, to prevent drying out. Too much moisture can cause mold or rot, so balance is key.
One tip is to place a damp paper towel inside the container with the bulbs. This adds moisture without making the bulbs wet. Do you notice your bulbs shriveling? That’s a sign the air is too dry.
Proper Container Selection
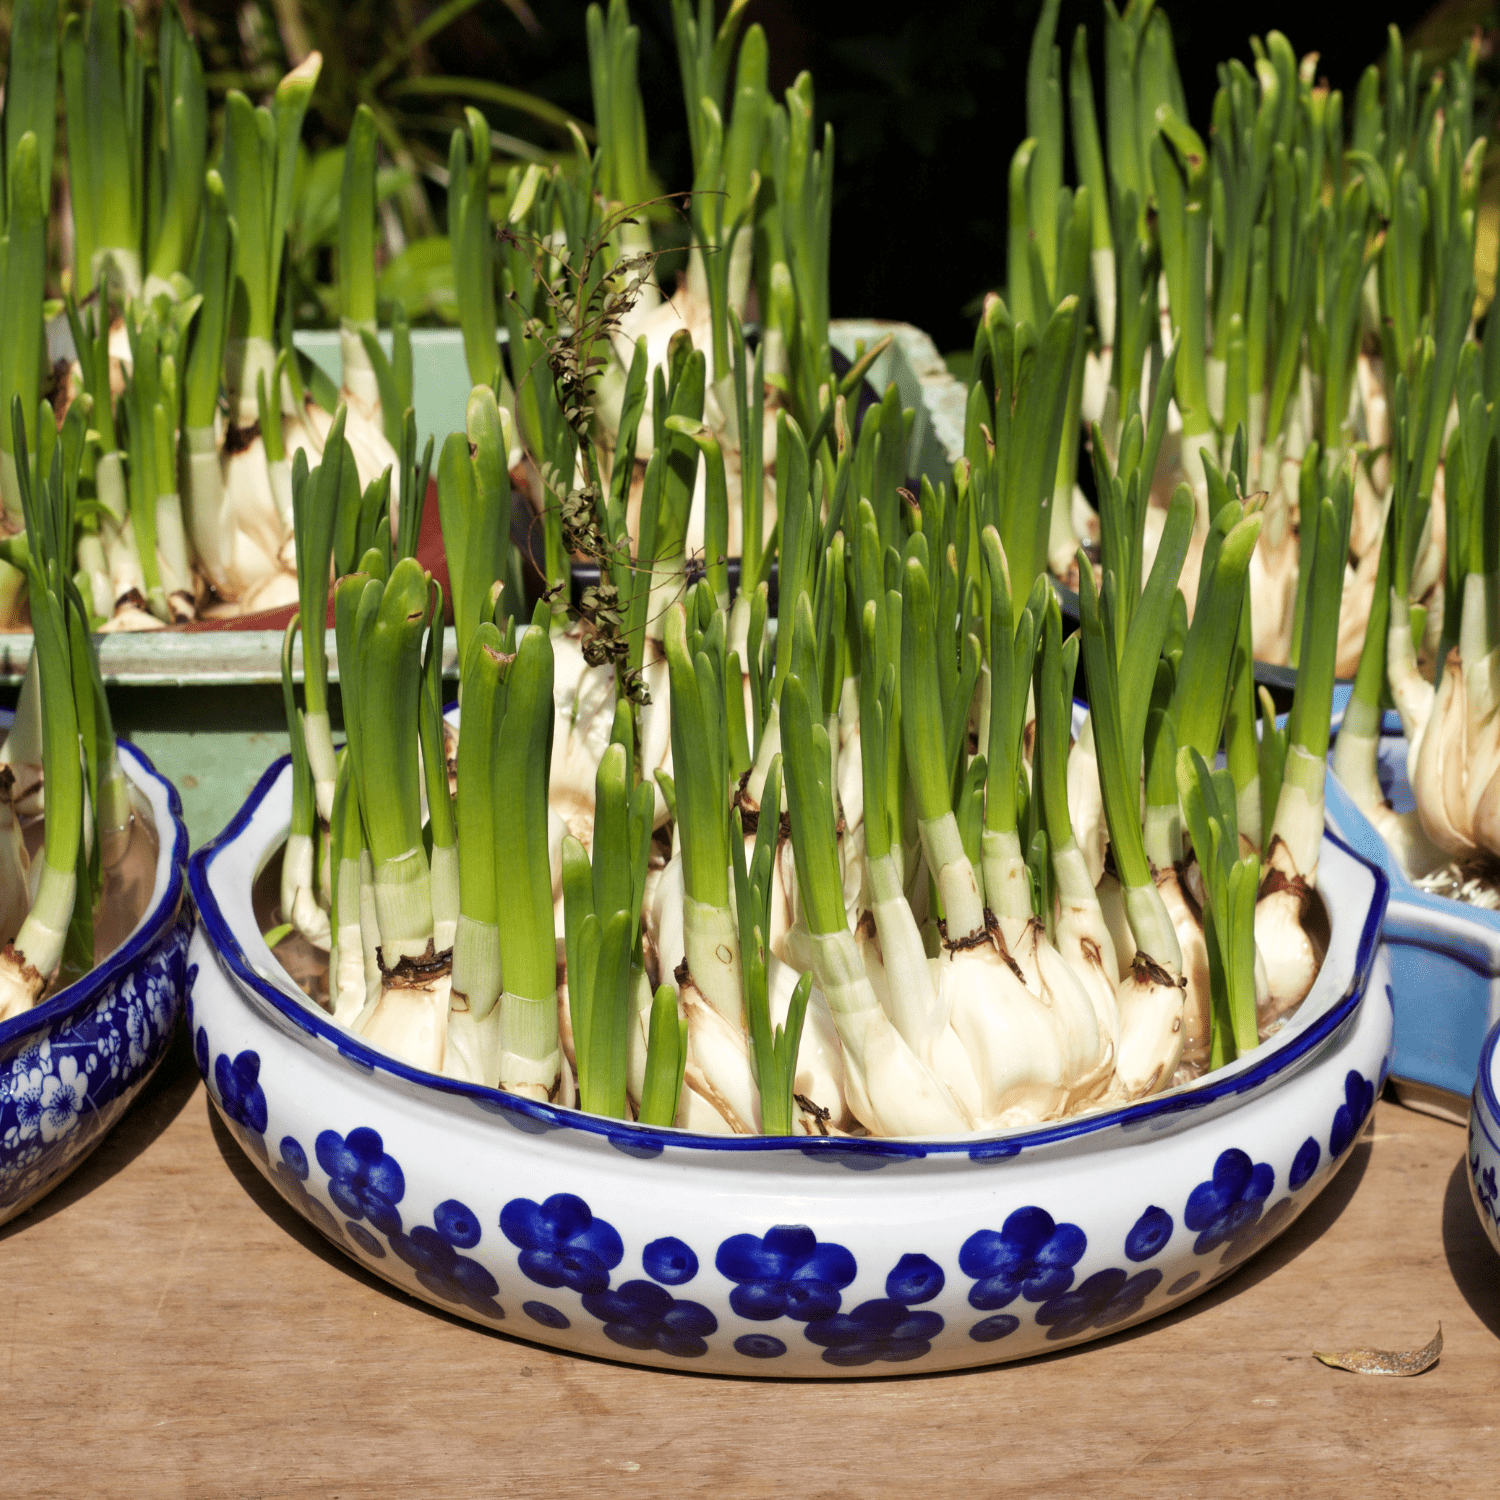
The container you choose plays a crucial role in storage success. Use breathable containers like paper bags, mesh bags, or cardboard boxes. These allow air circulation, which reduces moisture buildup and mold risk.
Plastic bags may trap too much moisture unless you poke holes for ventilation. Remember, the goal is to keep bulbs dry but not dehydrated. Have you tried different containers? You might find that simple paper bags work best for your fridge setup.
Credit: dutchflowerbulbs.com
Packaging Methods
Proper packaging plays a crucial role in keeping your bulbs healthy and ready to grow after refrigeration. The right materials allow air circulation while protecting bulbs from moisture and pests. Let’s look at some effective ways to package bulbs for fridge storage that you can easily try at home.
Using Paper And Mesh Bags
Paper and mesh bags are excellent choices because they let your bulbs breathe. This airflow prevents mold and rot, which often happen when bulbs are wrapped too tightly.
Try placing bulbs in a paper bag or a mesh produce bag. Both options keep moisture balanced and allow you to see the bulbs without opening the bag. I once stored tulip bulbs in mesh bags and noticed they stayed firm and fresh much longer than those wrapped in plastic.
Avoiding Plastic Wrap
Plastic wrap traps moisture, creating a damp environment that can cause bulbs to rot or sprout prematurely. It might seem like a good idea to seal bulbs tightly, but it often does more harm than good.
Instead of plastic, opt for breathable packaging. If you’ve used plastic before and ended up with mushy bulbs, consider switching to paper or mesh bags to improve bulb health during storage.
Labeling Tips
Labeling your bulbs is just as important as packaging. Write down the bulb type and the date you placed them in the fridge to keep track of storage time.
Use waterproof markers on paper tags or attach small labels to mesh bags. This simple step saves you from guessing later and helps plan your planting schedule efficiently. Have you ever lost track of bulbs and forgotten their variety? Clear labels fix that problem instantly.
Common Storage Mistakes
Storing bulbs in the refrigerator can help preserve them for planting. Avoiding common mistakes ensures bulbs stay healthy and ready to grow. Many gardeners make errors that cause bulbs to rot or dry out.
Overcrowding Bulbs
Packing bulbs too tightly blocks air circulation. Poor airflow causes moisture buildup and mold growth. Bulbs need space to breathe in the fridge. Use shallow containers or paper bags with holes. Keep bulbs separated to prevent damage and decay.
Ignoring Moisture Levels
Too much moisture leads to bulb rot quickly. Too little moisture dries bulbs out and weakens them. Keep bulbs in a slightly damp environment, not wet. Use paper towels or peat moss to control moisture. Check humidity in the storage area regularly.
Failing To Check Regularly
Bulbs can spoil even in the fridge. Rot and mold can develop unnoticed without checks. Inspect bulbs every few weeks for softness or discoloration. Remove any damaged bulbs immediately to protect others. Regular checks keep bulbs fresh and healthy.

Credit: www.gardeningknowhow.com
Monitoring Bulbs During Storage
Monitoring bulbs during storage is vital for keeping them healthy. Regular checks help catch problems early. This prevents rot and mold from spreading. It also ensures bulbs stay ready for planting.
Store bulbs in a cool, dark place like a refrigerator. But do not forget to check them often. Look for any changes in color, texture, or smell. These signs tell you if bulbs need attention or removal.
Signs Of Rot Or Mold
- Soft, mushy spots on the bulb surface
- Discoloration such as dark brown or black patches
- White or gray fuzzy growth on the bulb
- Unpleasant, sour, or musty odor
- Bulbs feeling lighter or shriveled than usual
Any of these signs show the bulbs are unhealthy. Rot and mold can spread quickly to nearby bulbs.
When To Remove Damaged Bulbs
- Immediately take out bulbs with mold or rot
- Remove bulbs that smell bad or feel soft
- Discard bulbs with large dark spots or shriveled skin
- Do not try to save heavily damaged bulbs
- Check the remaining bulbs carefully after removal
Removing damaged bulbs stops infection spread. It keeps the rest safe for planting season.
Preparing Bulbs For Planting
Preparing bulbs for planting is essential for a strong and healthy garden. Proper care before planting helps bulbs grow roots and sprout well. It also reduces the risk of disease and improves blooming.
Good preparation starts by understanding your bulb type and its needs. Some bulbs need cold treatment, while others prefer warmth. Getting this right ensures bulbs wake up at the right time.
Warming Up Bulbs
Bulbs stored in the refrigerator need warming before planting. Cold bulbs can shock the soil and slow growth. Take bulbs out of the fridge about one week before planting.
Keep them in a warm, dry place. Room temperature around 60-70°F (15-21°C) works well. This helps bulbs soften and prepare for root growth.
Avoid direct sunlight or heat, which can dry bulbs too fast. Let them rest in a shaded area with good air circulation.
Pre-planting Treatments
Before planting, check bulbs for damage or mold. Remove any soft or rotten parts carefully with a clean knife.
- Soak bulbs in water for a few hours to rehydrate, especially if they look dry.
- Use a mild fungicide solution to prevent fungal infections.
- Let bulbs dry thoroughly after soaking or treatment.
These steps help bulbs stay healthy and ready to grow. Healthy bulbs give better blooms and stronger plants.
Credit: www.homedepot.com
Frequently Asked Questions
How Should I Prepare Bulbs Before Refrigeration?
Clean bulbs gently to remove soil without washing. Dry them completely to prevent mold. Wrap bulbs in paper towels or place in a breathable bag before refrigerating.
What Is The Ideal Temperature To Store Bulbs In Fridge?
Keep bulbs at 35-50°F (2-10°C). Avoid freezing temperatures as they damage bulbs. Maintain consistent coolness for best preservation.
How Long Can Bulbs Stay Fresh In The Refrigerator?
Most bulbs last 4-6 weeks refrigerated. Some may store longer if conditions are perfect. Check bulbs regularly for signs of rot or sprouting.
Can All Types Of Bulbs Be Refrigerated Safely?
Not all bulbs require refrigeration. Hardy bulbs like tulips, daffodils, and hyacinths benefit most. Avoid refrigerating tropical bulbs as it may harm them.
Conclusion
Storing bulbs in the refrigerator helps keep them fresh longer. Keep bulbs dry and in a paper bag or container. Check them often for any signs of mold or rot. Avoid placing bulbs near fruits that release ethylene gas. Proper storage ensures healthy plants in the next growing season.
Simple steps make a big difference in bulb care. Your bulbs will be ready to grow strong and beautiful. This easy method saves bulbs through cold months. Try it and watch your garden thrive.