
Imagine being able to keep your favorite foods fresh for weeks instead of days. With a Foodsaver vacuum sealer, you can do just that.
This handy kitchen gadget is a game-changer for anyone who loves food but hates waste. Have you ever thrown away leftovers or watched helplessly as your fresh produce wilted before you could enjoy it? If so, you’re not alone. Many people struggle with food spoilage, but there’s a simple solution.
By learning how to use a Foodsaver vacuum sealer, you can extend the life of your food, save money, and reduce waste. Curious about how it works? You’ll discover the straightforward steps to mastering your vacuum sealer. Whether you’re a seasoned chef or a kitchen novice, you’ll find this tool surprisingly easy to use. Get ready to say goodbye to freezer burn and hello to perfectly preserved meals. Stick around and uncover how this small investment can make a big impact on your kitchen efficiency.

Credit: www.homehardware.ca
Choosing The Right Foodsaver Model
Choosing the right Foodsaver model is key to effective food storage. Different models offer unique features. Picking one that fits your needs makes sealing easier. Consider your kitchen space, usage frequency, and the types of food you store.
Popular Models Compared
| Model | Size | Features | Best For |
|---|---|---|---|
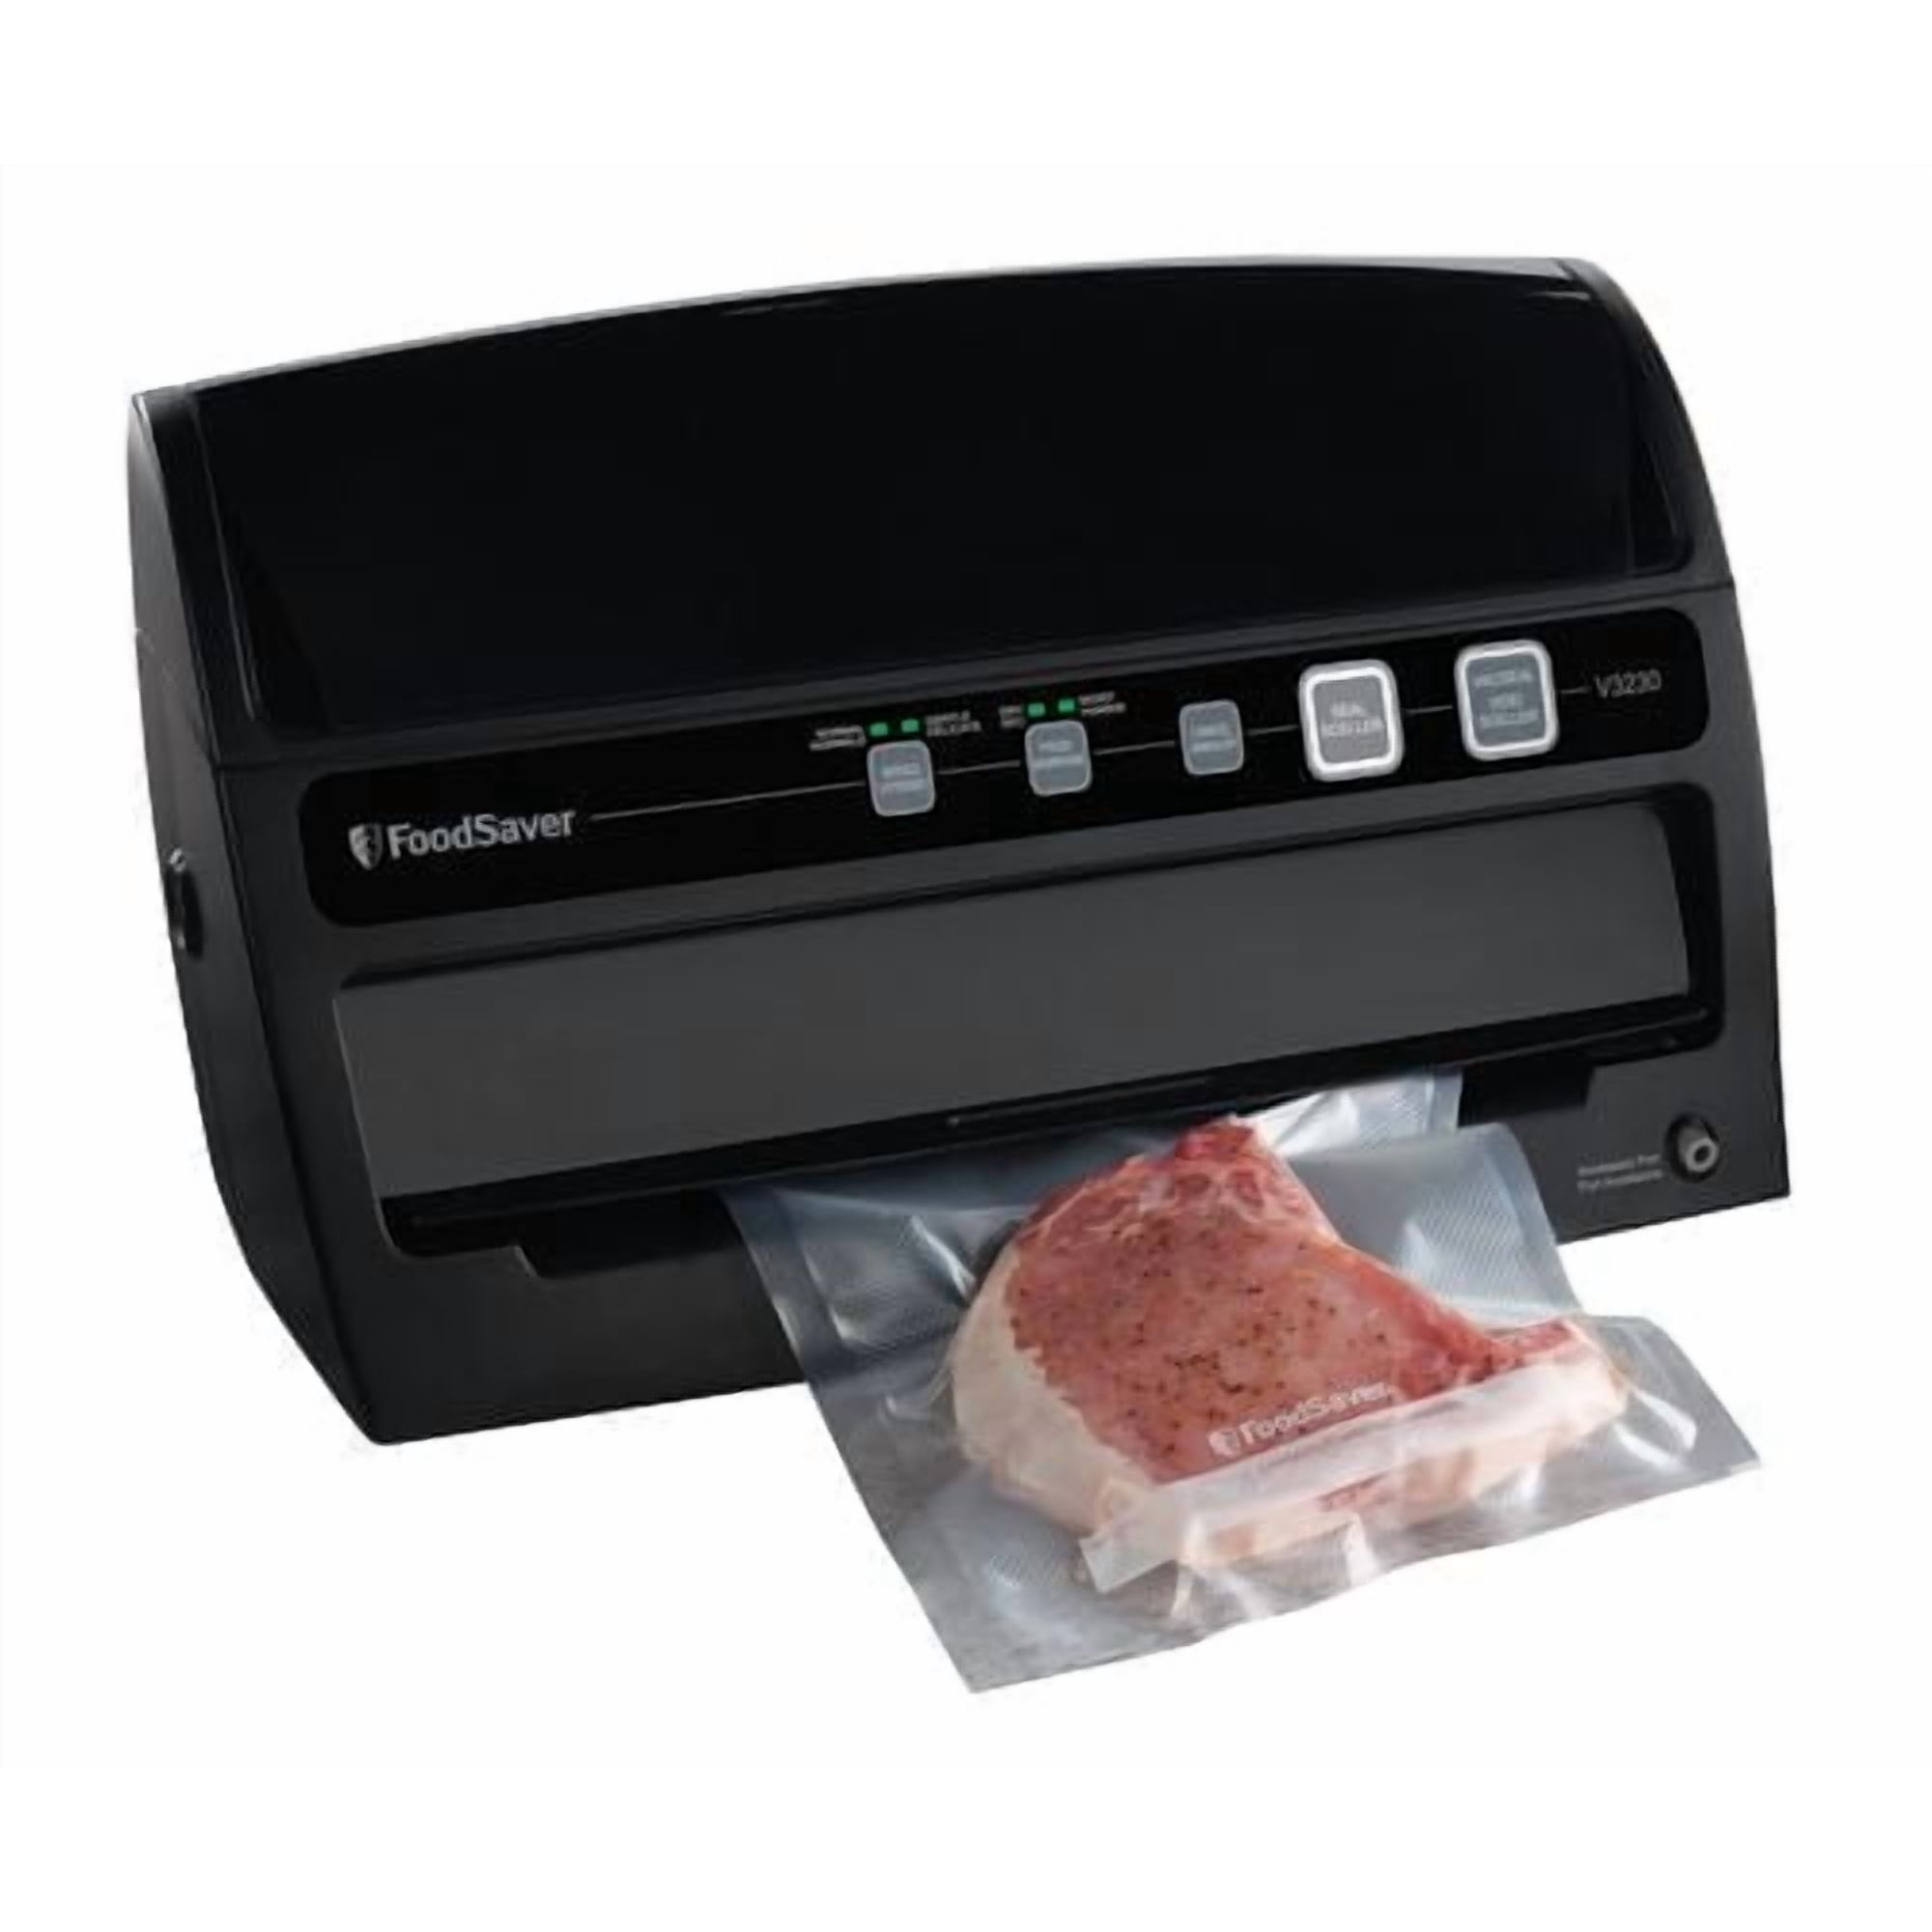
| Foodsaver V4840 | Compact | Automatic sealing, built-in roll storage | Daily use, small kitchens |
| Foodsaver FM2000 | Medium | Manual sealing, simple controls | Budget-friendly, occasional use |
| Foodsaver V2860 | Large | Pulse vacuum, accessory port | Heavy use, bulk storage |
Features To Look For
- Automatic vs. manual sealing options
- Built-in roll storage and cutter
- Accessory ports for jars and containers
- Pulse vacuum for delicate foods
- Size and portability
- Ease of cleaning and maintenance
Budget Considerations
Foodsaver models vary in price from budget to premium. Basic models cost less and suit light use. Advanced models offer more features but cost more. Choose a model that meets your needs without overspending. Think about long-term savings from reduced food waste.
Credit: www.smithsfoodanddrug.com
Setting Up Your Vacuum Sealer
Setting up your Foodsaver vacuum sealer correctly ensures the best performance. Proper setup makes sealing food easier and keeps food fresher longer. Follow simple steps to get your device ready for use quickly.
Unboxing And Assembly
Open the box carefully and check all parts. Your package should include the vacuum sealer, power cord, sealing bags, and user manual. Remove all protective films on the machine and accessories.
Place the vacuum sealer on a flat surface. Attach any removable parts, such as the drip tray or accessory hose. Confirm the sealing strip is clean and free of debris for a strong seal.
Power And Placement Tips
Plug the vacuum sealer into a nearby power outlet. Avoid using extension cords to maintain full power. Keep the machine away from water or heat sources to prevent damage.
Choose a spot with enough room around the sealer for bag placement. Ensure good ventilation for the motor during use. Keep the area clean to avoid dust inside the machine.
Essential Accessories
- Vacuum sealer bags or rolls: Use only compatible bags for best sealing.
- Accessory hose: Useful for sealing jars or containers.
- Bag cutter: Helps create custom-sized bags from rolls.
- Drip tray: Catches liquids during sealing to keep the machine clean.
Having these accessories ready improves your sealing experience. Replace or restock bags as needed to avoid interruptions.
Preparing Food For Sealing
Preparing your food correctly before sealing is key to getting the best results with your Foodsaver vacuum sealer. Proper preparation not only helps maintain the food’s freshness but also prevents damage during sealing. How you clean, portion, and handle different types of food can make a big difference in the longevity and quality of your sealed items.
Cleaning And Drying Tips
Always start by cleaning your food thoroughly. Dirt, bacteria, and moisture can cause spoilage even inside a vacuum-sealed bag.
Dry your food completely before sealing. Excess moisture can interfere with the sealing process and lead to freezer burn or mold.
Have you noticed how wet bags sometimes fail to seal properly? Patting your food dry with paper towels can solve that issue quickly.
Portioning And Packaging
Divide food into portions that match how you plan to use them later. Smaller portions freeze faster and thaw more evenly.
Use bags or rolls designed for vacuum sealing to avoid punctures. Make sure the edges are clean and free of crumbs before sealing.
Consider labeling each package with the date and contents. This simple habit saves time and reduces food waste.
Handling Liquids And Delicate Items
Liquids can be tricky with vacuum sealers. Freeze broths or sauces in ice cube trays first to avoid spills during sealing.
Delicate items like berries or soft cheeses need extra care. Freeze them briefly on a tray before sealing to keep their shape intact.
Have you tried double-bagging fragile foods? It adds protection and prevents air from sneaking in around soft textures.
Operating The Vacuum Sealer
Operating a Foodsaver vacuum sealer is simple and saves food for longer. This device removes air and seals bags tightly. Proper use keeps food fresh and prevents freezer burn. Follow clear steps to get the best results. Knowing different modes helps seal various foods correctly. Troubleshooting common issues saves time and frustration.
Step-by-step Sealing Process
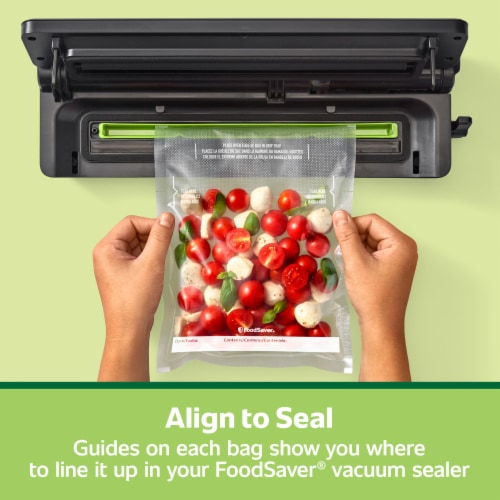
- Place food inside a Foodsaver bag or roll.
- Align the open end of the bag with the sealer’s edge.
- Close the lid securely until it locks in place.
- Press the vacuum and seal button to start.
- The machine removes air and seals the bag automatically.
- Wait for the indicator light or sound to show completion.
- Open the lid and remove the sealed bag carefully.
Using Different Modes
Foodsaver machines offer modes for various food types. Dry mode works best for solid, non-moist foods like nuts. Moist mode handles juicy or wet foods like meat and fruits. Gentle mode seals soft or delicate items without crushing them. Choose the right mode by pressing the mode button before sealing. This ensures a strong seal without damaging food.
Troubleshooting Common Issues
- Bag not sealing:Check if the sealing strip is clean and dry.
- Vacuum fails to remove air:Ensure the bag is correctly placed and no wrinkles block the seal.
- Machine stops mid-cycle:Unplug and plug the machine back in, then try again.
- Seal is weak or broken:Run the seal cycle again or try a new bag.
- Too much moisture:Use paper towels inside the bag to absorb excess liquid.
Maximizing Food Freshness
Maximizing food freshness with a Foodsaver vacuum sealer is more than just sealing bags; it’s about understanding how to store your food properly to keep it fresh longer. The way you prepare, seal, and store food impacts taste, texture, and nutrition. Let’s dive into practical tips that help you get the best results from your vacuum sealer.
Proper Storage Techniques
Start by choosing the right bag size—too much extra space can let air in, while a bag that’s too tight might not seal properly. Before sealing, remove excess air by pressing the bag gently, then let the Foodsaver do the final vacuum. Label your bags with the date and contents; this small step prevents guesswork later.
Organize sealed bags flat in your freezer or fridge to save space and help food freeze evenly. Avoid overfilling bags, especially with liquids, as they can interfere with the sealing process. Do you ever wonder why some vacuum-sealed items still spoil quickly? It often comes down to how you handle the food before sealing.
Freezing Vs Refrigerating
Vacuum sealing extends freshness in both the fridge and freezer, but the two environments serve different purposes. Use refrigeration for foods you plan to eat within a week, like fresh meats or cut vegetables. Vacuum sealing slows down spoilage by reducing oxygen exposure but doesn’t stop bacterial growth entirely.
Freezing with a vacuum sealer is ideal for long-term storage. It prevents freezer burn by eliminating air pockets around your food. Think about sealing soups or marinated meats in portion sizes before freezing—they thaw quickly and stay flavorful. Have you tried freezing berries this way? They maintain texture better than in regular freezer bags.
Shelf Life Expectations
| Food Type | Refrigerated (Vacuum Sealed) | Frozen (Vacuum Sealed) |
|---|---|---|
| Raw Meat | 1-2 weeks | 2-3 years |
| Cooked Meat | 1-2 weeks | 1-2 years |
| Vegetables | 1-2 weeks | 2-3 years |
| Cheese | 4-8 weeks | 6 months |
These timelines give you a realistic idea of how long vacuum-sealed foods last, but always check for signs of spoilage. Vacuum sealing slows down spoilage but doesn’t make food immune to bacteria or mold. How often do you check your stored food? Regular checks can save you from unpleasant surprises.
Maintenance And Care
Proper maintenance and care of your Foodsaver vacuum sealer ensure it works efficiently and lasts longer. Regular upkeep helps avoid common issues like poor sealing or machine jams. Taking a few minutes after each use can save you frustration and extend the life of your device.
Cleaning The Unit
Always unplug your Foodsaver before cleaning. Use a damp cloth to wipe the exterior and the sealing strip gently. Avoid harsh chemicals that can damage the machine’s surface or internal parts.
Remove any food residue or liquid spills immediately to prevent buildup. Pay close attention to the sealing area, as crumbs or moisture can affect the vacuum’s performance. If your model has a removable drip tray, take it out and wash it with warm, soapy water regularly.
Replacing Bags And Rolls
Use only Foodsaver-approved bags and rolls for the best results. When loading a new roll, ensure it feeds smoothly without wrinkles to avoid weak seals. Check the expiration dates on pre-cut bags, as older bags can become brittle and fail during sealing.
If you notice the seals aren’t holding well, try changing the bag or roll first. Sometimes, the issue is as simple as worn-out or incompatible materials. Keep spare bags handy so you’re never caught off guard during your food preservation projects.
Extending Machine Lifespan
Think about how you use your vacuum sealer: frequent heavy use demands more attention to maintenance. Don’t force the lid closed if it feels stuck; this can damage the locking mechanism. Instead, inspect for obstructions or debris that might be blocking proper closure.
Store your Foodsaver in a dry, cool place when not in use. Avoid leaving it plugged in for long periods without use, as this can wear down electrical components. Have you noticed your machine’s suction getting weaker? It might be time to check the seals, clean the unit thoroughly, or consult the manual for troubleshooting tips.
Creative Uses Beyond Food
Foodsaver vacuum sealers do more than just keep food fresh. They offer creative ways to save time and stay organized. Using vacuum sealing for tasks beyond food storage adds value to your kitchen and home. It helps with marinating, cooking, and even organizing items you use daily.
Marinating With Vacuum Sealing
Vacuum sealing speeds up the marinating process. The sealed bag forces the marinade into the food quickly. This intensifies flavor in less time. You can marinate meats, vegetables, and tofu effectively. The sealed environment prevents spills and messes.
Sous Vide Cooking Prep
Vacuum sealing is perfect for sous vide cooking. It locks in juices and flavors while cooking evenly. Seal your food with seasonings and herbs before cooking. The airtight bag protects food from water exposure. This method keeps texture and taste intact.
Organizing Non-food Items
Vacuum sealers help organize non-food items efficiently. Store important documents, jewelry, or electronics safely. The sealed bags protect items from dust and moisture. You can also save space in drawers and closets. This method keeps belongings clean and easy to find.
Credit: www.walmart.ca
Frequently Asked Questions
How Do I Prepare Food For Foodsaver Vacuum Sealing?
Clean and dry food before sealing. Cut large items into smaller portions. Use freezer-safe bags for best results. Remove excess air to prevent freezer burn. Label bags with dates to track freshness.
Can Foodsaver Vacuum Seal Liquids Or Soups?
Yes, but freeze liquids first. Solidify them to avoid mess. Use a vacuum seal bag or container designed for liquids. This ensures a strong seal and prevents spills during sealing.
How Long Does Vacuum-sealed Food Last In The Freezer?
Vacuum-sealed food lasts 2-3 times longer than regular storage. Meat can last up to 2-3 years. Vegetables and fruits stay fresh for 1-2 years. Always check for spoilage before use.
Is It Safe To Vacuum Seal Cooked Meals?
Yes, vacuum sealing cooked meals is safe. Cool food completely before sealing. Store sealed meals in the refrigerator or freezer. This preserves flavor and extends shelf life effectively.
Conclusion
Using a Foodsaver vacuum sealer saves food longer and reduces waste. It keeps flavors fresh and stops freezer burn. Seal meats, fruits, vegetables, and leftovers with ease. Follow simple steps to get the best results every time. This tool helps you save money and eat better food.
Try it today and enjoy fresher meals daily.