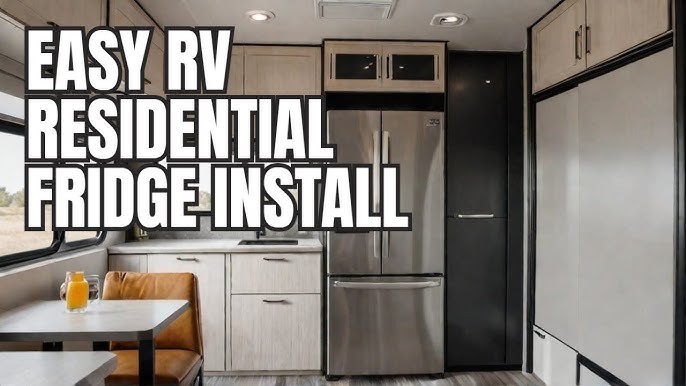
Are you planning a road trip and need to install an RV refrigerator? This task may seem daunting, but with the right guidance, it’s simpler than you think.
Imagine having all your favorite snacks and meals perfectly chilled while you explore the open road. By mastering this installation, you not only enhance your RV experience but also gain the freedom to travel without worrying about spoiled food. Curious about how to make this a reality?
Follow along, and you’ll discover each step needed to successfully install an RV refrigerator, ensuring your adventures are as comfortable and convenient as possible.
Credit: blog.campingworld.com
Choose The Right Refrigerator
Choosing the right refrigerator is key for your RV’s comfort and efficiency. The right fridge saves space and energy. It also fits well with your travel needs. Picking carefully ensures you enjoy fresh food and drinks on the road.
Types Suitable For Rvs
RV refrigerators come in various types. Each has pros and cons. Consider these popular options:
- Absorption Refrigerators:Use propane, electric, or both. Quiet and common in RVs. Works well without power.
- Compressor Refrigerators:Like home fridges. Uses electricity only. Cools faster and uses less energy.
- Thermoelectric Refrigerators:Small and light. Best for small spaces and short trips.
Think about your power sources and how long you stay off-grid. This helps pick the best fridge type.
Measuring Your Space
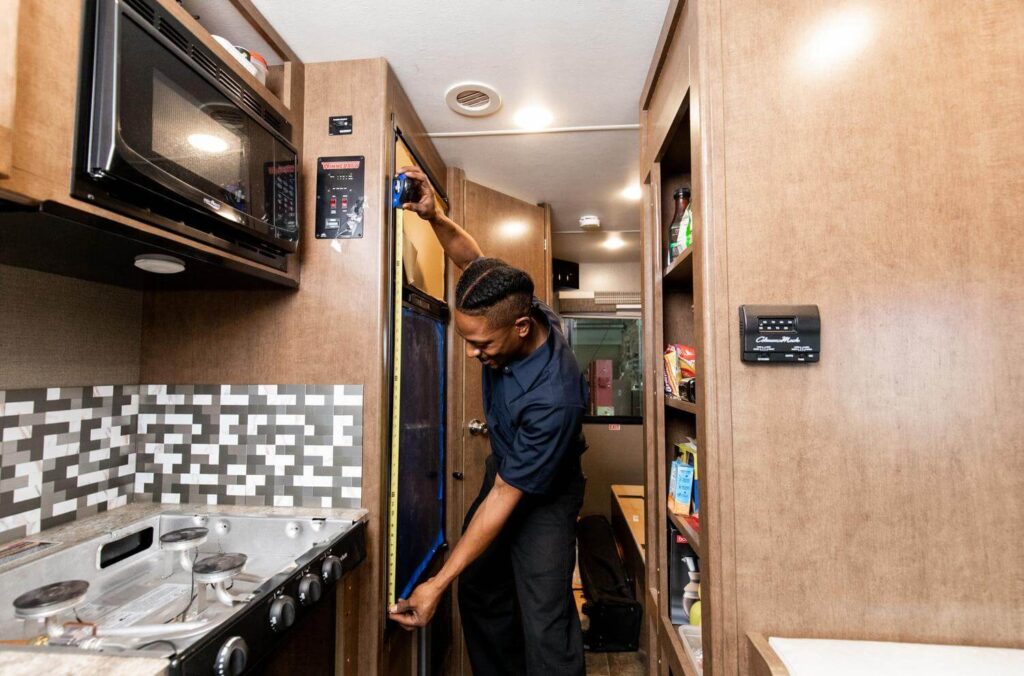
Measure the space where the fridge will go. Include height, width, and depth. Don’t forget door clearance.
Write down your measurements. Check the fridge dimensions before buying. A wrong size fridge causes problems with installation.
Also, think about ventilation space. Proper airflow keeps your fridge working well and lasting longer.
Gather Necessary Tools
Before you dive into installing your RV refrigerator, gathering the right tools is crucial. Having everything on hand saves time and helps avoid frustration mid-installation. It also ensures you handle the fridge safely and correctly, protecting both your RV and the appliance.
Essential Tools List
Start by collecting a set of basic hand tools that are versatile and reliable. Here’s a checklist to keep nearby:
- Screwdrivers:Both Phillips and flathead for different screws.
- Wrenches:Adjustable or a set of combination wrenches for tightening bolts.
- Drill:Cordless drills with drill bits for making mounting holes.
- Level:To ensure your fridge is perfectly horizontal, which is key for proper operation.
- Measuring Tape:To double-check dimensions and clearances.
- Utility Knife:For cutting insulation or sealing materials.
- Wire Stripper and Crimper:If your fridge requires electrical connections.
Missing one of these can slow you down or cause mistakes that affect the fridge’s performance. Think about your past projects—did you ever regret not having a specific tool? This is the time to avoid that.
Safety Gear
Safety is often overlooked but never optional. Before handling electrical parts or heavy components, equip yourself properly.
- Gloves:Protect your hands from sharp edges and hot surfaces.
- Safety Glasses:Shield your eyes from flying debris or accidental sparks.
- Dust Mask:Useful if you’re cutting materials that create dust or fumes.
- Non-slip Shoes:Prevent slipping in your workspace, especially inside the RV.
Wearing safety gear can feel like an extra step, but ask yourself: is risking injury worth saving a few minutes? Having the right protection will give you confidence and keep the job stress-free.
Prepare The Installation Area
Preparing the installation area is vital for a smooth RV refrigerator setup. Clear, clean, and check the space before installing. This ensures safety and proper function of the fridge.
Clean And Clear The Space
Remove all items from the installation area. Dust and dirt can affect the refrigerator’s performance. Wipe down surfaces with a damp cloth to remove grime. Ensure the area is dry before placing the refrigerator. Check for any damages or mold that might cause problems later.
Check Electrical And Gas Connections
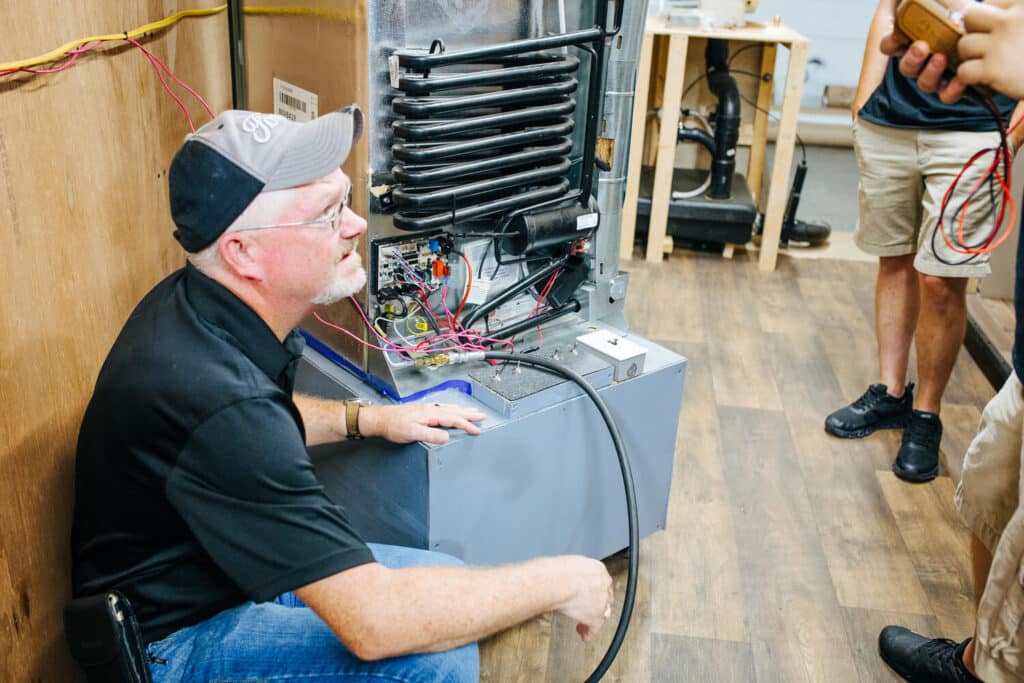
Inspect the electrical outlet for proper voltage and grounding. Use a multimeter to verify power stability. For gas refrigerators, examine gas lines for leaks or damage. Make sure connections are secure and comply with safety codes. Turn off power and gas supply before starting installation.
Credit: blog.campingworld.com
Remove The Old Refrigerator
Removing the old refrigerator from your RV is the first step to installing a new one. It requires careful handling to avoid damage. Disconnecting power and gas sources is crucial for safety. Then, the unit must be removed without harming the RV’s interior.
Disconnect Power And Gas
Start by unplugging the refrigerator from the electrical outlet. Check for a 12-volt DC power connection and disconnect it as well. Turn off the gas supply valve to the refrigerator. This prevents leaks and hazards during removal. Wait a few minutes to ensure all power is off.
Safely Remove The Unit
Open the refrigerator door and remove all shelves or drawers. This makes the unit lighter and easier to handle. Loosen the screws or bolts holding the refrigerator in place. Gently pull the refrigerator out from its compartment. Use a helper to avoid injury or damage. Keep the unit upright to protect internal parts.
Install The New Refrigerator
Installing your new RV refrigerator is a critical step that ensures your appliance works efficiently and fits perfectly within your space. This process requires careful attention to positioning and securing the unit to avoid damage and maintain safety while on the road. Let’s look at how to properly install the new refrigerator in your RV.
Positioning The Unit
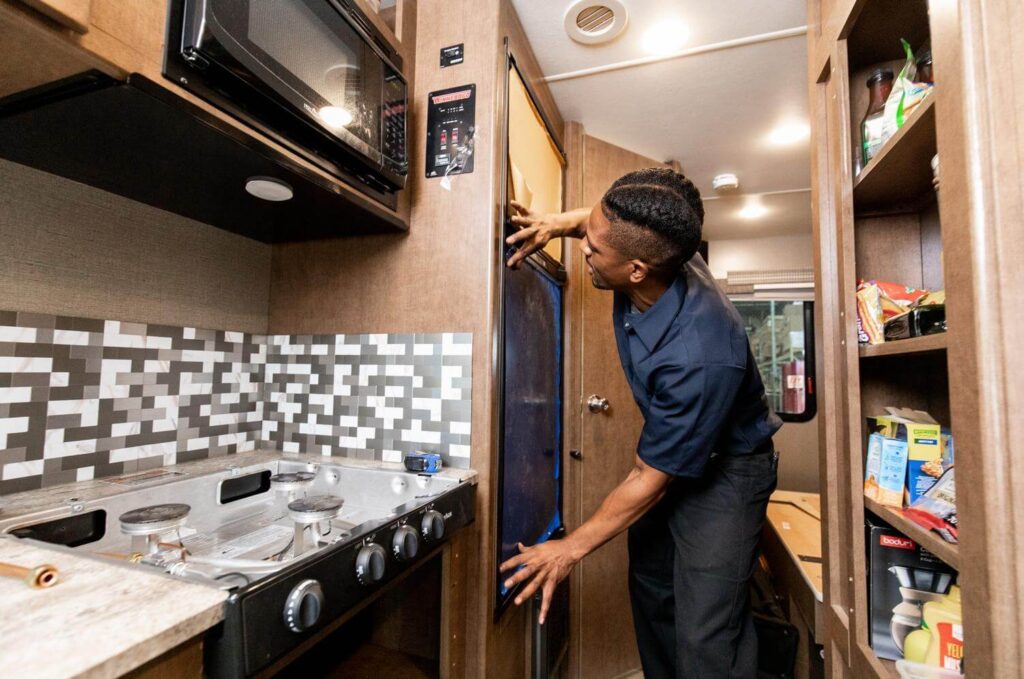
Start by measuring the space where the refrigerator will go. Your new fridge should slide in smoothly without forcing it, as tight fits can damage the appliance or your RV walls.
Make sure the unit is level. An uneven fridge can cause cooling problems or mechanical issues over time. You can use a small spirit level to check this easily.
Also, leave some space around the refrigerator for ventilation. Many RV refrigerators need at least an inch of clearance on all sides to prevent overheating.
Securing The Refrigerator
Once positioned, secure the fridge so it doesn’t move while driving. Use mounting brackets or straps specifically designed for your model to hold it firmly in place.
Check the manufacturer’s instructions for the recommended securing points. Improper securing can lead to rattling noises or even damage during travel.
Don’t forget to connect the power and gas lines safely. Double-check all connections before turning on the refrigerator to avoid leaks or electrical issues.
Credit: blog.campingworld.com
Connect Power And Gas Lines
Connecting the power and gas lines is a vital step when installing an RV refrigerator. Proper connections ensure the fridge runs efficiently and safely. Always follow safety guidelines and double-check each connection. This process involves linking the electrical supply and attaching the gas line securely. Testing for leaks is also essential to avoid hazards.
Electrical Hookup
Begin by turning off the RV’s main power supply. Locate the refrigerator’s electrical cord and plug it into the designated 120V AC outlet. Ensure the outlet is grounded to prevent electrical shocks. Use a voltage tester to confirm the power source is active. Avoid using extension cords for a safer connection. Secure the wiring to prevent loose contacts. Check the refrigerator’s manual for specific electrical requirements.
Gas Connection And Leak Test
Attach the gas line to the refrigerator’s gas inlet using a compatible fitting. Tighten the connection with a wrench but avoid over-tightening. Open the RV’s main gas valve slowly. Apply a soap and water solution around the joint to detect leaks. Look for bubbles, which indicate gas escaping. If bubbles appear, tighten the connection again and retest. Never use a flame to check for leaks. Once no bubbles form, the gas line is safe to use.
Test The Refrigerator
Testing the RV refrigerator after installation ensures it works correctly and safely. This step checks if the unit cools properly and runs without issues. Follow these simple actions to confirm your refrigerator functions well and keeps your food fresh.
Start-up Procedures
Turn on the refrigerator using the control panel. Select the power source: propane, electric, or both. Make sure the propane tank is open if using gas. Listen for the sound of the compressor or the burner igniting. Check the display or indicator lights for error codes. Let the refrigerator run for at least 30 minutes during start-up. Avoid opening the door during this time to keep temperature steady.
Check Cooling Performance
After start-up, place a thermometer inside the fridge compartment. Wait a few hours to allow the temperature to stabilize. The fridge should reach between 35°F and 40°F (1.6°C to 4.4°C). Check the freezer section if your model has one; it should be near 0°F (-18°C). If temperatures are too high or low, adjust the thermostat. Listen for unusual noises that may indicate a problem. Ensure the fridge door seals tightly to maintain cooling efficiency.
Maintenance Tips
Proper maintenance keeps your RV refrigerator working well and lasts longer. Small daily actions prevent big problems later. Clean and check your fridge regularly. Act quickly if you spot issues. This saves money and hassle on the road.
Regular Cleaning
Clean the inside of your RV refrigerator often. Remove all food and shelves first. Use a soft cloth with mild soap and warm water. Avoid harsh chemicals that can damage surfaces.
Wipe down door seals to stop leaks and keep cold air in. Dry everything well before putting shelves and food back inside. Keep the outside vents free from dust and dirt. This helps the fridge cool better.
Troubleshooting Common Issues
If your RV fridge is not cooling, check the power source first. Make sure the propane tank is full and the valve is open. Inspect the battery and electrical connections for tightness and cleanliness.
Listen for unusual noises like buzzing or clicking. These can signal a problem with the compressor or fan. Clean the condenser coils to improve cooling performance. If the fridge smells bad, clean it thoroughly and check for spoiled food.
For frost buildup, defrost the fridge manually. Avoid using sharp tools to scrape ice. If problems persist, consult the user manual or a professional technician for help.
Frequently Asked Questions
How Do I Prepare My Rv For Refrigerator Installation?
First, turn off all power sources. Remove old refrigerator carefully. Clean the installation area. Check for proper ventilation and electrical connections.
What Tools Are Needed To Install An Rv Refrigerator?
You need a screwdriver, drill, measuring tape, level, and wrench. Also, have sealant and electrical tape handy for secure installation.
How To Connect The Rv Refrigerator To Power Sources?
Connect the refrigerator to a 12V DC or 120V AC power source. Follow the manufacturer’s wiring diagram for safe and correct connections.
Can I Install An Rv Refrigerator Myself?
Yes, with basic tools and instructions, you can install it. Ensure you follow safety guidelines and manufacturer steps carefully.
Conclusion
Installing an RV refrigerator is easier with clear steps. Take time to measure and fit the space well. Connect power and gas carefully for safe use. Check for leaks and test the fridge after setup. Keep the area clean and ventilated for best results.
A properly installed fridge keeps food fresh on your trips. Follow instructions closely to avoid common mistakes. Enjoy cool drinks and meals wherever your RV goes. Simple steps lead to a working fridge in your RV.