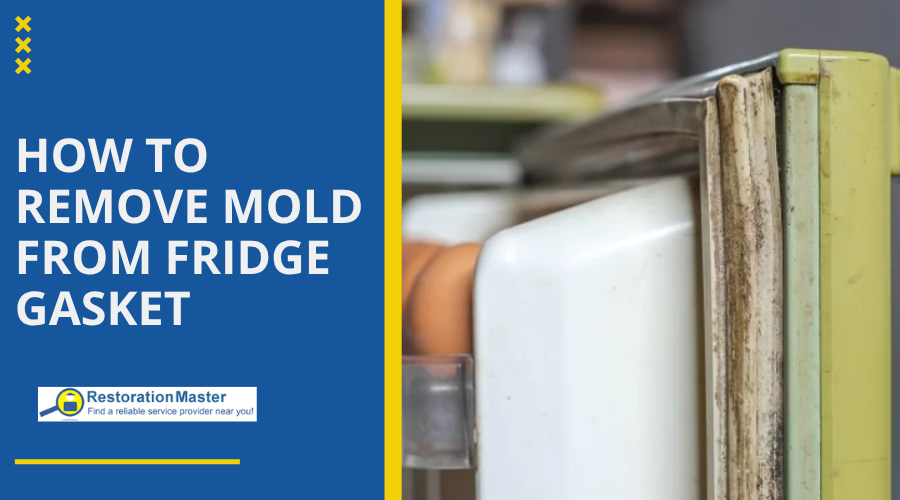
Is your refrigerator seal looking less than fresh? Mold on refrigerator seals isn’t just unsightly; it can also affect your health and the efficiency of your fridge.
You deserve a clean, safe space for your food, and tackling that mold is easier than you might think. With just a few simple steps, you can restore your refrigerator seal to its pristine condition. Imagine the satisfaction of opening your fridge to find a spotless seal and fresher air.
Stay with us to discover how you can achieve this with minimal effort, using tools and ingredients you likely already have at home. Your kitchen’s cleanliness is about to get a major upgrade, and it starts right here.
Signs Of Mold On Refrigerator Seals
Noticing mold on your refrigerator seal can be tricky at first. The signs might be subtle, but catching them early makes cleaning easier and prevents bigger problems. Knowing what to look for helps you keep your fridge fresh and your food safe.
Common Mold Locations
Mold often hides where moisture collects and airflow is limited. The rubber gasket around your refrigerator door is a prime spot because it stays damp and is rarely cleaned thoroughly.
- Check the folds and crevices of the seal where mold can sneak in unnoticed.
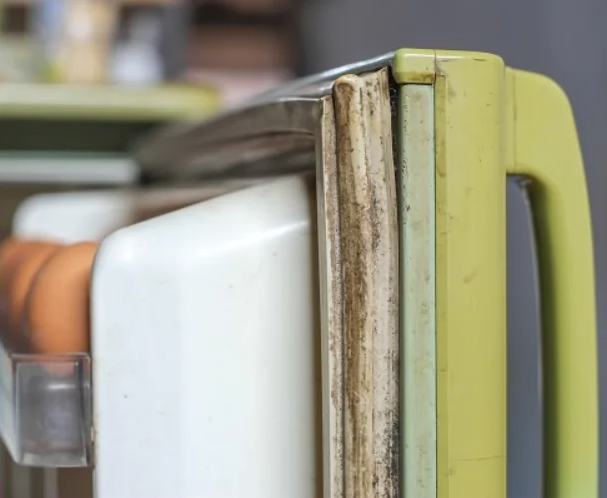
- Look for black, green, or even white fuzzy patches along the edges of the gasket.
- Sometimes mold shows as slimy or sticky spots that feel different from the rest of the seal.
Have you noticed any odd smells when you open your fridge? That musty odor often signals mold growth inside the seal.
Health Risks To Consider
Mold on your refrigerator seal isn’t just a cleaning hassle—it can affect your health. Mold spores can trigger allergies, respiratory issues, and worsen asthma symptoms.
If you have family members sensitive to mold, even small amounts can cause sneezing, coughing, or skin irritation. Ignoring mold growth can also contaminate your food, leading to stomach problems or infections.
Ask yourself: Is a quick wipe enough, or does your seal need a deep clean to protect your health? Your fridge is a place for fresh food, not mold spores.
Necessary Cleaning Supplies
Cleaning mold on your refrigerator seal needs specific supplies. These supplies help remove mold safely and effectively. Using the right items protects your fridge and keeps your kitchen healthy.
Safe Cleaning Agents
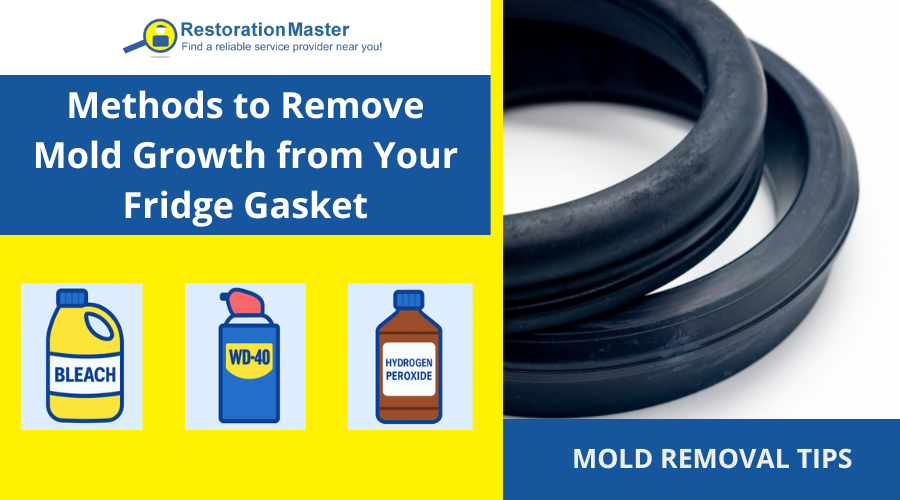
Choose cleaning agents that kill mold but do not harm the fridge seal. Mild solutions work best to avoid damage.
- White vinegar: Natural and effective against mold.
- Baking soda: Gentle scrubber and deodorizer.
- Dish soap: Helps remove dirt and mold residues.
- Hydrogen peroxide (3%): Kills mold without harsh chemicals.
Avoid bleach or strong chemicals. They can damage the rubber seal and cause cracks.
Protective Gear
Wear protective gear to keep yourself safe from mold spores. Mold can irritate your skin and lungs.
- Gloves: Use rubber or latex gloves to protect your hands.
- Mask: A simple face mask blocks mold spores from being inhaled.
- Eye protection: Safety glasses prevent mold particles from irritating eyes.
- Old clothes: Wear clothes you can wash immediately after cleaning.
Proper gear reduces health risks and makes the cleaning process safer.
Preparing The Fridge For Cleaning
Cleaning mold on your refrigerator seal starts with proper preparation. This step is important for safety and efficiency. Taking time to prepare helps prevent damage and makes the cleaning easier.
Preparing involves unplugging the fridge and clearing the inside. Removing food and shelves gives you better access to the moldy seal. These actions protect your food and create a safe workspace.
Unplugging The Appliance
Always unplug the refrigerator before cleaning. This stops electrical hazards and protects the appliance. Unplugging also allows the fridge to warm slightly, which can loosen mold and dirt. Keep the cord away from water to avoid accidents.
Removing Food And Shelves
Take out all food items from the fridge. Store perishables in a cooler or another fridge to keep them fresh. Remove shelves and drawers carefully to access the seal fully. Clean these parts separately to prevent spreading mold. Clearing space helps you clean the seal thoroughly and safely.
Credit: restorationmasterfinder.com
Step-by-step Mold Removal
Removing mold from your refrigerator seal is essential for maintaining a clean and healthy kitchen environment. Tackling this task step-by-step makes the process manageable and effective. You’ll find that a little patience and the right approach can bring your fridge seal back to life quickly.
Applying The Cleaning Solution
Start by mixing a cleaning solution that works well against mold. A common and safe choice is equal parts water and white vinegar, or you can use a mild bleach solution if the mold is stubborn. Always wear gloves to protect your hands and open windows for ventilation.
Dip a clean cloth or sponge into the solution and gently apply it to the moldy areas on the seal. Make sure to reach into all the folds and crevices where mold tends to hide. Don’t rush this step—letting the solution sit for 5 to 10 minutes helps break down the mold effectively.
Scrubbing Techniques
Next, grab a soft-bristled brush or an old toothbrush to scrub the seal gently. Focus on scrubbing in circular motions to lift the mold without damaging the rubber. If you notice stubborn patches, apply a bit more cleaning solution and keep scrubbing with moderate pressure.
Be careful not to use anything too abrasive like steel wool, which can tear the seal and cause leaks. Have you ever noticed how some mold spots reappear quickly? This often happens when the seal gets scratched or damaged during cleaning.
Wiping And Drying
After scrubbing, wipe away the loosened mold and cleaning solution with a clean, damp cloth. It’s important to remove all residue to prevent mold from returning. Finally, dry the seal thoroughly using a dry towel or cloth.
Consider leaving the fridge door open for a while to air out and ensure no moisture is trapped. Moisture is mold’s best friend, so keeping the seal dry can make a big difference. How often do you check your fridge seal for moisture buildup?
Preventing Future Mold Growth
Stopping mold from growing again on your refrigerator seal is key to a clean kitchen. Mold thrives in damp and warm spots. Keeping the seal dry and clean will help a lot. Small habits can keep mold away for good.
Regular Maintenance Tips
- Wipe the seal with a damp cloth every week.
- Use a mild soap or vinegar solution to clean the seal monthly.
- Dry the seal completely after cleaning to prevent moisture build-up.
- Check for cracks or damage on the seal that can trap dirt and moisture.
- Replace the seal if it is worn out or broken to keep the fridge airtight.
Proper Fridge Ventilation
Good airflow inside and outside the fridge stops moisture from building up. Keep some space around the fridge for air to flow freely. Avoid overpacking the fridge as it blocks air vents.
Ensure the fridge door closes tightly every time. This keeps cold air in and stops warm air from entering. Warm air causes condensation, which helps mold grow.

Credit: www.amazon.com
When To Replace The Seal
Knowing when to replace the refrigerator seal is key to keeping your fridge clean and efficient. The seal stops cold air from escaping and keeps moisture out. Mold can grow if the seal is damaged or dirty. Sometimes cleaning is enough, but damage means replacement is necessary.
Signs Of Seal Damage
- Visible cracks or tears in the rubber
- Seal feels hard or brittle instead of soft
- Gaps appear between the seal and fridge door
- Moisture or mold returns quickly after cleaning
- Fridge temperature rises or energy bills increase
Damaged seals lose their grip and let warm air in. This causes mold and food spoilage. Check the seal regularly for these signs.
Choosing A Replacement
Pick a seal that fits your refrigerator model perfectly. Check the brand and model number inside the fridge. Use genuine parts for best results.
Look for seals made of durable, mold-resistant materials. Easy installation saves time and ensures a tight fit. Some come with adhesive backing or clips.
Compare prices and reviews before buying. A good seal improves fridge efficiency and stops mold growth.
Credit: restorationmasterfinder.com
Frequently Asked Questions
How Do I Safely Remove Mold From Refrigerator Seals?
Use a mixture of equal parts water and white vinegar. Apply it with a soft cloth, scrub gently, and wipe clean. Avoid harsh chemicals to protect the seal material and prevent damage. Repeat weekly to keep mold away.
What Causes Mold To Grow On Refrigerator Seals?
Mold grows due to moisture, food spills, and poor air circulation around seals. Warm, damp environments encourage mold growth. Regular cleaning and drying seals prevent mold buildup.
Can I Use Bleach To Clean Mold On Fridge Seals?
Bleach can remove mold but may damage rubber seals over time. It’s safer to use vinegar or baking soda solutions. Always test on a small area first and ventilate the area well.
How Often Should I Clean Refrigerator Seals To Prevent Mold?
Clean seals at least once a month to prevent mold growth. More frequent cleaning is needed if spills or condensation occur. Regular maintenance ensures seals stay mold-free and functional.
Conclusion
Cleaning mold on your refrigerator seal keeps your food fresh and safe. Regular cleaning stops mold from growing back. Use simple household items like vinegar or baking soda for best results. Check the seal often to catch mold early. A clean seal helps your fridge work better and saves energy.
Small steps make a big difference in hygiene. Take care of your fridge seal to avoid health problems. Keep your kitchen clean and your family healthy. Mold-free seals mean a fresher, safer home.