
Are you ready to save space and make laundry day easier? Installing a stackable washer and dryer can transform your laundry area, giving you more room and a cleaner look.
But how do you get started without feeling overwhelmed? This guide breaks down the steps in simple, clear terms so you can confidently set up your own stackable washer and dryer. Keep reading, and by the end, you’ll have the know-how to complete the installation smoothly and quickly.
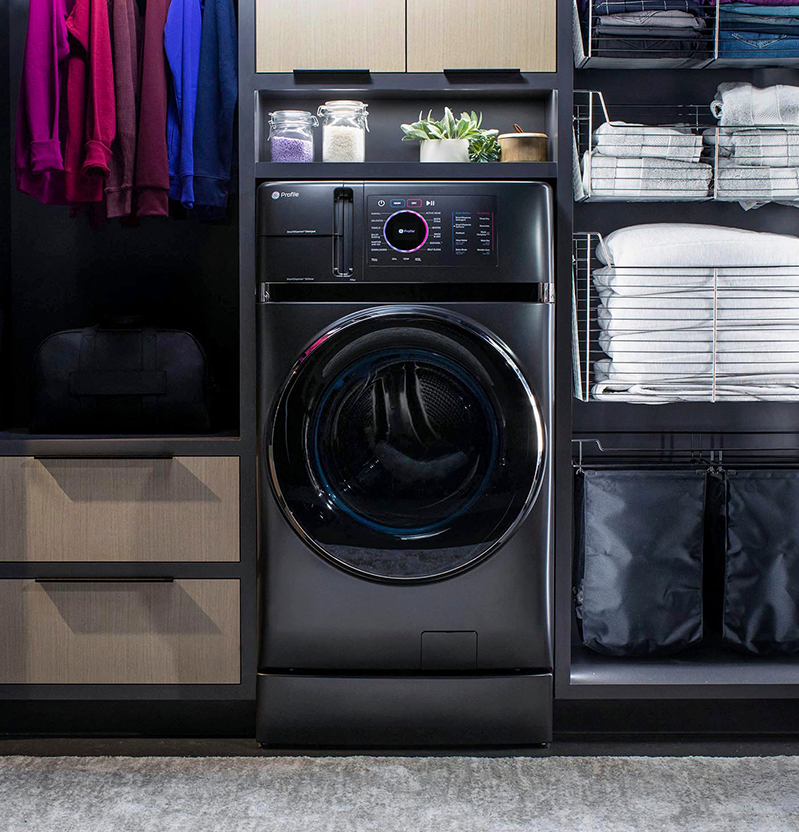
Choosing The Right Location
Finding the best spot for your stackable washer and dryer is very important. It saves space and makes laundry easier.
Think about space, water, electricity, and airflow before you decide where to put them.
Space Requirements
Stackable washer and dryer units need enough room to fit and work well. Measure the area carefully.
Leave extra space for opening doors and moving clothes in and out easily.
- Check the height and width of the unit
- Allow at least 1 inch around the sides
- Leave space in front for door clearance
- Keep enough room to reach controls comfortably
Access To Utilities
Your washer and dryer need water, electricity, and sometimes gas to work. The location must have these connections nearby.
Make sure the water supply and drain are easy to reach. The power outlet should match the unit’s requirements.
- Cold and hot water hookups must be close
- Drain pipe should be near the washer
- Electrical outlet must match the appliance voltage
- Gas line needed if the dryer uses gas
Ventilation Needs
Good airflow helps your dryer work safely and stops moisture build-up. The location should allow proper ventilation.
Check if you can install a vent to the outside. If not, use a ventless dryer model.
- Leave space behind for vent hose
- Vent should lead outside the house
- Clear any obstructions in vent path
- Use vent covers to keep pests out
Credit: blog.yaleappliance.com
Gathering Necessary Tools
Installing a stackable washer and dryer needs some tools. Having these tools ready saves time and effort.
This guide helps you gather all the basic tools and safety gear before you start the installation.
Basic Tools Checklist
Use the right tools to install the washer and dryer correctly. Keep these tools close by.
- Adjustable wrench for tightening connections
- Screwdrivers (both flathead and Phillips)
- Level to make sure the units stand straight
- Measuring tape to check space and clearances
- Pliers for gripping and bending wires
- Utility knife to open packages and trim materials
- Drill with bits for securing mounting hardware
Safety Equipment
Safety gear protects you during the installation process. Wear these items to avoid injuries.
| Safety Item | Purpose |
| Work gloves | Protect hands from cuts and scrapes |
| Safety goggles | Shield eyes from dust and debris |
| Dust mask | Prevent inhaling dust particles |
| Closed-toe shoes | Protect feet from heavy objects |
| Knee pads | Comfort and protection when kneeling |
Preparing The Area
Before installing a stackable washer and dryer, prepare the space carefully. Proper preparation helps the appliances work well and last longer.
Check the area for enough room and the right conditions. This makes installation safer and easier.
Clearing The Space
Remove all items from the installation area. This includes furniture, boxes, and any debris.
Clear space helps you move the washer and dryer easily. It also prevents accidents during setup.
- Take out old appliances or objects
- Sweep or vacuum the floor
- Make sure there is room to open doors fully
Checking Floor Level
Check if the floor is flat and even where you place the appliances. A level floor stops shaking and noise.
Use a bubble level tool to measure. If the floor is uneven, use shims or adjust legs on the units.
- Place the bubble level on the floor
- Adjust appliance feet to balance
- Ensure no side tilts or slopes
Ensuring Proper Drainage
Check that the area has a drain or a way to remove water safely. Proper drainage avoids leaks and water damage.
Make sure drain pipes are clean and not blocked. If needed, install a drain pan under the washer.
- Locate the nearest drain pipe
- Clear any clogs or blockages
- Use a drain pan to catch leaks

Credit: www.maytag.com
Installing The Washer
Installing the washer in a stackable washer and dryer set is a simple task. Follow these steps to connect water, set up the drain, and level the machine properly.
Taking time to install the washer correctly helps avoid leaks and ensures smooth operation. Use the guide below for easy setup.
Connecting Water Supply
First, connect the washer to the water supply. Use the hoses that came with your washer for hot and cold water.
- Turn off the main water supply.
- Attach the hot water hose to the hot water tap and the washer.
- Attach the cold water hose to the cold water tap and the washer.
- Tighten the connections with a wrench but do not over-tighten.
- Turn on the water supply and check for leaks.
Setting Up Drain Hose
Next, set up the drain hose so water can exit the washer safely. The hose must fit securely to avoid spills.
| Drain Hose Placement | Details |
|---|---|
| Standpipe | Insert hose into a vertical pipe at least 18 inches tall. |
| Utility Sink | Attach hose to the sink drain using a clamp. |
| Drain Outlet | Secure hose in the built-in washer drain outlet. |
Make sure the drain hose is not kinked or bent. Keep it above the floor level to prevent backflow.
Leveling The Washer
Leveling the washer is key to stopping vibrations and noise. Use a level tool and adjust the feet.
- Place the washer in its final position.
- Check the front-to-back and side-to-side level with a bubble level.
- Turn the adjustable feet clockwise or counterclockwise to raise or lower.
- Keep adjusting until the washer is perfectly level.
- Tighten the lock nuts under the washer to hold the feet in place.
Installing The Dryer
Installing a stackable dryer is simple if you follow the right steps. This guide helps you install the dryer part correctly.
Make sure you have space, tools, and the manual ready before starting the installation.
Stacking The Dryer Securely
Place the dryer on top of the washer carefully. Use the stacking kit that comes with the units.
The stacking kit holds the dryer in place and stops it from moving during use.
- Align the dryer feet with the washer’s top edges
- Attach the stacking brackets using screws
- Double-check that the dryer is steady and balanced
Connecting Venting System
Attach the venting hose to the dryer’s exhaust port. This removes hot air and moisture safely.
Use a vent clamp to secure the hose tightly to avoid leaks.
- Check the vent hose is not bent or crushed
- Connect the other end to the wall vent
- Seal all connections with foil tape if needed
Plugging In The Dryer
Plug the dryer’s power cord into a grounded outlet. Use a dedicated circuit for safety.
Do not use extension cords or power strips with your dryer.
- Locate the outlet near the dryer
- Make sure the plug fits securely
- Test by turning the dryer on briefly
Testing The Units
After installing your stackable washer and dryer, it’s important to test them. This ensures they work properly and are safe to use.
Testing involves running initial cycles, checking for leaks and noise, and adjusting settings. Follow these steps for a smooth laundry experience.
Running Initial Cycles
Begin by running an empty cycle on both the washer and dryer. This helps to clear out any dust or residues from the units.
Use the regular settings for this test cycle. Make sure the units are connected to power and water.
- Set the washer to a normal cycle
- Run the dryer for 10 minutes
- Check if both units complete their cycles
Checking For Leaks And Noise
While the units are running, inspect for any water leaks around the washer. Listen for unusual sounds that may indicate issues.
If you notice leaks, check the hoses and connections. Tighten or replace them if necessary to prevent water damage.
- Look for water puddles
- Listen for knocking or grinding noises
- Ensure all connections are secure
Adjusting Settings
After testing, adjust the settings to your preference. This includes selecting temperature, spin speed, and drying time.
Make sure the settings suit the types of clothes you wash and dry. This helps protect your clothes and saves energy.
- Set the washer temperature
- Adjust the spin speed
- Choose the dryer time
Maintenance Tips
Maintaining your stackable washer and dryer is important. It helps them last longer and work better.
Regular care keeps them efficient. It prevents common issues and saves on repairs.
Regular Cleaning
Keep your washer and dryer clean for best performance. Clean them regularly to avoid dirt buildup.
- Wipe the exterior with a damp cloth.
- Clean the drum with mild detergent monthly.
- Remove lint from the dryer after each use.
Inspecting Hoses And Vents
Check hoses and vents often. They can wear out or get blocked.
Replace damaged hoses. Clear vent clogs to ensure smooth airflow.
- Inspect hoses for cracks or leaks every 6 months.
- Ensure vents are not blocked by lint or debris.
- Replace hoses every 5 years.
Troubleshooting Common Issues
Problems can happen with any machine. Knowing simple fixes helps.
Some issues are easy to solve. Regular checks reduce bigger problems.
- Washer not spinning? Check the load balance.
- Dryer not heating? Ensure the power supply is on.
- Strange noises? Inspect for loose items.

Credit: www.whirlpool.ca
Frequently Asked Questions
How Do I Prepare The Space For A Stackable Washer And Dryer?
Clear and measure the space to fit your stackable units. Ensure proper ventilation and access to water and electrical outlets. A flat, sturdy floor is essential to support the weight and reduce vibrations during operation.
What Tools Are Needed To Install A Stackable Washer And Dryer?
You’ll need a wrench, screwdriver, pliers, level, and possibly a drill. These tools help connect hoses, secure stacking kits, and ensure proper alignment of the units for safe operation.
How Do I Connect Water And Electrical Lines Safely?
Turn off water and power before connecting. Attach water hoses to the washer’s inlet valves and connect the power cords to grounded outlets. Check for leaks and ensure all connections are tight and secure.
Can I Install A Stackable Washer And Dryer Myself?
Yes, if you follow the manufacturer’s instructions carefully. Basic plumbing and electrical skills are required. If unsure, consult a professional to avoid damage or safety risks.
Conclusion
Installing a stackable washer and dryer saves space and adds convenience. Follow each step carefully for safe setup. Make sure all connections are tight to avoid leaks. Take your time and check the machine’s level. Enjoy having more room in your laundry area.
This simple project can improve your home quickly. Keep the user manual handy for future reference. Clean the machines regularly to keep them working well. You are now ready to use your new laundry setup.