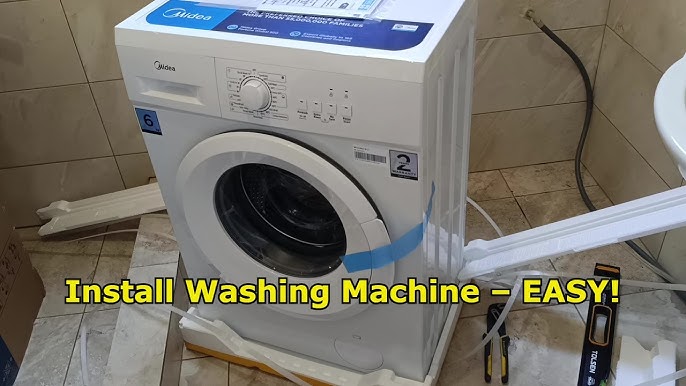
Are you ready to make laundry day easier and more convenient? Installing your own washer and dryer might seem tricky, but with the right steps, you can do it yourself quickly and safely.
Imagine saving money on installation fees and gaining the satisfaction of setting up your laundry machines perfectly. In this guide, you’ll discover simple, clear instructions that anyone can follow. Keep reading, and by the end, you’ll have your washer and dryer up and running without any stress.
Choosing The Right Washer And Dryer
Choosing the right washer and dryer makes laundry easier. You need to think about space, usage, and energy use.
This guide helps you pick the best machines for your home and needs.
Types Of Washers
There are two main types of washers: top-load and front-load. Top-load washers have a lid on the top and are easy to load. Front-load washers have a door on the front and use less water.
- Top-load washers are usually faster but use more water.
- Front-load washers clean clothes better and save water.
- High-efficiency models reduce detergent use and energy.
Types Of Dryers
Dryers come in electric and gas types. Electric dryers are easier to install. Gas dryers cost less to run but need a gas line.
- Electric dryers work anywhere with an outlet.
- Gas dryers dry clothes faster and save energy.
- Some dryers have sensor drying to stop when clothes are dry.
Size And Capacity Considerations
Washers and dryers come in many sizes. Choose one that fits your space and laundry load.
| Capacity | Best For |
| Small (up to 3.5 cu ft) | Singles or couples |
| Medium (3.6 to 4.5 cu ft) | Small families |
| Large (4.6 cu ft and above) | Large families or heavy laundry |
Energy Efficiency Ratings
Look for Energy Star labels to save on power bills. Energy-efficient washers use less water and electricity. Dryers with moisture sensors use less energy by drying only as long as needed.
- Energy Star washers save water and power.
- Efficient dryers cut electricity use with sensors.
- Check the energy guide label before buying.

Credit: www.familyhandyman.com
Preparing The Installation Area
Installing a washer and dryer needs a good setup space. Preparing the area helps avoid problems later.
This guide explains how to get your space ready for the machines. Follow these steps before installation.
Measuring The Space
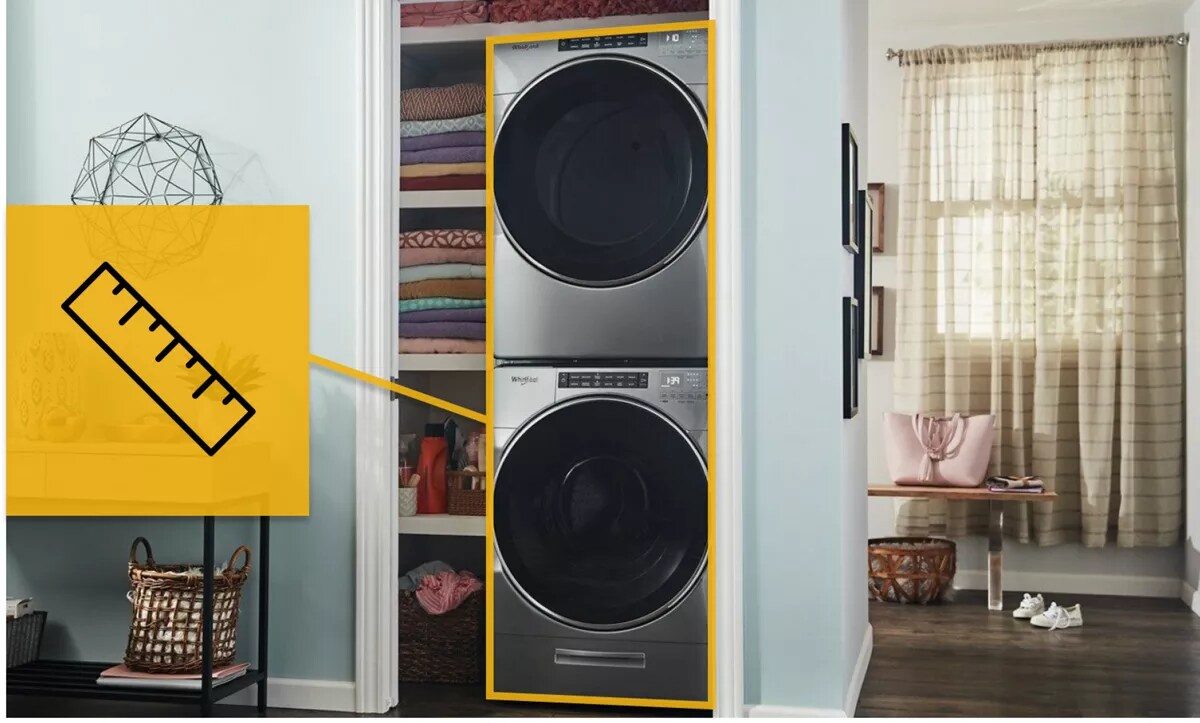
Measure the width, depth, and height of the area where you want to place your washer and dryer. Make sure there is enough room to open doors fully.
Leave extra space around the machines for ventilation and easy access during maintenance.
- Check the width of the space
- Measure the depth from wall to front
- Confirm the height clearance
- Allow at least 2 inches of space on each side
Checking Electrical And Plumbing Connections
Verify that electrical outlets and plumbing hookups match your washer and dryer needs. Use the user manuals to check specifications.
| Connection Type | Requirement | Notes |
| Electrical Outlet | 120V or 240V | Check voltage on dryer label |
| Water Supply | Hot and cold taps | Ensure no leaks and good pressure |
| Drain | Standpipe or floor drain | Must be close to washer |
Ensuring Proper Ventilation
Dryers need good airflow to work safely. Plan space for vent ducts that lead outside.
Keep the vent path short and free of bends. Clean vents regularly to prevent blockages.
- Use metal vent ducting, not plastic
- Keep vent length under 25 feet
- Seal all joints tightly with foil tape
- Check local codes for vent requirements
Gathering Necessary Tools
Collect all tools before you start. This saves time and keeps the work smooth.
- Measuring tape
- Adjustable wrench
- Screwdrivers (flat and Phillips)
- Level
- Drill and bits
- Plumber’s tape
- Vent clamps and foil tape
Unpacking And Inspecting Appliances
Installing a washer and dryer starts with careful unpacking and inspection. These steps ensure your appliances arrive safely and work properly.
Taking time to check the appliances before installation helps avoid problems later. Follow each step carefully.
Removing Packaging Materials
First, remove all packaging materials from the washer and dryer. This includes plastic wraps, foam blocks, and tape.
- Use scissors or a box cutter to carefully cut tape.
- Lift the appliances gently to avoid damage.
- Remove any shipping bolts or braces from the machines.
- Keep packaging materials until installation is complete.
Checking For Damage
After unpacking, check the appliances for any visible damage. Look for dents, scratches, or broken parts.
| Damage Type | What to Do |
| Dents or Scratches | Note the damage and contact the seller before installing. |
| Broken Parts | Do not install the appliance. Request a replacement part. |
| Missing Components | Check the parts list and contact support if items are missing. |
Reading Manufacturer Instructions
Before installation, read the manufacturer’s instructions carefully. These guides explain how to set up your washer and dryer safely.
- Locate the instruction manual in the packaging.
- Review safety warnings and installation tips.
- Follow specific steps for your appliance model.
- Keep the manual handy for future reference.

Credit: www.youtube.com
Installing The Washer
Installing a washer correctly helps it work well and last longer. Follow each step carefully to avoid problems.
This guide covers how to position the washer, connect hoses, level the machine, and check for leaks.
Positioning The Washer
Place the washer near water supply and drainage points. Make sure it has enough space for ventilation and easy access.
Avoid placing the washer on a carpet or soft surface to prevent vibrations and damage.
Connecting Water Supply Hoses
Attach the hot and cold water hoses to the back of the washer. Match the hose labels to the correct taps.
- Turn off the main water supply before connecting.
- Use new hoses to prevent leaks.
- Tighten hose connections by hand, then use a wrench for a firm fit.
- Do not over-tighten to avoid damage.
Attaching Drain Hose
Secure the drain hose to the washer’s drain outlet. Make sure the hose is not kinked or bent.
Place the end of the drain hose into the standpipe or laundry tub. The hose should be higher than the washer’s water level to prevent backflow.
Leveling The Washer
Adjust the washer feet to keep the machine level. This stops it from shaking during use.
| Step | Action |
| 1 | Use a spirit level on top of the washer. |
| 2 | Turn the feet clockwise or counterclockwise to raise or lower. |
| 3 | Check the level again and adjust if needed. |
| 4 | Tighten the lock nuts on the feet to keep them in place. |
Testing For Leaks
Turn on the water supply and run a short wash cycle. Watch for any drips or leaks around hose connections and the drain hose.
- Check both hot and cold water hoses.
- Inspect the drain hose connection.
- Tighten any loose connections if you see water leaks.
Installing The Dryer
Installing a dryer is an important step after buying a new one. You need to place it correctly and connect all parts safely.
This guide will help you with positioning, venting, plugging in, leveling, and testing your dryer.
Positioning The Dryer
Place the dryer near the wall outlet and vent opening. Make sure there is enough space to move and connect hoses.
Avoid tight spaces that block air flow. Leave about 5 inches of space behind the dryer for ventilation.
Connecting The Vent Hose
Attach the vent hose to the dryer’s vent outlet. Use a clamp or foil tape to secure it tightly.
Connect the other end of the hose to the wall vent. Check that the hose is not bent or crushed.
- Use a rigid or semi-rigid metal hose for best airflow
- Do not use plastic or foil hoses
- Keep the hose as short and straight as possible
Plugging In The Dryer
Check the power cord and outlet type before plugging in the dryer. Make sure they match exactly.
Do not use an extension cord or adapter. Plug the dryer directly into a grounded outlet.
Leveling The Dryer
Use a level tool to check if the dryer sits flat on the floor. Adjust the legs to fix any tilt.
A level dryer runs better and reduces noise or movement during use.
- Turn the adjustable feet clockwise to raise the dryer
- Turn counterclockwise to lower it
- Check level from side to side and front to back
Performing A Test Run
After installation, run the dryer empty for 10-15 minutes. This tests if it works properly.
Listen for unusual sounds and check if the drum turns smoothly. Verify the vent air flows out well.
- Check for any gas smell if you have a gas dryer
- Make sure the dryer heats up as expected
- Ensure no error lights or codes appear on the display
Final Checks And Maintenance Tips
Installing a washer and dryer requires careful setup. Final checks and regular maintenance keep them working well.
Follow these tips to secure your appliances, clean them regularly, and solve common issues.
Securing Appliances
Secure your washer and dryer to prevent movement. This helps avoid damage and noise.
- Check if the floor is level and adjust legs if needed.
- Tighten all connections to avoid leaks.
- Use anti-slip pads to reduce vibration.
Regular Cleaning Recommendations
Cleaning your appliances regularly improves performance. It also extends their lifespan.
- Wipe the exterior with a damp cloth weekly.
- Clean the lint filter after every dryer use.
- Run an empty hot water cycle monthly with vinegar to clean the washer.
Troubleshooting Common Issues
Understanding common issues can help you fix problems quickly. This saves time and money.
- If the washer won’t start, check the power cord and circuit breaker.
- If clothes are still damp, ensure the dryer vent is not blocked.
- If there’s a leak, inspect hoses and connections for any signs of wear.
Credit: www.whirlpool.com
Frequently Asked Questions
How Do I Prepare The Space For Washer And Dryer Installation?
Clear the area and ensure proper floor leveling. Check for necessary hookups: water, drainage, electrical, and ventilation. Measure space to confirm appliance fit. Proper preparation prevents installation issues and ensures safety.
What Tools Are Needed To Install A Washer And Dryer?
You typically need a wrench, screwdriver, pliers, level, and hose clamps. Some installations require a drill and electrical tester. Having these tools ready speeds up the process and ensures correct setup.
How Do I Connect Water Supply To The Washer?
Attach hot and cold water hoses to corresponding faucet valves. Tighten connections securely to prevent leaks. Turn on water and check for drips before operating the washer.
What Electrical Requirements Are Needed For Dryer Installation?
Dryers usually require a 240-volt outlet or a 120-volt for gas models. Confirm your home’s electrical capacity matches the dryer’s specifications. Proper electrical setup is crucial for safe and efficient operation.
Conclusion
Installing a washer and dryer can save time and money. Follow each step carefully for best results. Check water and electrical connections before starting. Keep safety a priority throughout the process. Testing the machines after installation ensures they work well.
Enjoy fresh, clean clothes right at home. Simple tasks become easier with your own laundry setup. Take your time and ask for help if needed. This project brings convenience to daily life.