Are you ready to create a cutting board that’s not only practical but also adds a personal touch to your kitchen? Building your own cutting board can seem like a big task, but with the right steps, you’ll find it’s easier than you think.
Imagine using a board you made yourself—sturdy, beautiful, and exactly the size you want. In this guide, you’ll discover simple, clear instructions to help you build a cutting board that lasts. Keep reading, and by the end, you’ll have the confidence and know-how to craft a piece that truly belongs in your home.

Credit: www.youtube.com
Choosing The Right Wood
Picking the right wood is key to making a good cutting board. The wood affects how strong and safe the board will be.
Some woods last longer and protect knives better. Other woods can get damaged or hold bacteria.
Hardwood Vs Softwood
Hardwood is better for cutting boards because it is dense and strong. It does not get scratched easily.
Softwood is softer and can get cut or dented quickly. It may also hold bacteria in the cuts.
- Hardwood: strong, durable, knife-friendly
- Softwood: less durable, easy to damage
- Hardwood resists water and germs better
Best Wood Types For Cutting Boards
Some hardwoods are great for cutting boards. They are safe, durable, and look nice.
- Maple: very hard and light colored
- Walnut: dark, strong, and smooth
- Cherry: medium hardness with rich color
- Beech: tough and light with fine grain
- Teak: oily wood that resists water well
Avoid woods with strong smells or open grains. These can stain or hold bacteria.
Sourcing Quality Lumber
Get wood that is clean and free from knots or cracks. Good wood makes a better board.
Buy wood from trusted suppliers or local sawmills. Check if the wood is dry and properly stored.
- Look for hardwood lumber with tight grain
- Avoid wood with soft spots or holes
- Choose wood that is flat and straight
- Make sure wood is untreated and food safe

Credit: m.youtube.com
Essential Tools And Materials
Building a cutting board is a fun woodworking project. You need the right tools and materials to make a strong board.
This guide covers basic tools, recommended materials, and safety gear. These help you build a safe and useful cutting board.
Basic Tools Needed
You need a few simple tools to cut and shape wood for your board. These tools help you work with wood safely and accurately.
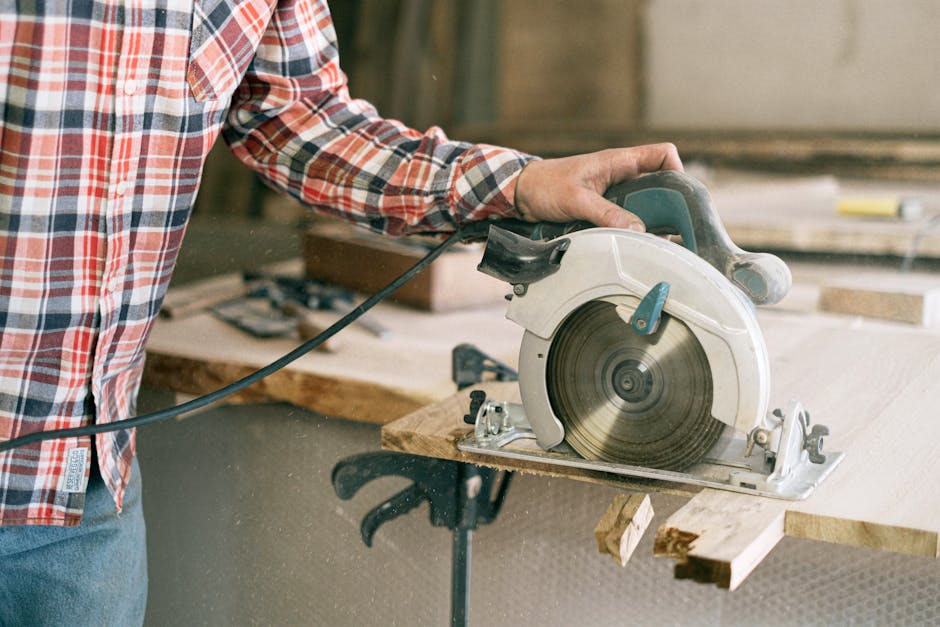
- Table saw or circular saw to cut wood pieces
- Jointer or hand plane to smooth edges
- Clamps to hold pieces together while gluing
- Orbital sander for sanding the surface
- Measuring tape and square for accurate cuts
- Wood glue for strong bonding
- Brush or rag to apply finish
Recommended Materials
Choose hardwood for durability and safety. Avoid soft woods because they can get damaged easily.
- Maple: hard, smooth, and easy to clean
- Walnut: strong with a dark, rich color
- Cherry: durable with a warm reddish tone
- Beech: tight grain and light color
- Food-safe wood finish or mineral oil to protect the board
Safety Gear
Wear safety gear to protect yourself while working with tools. Safety keeps your project fun and accident-free.
- Safety glasses to protect your eyes from dust and wood chips
- Hearing protection like earplugs or earmuffs for loud tools
- Dust mask to avoid breathing sawdust
- Work gloves to protect your hands while handling wood
Preparing The Wood
Preparing the wood is a key step to build a strong cutting board. Good preparation makes the board safe and durable.
This process includes measuring, cutting, sanding, and joining the wood pieces carefully.
Measuring And Cutting To Size
Start by measuring your wood pieces accurately. Use a ruler or tape measure for precise marks.
Cut the wood using a saw that fits your skill level. Make sure the cuts are straight and smooth.
- Measure twice, cut once to avoid mistakes
- Use clamps to hold wood steady while cutting
- Cut wood slightly larger than final size for sanding
Sanding Techniques
Sanding smooths the wood surface and removes rough edges. This step helps prevent splinters.
Start sanding with coarse grit sandpaper. Then use finer grits for a smooth finish.
- Use 80-grit sandpaper to remove large rough spots
- Switch to 120-grit for a smoother surface
- Finish with 220-grit for a soft touch
- Sand along the wood grain for best results
Wood Joint Options
Choosing the right joint keeps your cutting board strong and stable. Different joints fit different designs.
Common joints include edge joints, finger joints, and biscuit joints. Each has its own benefits.
- Edge Joint:Glue edges of boards side by side
- Finger Joint:Interlocking fingers increase strength
- Biscuit Joint:Oval-shaped biscuits add support inside the joint
Assembling The Board
Assembling a cutting board is a key part of the project. It takes care and attention to get the best results. This guide covers the main steps to join your wood pieces well.
Focus on the glue, clamping, and making sure the surface stays flat. Each step affects the board’s strength and smoothness.
Choosing The Glue
Use a wood glue made for cutting boards. It should be waterproof and safe for food contact. Avoid regular glues not meant for kitchen use.
- Look for waterproof or water-resistant wood glue
- Choose non-toxic glue safe for food contact
- Pick glue with a strong bond for hardwoods
- Check drying time to match your project needs
Clamping Tips
Clamping holds the pieces tight while the glue dries. Use enough clamps to apply even pressure across the whole board.
- Apply glue evenly on each piece’s edges
- Align pieces carefully before clamping
- Place clamps every 6 to 8 inches along the board
- Tighten clamps just enough to close gaps, not squeeze out all glue
- Wipe off any glue squeeze-out with a damp cloth
Ensuring A Flat Surface
Keeping the board flat while drying helps avoid bumps and warps. Check flatness regularly during clamping.
| Method | How to Check | Why It Helps |
|---|---|---|
| Use a straight edge | Lay a ruler or level across the board | Find high or low spots easily |
| Place on a flat surface | Put the board on a table and see if it rocks | Ensures the board is not warped |
| Adjust clamps | Loosen or tighten clamps at problem spots | Corrects uneven pressure |
| Use cauls | Clamp flat boards on top and bottom | Distributes pressure evenly |
Finishing Touches
After building your cutting board, the finishing touches help protect it. These steps make the board smooth and safe to use. Proper finishing also keeps your board looking good for years.
Focus on sanding, applying a food-safe finish, and regular maintenance. These actions improve the board’s durability and hygiene.
Sanding For Smoothness
Sanding removes rough spots and splinters from the wood surface. Start with coarse sandpaper and move to finer grits for a smooth finish.
Sand all sides, edges, and corners evenly. This step helps prevent cuts and makes the board easy to clean.
- Use 80-grit sandpaper to remove major roughness.
- Switch to 120-grit for medium smoothing.
- Finish with 220-grit for a fine, smooth surface.
Applying Food-safe Finish
Apply a finish that protects the wood and is safe for food contact. Mineral oil and beeswax are popular choices for cutting boards.
Coat the board evenly and let the finish soak in. Repeat the process until the wood no longer absorbs the oil.
- Use pure mineral oil or food-grade beeswax.
- Apply with a clean cloth in the direction of the grain.
- Wipe off excess oil after 20 minutes.
- Allow drying for several hours or overnight.
Maintaining Your Cutting Board
Regular care keeps your cutting board safe and looking good. Clean it well and apply oil often to stop the wood from drying out.
Avoid soaking the board or using harsh detergents. Dry it completely after washing to prevent warping.
- Wash by hand with mild soap and warm water.
- Do not put the board in a dishwasher.
- Oil the board every few weeks or when it looks dry.
- Store in a dry place away from direct sunlight.

Credit: www.youtube.com
Troubleshooting Common Issues
Building a cutting board can bring small challenges. Fixing these problems early helps keep your board strong and useful.
Learn simple ways to handle cracks, warping, uneven surfaces, and how to make your board last longer.
Dealing With Cracks And Warping
Cracks happen when wood dries too fast or unevenly. Warping occurs if moisture changes in the wood unevenly.
To fix small cracks, use wood glue and clamp the board. For warping, try placing the board under a heavy flat object for a few days.
- Keep the board dry to prevent cracks and warping
- Store the board flat on a dry surface
- Use clamps and wood glue for small cracks
- Apply even pressure to flatten warped boards
Fixing Uneven Surfaces
Uneven surfaces make cutting hard and unsafe. Sanding the board smooths out bumps and rough spots.
Start with coarse sandpaper and move to finer grits. Sand in the direction of the wood grain for best results.
- Use 80-grit sandpaper for rough spots
- Progress to 120 and 220 grit for smooth finish
- Wipe away dust between sanding steps
- Check for flatness with a straight edge
Extending Board Lifespan
Proper care helps your cutting board last years. Clean it well and keep it dry after use.
Apply food-safe oil often to keep the wood from drying and cracking.
- Hand wash with mild soap, avoid soaking
- Dry board fully before storing
- Apply mineral or cutting board oil monthly
- Use a soft cloth to spread oil evenly
- Store board upright to air dry
Frequently Asked Questions
What Materials Are Best For Cutting Boards?
The best materials for cutting boards are hardwoods like maple and walnut. These woods are durable and gentle on knives. Bamboo is also a popular eco-friendly option. Avoid soft woods and glass as they can damage knife edges.
How Do You Seal A Cutting Board?
To seal a cutting board, use food-grade mineral oil. Apply a generous coat and let it absorb overnight. Wipe off excess and repeat monthly to maintain the board’s condition and prevent cracking.
Can I Use Any Wood For Cutting Boards?
Not all woods are suitable for cutting boards. Hardwoods like maple, walnut, and cherry are ideal. They are dense, durable, and resist bacteria. Avoid softwoods and porous woods as they can harbor bacteria and damage easily.
How Often Should I Oil My Cutting Board?
Oil your cutting board once a month to maintain its condition. Regular oiling prevents cracking and keeps the wood hydrated. Use food-grade mineral oil for best results.
Conclusion
Building a cutting board can be a fun and rewarding project. It helps you learn new skills and create something useful. With basic tools and some patience, anyone can make a sturdy board. Remember to choose the right wood and finish it well.
Your homemade cutting board will last a long time. It also adds a personal touch to your kitchen. Try different shapes and sizes to fit your needs. Enjoy the process and the results. Simple steps lead to great outcomes. Keep practicing, and your skills will grow.