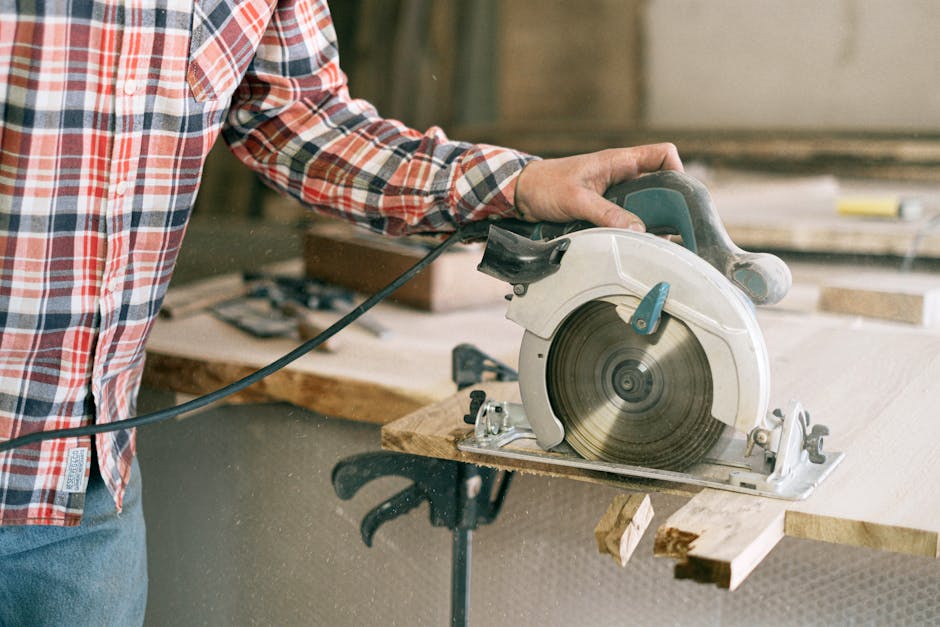
Are you ready to create something useful and beautiful with your own hands? Building a wood cutting board is easier than you think, and it’s a perfect project whether you’re new to woodworking or looking to sharpen your skills.
Imagine having a cutting board made just for you—sturdy, stylish, and crafted from quality wood. In this guide, you’ll learn simple steps that anyone can follow, saving you money and giving you a sense of pride every time you use your board.
Keep reading, and by the end, you’ll be ready to start your very own wood cutting board project.
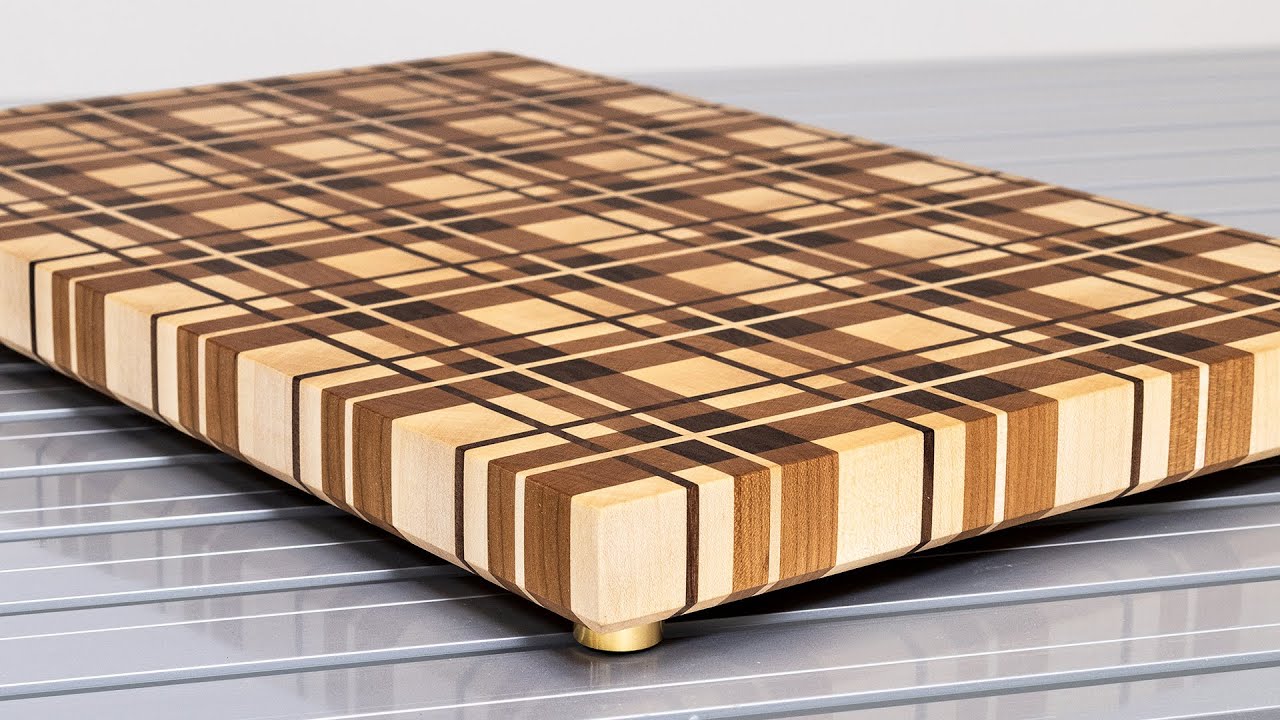
Credit: www.youtube.com
Choosing The Right Wood
Picking the right wood is key to making a good cutting board. The wood should be safe, strong, and last a long time. This guide covers important points to help you choose.
You will learn about hardwood types, wood grain, and which woods to avoid for health reasons.
Hardwood Options
Hardwoods are best for cutting boards because they resist cuts and dents. They are dense and last longer than softwoods.
- Maple – Very popular, light color, and strong.
- Walnut – Dark wood, smooth, and durable.
- Cherry – Reddish wood, ages nicely, and hard.
- Beech – Light color, tight grain, and tough.
- Birch – Affordable, light, and hard.
Wood Grain And Durability
Wood grain affects how the board wears over time. End grain boards are more durable and gentle on knives. Face grain boards look nice but show cuts faster.
| Grain Type | Durability | Knife Friendliness |
| End Grain | High | High |
| Face Grain | Medium | Medium |
| Edge Grain | Medium | Medium |
Avoiding Toxic Woods
Some woods can harm your health if used for cutting boards. Avoid woods with toxic oils or that cause allergic reactions.
Common woods to avoid:
- Black Locust – Can cause skin irritation.
- Oleander – Highly toxic and unsafe.
- Yew – Contains toxic compounds.
- Pressure-treated wood – Contains chemicals harmful to food.
Gathering Tools And Materials
Building a wood cutting board needs careful planning. You must gather the right tools and materials before starting.
This guide covers the essential tools, finishing supplies, and safety gear you need for the project.
Essential Tools
These tools help you cut, shape, and join the wood to make the cutting board.
- Table saw or circular saw for cutting wood pieces
- Jointer or hand plane to smooth edges
- Clamps to hold pieces together while glue dries
- Random orbital sander for sanding surfaces
- Measuring tape and square for precise measurements
- Wood glue designed for strong bonds
Finishing Supplies
Finishing supplies protect the wood and give the cutting board a smooth look and feel.
| Supply | Purpose |
| Food-safe mineral oil | Seals and protects wood from moisture |
| Beeswax or board cream | Adds extra protection and shine |
| Fine-grit sandpaper (220-320 grit) | Smooths the surface before finishing |
Safety Gear
Wear safety gear to protect yourself during cutting, sanding, and finishing.
- Safety glasses to protect your eyes from dust and wood chips
- Hearing protection like earplugs or earmuffs
- Dust mask or respirator to avoid breathing wood dust
- Work gloves to protect your hands from splinters and tools
Preparing The Wood
Preparing the wood is an important part of building a cutting board. It helps the board last longer and look better.
Start by choosing good wood and getting it ready. This makes the rest of the project easier and safer.
Measuring And Marking
Measure the wood carefully before cutting. Use a ruler or tape measure to get the right size.
Mark the lines clearly with a pencil. This helps you cut straight and avoid mistakes.
- Use a square to mark right angles
- Double-check measurements before marking
- Mark both sides if needed
Cutting To Size
Cut the wood along the lines you marked. Use a saw that fits the size of the wood.
Cut slowly and carefully. This helps keep the edges smooth and straight.
- Use clamps to hold wood in place
- Wear safety glasses and gloves
- Cut on a stable surface
Sanding Techniques
Sanding smooths the wood and removes rough spots. It makes the cutting board safe to use.
Start with coarse sandpaper and move to finer grits. Sand all sides evenly for a nice finish.
- Begin with 80-grit sandpaper
- Finish with 220-grit for smoothness
- Sand with the grain of the wood
Assembling The Board
Assembling your wood cutting board is an important step. You join all the pieces to make one solid board.
Careful assembly makes the board strong and durable. This part needs patience and attention to detail.
Gluing The Pieces
Apply wood glue evenly on the edges of each piece. Make sure all surfaces are clean and dry before gluing.
Press the pieces together firmly. Wipe off any extra glue that squeezes out to keep the surface neat.
Clamping Tips
Use clamps to hold the pieces tightly while the glue dries. Clamps keep the board flat and secure.
Place clamps evenly along the board. Avoid over-tightening to prevent dents or warping.
- Use bar clamps or pipe clamps for wide boards
- Place scrap wood between clamps and board to protect the surface
- Check clamps after 10 minutes and adjust if needed
Ensuring A Flat Surface
Check that the board stays flat during clamping. A flat surface prevents uneven cuts later.
Use a straight edge or level to check flatness. Adjust clamps or add weights if you see gaps.
- Place the board on a flat workbench
- Use a straight edge to find high or low spots
- Clamp and press down on high spots gently
Shaping And Finishing
After cutting your wood pieces, shaping and finishing give the cutting board its final look. These steps ensure the board is safe and smooth to use.
Take your time with each step. Good shaping and finishing make your cutting board last longer and look great.
Trimming Edges
Trim the edges of the board to remove uneven parts. Use a saw or a router for straight, clean edges.
Rounded edges feel nicer in hand and prevent splinters. Use a router with a round-over bit or sand the edges carefully.
- Check for any rough or sharp spots
- Trim excess wood evenly on all sides
- Choose between square or rounded edges
Sanding For Smoothness
Sanding removes rough patches and smooths the surface. Start with coarse sandpaper and finish with fine grit.
Sand all sides evenly, including edges and corners. This step prevents splinters and prepares the wood for finishing.
- Begin with 80-100 grit sandpaper
- Progress to 150-220 grit for a smooth finish
- Wipe dust away between sanding steps
Applying Food-safe Finish
Use a food-safe finish to protect the board and keep it safe for food contact. Oils and waxes are common choices.
Apply the finish evenly with a cloth. Let it soak in and wipe off extra. Repeat for a better seal.
- Choose finishes like mineral oil or beeswax
- Apply thin coats and allow drying time
- Reapply finish regularly to maintain protection

Credit: m.youtube.com
Maintaining Your Cutting Board
Keeping your wood cutting board in good shape helps it last long. Proper care stops damage and keeps it safe for food.
Follow simple steps to clean, oil, and protect your board from warping and cracks.
Cleaning Guidelines
Wash your board right after use. Use warm water and mild soap. Avoid soaking the wood in water.
- Rinse with warm water immediately.
- Use a soft sponge or cloth with soap.
- Do not put the board in the dishwasher.
- Dry it with a clean towel right away.
- Let it air dry standing up.
Regular Oiling
Oiling your board stops the wood from drying out. It keeps the surface smooth and prevents stains.
- Choose food-safe mineral oil or beeswax.
- Apply oil evenly with a soft cloth.
- Let it soak in for a few hours or overnight.
- Wipe off any extra oil before use.
- Oil the board once a month or when it looks dry.
Preventing Warping And Cracks
Wood changes shape if it gets too wet or too dry. Follow these tips to keep it flat and whole.
| Cause | How to Prevent |
| Too much water | Do not soak or leave board wet |
| Dry air | Keep oiled to keep moisture in wood |
| Uneven drying | Store standing on edge to dry evenly |
| Heat source | Avoid placing near stoves or heaters |

Credit: www.youtube.com
Frequently Asked Questions
What Wood Is Best For Cutting Boards?
Hardwoods like maple, walnut, and cherry are ideal for cutting boards. They are durable, resistant to bacteria, and gentle on knives. Avoid softwoods as they can easily get damaged and harbor bacteria. Choose end grain boards for better durability and knife preservation.
How Do I Sanitize A Wood Cutting Board?
Sanitize your cutting board by washing it with hot, soapy water after each use. Use a mixture of vinegar and water or hydrogen peroxide for deeper cleaning. Ensure the board is thoroughly dried to prevent warping or bacteria growth. Regularly oil the board to maintain its condition.
Can I Use Any Wood Glue?
Use food-safe wood glue, such as Titebond III, for assembling your cutting board. It is water-resistant and non-toxic, ensuring safety for food preparation. Avoid standard glues that might not hold up under frequent washing or could contaminate food. Proper adhesion is crucial for durability.
How Often Should I Oil My Cutting Board?
Oil your cutting board once a month to maintain its condition. Use food-grade mineral oil or a specialized board cream. This helps to prevent the wood from drying out, cracking, and absorbing moisture. Regular oiling ensures the board remains safe and visually appealing.
Conclusion
Building a wood cutting board takes time and care. Choose good wood and tools before starting. Cut, glue, and sand the pieces carefully. Finish with oil to protect the board. This project brings a useful and beautiful item to your kitchen.
Enjoy the process and the result. Practice makes your skills better. Keep your board clean and dry to last long. A handmade cutting board adds charm to cooking. Try making one and see how rewarding it feels.