You’ve invested in a beautiful wooden cutting board, and you want it to last. But how do you protect it from water, stains, and cracks?
Sealing your wooden cutting board is the key to keeping it strong and looking great for years. You’ll discover simple, effective steps to seal your board like a pro. By the end, you’ll have the confidence to preserve your cutting board’s natural beauty and make your kitchen safer and cleaner.
Let’s get started!

Credit: www.amazon.com
Choosing The Right Sealant
Sealing a wooden cutting board helps protect it from moisture and stains. It also keeps the wood clean and safe for food.
Picking the right sealant is important for durability and safety. There are many options, but some are better for kitchen use.
Food-safe Options
Only use sealants that are safe for food contact. This prevents harmful chemicals from reaching your food.
Common food-safe sealants include mineral oil, beeswax, and certain plant oils. Avoid anything labeled toxic or for outdoor use.
- Mineral oil is odorless and tasteless.
- Beeswax adds a protective barrier.
- Food-grade tung oil is water resistant.
- Plant oils like coconut oil may go rancid.
Oil Vs. Wax
Oils soak into the wood to protect it from inside. They keep wood from drying out and cracking.
Wax sits on the surface to create a water-resistant layer. It adds shine but needs more frequent application.
- Oil penetrates wood for deep protection.
- Wax seals the surface against spills.
- Oils are easier to apply and absorb faster.
- Wax provides extra smoothness and water resistance.
Commercial Vs. Natural Products
Commercial sealants are made to protect wood well. Some are food-safe, but check labels carefully.
Natural products like beeswax and mineral oil are simple and safe. They need more frequent reapplication.
- Commercial sealants last longer.
- Natural products are free from chemicals.
- Natural oils may need applying every few weeks.
- Check commercial product safety before use.
Credit: enthrallinggumption.com
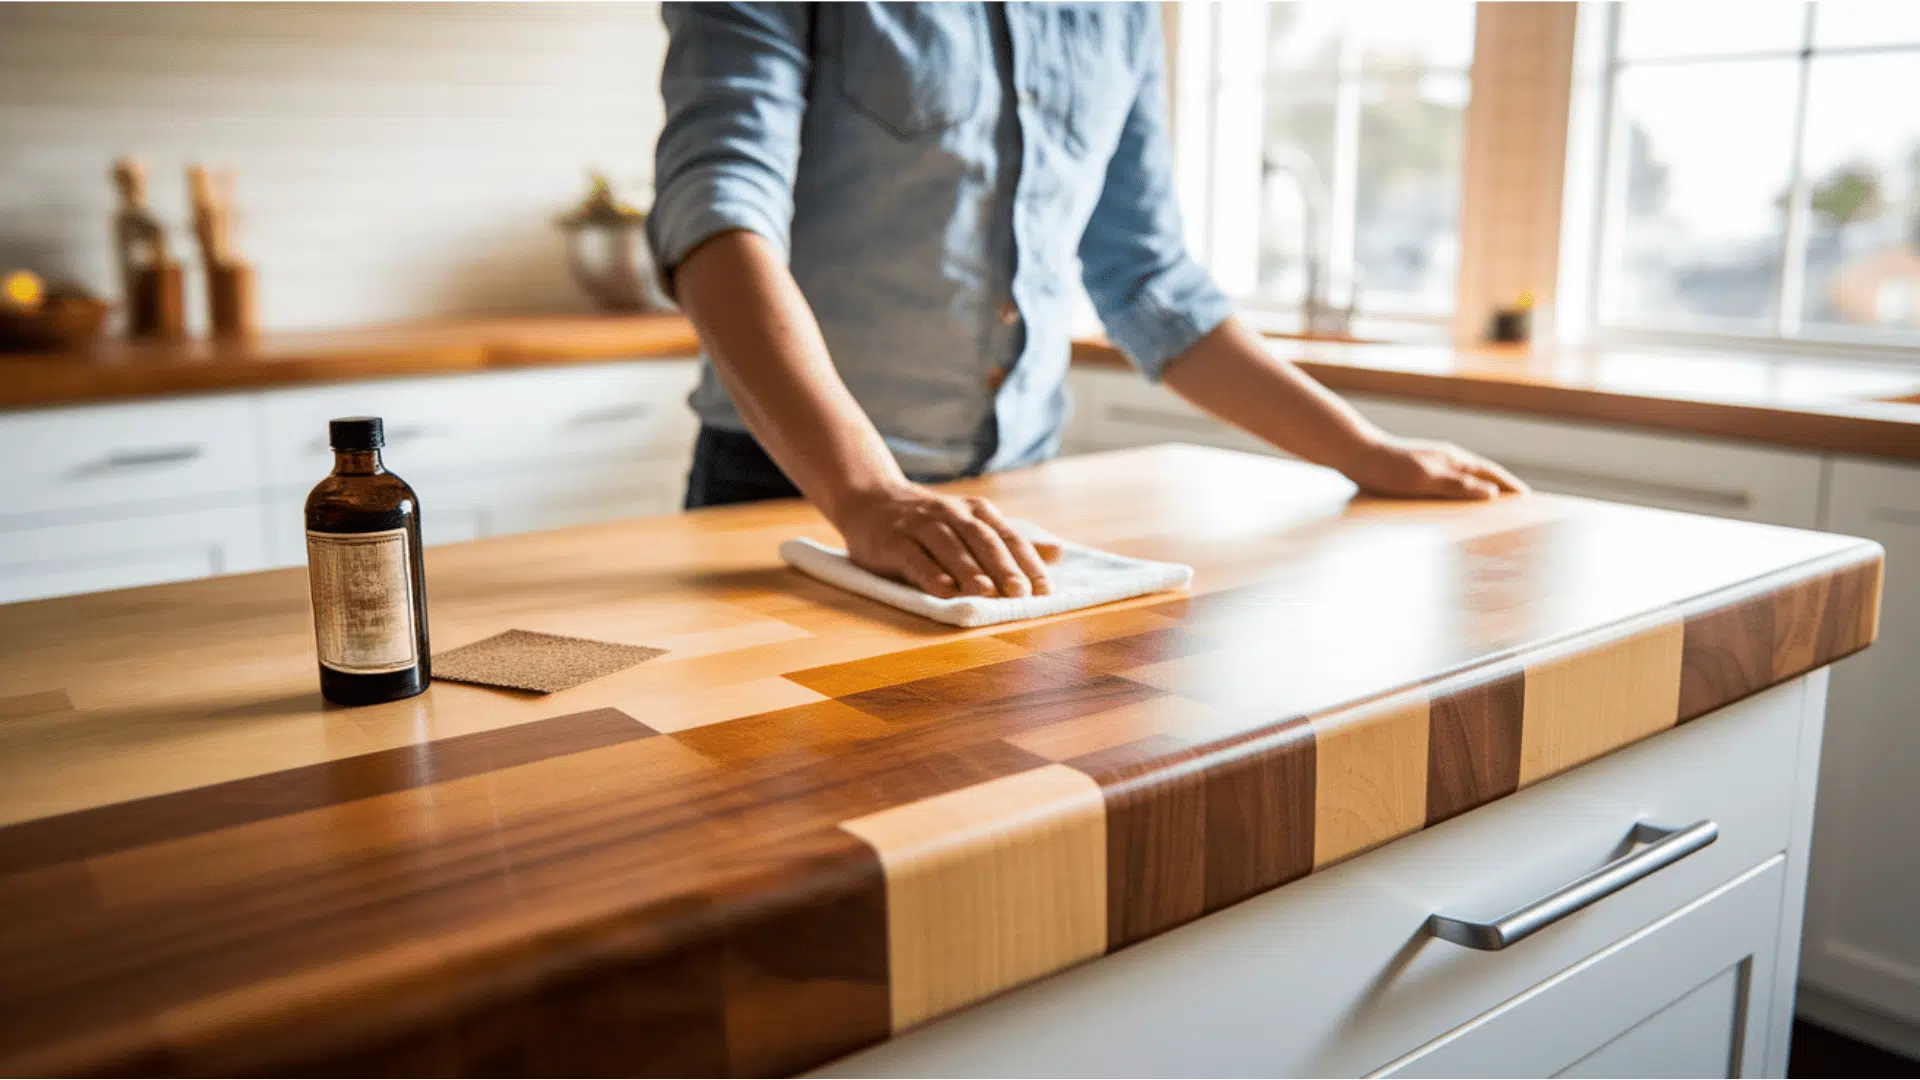
Preparing The Cutting Board
Sealing a wooden cutting board starts with proper preparation. The board must be clean and smooth to hold the finish well.
Good preparation helps protect the wood and keeps the board safe for food use.
Cleaning And Drying
First, wash the cutting board with warm water and mild soap. Avoid soaking it to prevent warping. Dry the board completely with a clean towel. Let it air dry standing up to allow air flow on all sides.
- Use a soft sponge, not a brush with hard bristles
- Rinse off all soap residues thoroughly
- Dry with a clean cloth immediately after washing
- Stand the board upright to dry fully
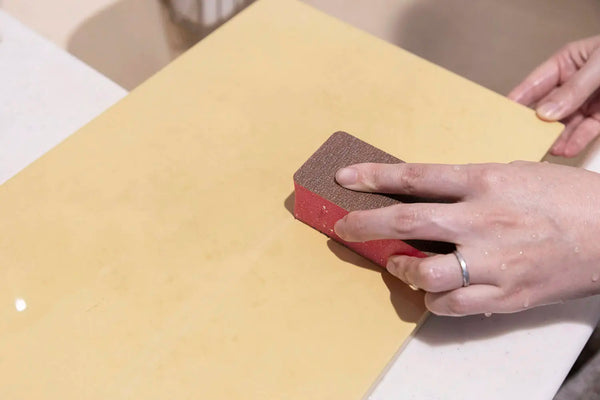
Sanding Techniques
Sanding smooths the wood and removes small scratches. Use fine-grit sandpaper to avoid rough spots. Sand both sides and edges evenly. Wipe off dust with a damp cloth before sealing.
- Start with 120-grit sandpaper for rough areas
- Finish with 220-grit for a smooth surface
- Sand along the grain of the wood
- Remove all dust with a damp cloth
Removing Old Finishes
Old finishes can prevent new sealers from bonding well. Use these methods to remove old finishes:
| Method | Description | Tools Needed |
|---|---|---|
| Sanding | Remove finish by sanding the surface smooth | Sandpaper (80-220 grit), sanding block |
| Chemical Stripper | Apply a wood-safe stripper to dissolve old finish | Chemical stripper, gloves, scraper |
| Heat Gun | Heat finish to soften it, then scrape off | Heat gun, scraper, safety glasses |
Applying Oil Sealants
Sealing a wooden cutting board helps protect it from water and stains. Oil sealants soak into the wood and keep it strong.
Using the right oil and applying it correctly makes your board last longer. It also keeps the surface smooth and safe.
Best Oils For Sealing
Choose oils that are safe for food and soak well into wood. These oils keep your board from drying out.
- Mineral oil: Food-safe and easy to find
- Walnut oil: Natural and good for wood
- Coconut oil: Solid at room temperature but melts on the board
- Beeswax mixed with oil: Adds extra protection
Step-by-step Application
Start with a clean, dry cutting board. Remove any dust or dirt before you apply oil.
- Pour a small amount of oil on the board surface.
- Use a clean cloth to spread the oil evenly over the wood.
- Rub the oil into the wood with circular motions.
- Let the oil soak in for at least 20 minutes.
- Wipe off any extra oil with a dry cloth.
- Allow the board to dry fully before use.
Repeat this process if the board looks dry or dull after the first coat.
Frequency Of Reapplication
Oiled cutting boards need regular care to stay protected. How often you reapply oil depends on use.
- Apply oil every month for heavy use.
- For light use, oil every 3 months.
- Check the board for dryness or cracks before oiling.
- If water soaks in quickly, it is time to oil again.
Using Wax For Extra Protection
Sealing a wooden cutting board helps keep it safe and lasts longer. Wax adds extra protection on top of oil.
Wax forms a strong barrier that stops moisture and stains from damaging the wood.
Types Of Wax
Different waxes work well on wooden boards. Some waxes are natural, and some are made from beeswax or carnauba.
- Beeswax:Natural and safe for food contact. It is soft and easy to apply.
- Carnauba Wax:Harder and more durable than beeswax. It offers strong protection.
- Paraffin Wax:A type of petroleum wax. Often mixed with natural waxes for better sealing.
Combining Wax With Oil
Oil keeps the wood moist and prevents cracking. Wax adds a shield on top of the oil.
First, apply oil to the board and let it soak in. Then, rub wax over the surface to seal it well.
- Use food-safe oils like mineral oil or walnut oil.
- Apply a thin layer of wax after oiling.
- Let wax sit for a few minutes before buffing.
Buffing And Finishing Tips
Buffing helps the wax spread evenly and creates a smooth shine. Use a soft cloth for best results.
Work in small circles and apply light pressure. Repeat buffing until the surface looks smooth and glossy.
- Use a clean, soft cloth for buffing.
- Buff right after applying wax for best absorption.
- Repeat waxing and buffing every few months for protection.
Maintaining Your Sealed Board
Sealing a wooden cutting board helps protect it from moisture and stains. To keep it in good shape, you must maintain the seal regularly. Proper care extends your board’s life and keeps it safe for food use.
Maintaining your sealed board is simple with the right steps. Cleaning, avoiding water damage, and resealing at the right time will keep your board looking fresh and working well.
Cleaning After Use
Clean your sealed cutting board right after use. Use warm water and mild soap to wash it. Avoid harsh chemicals that can break down the seal.
Dry the board fully with a clean towel. Leaving it wet can damage the wood and seal over time.
- Use a soft sponge or cloth
- Rinse with warm water
- Dry completely before storing
Avoiding Water Damage
Water can harm a wooden cutting board if it soaks in too long. Do not leave your board in water or in a damp place. Standing water can cause the wood to crack or swell.
Keep your board dry by wiping it after every wash. Store it in a dry, well-ventilated area. This helps the seal last longer and keeps the wood healthy.
- Never soak the board in water
- Do not put the board in a dishwasher
- Store in a dry, cool place
When To Reseal
Reseal your board when the wood looks dry or feels rough. This usually happens every few months, depending on use. Resealing keeps the wood protected and prevents cracks.
Test your board by sprinkling a few drops of water on it. If the water soaks in quickly, it’s time to reseal. Use food-safe mineral oil or a cutting board conditioner for best results.
- Check the board every 1-3 months
- Look for dry spots or rough texture
- Apply oil or conditioner to reseal
Common Mistakes To Avoid
Sealing a wooden cutting board keeps it safe and long-lasting. Many people make simple errors that harm the board or reduce its life.
Learn these common mistakes to avoid. Fixing them will help your cutting board stay in great shape.
Using Toxic Sealants
Some sealants contain chemicals that can be harmful. Using toxic sealants on cutting boards is unsafe for food contact.
Choose food-safe oils or waxes. These protect your board without risking your health.
- Avoid sealants with solvents or harmful chemicals
- Look for products labeled “food safe” or “food grade”
- Do not use varnishes, polyurethane, or paint
Skipping Preparation Steps
Many skip sanding or cleaning before sealing. This stops the sealant from working well and can cause uneven protection.
Always sand the board smooth and clean it from dust and oils. This helps the sealant soak in evenly.
- Sand the surface with fine-grit sandpaper
- Remove all dust with a cloth or brush
- Wash and dry the board before sealing
Over-saturating The Wood
Putting too much oil or wax on the board can cause problems. The wood may become sticky or soft and attract dirt.
Apply sealant in thin layers. Let each layer soak in before adding more.
- Use a clean cloth to spread a thin coat
- Wipe off extra oil after 20 minutes
- Repeat only when the board feels dry
Benefits Of Proper Sealing
Sealing a wooden cutting board protects it from damage. It keeps the wood safe from water and stains.
Proper sealing also makes the board easier to clean and use. It helps keep your kitchen safe and tidy.
Extending Board Lifespan
Sealing stops water from soaking into the wood. This prevents the board from cracking or warping over time.
A sealed board lasts longer because it is protected against everyday wear and tear. This saves money on replacements.
Preventing Bacteria Growth
Wood can absorb food juices, which can cause bacteria to grow. Sealing creates a barrier that stops this.
A sealed board is easier to clean well. This lowers the risk of harmful germs spreading in your kitchen.
- Sealed surface reduces moisture absorption
- Limits areas where bacteria can hide
- Makes cleaning more effective
Enhancing Wood Appearance
Sealing brings out the natural color of the wood. It gives the board a smooth and shiny look.
A well-sealed board looks new longer. It resists stains and scratches that can make wood look old.

Credit: kingsfleet.ca
Frequently Asked Questions
How Often Should You Seal A Wooden Cutting Board?
It’s recommended to seal your wooden cutting board once a month. Regular sealing maintains the board’s durability and prevents cracking. Use a food-safe mineral oil or beeswax. This routine helps keep the board in top condition and prolongs its lifespan.
What Is The Best Oil For Sealing Cutting Boards?
Food-grade mineral oil is the best choice for sealing wooden cutting boards. It’s odorless, tasteless, and safe for food contact. Mineral oil penetrates wood fibers, providing moisture and protection. This oil helps prevent the board from drying out and cracking.
Can I Use Olive Oil To Seal My Cutting Board?
It’s not advisable to use olive oil for sealing wooden cutting boards. Olive oil can become rancid over time, creating an unpleasant smell. Instead, opt for food-grade mineral oil or beeswax. These options are better at protecting and preserving your board.
How Do I Apply Oil To A Cutting Board?
To apply oil, pour a small amount onto the board’s surface. Use a clean cloth to spread it evenly. Allow the oil to soak in for a few hours or overnight. Wipe off any excess with a clean cloth before use.
This ensures thorough absorption and protection.
Conclusion
Sealing a wooden cutting board keeps it strong and safe. Apply oil or wax regularly to protect the wood. This stops cracks and prevents water damage. Clean the board before sealing for best results. A well-sealed board lasts longer and looks great.
Take time to care for your cutting board. It makes cooking easier and more enjoyable. Small steps keep your kitchen tools in good shape. Simple care leads to a board you can trust every day.