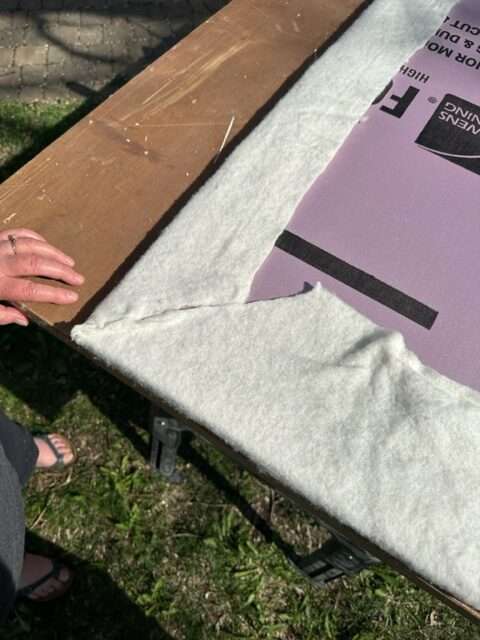
Are you ready to tackle your foam insulation project but unsure how to cut a 2 inch foam insulation board cleanly and easily? You’re not alone.
Cutting thick foam boards can feel tricky, and mistakes can waste time and money. But don’t worry—once you know the right tools and techniques, you’ll be able to make precise cuts every time. Keep reading, and you’ll discover simple steps that save you effort and give your project a professional finish.
Your next DIY success starts here!
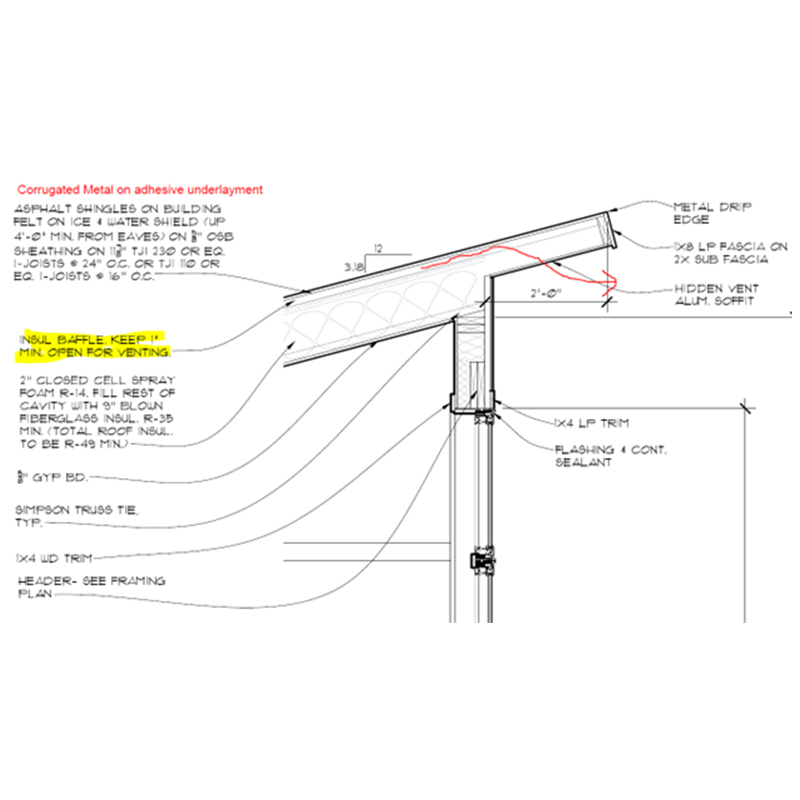
Credit: www.finehomebuilding.com
Choosing The Right Tools
Cutting a 2 inch foam insulation board needs the right tools. Using the correct tool makes the job easier and cleaner.
Different tools work better for different cuts and types of foam. Picking the right tool helps you save time and effort.
Utility Knives And Blades
Utility knives are common for cutting foam boards. They work well for straight cuts and small projects.
Sharp blades cut cleanly without tearing the foam. Change blades often to keep cuts smooth.
- Use a new, sharp blade for best results
- Score the foam multiple times for a deep cut
- Cut on a flat, stable surface
Hot Wire Cutters
Hot wire cutters melt through foam for smooth edges. They are great for detailed or curved cuts.
These tools need electricity and careful handling. They produce fumes, so work in a ventilated area.
- Use steady, slow movements for clean cuts
- Wear a mask to avoid inhaling fumes
- Keep the wire at the right temperature
Hand Saws And Electric Saws
Hand saws can cut foam boards but may cause rough edges. Choose fine-toothed saws for better results.
Electric saws, like jigsaws or circular saws, cut faster and handle thick foam well. Use a blade made for soft materials.
- Use slow speed to avoid melting foam
- Wear safety goggles and gloves
- Support the foam board to prevent bending
Preparing The Workspace
Cutting 2 inch foam insulation board needs a clean and organized workspace. Proper preparation helps you work safely and accurately.
This guide covers clearing and measuring your area, plus safety gear to use before cutting.
Clearing And Measuring Area
Start by clearing a large, flat surface free of clutter. This space must hold the foam board fully and your cutting tools.
- Remove any objects that might block your work
- Wipe the surface clean to prevent slipping
- Measure the foam board and mark cut lines clearly
- Use a straight edge or ruler for precise lines
- Ensure good lighting to see marks and edges well
Safety Gear And Precautions
Wear safety gear to protect yourself from dust and sharp tools. Foam cutting creates particles that can irritate eyes and lungs.
| Safety Item | Purpose |
| Safety Glasses | Protect eyes from dust and debris |
| Dust Mask | Prevent inhaling foam particles |
| Gloves | Protect hands from cuts and irritation |
| Long-Sleeve Shirt | Shield arms from small foam bits |
Marking The Foam Board
Marking foam insulation board correctly helps ensure precise cuts. Clear marks guide your cutting tools and reduce mistakes.
Use simple tools like rulers and straightedges to make your markings straight and accurate. This step saves time and material.
Using Straightedges And Rulers
Place a straightedge or ruler firmly along the desired cut line. Hold it steady to avoid slipping as you mark the board.
- Choose a ruler longer than your cut line for better stability.
- Use a pencil or fine marker that shows clearly on foam.
- Mark at several points along the edge to ensure a straight line.
- Connect the marks gently using the straightedge to avoid denting the foam.
Marking Accurate Cutting Lines
Double-check your measurements before marking. Accurate lines help you cut the foam board cleanly and fit it properly.
| Tip | Reason |
| Measure twice, mark once | Prevents mistakes and waste |
| Use light, visible marks | Makes cutting easier without extra cleanup |
| Keep the straightedge steady | Ensures straight, even lines |
| Mark both sides if needed | Helps guide cuts through thick foam |
Cutting Techniques
Cutting 2 inch foam insulation board needs care. Using the right tools and ways helps you get clean cuts.
This guide explains how to cut straight lines, curves, and avoid common mistakes. Follow these tips for good results.
Straight Cuts
Use a sharp utility knife for straight cuts. Score the foam board several times for a clean edge.
Cut on a flat surface with a straight edge like a ruler or a level. This guides your blade and keeps the cut straight.
- Mark your cut line clearly with a pencil
- Place the straight edge along the line
- Score the foam with light pressure first
- Make several passes with the knife to cut through
- Break the board along the cut if needed
Curved And Custom Shapes
Cutting curves needs a flexible knife or a hot wire cutter. Draw your shape clearly before cutting.
Move slowly and follow the line carefully. For complex shapes, cut small sections at a time to stay precise.
- Use a pencil to draw the shape on the foam
- Choose a tool suited for curves, like a hot wire cutter
- Cut slowly to avoid jagged edges
- Sand rough edges lightly if needed
Avoiding Common Mistakes
Don’t press too hard with the knife. This can cause uneven cuts or damage the foam.
Always use a new, sharp blade. Dull blades tear the foam and make rough edges.
- Use a straight edge for straight cuts
- Score multiple times instead of cutting deep once
- Cut on a stable surface to prevent slipping
- Wear gloves to protect your hands from the blade
- Keep your workspace clean to see your cutting lines
Finishing Touches
After cutting your 2 inch foam insulation board, finishing touches help improve its fit and appearance. Taking time to smooth edges and seal gaps makes the installation last longer.
These steps also help the board fit better in place, preventing drafts and moisture problems.
Smoothing Edges
Use sandpaper or a sanding block to smooth rough edges on the foam board. This prevents damage and gives a cleaner look.
Lightly sand along the cut sides until the surface feels even and soft to touch.
- Choose fine-grit sandpaper (around 120 to 150 grit)
- Sand gently to avoid tearing the foam
- Wear a mask to avoid breathing dust particles
- Check edges for smoothness with your hand
Sealing And Fitting
Seal gaps between foam boards with foam-safe spray sealant or caulk. This stops air leaks and moisture from entering.
Make sure the boards fit tightly in place before sealing. Trim edges if needed to improve the fit.
- Check for gaps between boards and surrounding surfaces
- Apply sealant evenly along edges and joints
- Press boards firmly into place as you seal
- Allow sealant to dry fully before finishing the wall

Credit: www.dupont.com
Maintaining Tools And Cleanup
Keeping your tools in good shape helps you cut foam boards smoothly. Cleaning up right after cutting keeps your workspace safe and neat.
Proper care extends the life of your blades and makes disposal easier. Follow simple steps for blade care and foam scrap cleanup.
Blade Care And Replacement
Dull blades can tear foam instead of cutting cleanly. Clean blades after each use by wiping off foam dust and residue.
- Use a soft cloth to remove foam bits from the blade.
- Check the blade edge for nicks or dullness.
- Replace blades if they no longer cut smoothly.
- Store blades in a dry place to prevent rust.
Disposing Foam Scraps
Foam scraps can pile up quickly. Dispose of them safely to avoid clutter and environmental harm.
| Disposal Method | Details |
|---|---|
| Recycle | Check local centers that accept foam boards. |
| Trash | Cut scraps into small pieces and seal in bags. |
| Reuse | Use scraps for craft projects or insulation in small areas. |

Credit: www.reddit.com
Frequently Asked Questions
What Tools Do You Need To Cut Foam Insulation?
To cut 2-inch foam insulation, use a utility knife or a hot wire cutter. A straightedge will ensure clean cuts. Ensure blades are sharp for precision. Safety gear, like gloves and goggles, is essential. A cutting mat or surface protects your workspace.
How Do You Make Straight Cuts On Foam Board?
To achieve straight cuts, use a utility knife alongside a metal straightedge. Press firmly and cut slowly. Repeat the cut if necessary for deeper penetration. Ensure the knife blade is sharp for clean edges. Always cut on a stable, flat surface.
Can You Use A Hot Wire Cutter?
Yes, a hot wire cutter is effective for cutting foam insulation. It melts through the foam, providing smooth edges. Ensure the cutter is heated properly before use. This method reduces dust and debris, making cleanup easier. Always follow safety instructions when using electrical tools.
How To Ensure Safety While Cutting Foam?
Always wear safety goggles and gloves when cutting foam insulation. Work in a well-ventilated area to avoid inhaling dust. Ensure tools are sharp to prevent slips and accidents. Keep your work surface stable and clear of obstructions. Follow all manufacturer safety instructions for tools.
Conclusion
Cutting 2 inch foam insulation board is simple with the right tools. Use a sharp knife or saw for clean, straight cuts. Measure twice to avoid mistakes and ensure accuracy. Take your time and work carefully for the best results.
Proper cutting helps the insulation fit well and perform better. Now, you can handle your foam board project with confidence and ease.