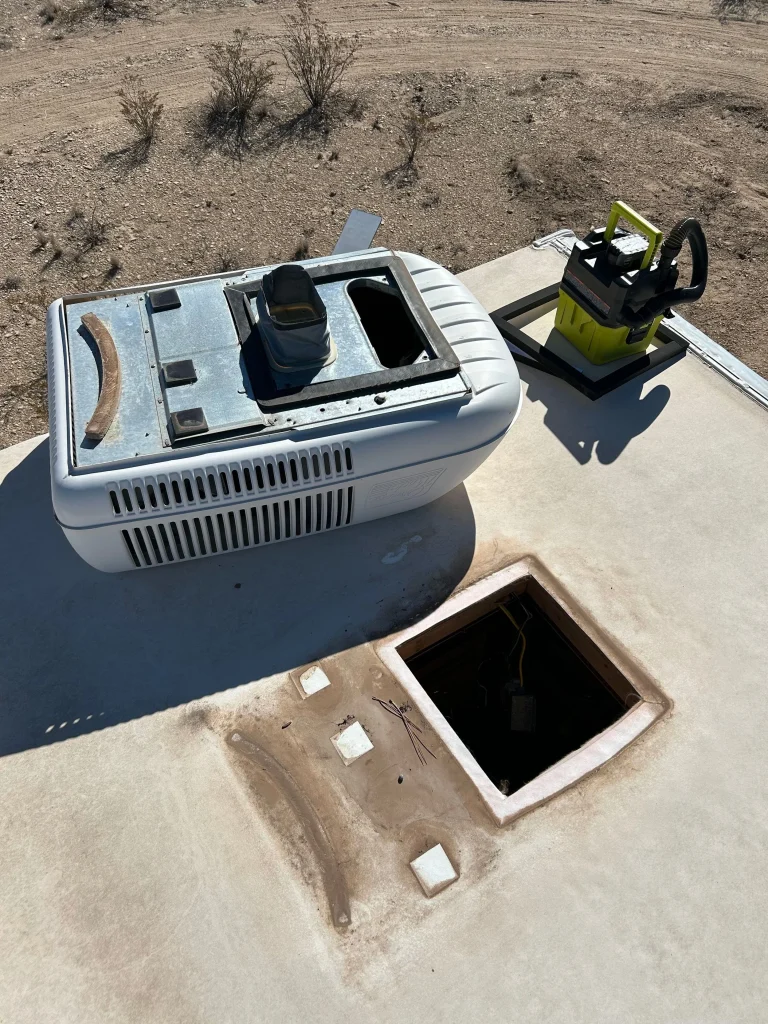
Is your RV air conditioner not cooling like it used to? You rely on it to keep your travels comfortable, especially during hot days.
Servicing your RV air conditioner yourself can save you time, money, and hassle. In this guide, you’ll learn simple steps to keep your unit running smoothly, avoid breakdowns, and extend its life. Whether you’re a beginner or just need a quick refresher, this article will give you easy-to-follow tips to get your RV air conditioner in top shape.
Keep reading to discover how you can take control of your comfort on the road.
Tools And Materials Needed
Basic tools help you open and check the RV air conditioner. A screwdriverand wrenchare essential. A multimetercan test electrical parts safely. A coil fin combstraightens bent fins for better airflow.
Cleaning supplies remove dust and dirt. Use a soft brushto clean coils gently. A vacuum cleanerhelps clear debris from vents. Mild soapand water clean plastic parts without damage.
Replacement parts keep your AC working well. Have air filtersready to swap when dirty. Fusesand thermostatsmay need changing if faulty. Keep extra fan beltsand capacitorsfor quick fixes.
Credit: blog.campingworld.com
Safety Precautions
Disconnecting powerbefore servicing the RV air conditioner is essential. Always turn off the main power switch to avoid electric shocks. Unplug the unit completely if possible. Never work on the air conditioner while it is connected to power.
Protective gearhelps keep you safe. Wear gloves to protect your hands from sharp parts and dirt. Safety glasses prevent dust or debris from entering your eyes. Use a mask if you expect dust or mold inside the unit.
Inspecting The Air Conditioner
Start by examining the air conditioner’s exteriorfor any visible damage.
Look for cracks, dents, or loose parts that could affect performance.
Check the air filterand clean or replace it if dirty.
Remove debris like leaves or dirt from the unit’s vents and fins.
Listen closely for any unusual noiseswhen the AC runs.
- Hissing or rattling sounds may signal a problem.
- Buzzing can mean electrical issues.
- Clicking noises might indicate a faulty fan or motor.
Address any strange sounds immediately to avoid bigger issues later.
Cleaning The Air Filter
The air filter is key to your RV air conditioner’s performance. To remove it, gently slide the filter out from its slot. Be careful not to bend or tear the filter during removal.
Washing the filter is simple. Use warm water and mild soap to clean dirt and dust. Rinse it well to remove all soap. Let the filter dry completely before reinstalling. A wet filter can cause damage or mold growth.
After drying, place the filter back into its original slot. Make sure it fits snugly and securely. This keeps the air clean and helps your air conditioner work well.
Cleaning The Coils And Fins
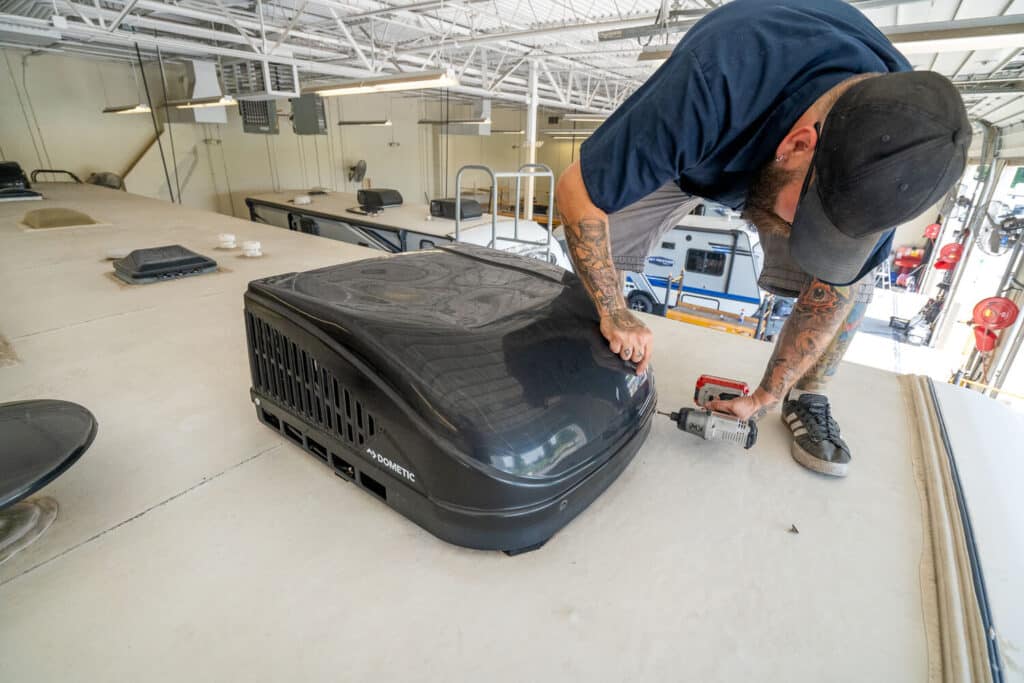
Accessing the coils requires removing the air conditioner’s outer cover. Use a screwdriver to take off screws carefully. The coils are found behind the metal fins inside the unit. Handle parts gently to avoid damage.
Coil cleaner helps remove dirt and grime. Spray the cleaner evenly on the coils. Let it sit for 5 to 10 minutes to break down buildup. Then, rinse with water using a gentle spray. Avoid using high pressure to protect the coils.
Straightening bent fins improves airflow and cooling. Use a fin comb or a small, flat tool. Carefully align bent fins back to their original position. Avoid applying too much force to prevent breakage. Clean, straight fins boost your AC’s efficiency.
Checking The Drainage System
Clear the drain tube to stop water buildup. Use a flexible wire or a pipe cleaner to remove any blockages. This helps water flow smoothly out of the RV air conditioner. Check the tube regularly to avoid clogs that cause leaks or bad smells.
Proper drainage keeps the air conditioner working well. Make sure the drain pan is clean and free from dirt or mold. A blocked drain pan can cause water to spill inside your RV, leading to damage.
- Locate the drain tube under the unit.
- Use a wire or pipe cleaner to clear the tube.
- Inspect and clean the drain pan.
- Check for leaks after cleaning.
Inspecting Electrical Components
Check all wiring connectionsfor signs of wear or damage. Loose wires can cause the air conditioner to stop working. Make sure wires are tightly connected and not frayed.
Test the capacitors and relayswith a multimeter. Capacitors store energy to help start the motor. A bad capacitor will make the motor weak or stop it from running. Relays help switch parts on and off. If relays fail, the unit won’t run properly.
| Component | What to Check | Signs of Trouble |
|---|---|---|
| Wiring Connections | Tightness, insulation, no breaks | Loose wires, exposed copper, burnt smell |
| Capacitors | Capacitance with multimeter | Swollen casing, no start, weak motor |
| Relays | Continuity and switching function | Clicking sound, unit won’t start |

Credit: northnjhvac.com
Reassembling And Testing
Carefully put all parts back in their places to ensure proper fit. Test the air conditioner by turning it on and checking for cool airflow and smooth operation. Adjust or fix any issues before finishing the service.
Putting Components Back
Carefully place all parts in their original spots. Make sure each screw and bolt is tight. Check that wires connect to the right terminals. Avoid forcing parts together. Take your time to prevent damage. Use a clean cloth to wipe off dust or dirt before assembly.
Running A Test Cycle
Turn on the air conditioner and listen for strange noises. Check if cool air flows steadily. Watch for any leaks or water dripping. Ensure the unit turns off correctly. If something seems wrong, turn off the power and inspect parts again. Testing helps confirm the unit works safely and well.
Troubleshooting Common Issues
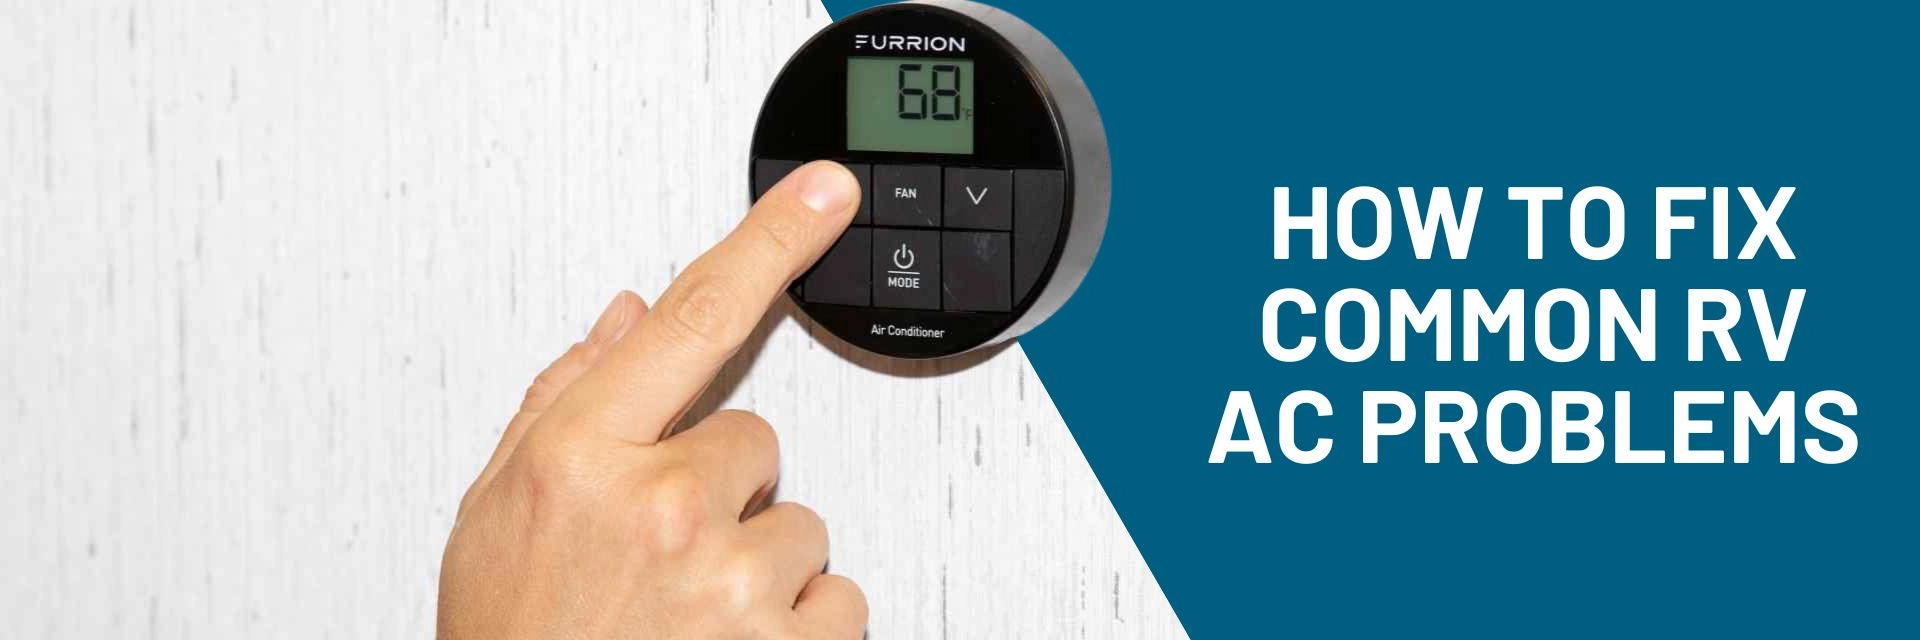
The unit not coolingoften happens due to dirty filters or blocked vents. Check and clean the air filter regularly. Make sure the thermostat is set correctly. Low refrigerant can also cause poor cooling; it needs a professional refill.
Strange noisesmay come from loose parts or debris in the fan. Tighten screws and clean the fan blades to stop rattling sounds. A worn-out motor or compressor might also cause noise and needs expert attention.
Water leaksusually happen from clogged drain tubes or frozen coils. Clear any blockages in the drain line. Ensure the unit is level to help water drain properly. Ice on coils can mean low refrigerant or poor airflow.
Credit: www.lippert.com
When To Call A Professional
Some repairs need a professional technician. Complex parts like compressors or motors require special tools and knowledge.
Handling refrigerant is dangerous and regulated. Only certified experts can add or remove refrigerant safely.
- Complex repairs need experience and proper equipment.
- Incorrect refrigerant handling can cause harm or legal issues.
- Professionals ensure your RV air conditioner works well.
Frequently Asked Questions
How Often Should I Service My Rv Air Conditioner?
You should service your RV air conditioner at least once a year. Regular maintenance ensures optimal cooling and prevents costly repairs. Check filters, clean coils, and inspect electrical connections to keep your unit running efficiently.
What Tools Are Needed To Service An Rv Air Conditioner?
Basic tools include a screwdriver, coil cleaner, fin comb, and a vacuum. You may also need a multimeter to check electrical components. Having these tools helps you perform thorough and effective maintenance.
How Do I Clean The Rv Air Conditioner Filters?
Remove the filters and gently vacuum dust and debris. Wash them with mild soap and warm water. Let them dry completely before reinstalling. Clean filters improve airflow and enhance cooling efficiency.
Can I Service The Rv Ac Unit Myself?
Yes, you can perform basic maintenance like cleaning and inspection. However, complex repairs should be handled by professionals to avoid damage. Regular DIY servicing can extend your AC’s lifespan and improve performance.
Conclusion
Servicing your RV air conditioner keeps it working well and saves money. Clean the filters and coils regularly for best airflow. Check the coolant levels to avoid overheating. Tighten loose parts to stop noise and leaks. Regular care extends the life of your unit.
A well-maintained AC makes your RV trips comfortable. Small steps now prevent big problems later. Stay cool and enjoy your travels with ease.