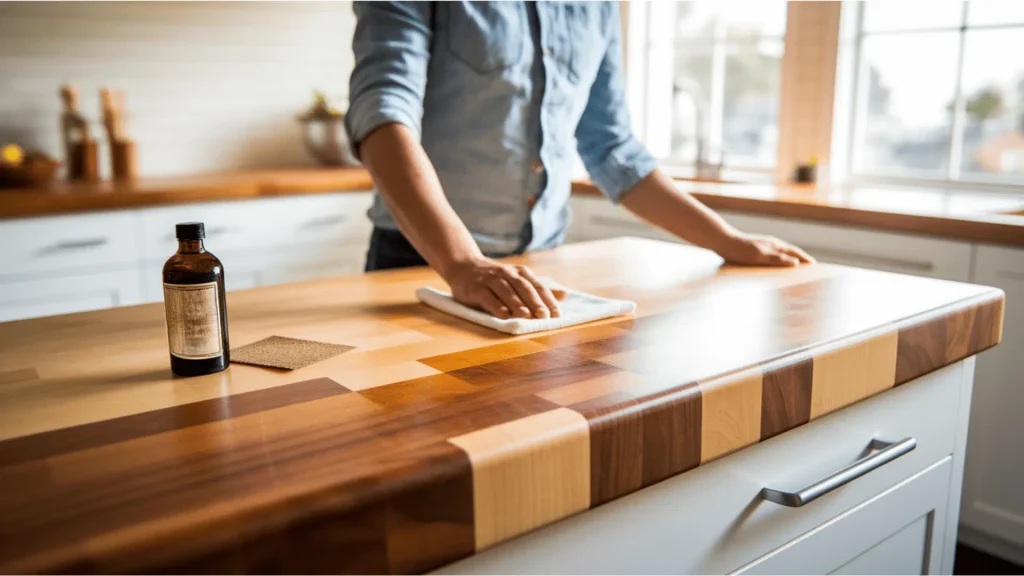
Your wood cutting board is more than just a kitchen tool—it’s an investment that can last for years with the right care. But if you don’t seal it properly, it can absorb moisture, crack, or even harbor bacteria.
You might be wondering how to protect your board without wasting time or money on complicated methods. This guide will show you exactly how to seal your wood cutting board quickly and effectively, so it stays strong, clean, and beautiful.
Keep reading to learn simple steps that anyone can follow to extend the life of your favorite kitchen companion.

Credit: www.amazon.com
Choosing The Right Wood
Choosing the right wood is key to making a good cutting board. The wood must be strong and safe for food use.
Different woods have different qualities. These affect how well the board lasts and how easy it is to seal.
Hardwood Vs Softwood
Hardwoods come from trees that lose leaves in winter. Softwoods come from evergreen trees.
Hardwoods are usually better for cutting boards. They are harder and resist cuts and dents.
- Hardwoods like maple and walnut are popular choices
- Softwoods like pine are softer and can get damaged easily
- Hardwoods last longer and hold up well to knives
Grain Patterns And Durability
Wood grain shows the direction of the wood fibers. Tight grain means the fibers are close together.
Tight grain woods are more durable and less likely to absorb water. This helps keep the board safe and clean.
- Straight grain is easier to seal and clean
- Open grain may trap bacteria and liquids
- Choose wood with a smooth, tight grain for durability

Credit: kingsfleet.ca
Preparing The Cutting Board
Sealing a wood cutting board starts with proper preparation. This helps the board last longer and stay safe to use.
Cleaning and smoothing the surface makes the sealant stick better. Let’s look at how to prepare your board.
Sanding Techniques
Sanding removes rough spots and old finishes from the wood surface. It creates a smooth area for sealing.
Start with coarse sandpaper and move to finer grits. Always sand along the grain of the wood.
- Use 80-grit sandpaper to remove rough patches
- Switch to 120-grit for a smoother finish
- Finish with 220-grit for a very smooth surface
- Wipe away dust between sanding steps
Cleaning And Drying
Cleaning removes dust, oils, and food particles from the board. A clean surface helps the sealant stick better.
Use warm water and mild soap to wash the board. Rinse well and dry it completely before sealing.
- Wash with warm water and gentle soap
- Rinse thoroughly to remove soap
- Dry with a clean towel
- Let air dry for several hours
Types Of Sealants
Sealing a wood cutting board protects it from water and stains. It also keeps the board safe for food use. Different sealants offer different levels of protection and care.
Choosing the right sealant depends on your needs and preferences. Some sealants are natural, while others are made for stronger protection.
Food-safe Oils
Food-safe oils soak into the wood and prevent it from drying out. They help maintain the board’s natural look and feel. Common oils include mineral oil and walnut oil.
- Mineral Oil:A popular choice that is odorless and tasteless.
- Walnut Oil:Natural and good for sealing but may cause allergies in some.
- Olive Oil:Not recommended because it can turn rancid over time.
Wax Options
Wax forms a thin layer on the cutting board’s surface. It offers extra water resistance and a smooth finish. Beeswax is a common choice for sealing wood boards.
| Wax Type | Benefits | Notes |
| Beeswax | Natural, food-safe, water-resistant | Can be combined with oils |
| Carnauba Wax | Harder and more durable | Often mixed with beeswax |
| Paraffin Wax | Cheap and widely available | Not fully natural |
Commercial Sealers
Commercial sealers provide strong protection and long-lasting finish. They often contain food-safe ingredients but check labels carefully. These sealers can be spray or brush-on.
- Easy to apply and dry quickly
- Offer water and stain resistance
- May contain chemicals, so choose food-safe options
- Best for heavy use or professional kitchens
Applying The Sealant
Sealing a wood cutting board protects it from water and stains. It also keeps the wood looking fresh and clean. Applying sealant is simple if you follow the right steps.
This guide covers how to apply oil and wax, and how long to wait for drying and curing. Proper care extends your cutting board’s life.
Oil Application Steps
Use food-safe mineral oil or cutting board oil. Apply it evenly to protect the wood deeply.
- Pour a small amount of oil on the board’s surface.
- Use a clean cloth to rub the oil into the wood in circular motions.
- Cover all sides, including edges and ends.
- Let the oil soak in for at least 20 minutes.
- Wipe off any excess oil with a dry cloth.
- Repeat oiling once or twice more for new boards.
Wax Application Tips
Wax adds a stronger barrier after oiling. Use beeswax or a blend made for cutting boards.
Follow these tips for best results:
- Warm the wax slightly to soften it before use.
- Apply a thin layer over the oiled board with a cloth.
- Rub the wax in small circles to cover the entire surface.
- Let the wax sit for 10 minutes before buffing.
- Buff with a clean cloth until the surface feels smooth and shiny.
- Wax the board every 1-2 months to maintain protection.
Drying And Curing Times
| Sealant Type | Drying Time | Curing Time |
|---|---|---|
| Mineral Oil | 20-30 minutes | 24 hours |
| Cutting Board Oil (Mixed) | 30 minutes | 24-48 hours |
| Beeswax | 10 minutes | 12 hours |
Maintaining The Sealed Board
Sealing a wood cutting board protects it from moisture and damage. Keeping the seal intact needs regular care. This guide helps you maintain your board for a long time.
Follow simple steps to keep your board clean, oiled, and safe from harm. These tips will help the wood stay strong and look good.
Regular Oiling Schedule
Oiling your cutting board keeps the wood from drying out and cracking. Apply oil once every few weeks or more if you use the board often.
- Clean the board and dry it well before oiling.
- Use food-safe mineral oil or beeswax products.
- Pour a small amount of oil onto the board.
- Rub the oil in using a clean cloth in circular motions.
- Let the oil soak in for several hours or overnight.
- Wipe off any extra oil with a dry cloth.
Cleaning After Use
Cleaning your board properly removes food particles and bacteria. Avoid soaking or washing in a dishwasher.
| Cleaning Method | Instructions |
|---|---|
| Hand Wash | Use warm water and mild soap. Scrub with a sponge. |
| Rinse | Rinse quickly with water. Do not soak. |
| Dry | Pat dry with a towel. Stand upright to air dry fully. |
Avoiding Damage
Protect your cutting board from damage by following these simple rules. This will extend the life of your sealed board.
- Do not cut on the board with very sharp or serrated knives aggressively.
- Avoid leaving the board in water or damp places.
- Keep the board away from extreme heat or direct sunlight.
- Use both sides of the board to prevent uneven wear.
- Do not use harsh chemicals or bleach for cleaning.
Troubleshooting Common Issues
Sealing a wood cutting board protects it and makes it last longer. Sometimes problems happen after sealing. These issues can affect how the board looks and feels.
Here are common problems and ways to fix them. Understanding these helps keep your cutting board in good shape.
Sticky Or Tacky Surface
A sticky or tacky surface means the finish did not dry properly. This can happen if too much oil or sealant was applied or if the drying time was too short.
- Remove excess oil using a clean cloth.
- Let the board dry in a warm, dry place for 24 to 48 hours.
- If the stickiness remains, lightly sand the surface with fine-grit sandpaper.
- Apply a thin layer of sealant again and allow full drying time.
Fading Or Discoloration
Fading or discoloration happens when the board is exposed to sunlight or harsh cleaners. It can also occur if the sealant is not food-safe or wears off over time.
| Cause | Fix |
| Sunlight Exposure | Store the board away from direct sun. |
| Harsh Cleaners | Clean with mild soap and water only. |
| Worn Sealant | Reapply food-safe oil or finish. |
Cracks And Warping
Cracks and warping occur when the wood dries too fast or absorbs too much water. This damages the board and affects its use.
Tips to prevent cracks and warping:
- Do not soak the board in water.
- Dry the board thoroughly after washing.
- Apply oil regularly to keep wood hydrated.
- Store the board flat in a dry area.

Credit: www.smorhome.com
Frequently Asked Questions
How Often Should I Seal A Wood Cutting Board?
Seal your wood cutting board every 3 to 4 weeks. Regular sealing prevents moisture damage and keeps the wood durable. This maintenance enhances the board’s lifespan and ensures safe food preparation.
What Is The Best Sealant For Wood Cutting Boards?
Food-grade mineral oil is the best sealant for wood cutting boards. It’s safe, non-toxic, and penetrates deeply to protect wood fibers. Avoid vegetable oils as they can go rancid and damage the board.
Can I Use Beeswax To Seal My Cutting Board?
Yes, beeswax is excellent for sealing wood cutting boards. It creates a protective barrier that repels water and adds shine. Often combined with mineral oil, beeswax enhances durability and maintains a natural finish.
Should I Clean The Board Before Sealing It?
Always clean your cutting board thoroughly before sealing. Use warm, soapy water, then dry completely to remove moisture. This ensures the sealant adheres properly and prevents bacteria growth under the surface.
Conclusion
Sealing a wood cutting board keeps it safe and lasting longer. Use food-safe oil or wax for best results. Apply evenly and let it soak in well. Repeat the process regularly to avoid cracks and stains. A well-sealed board stays strong and looks good.
Protect your kitchen tool with simple, easy care steps. This helps maintain hygiene and prevents damage. Keep your cutting board ready for all your cooking needs. Small efforts make a big difference in its life.