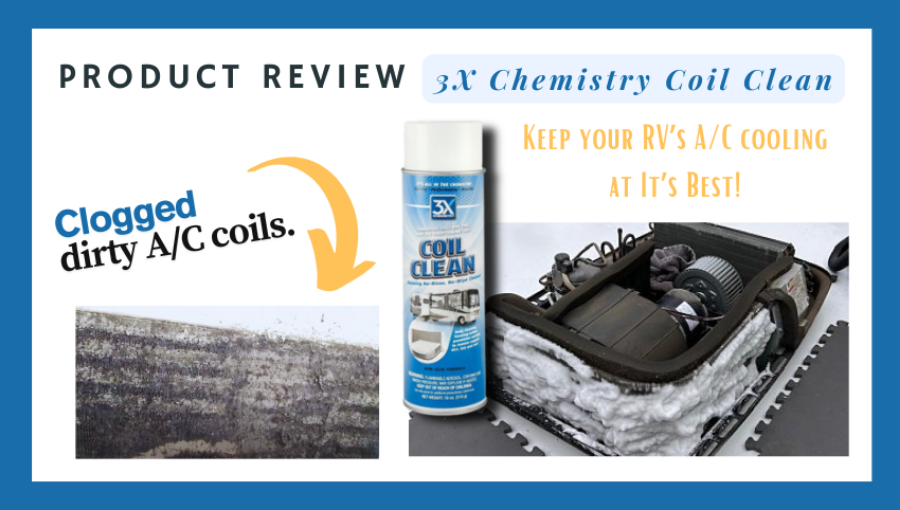
Is your RV air conditioner struggling to keep you cool? A dirty AC can make your travels uncomfortable and even damage your unit over time.
But don’t worry—you can fix this yourself with a little cleaning. In this guide, you’ll discover simple steps to clean your RV air conditioner quickly and effectively. By following these tips, you’ll enjoy fresher air, better cooling, and a longer-lasting AC.
Ready to make your RV’s air conditioner work like new again? Let’s get started!
Tools And Materials Needed
- Screwdriver setto open the AC cover
- Soft brushfor dust removal
- Vacuum cleanerwith a brush attachment
- Mild detergentor soap for cleaning coils
- Spray bottleto apply cleaning solution
- Clean clothsor microfiber towels
- Garden hosefor rinsing (low pressure)
- Protective glovesand eyewear
- Fin combto straighten bent fins
Having these tools makes the cleaning process easier and safer. Always use gentle tools to avoid damage. Keep everything nearby before starting. Safety gear protects you from dirt and chemicals.

Credit: www.rvacunit.com
Safety Precautions Before Cleaning
Always turn off the RV powerbefore cleaning the air conditioner. Unplugging the unit prevents electric shocks. Wear gloves and safety glassesto protect your hands and eyes. Avoid using water near electrical parts to stop short circuits. Make sure the area is well ventilatedto avoid breathing dust or cleaning chemicals. Check the air conditioner’s manual for any specific cleaning warnings. Never clean the unit during rain or wet weather. Keep children and pets away from the workspace to prevent accidents. Use a stable ladderif you need to reach the roof unit. Taking these steps helps keep you safe and your RV air conditioner working well.
Removing The Air Conditioner Cover
Start by turning off the RV’s power to the air conditioner. This is important for safety. Use a screwdriver to remove the screws holding the cover. Keep the screws in a safe place to avoid losing them. Gently lift the cover off to avoid damaging any parts. If the cover feels stuck, check for hidden screws or clips. Clean the cover with a soft cloth and mild soap if needed. Avoid using harsh chemicals that could damage the cover. Set the cover aside on a clean surface while working on the inside.

Credit: www.rvacunit.com
Cleaning Or Replacing The Air Filter
The air filter in an RV air conditioner is usually behind a panel. Gently push or slide the panel open. The filter will be visible inside. Carefully pull the filter out without bending it.
Use a soft brush or vacuum to remove dust. Wash the filter with warm water and mild soap. Avoid harsh chemicals that can damage the filter. Rinse it well to remove all soap. Let it air dry completely before putting it back.
Replace the filter if it is torn, very dirty, or damaged. A clogged filter reduces air flow and cooling. Check the filter every few weeks during heavy use. A clean filter helps your RV AC run better and last longer.
Cleaning The Evaporator Coils
Use a coil cleanermade for RV air conditioners. Spray it gently on the evaporator coils. Let it sit for a few minutes to break down dirt and dust. Avoid scrubbing hard to prevent damage. Rinse the coils with clean wateror wipe them carefully.
Protect the coils by following these tips:
- Do not use harsh brushesor sharp tools.
- Avoid high-pressure water spraysthat can bend the fins.
- Use only cleaners safe for aluminumcoils.
- Wear gloves and eye protection while cleaning.
Cleaning The Condenser Coils
Start by turning off the RV air conditioner and unplugging it.
Remove any leaves, dirt, or grass stuck on the condenser coils.
Use a soft brush or a vacuum cleaner with a brush attachment to clear debris gently.
Do not use hard tools that can bend or damage the coils.
For stubborn dirt, spray the coils with a coil cleaner or a mild soap solution.
Let the cleaner sit for a few minutes to break down grime.
Rinse the coils carefully with a low-pressure hose to avoid damage.
Allow the coils to dry completely before turning the unit back on.
Clearing The Drainage System
Clearing the drainage system prevents water buildup inside the RV air conditioner. Regular cleaning stops clogs and avoids leaks. Keep the drain lines free for smooth airflow and better cooling.
Locating The Drain Tube
The drain tube is usually found near the base of the air conditioner. It helps water flow out and stops leaks inside the RV. Look for a small pipe or hose that leads outside. This tube can get clogged with dirt or mold. Checking its position carefully makes cleaning easier.
Removing Blockages
Use a soft brush or a pipe cleaner to clear the tube. Gently push any dirt or debris out. Flushing the tube with water can help remove stubborn blockages. Make sure water flows freely through the tube. A blocked drain can cause water damage or bad smells inside the RV.
Reassembling The Air Conditioner
Make sure all parts are dry before reassembling the air conditioner. Use a soft cloth to wipe down the surfaces.
Carefully place the cleaned filters back into their slots. Align the cover properly to avoid gaps.
- Check that screws and clips are secure but not too tight.
- Reconnect any wires or hoses you removed earlier.
- Test the unit briefly to ensure it runs smoothly.
Take your time. Rushing can cause damage or poor fitting. A well-assembled unit works better and lasts longer.
Maintaining Your Rv Air Conditioner
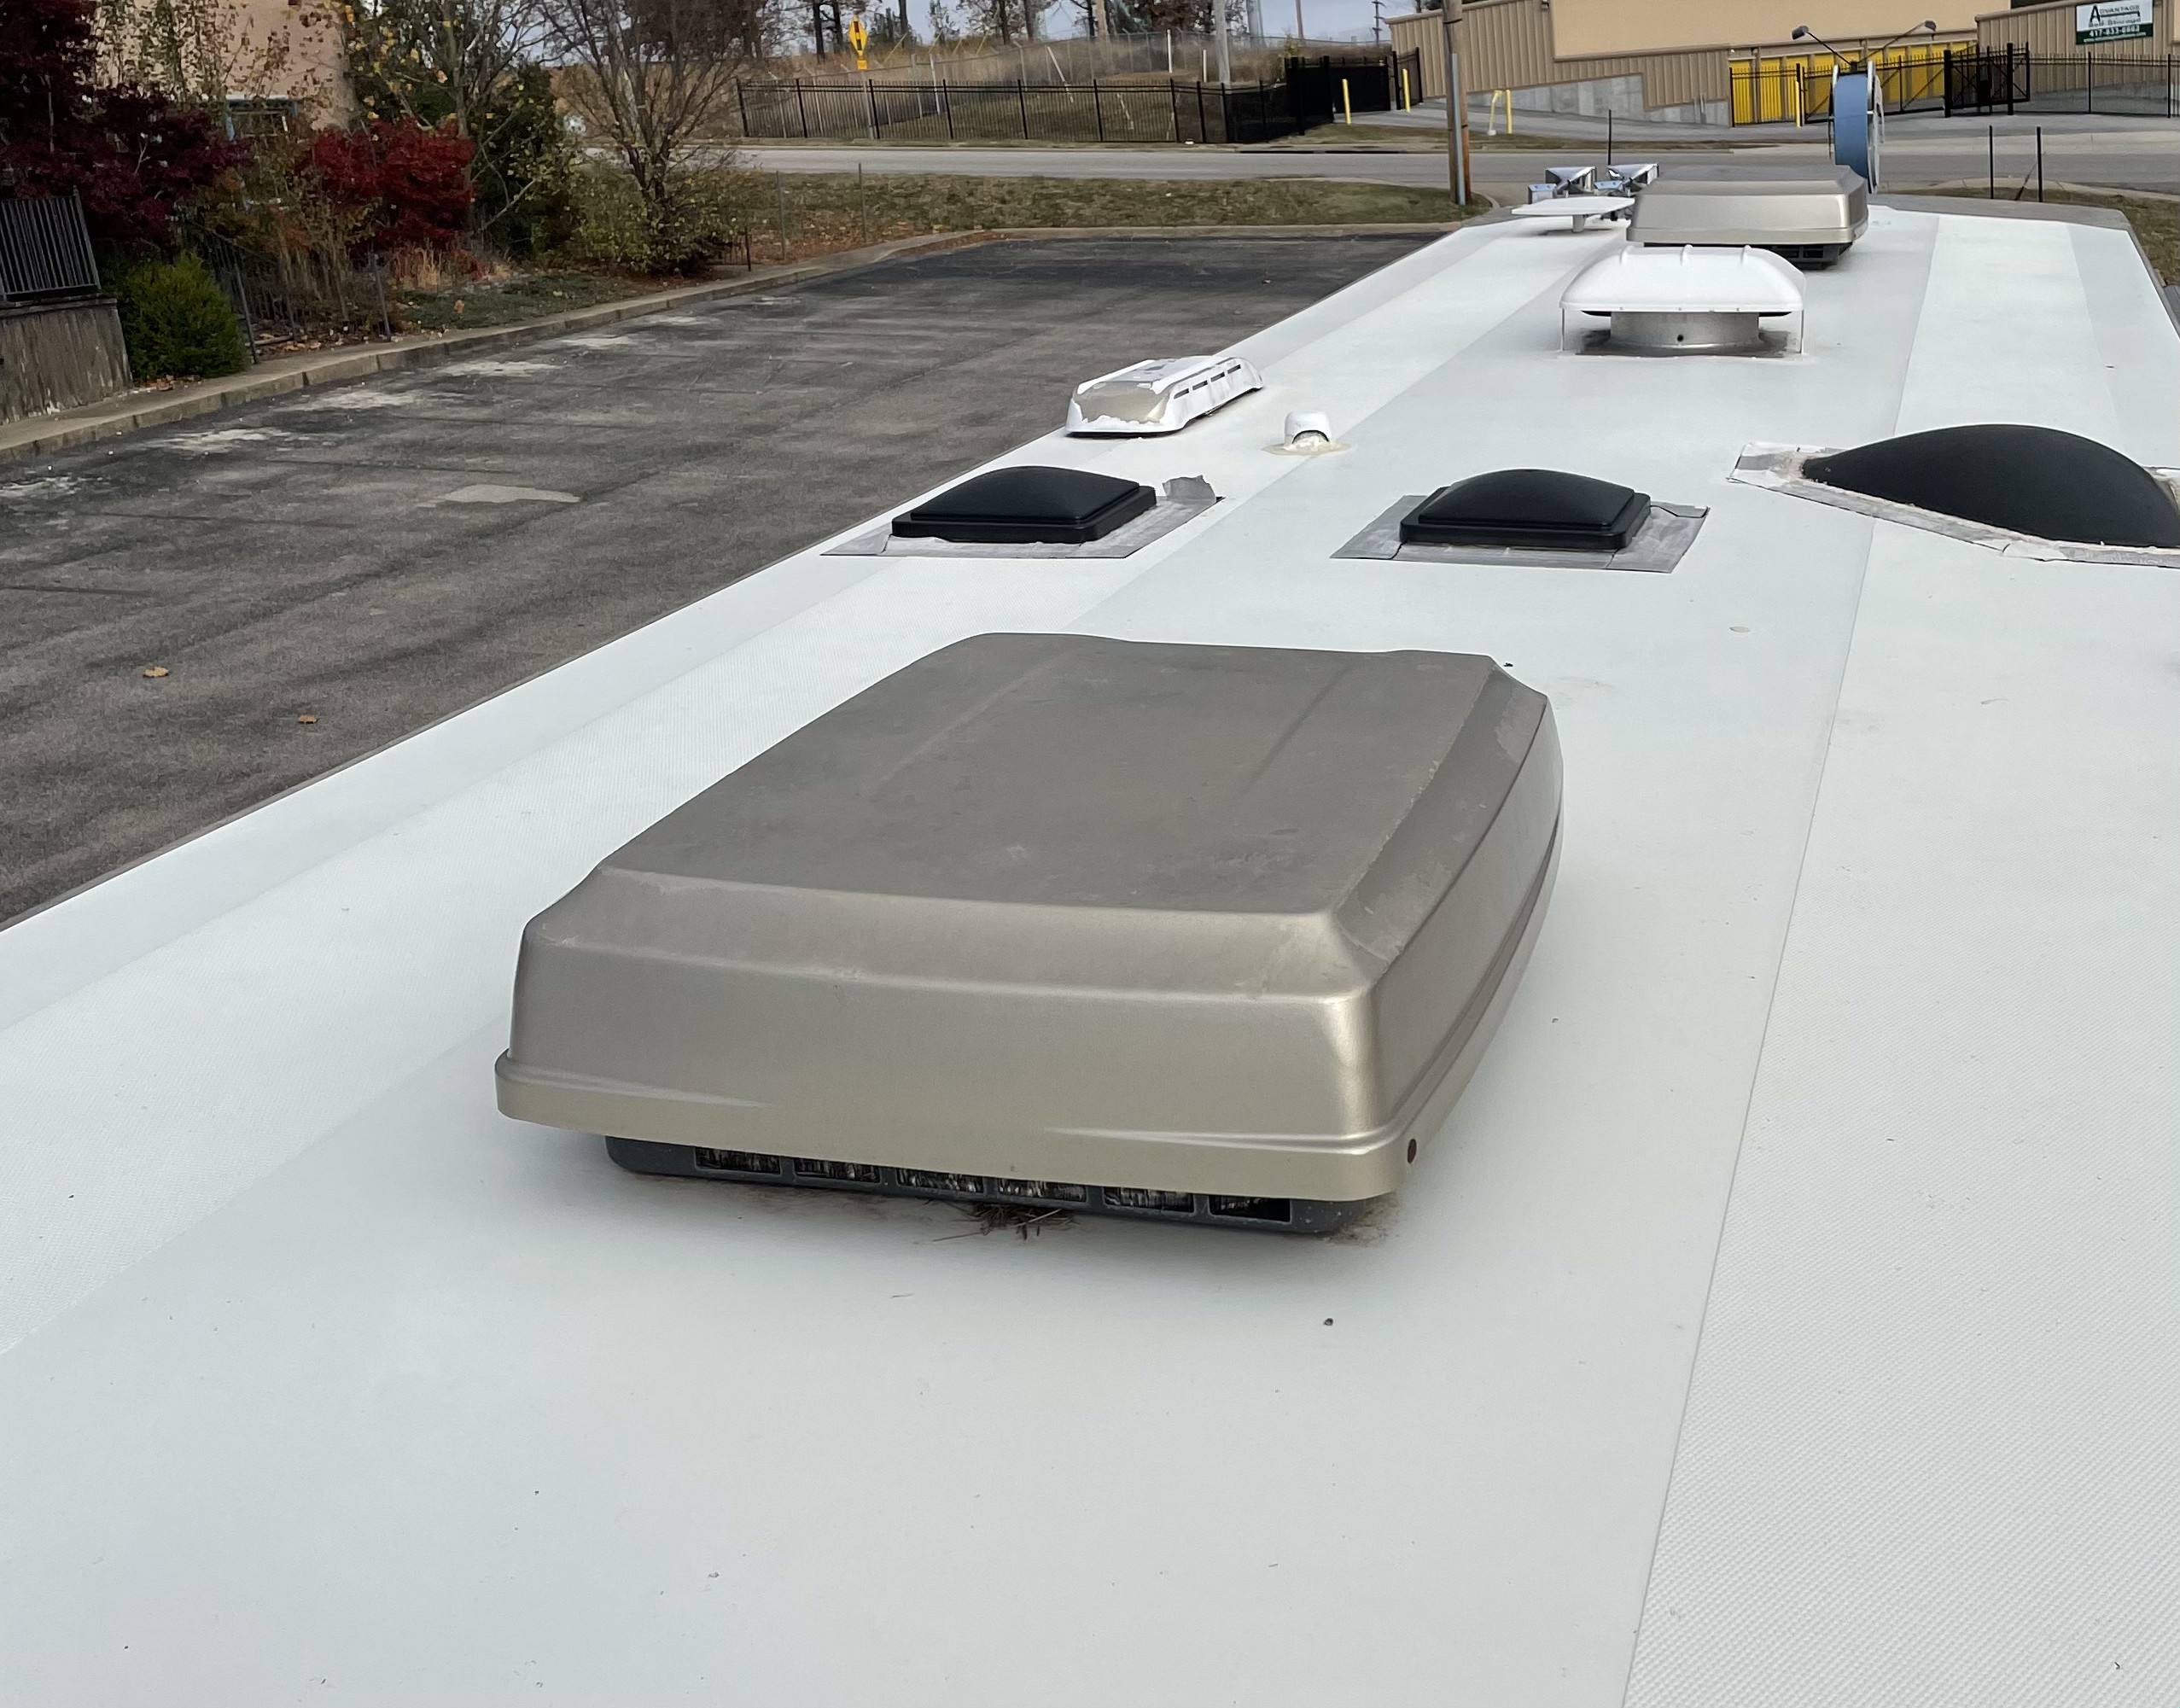
Keeping your RV air conditioner clean helps it work betterand last longer. Dust and dirt block airflow and reduce cooling power. Cleaning every few weeks during travel season is best.
Start by turning off the unit and unplugging it. Remove the filtersand wash them with warm, soapy water. Let them dry completely before putting them back. Use a soft brush or cloth to clean the fins and vents gently.
Check the drain pan and tube for clogs. Clear any debris to avoid water buildup. This stops bad smells and damage.
- Check and clean filters every two weeks.
- Keep fins and vents free from dust.
- Clear drain pan and tube regularly.
- Use a vacuum or soft brush for cleaning.
For better cooling, park your RV in the shade when possible. Keep doors and windows closed while the AC runs. Use curtains to block sunlight. This helps the air conditioner cool faster and saves energy.
Credit: rvhelp.com
Frequently Asked Questions
How Often Should I Clean My Rv Air Conditioner?
Clean your RV air conditioner at least twice a year. Regular cleaning prevents dust buildup and improves cooling efficiency. Check and clean filters monthly during heavy use to maintain good airflow and reduce energy consumption.
What Tools Do I Need To Clean An Rv Ac?
You need a screwdriver, soft brush, vacuum, coil cleaner, and fin comb. These tools help safely remove debris, clean coils, and straighten bent fins for optimal performance.
Can I Clean My Rv Ac Filter Myself?
Yes, you can clean the filter yourself. Remove it carefully, wash with mild soap and water, and let it dry completely before reinstalling. Regular filter cleaning improves air quality and system efficiency.
How Do I Clean The Evaporator Coil In An Rv Ac?
Turn off the power, access the coil, and spray with a no-rinse coil cleaner. Let it sit to dissolve dirt, then wipe gently. Clean coils enhance cooling and reduce energy use.
Conclusion
Cleaning your RV air conditioner keeps it working well all summer. Regular care stops dirt and dust from building up inside. Clean filters and coils help cool the air better. You save money by avoiding costly repairs later. A clean unit also lasts longer and runs quietly.
Take small steps often to keep your AC fresh. Enjoy cool, fresh air on every trip. Simple actions make a big difference for your RV comfort.