
Are you tired of your car seats looking worn out or stained? Making your own car seat covers can save you money and give your vehicle a fresh, personalized look.
Imagine driving with seats that feel brand new, protected from spills, dirt, and everyday wear. In this guide, you’ll learn simple, step-by-step instructions to sew car seat covers that fit perfectly and last long. Whether you’re a beginner or just want a quick project, this article will help you transform your car’s interior with confidence.
Keep reading, and you’ll discover how easy it is to upgrade your ride on your own.
Materials And Tools Needed
Sewing car seat covers needs the right materials and tools. Using good supplies makes the process easier.
This guide lists what you need to start making seat covers at home.
Selecting Fabric Types
Picking the right fabric is important for durability and comfort. Choose fabrics that can handle wear and tear.
Look for fabrics that resist stains and are easy to clean for car seats.
- Leather or faux leather: Durable and easy to wipe clean
- Neoprene: Water-resistant and soft
- Canvas: Strong and breathable
- Velour: Soft and comfortable but less durable
- Polyester blends: Affordable and stain-resistant
Essential Sewing Tools
You need basic sewing tools to make clean and strong seams. These tools help you cut and sew with control.
- Sewing machine with heavy-duty needles
- Fabric scissors or rotary cutter
- Measuring tape
- Pins or clips to hold fabric
- Seam ripper for corrections
- Marking tools like chalk or fabric pens
Additional Supplies
Extra supplies help finish the seat covers neatly and fit them well. Some parts need special items.
- Thread that matches or contrasts the fabric
- Foam or batting for padding
- Velcro strips or zippers for closures
- Elastic bands for a snug fit
- Pattern paper for cutting shapes
- Spray adhesive to hold layers together
Measuring Your Car Seats
Measuring your car seats correctly is key to sewing covers that fit well. You need to take careful measurements before cutting any fabric.
This guide helps you measure your car seats clearly and record the numbers properly. It also gives tips for tricky seat shapes.
Taking Accurate Measurements
Use a flexible tape measure for best results. Measure the width, height, and depth of each seat part. Include the seat back, seat bottom, and headrest if possible.
- Start at the widest part of the seat bottom.
- Measure straight across the seat back.
- Check the height from the bottom to the top.
- Measure armrests separately if needed.
- Double-check all measurements for accuracy.
Recording Dimensions
Write down all measurements clearly. Use a table to organize the data by seat part and dimension. This helps avoid mistakes later.
| Seat Part | Width (inches) | Height (inches) | Depth (inches) |
|---|---|---|---|
| Seat Bottom | |||
| Seat Back | |||
| Headrest | |||
| Armrest |
Tips For Complex Seat Shapes
Some seats have curves or unusual shapes. Use these tips to measure those correctly.
- Use a flexible tape to follow curves closely.
- Take extra measurements of any bulges or indents.
- Sketch the seat shape and mark the measurements.
- Measure each section separately if the seat has parts.
- Consider adding 1–2 inches to allow fabric ease.
Creating A Pattern
Making a pattern for car seat covers helps you cut fabric correctly. It ensures the cover fits well and looks neat.
This guide shows how to draft templates, adjust the fit, and cut the fabric for your seat covers.
Drafting Templates
Start by measuring your car seat’s height, width, and depth. Use a tape measure to get accurate numbers.
- Measure the front, back, and sides of the seat.
- Write down each measurement clearly.
- Use paper or cardboard to draw the seat shape.
- Cut out the shapes to make your templates.
Adjusting For Fit
After drafting, check the templates on the seat. Make small changes to improve the fit and comfort.
| Adjustment Area | Action |
| Seat Width | Add 1 inch for seams |
| Seat Height | Subtract 0.5 inch for snug fit |
| Side Panels | Widen if seat curves out |
| Backrest | Lengthen if taller than average |
Cutting The Fabric
Lay your fabric flat and place the templates on top. Pin the templates so they do not move.
Use sharp scissors or a rotary cutter for clean edges. Follow these tips:
- Cut slowly along the template edges.
- Leave extra fabric for seams.
- Mark any darts or folds with tailor’s chalk.
- Keep fabric smooth to avoid mistakes.

Credit: www.fleecefun.com
Sewing The Seat Covers
Sewing car seat covers needs patience and attention to detail. The process includes stitching, assembling, and reinforcing pieces.
Each step shapes the cover to fit the seat perfectly and last a long time. Let’s look at the key parts of sewing seat covers.
Stitching Techniques
Use strong stitches to hold the fabric firmly. Straight stitches work well for most seams. Backstitch at the start and end to secure threads.
- Use a heavy-duty needle for thick fabrics.
- Keep stitch length medium to avoid weak seams.
- Sew slowly to maintain straight lines.
- Press seams open to reduce bulk.
Assembling Cover Pieces
Put the cut fabric pieces together before sewing. Align edges and pin them to hold in place. Check that all parts match the seat shape.
| Piece | Position | Notes |
| Seat bottom | Bottom cushion | Fit tightly around edges |
| Seat back | Backrest | Allow room for headrest |
| Side panels | Sides of seat | Match curves carefully |
| Headrest cover | Top of seat | Use elastic for snug fit |
Adding Reinforcements
Reinforce areas that face stress and wear. Use extra fabric or patches. Double stitch edges to prevent tearing.
Here are common reinforcement spots:
- Seat edges and corners
- Where seat belt passes through
- Areas that touch door handles
- Under the seat where friction occurs
Fitting And Installing Covers
Sewing car seat covers adds style and protection to your seats. Proper fitting and installation are key for a neat look and comfort.
This guide covers how to secure the covers, adjust them for comfort, and add final touches to complete the job.
Securing Covers On Seats
Start by slipping the cover over the seat carefully. Make sure the fabric fits snugly around the edges.
- Pull the cover down over the seat back and bottom.
- Use hooks or straps included with the cover to hold it in place.
- Fasten straps under the seat to prevent slipping.
- Tuck extra fabric into seat crevices for a smooth look.
Adjusting For Comfort
After securing, adjust the cover to avoid wrinkles and bunching. This helps keep the seat comfortable and attractive.
- Sit on the seat and check for tightness.
- Smooth out any folds or creases by pulling the fabric gently.
- Make sure the cover does not block seat controls or airbags.
- Check if the cover allows full seat movement.
Final Touches
Finish by securing any loose ends and ensuring a clean fit. Small details make a big difference in appearance.
| Area | What to Check | Tips |
|---|---|---|
| Seat Edges | Cover fits tightly | Tuck fabric well |
| Seat Belt Openings | Access is clear | Cut carefully if needed |
| Headrest | Cover fits securely | Attach straps or fasteners |
| Seat Controls | Unblocked and usable | Adjust cover placement |

Credit: www.fleecefun.com
Maintenance And Care Tips
Keeping your car seat covers clean and in good shape helps them last longer. Proper care makes your covers look fresh and protects the fabric.
Follow simple steps to clean, repair, and maintain your seat covers. This guide offers easy tips anyone can use.
Cleaning Instructions
Regular cleaning removes dirt and stains. Use a soft brush or cloth to avoid damage. Spot clean with mild soap and water. Avoid harsh chemicals that can fade colors.
- Vacuum the covers weekly to remove dust.
- Use mild detergent for hand washing.
- Air dry covers to prevent shrinking.
- Test cleaning products on a small area first.
Repairing Minor Damages
Small tears or loose seams can get worse if not fixed. Fix minor issues quickly with simple tools. Sewing kits and fabric glue work well for repairs.
- Trim loose threads carefully.
- Use a needle and thread to sew small tears.
- Apply fabric glue for quick fixes on non-sewable spots.
- Check repairs regularly to catch new damage early.
Extending Cover Lifespan
Proper use and storage help your seat covers last longer. Avoid direct sunlight and sharp objects. Store covers clean and dry when not in use.
| Tip | Reason |
| Keep covers out of direct sunlight | Prevents fading and fabric damage |
| Avoid eating or drinking in the car | Reduces stains and spills |
| Remove covers for deep cleaning occasionally | Keeps fabric fresh and dirt-free |
| Store covers in a cool, dry place | Prevents mold and mildew growth |
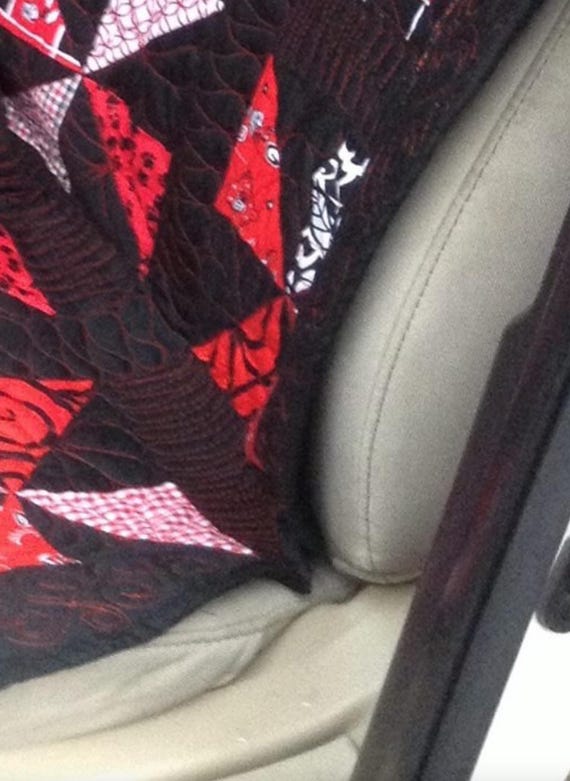
Credit: www.etsy.com
Frequently Asked Questions
How Do I Measure Car Seats For Covers?
Measure the seat width, height, and depth accurately. Include headrests and armrests if applicable. Use a flexible tape for precise measurements to ensure a perfect fit for your car seat covers.
What Materials Are Best For Sewing Car Seat Covers?
Choose durable fabrics like neoprene, leather, or heavy-duty polyester. These materials resist wear and provide comfort. They are also easy to clean and maintain, making them ideal for car seat covers.
Can I Sew Car Seat Covers Without A Sewing Machine?
Yes, hand sewing is possible but time-consuming. Use strong thread and tight stitches for durability. However, a sewing machine ensures faster, neater, and more secure seams for car seat covers.
How Do I Attach Car Seat Covers Securely?
Use elastic bands, Velcro straps, or hooks to attach covers. Ensure they fit snugly without slipping. Proper attachment keeps the covers in place during use and maintains a clean look.
Conclusion
Sewing car seat covers can save money and add style. Follow the steps carefully for the best fit. Choose the right fabric to match your car’s interior. Take your time cutting and sewing each piece. Practice makes perfect, so don’t rush the process.
Enjoy the satisfaction of a job well done. Your car feels fresh and looks unique. Keep your seats protected from spills and wear. Try this project and see how fun sewing can be.