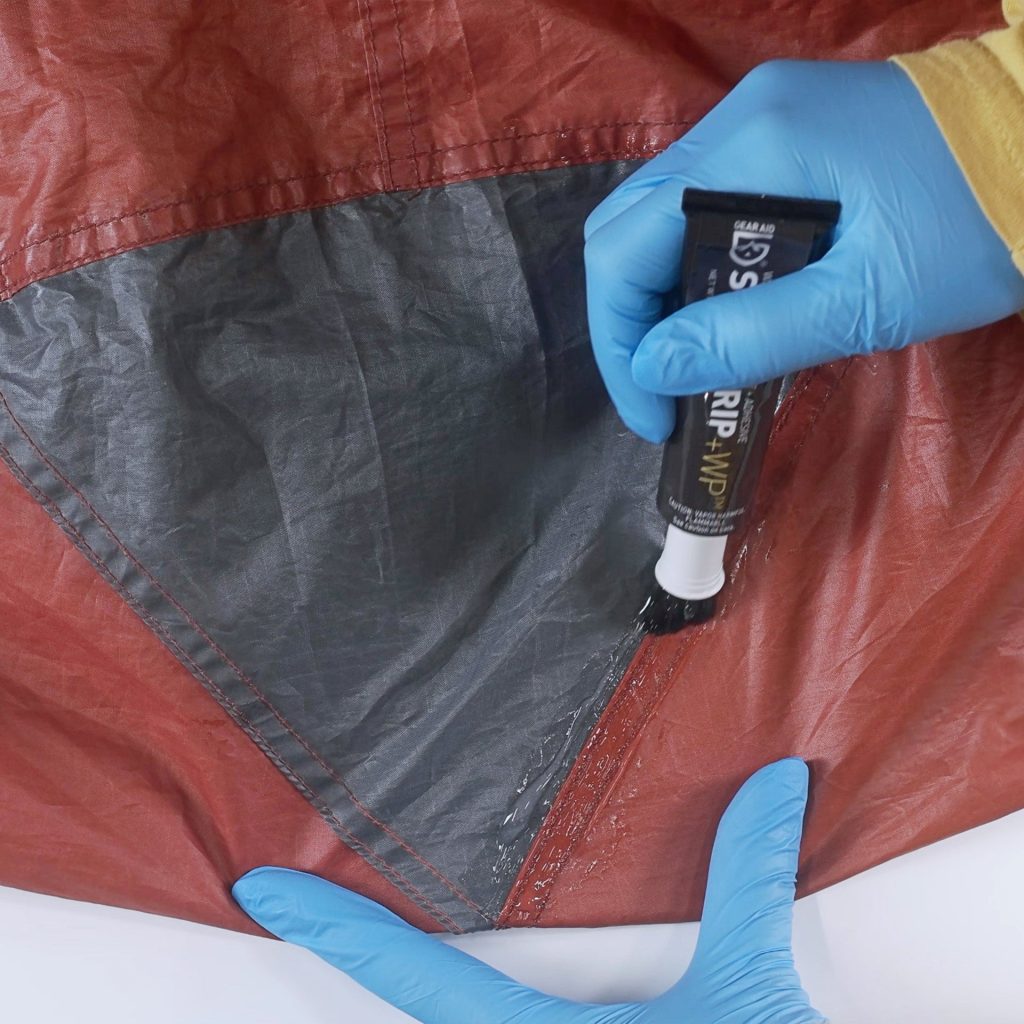
Have you ever been out camping when your tent suddenly rips? It’s frustrating and can ruin your entire trip.
But don’t panic—fixing a tent rip is easier than you think. With the right steps, you can quickly repair the damage and get back to enjoying your adventure. In this guide, you’ll learn simple, effective ways to fix your tent rip, save your gear, and stay dry no matter where you are.
Keep reading, and you’ll be ready to handle any tear with confidence.
Identify The Rip Type
Knowing the type of rip helps you fix your tent correctly. Different tears need different repairs.
Look closely at the damage before you start fixing. This saves time and makes the repair last longer.
Pinholes And Small Tears
Pinholes are tiny holes that often happen from sharp objects or wear. Small tears are short cuts or splits in the fabric.
These rips are easy to spot and usually need simple patching or sealing. Clean the area before applying any patch.
- Check for leaks by shining a light inside the tent
- Use fabric repair tape or sealant for pinholes
- Apply patches slightly bigger than the tear
Large Rips And Gashes
Large rips are long or wide cuts that expose the inner layers. Gashes may have jagged edges that weaken the fabric.
Fixing these needs stronger materials and careful stitching. You might need a special patch or extra sewing thread.
- Trim loose threads around the rip
- Use heavy-duty fabric patches for strength
- Sew around the edges before applying glue or tape
- Check the repair after drying to ensure it holds
Seam Failures
Seam failures happen when the stitching comes undone or the fabric pulls apart at the seams. This can cause large openings.
Fixing seam failures requires re-stitching and sealing the seam tape. Use a strong thread and waterproof tape for best results.
- Remove old thread carefully from the seam
- Use a needle and strong thread to sew the seam back
- Apply seam sealer or tape on the inside for waterproofing
- Press the seam flat and let it dry completely

Credit: nosopatches.com
Gather Repair Materials
Fixing a rip in your tent needs the right materials. Gather everything before you start.
Having the right tools makes the repair easier and stronger. This guide covers what you need.
Tent Repair Kits
Tent repair kits include many useful tools for fixing rips. They often come with patches and glue.
These kits are made for tent fabrics. They help you fix small and large tears quickly.
- Waterproof patches
- Fabric glue or adhesive
- Sandpaper for roughening fabric
- Instruction guide
Adhesive Tapes And Patches
Adhesive tapes and patches are simple ways to cover rips. They stick well to tent fabric.
Choose tapes and patches made for outdoor gear. They resist water and stay strong in wind.
- Ripstop tape for small cuts
- Vinyl or nylon patches for larger tears
- Double-sided tape for extra hold
- Clear tape to keep repair less visible
Needles And Thread
Needles and thread help sew rips that tape cannot fix. Use strong thread made for tents.
Choose heavy-duty needles that can pierce thick fabric. Polyester thread is best for outdoor use.
- Heavy-duty sewing needles
- Polyester or nylon thread
- Thimble to protect your finger
- Small scissors for trimming
Prepare The Tent Surface
Fixing a tent rip starts with preparing the surface. A clean and smooth area helps patches stick better. Take time to get this right for a lasting repair.
Follow these simple steps to clean and trim the damaged spot. This guide will show you how to get your tent ready for patching.
Clean And Dry The Area
Remove dirt and moisture from the rip and its surroundings. Dirt can stop glue from holding well. Water weakens patch adhesives. Use these tips:
- Brush off loose dirt with a soft cloth or brush
- Wipe the area gently with a damp cloth
- Let the tent dry completely in the shade
- Avoid direct sunlight to prevent fabric damage
Trim Frayed Edges
Cut away loose threads and torn fabric around the rip. This helps create a clean edge for the patch. Use small, sharp scissors carefully. Here is a checklist for trimming:
- Lay the tent flat on a clean surface
- Identify all frayed edges around the rip
- Trim threads close to the fabric edge
- Remove any small fabric pieces that hang loosely
- Keep the rip shape smooth and even
Credit: www.walmart.com
Quick Fixes For Small Rips
Small rips in your tent can cause trouble during camping trips. Fixing them quickly helps keep your tent strong and dry.
This guide shows easy ways to repair small tears. Use simple tools to make your tent ready again fast.
Using Seam Sealer
Seam sealer is a liquid that seals small holes and rips. It stops water from leaking through the tear.
First, clean the torn area and dry it well. Then, apply seam sealer over the rip with a brush or your finger. Let it dry fully before using the tent.
- Clean and dry the rip area
- Apply seam sealer evenly on the tear
- Wait for it to dry completely
- Check the seal before camping
Applying Tape Patches
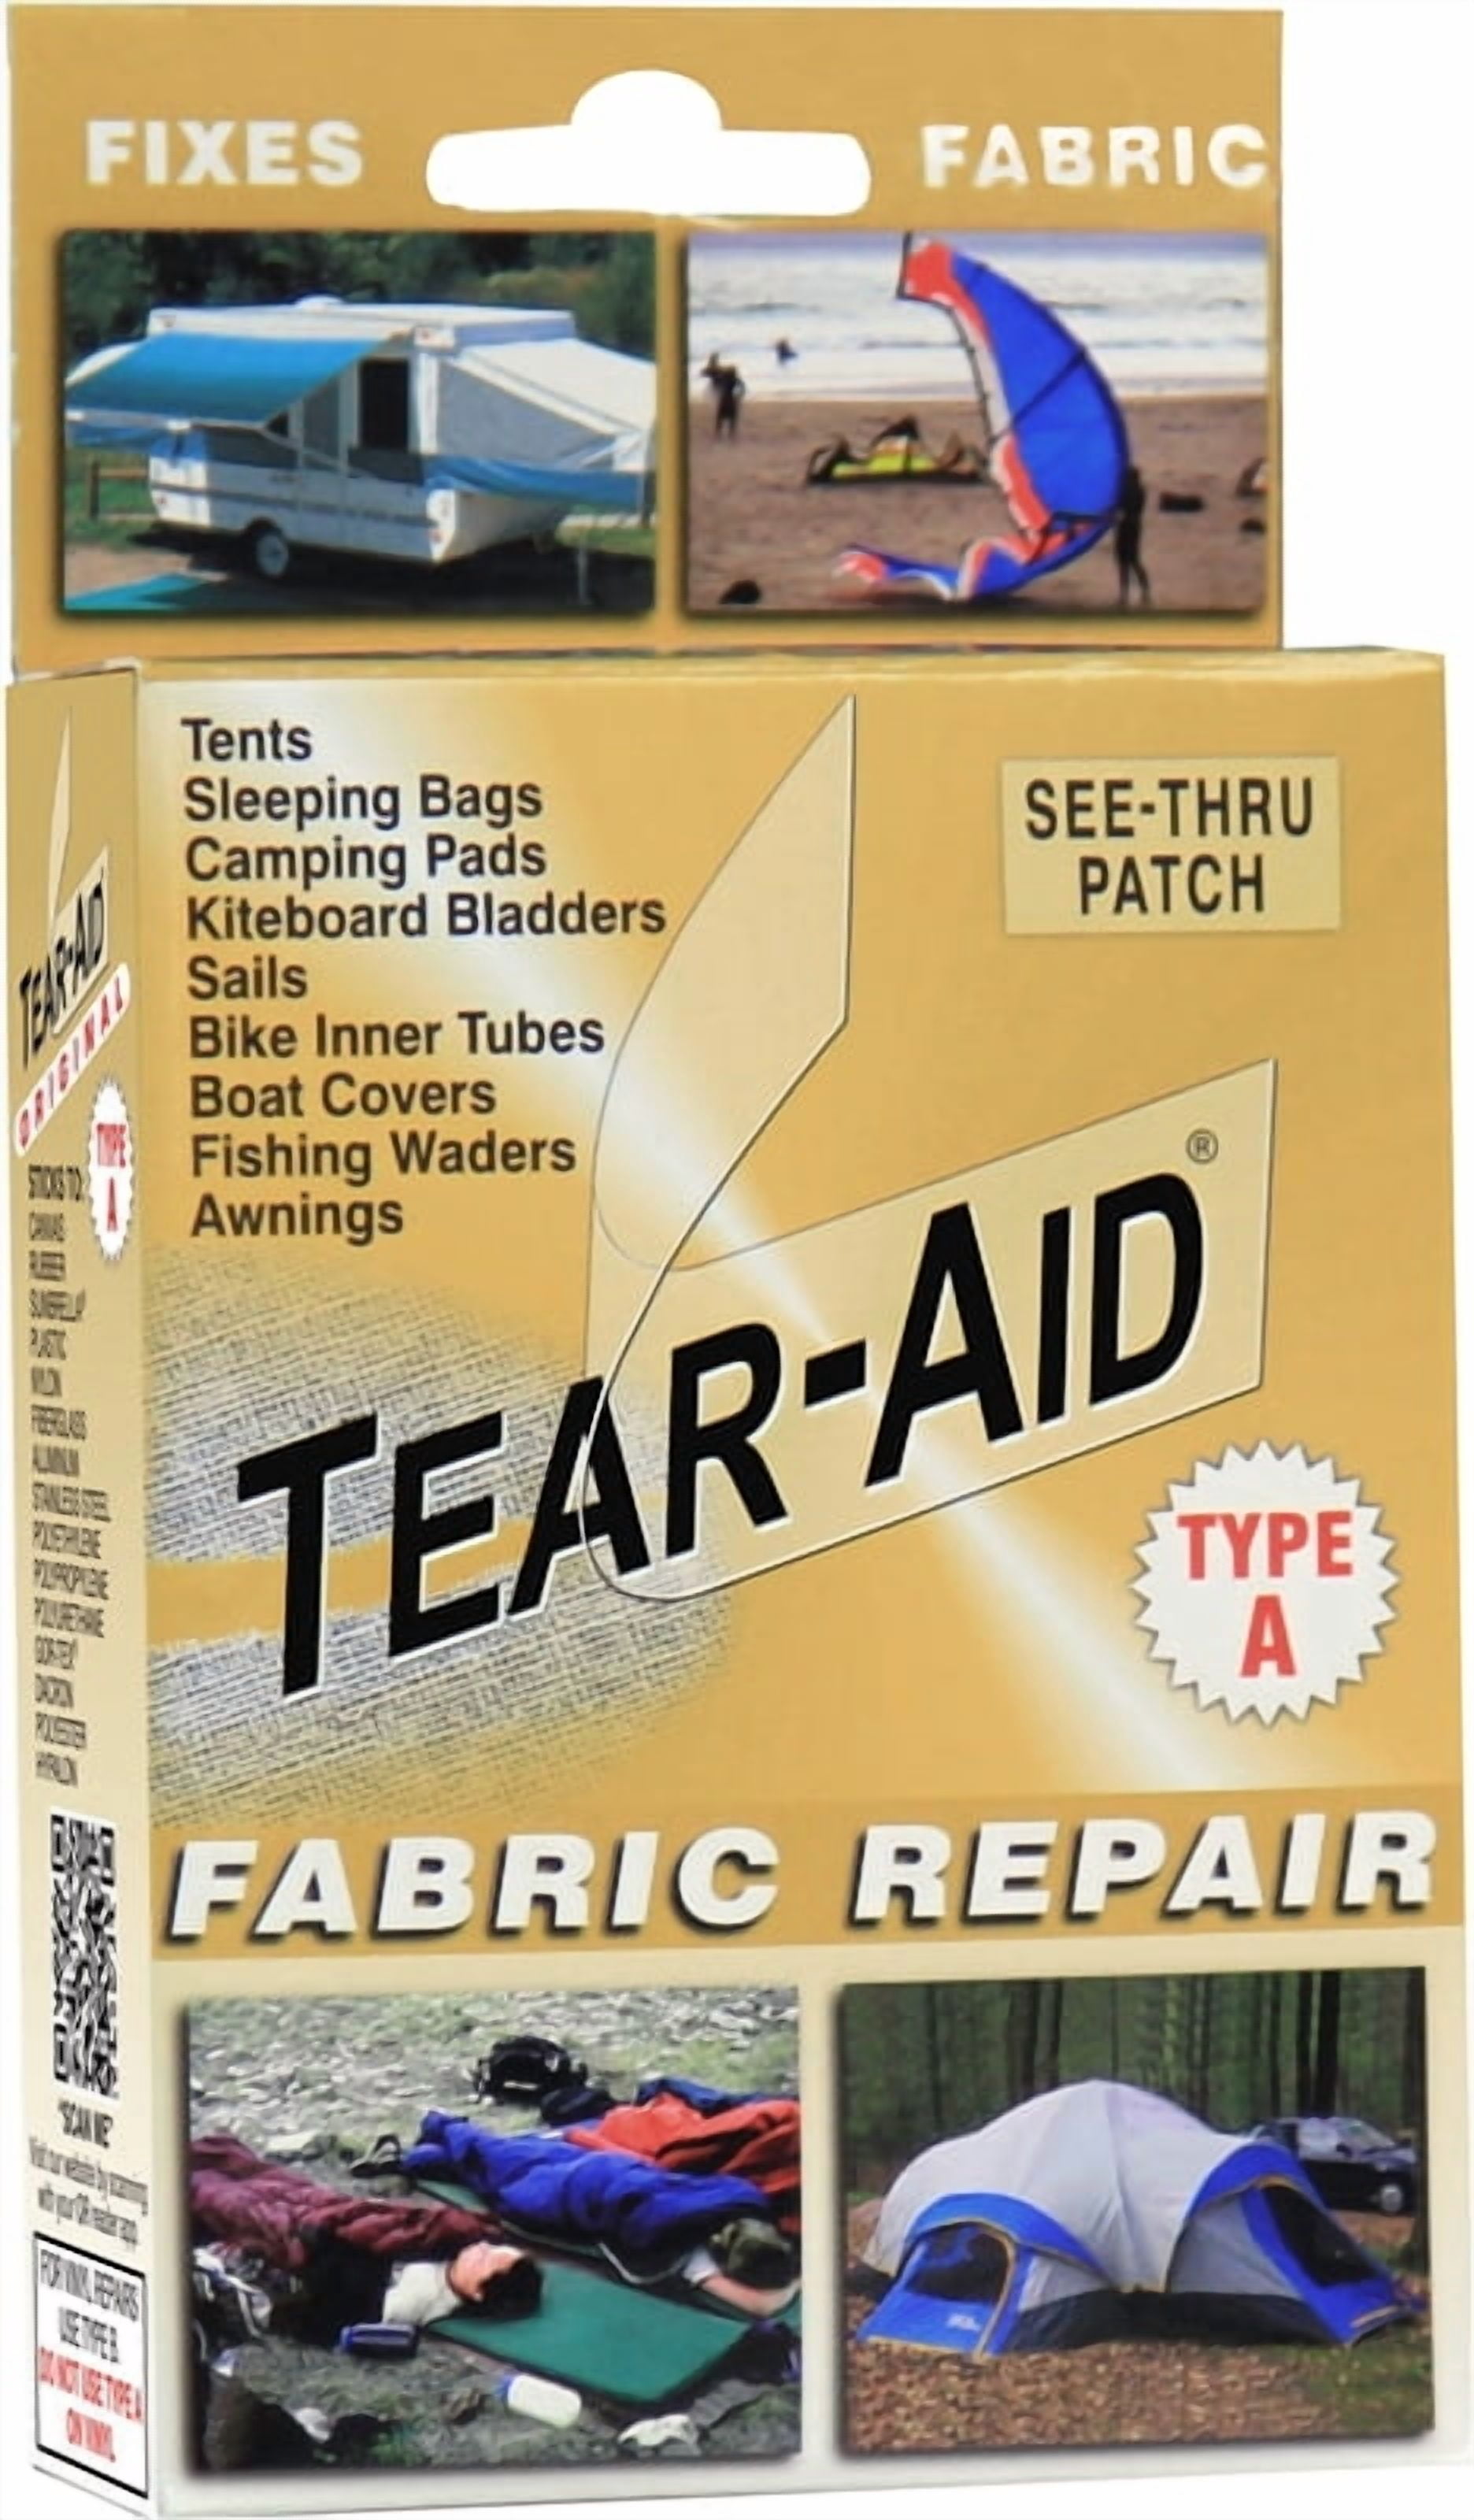
Tape patches are quick and strong fixes for small tears. Use special tent repair tape for best results.
Cut a patch slightly larger than the rip. Clean and dry the area, then press the tape patch firmly over the tear. Smooth out any bubbles for a tight seal.
- Clean and dry the torn area well
- Cut tape patch bigger than rip
- Place patch over the rip and press firmly
- Remove air bubbles by smoothing patch
- Let patch set before using the tent
Repairing Larger Tears
Larger tears in a tent need strong repairs to keep the tent safe and dry. Fixing them well stops water from getting inside.
Use good tools and careful steps to make the tent last longer. Two main ways to repair bigger rips are sewing and using iron-on patches.
Sewing Techniques
Sewing is a strong way to fix big tears. Use heavy-duty thread and a needle made for tents or outdoor gear.
Make small, tight stitches close to the tear edges. This holds the fabric firmly and stops the rip from growing.
- Clean and dry the area before sewing
- Use a backstitch for strength
- Stitch around the tear and across it
- Tie knots at the start and end
- Seal stitches with waterproof tape or glue
Iron-on Patches
Iron-on patches fix large tears by adding a strong layer over the rip. They are quick and easy to apply.
Choose patches made for outdoor fabrics. Clean the tent surface before applying the patch with heat from an iron or heat press.
- Cut patch bigger than the tear by 1 to 2 inches
- Place patch on inside or outside of the tent
- Use a cloth between iron and patch
- Press iron firmly for 30-60 seconds
- Let patch cool before using tent
Seam Repairs
Fixing a rip in your tent often means repairing the seams. Seams are where two pieces of fabric meet. These areas can wear out or tear over time. Proper seam repairs can keep your tent strong and safe from weather.
Seam repairs include re-stitching and sealing. Both steps help keep your tent waterproof and durable. Below are details on how to do each repair.
Re-stitching Seams
Re-stitching means sewing back the torn or loose seams. Use a needle and strong thread made for outdoor gear. Polyester or nylon thread works best. Choose a thread color that matches your tent fabric.
Sew carefully along the original seam line. Use small, tight stitches to make the repair strong. Avoid big gaps between stitches. This helps stop water from entering the tent through the seam.
- Use strong thread like polyester or nylon
- Sew along the original seam line
- Make small and tight stitches
- Match thread color to the tent fabric
- Use a sewing awl if hand sewing is hard
Seam Sealing For Waterproofing
After sewing, apply seam sealant to keep water out. Seam sealant is a special glue made for tents. It covers the needle holes and fabric edges. This stops leaks and protects your tent from rain.
Clean the seam area before sealing. Let the sealant dry fully for best results. Apply sealant on both the inside and outside of the seam. This adds extra protection from water.
- Choose a sealant made for tent fabrics
- Clean and dry the seam before sealing
- Apply sealant evenly along the seam
- Seal both inside and outside seams
- Let the sealant dry completely
Waterproofing After Repairs
Fixing a rip in your tent is important to keep it strong. After repairing, you need to make it waterproof again. This stops water from getting inside the tent.
Waterproofing protects the fabric and keeps you dry. Using the right products and care helps your tent last longer.
Applying Waterproof Sprays
Waterproof sprays add a protective layer on your tent fabric. They help water roll off instead of soaking in. Use a spray made for tents or outdoor gear.
Clean and dry the tent before spraying. Hold the spray can about 6 to 8 inches away. Apply evenly over the repaired area and surrounding fabric. Let it dry fully before packing the tent.
- Use waterproof spray designed for nylon or polyester
- Spray in a well-ventilated area
- Apply multiple thin coats for best results
- Allow drying time between coats
Maintaining Tent Fabric
Keep your tent fabric clean to help waterproofing last longer. Dirt and oils can reduce the fabric’s ability to repel water. Gently wash your tent with mild soap and water when needed.
Store your tent dry and away from direct sunlight. Sunlight can weaken the fabric and the waterproof coating. Regular checks and care keep your tent ready for your next trip.
- Clean tent fabric after each camping trip
- Dry tent completely before storage
- Store in a cool, dry place
- Reapply waterproof spray every season or after washing
Preventing Future Damage
Fixing a tent rip is important, but preventing new tears saves time and effort. Small rips can grow if you don’t take care. Proper setup and storage help keep your tent strong.
Follow simple tips to protect your tent fabric and seams. This helps your tent last through many camping trips.
Proper Tent Setup
Setting up your tent carefully can prevent stress on the fabric. Avoid placing it on rough or sharp surfaces. Use a ground tarp to protect the floor and keep moisture out.
- Clear the area of rocks, sticks, and debris before pitching.
- Use all the tent stakes to keep the fabric tight and reduce flapping.
- Do not pull the tent fabric too hard; tension should be even.
- Avoid setting up under branches that may fall or scrape the tent.
- Keep zippers clean and free of dirt to avoid tears when opening.
Care And Storage Tips
Proper care and storage protect your tent fabric from damage over time. Make sure the tent is dry before packing it away. Moisture can cause mold and weaken the material.
| Care Task | Tip |
| Drying | Air dry the tent fully before storage |
| Cleaning | Use mild soap and water; avoid harsh chemicals |
| Storage | Store loosely in a cool, dry place, not in a tight bag |
| Inspection | Check for small rips or weak spots before each use |
| Repairs | Fix small holes immediately with patches or seam sealer |
Credit: medium.com
Frequently Asked Questions
How Do I Repair A Small Rip In My Tent?
Use a tent repair patch or fabric tape designed for tents. Clean the area, apply adhesive, and press firmly. Let it dry completely before use to ensure a strong seal and prevent further tearing.
What Materials Are Best For Fixing Tent Rips?
Use ripstop nylon patches or specialized tent repair tape. These materials are lightweight, waterproof, and durable, matching most tent fabrics. Avoid using regular duct tape as it may not hold well or resist weather conditions.
Can I Sew A Rip In My Tent?
Yes, sewing is effective for larger tears. Use a strong, waterproof thread and a curved needle. Stitch carefully, then reinforce with a patch and waterproof seam sealer for added protection against moisture and wear.
How Do I Prevent Tent Rips While Camping?
Set up on smooth ground, avoid sharp objects, and handle tent fabric gently. Regularly inspect your tent and repair small holes promptly to prevent them from growing into larger rips during your trips.
Conclusion
Fixing a tent rip is easier than many think. Small tears need quick attention to stop growing. Use simple tools like patch kits or strong tape. Clean the area before applying any repair. Patience and care help your tent last longer.
A well-fixed tent keeps you dry and safe outdoors. Take time to check your tent after each trip. This helps catch rips before they worsen. Enjoy your camping trips with confidence and comfort.