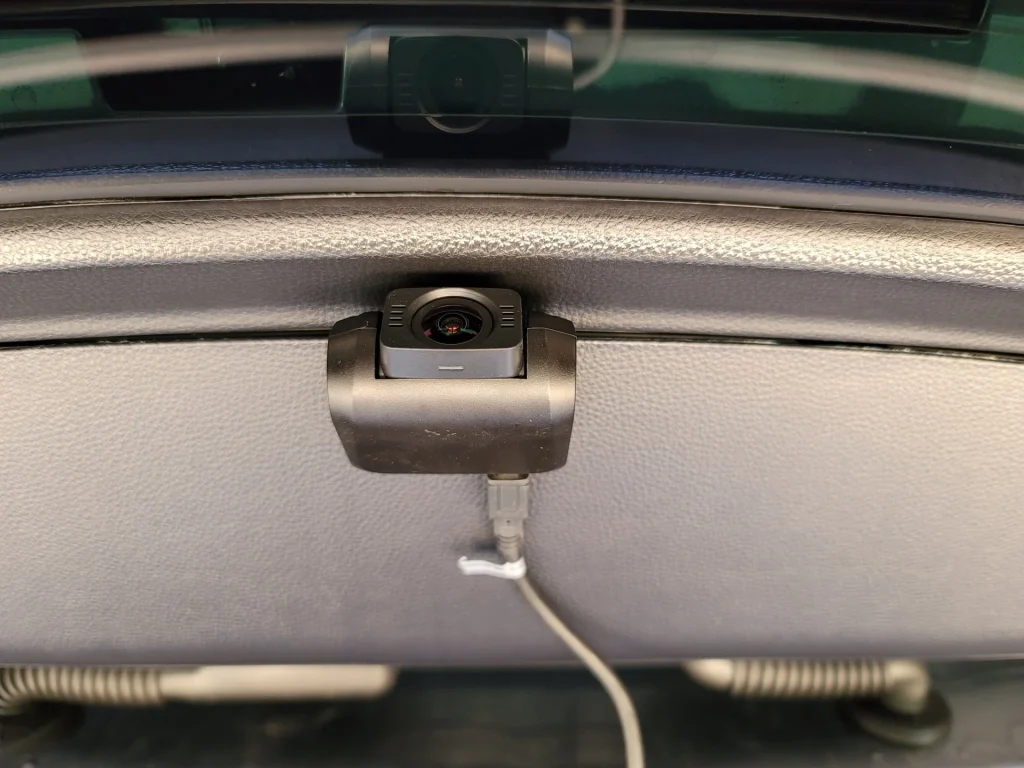
Is your car’s rear camera acting up right when you need it most? It’s frustrating and can even be dangerous.
But don’t worry—you don’t have to be a tech expert or rush to a mechanic just yet. You’ll discover simple, clear steps to fix your rear camera quickly and get back on the road with confidence. Keep reading, because your safety and peace of mind depend on it.
Credit: luview.com
Common Rear Camera Issues
Rear cameras help drivers see behind the car. Sometimes these cameras have problems. Knowing common issues helps you fix them fast.
Here are some usual problems with rear cameras and ways to understand them.
Blurry Or Foggy Image
A blurry or foggy image can make it hard to see what is behind. Dirt, water, or damage on the camera lens often cause this.
Cleaning the lens with a soft cloth can fix the issue. Check if the lens cover is cracked or scratched. If yes, replace it.
No Display On Screen
The screen may stay black or show no image from the rear camera. This problem can be due to loose wires or a blown fuse.
Check the connections at the camera and monitor. Also, inspect the fuse box for any blown fuses and replace them if needed.
Intermittent Signal Loss
The camera image may come and go while driving. This can happen because of loose cables or bad connections.
Secure all cable connections and look for damaged wires. Fix or replace wires that look worn or broken.
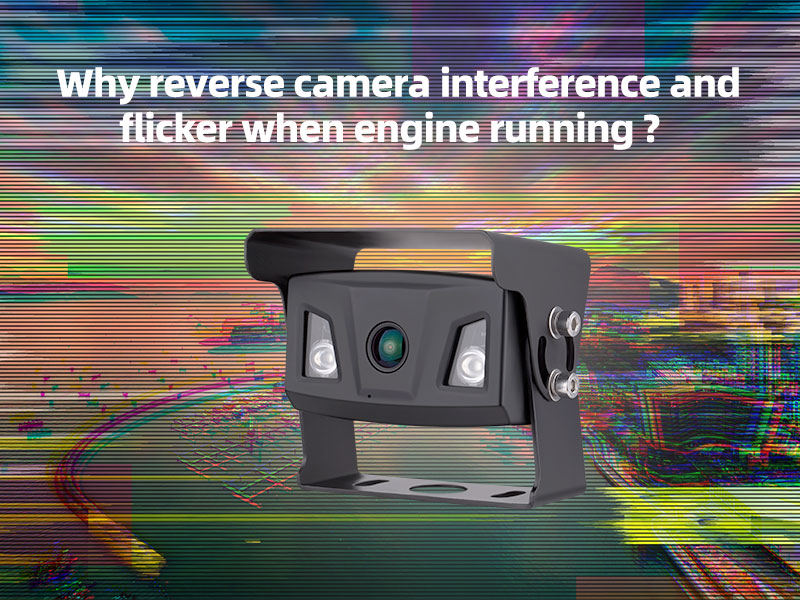
Distorted Or Flickering Video
Video may flicker or appear distorted on the screen. This often happens due to interference or a weak power supply.
Check for nearby devices that may cause interference. Ensure the camera gets a steady power supply without voltage drops.

Credit: luview.com
Tools Needed For Repair
Fixing a rear camera in a car requires the right tools. Using proper tools helps you work safely and efficiently.
Gather all necessary tools before starting the repair. This saves time and prevents damage to parts.
Basic Hand Tools
Basic hand tools let you remove and install camera parts. These tools fit most screws and connectors found in cars.
- Screwdrivers (flathead and Phillips)
- Pliers for gripping and pulling
- Socket wrench set for bolts
- Trim removal tools to avoid damage
- Flashlight to see in tight spaces
Multimeter For Testing
A multimeter helps check electrical parts of the camera. It measures voltage and continuity to find faults.
Using a multimeter, you can test wires and connectors. This tool shows if power reaches the camera.
- Check battery voltage
- Test camera power wires
- Check for broken circuits
- Ensure proper grounding
Cleaning Supplies
Cleaning supplies remove dirt and debris from the camera lens and connectors. Clean parts work better and last longer.
Use gentle cleaners that do not damage electronics. Avoid harsh chemicals that can harm plastic or glass.
- Microfiber cloth for lens cleaning
- Isopropyl alcohol for electrical contacts
- Compressed air to clear dust
- Soft brushes for detailed cleaning
Replacement Parts
Sometimes, you need to replace broken camera parts. Use parts that fit your car model for best results.
Check the camera lens, wiring harness, and connectors. Replacing damaged parts restores camera function.
- Rear camera module
- Wiring harness or cable
- Mounting brackets or screws
- Connectors and clips
Safety Precautions
Fixing a rear camera in your car needs care and attention. Safety is very important to avoid damage or injury.
Follow these safety tips to protect yourself and your vehicle during the repair process.
Disconnecting The Battery
Always disconnect the car battery before starting the repair. This stops electrical shocks and short circuits.
Remove the negative terminal first, then the positive one. This reduces the chance of sparks or damage.
- Use a wrench to loosen the battery terminals
- Wear gloves to protect your hands
- Keep metal tools away from battery terminals
- Place the terminals where they cannot touch the battery
Working In A Safe Environment
Choose a clean, dry place with good lighting to work on your car. This helps you see small parts clearly.
Keep your workspace free of clutter and away from flammable materials. This lowers the risk of accidents.
- Work on a flat, stable surface
- Use a flashlight if needed
- Keep tools organized
- Have a fire extinguisher nearby
Handling Electrical Components
Handle wires and connectors gently to avoid damage. Do not pull on wires directly; use the connectors.
Wear anti-static gloves or touch a metal part to discharge static electricity before working with electronics.
- Check for damaged wires before reconnecting
- Use proper tools for electrical work
- Avoid touching metal contacts with bare hands
- Secure connections firmly but do not force them
Credit: dashcamtalk.com
Step-by-step Repair Process
Fixing a rear camera in your car can improve safety. A clear view helps when reversing. Follow the steps below to repair the camera yourself.
This guide shows how to inspect, test, and replace the rear camera. Each step uses simple tools and easy checks.
Inspecting The Camera Lens
Check the lens for dirt, cracks, or damage. A dirty lens can blur the image. Use a soft cloth to clean it gently.
If the lens is cracked, the camera may need replacement. Look for water or dust inside the lens cover.
Checking Wiring And Connections
Look at the wires connected to the camera. Loose or broken wires can stop the camera from working. Make sure all plugs fit tightly.
- Remove panel covers to access the wiring
- Check for broken or frayed wires
- Reconnect any loose plugs firmly
- Use electrical tape to cover exposed wires
Testing The Camera Power Supply
The camera needs power to work. Use a multimeter to check the voltage at the camera’s power wires. It should match your car’s specifications.
If there is no power, check the fuse box for a blown fuse. Replace the fuse if needed and test again.
Replacing The Rear Camera Module
If the camera still does not work, replace the camera module. Remove the old camera carefully from its mount. Disconnect all wires before removal.
- Buy the correct replacement camera for your car model
- Connect the new camera wires securely
- Mount the new camera in the original place
- Test the camera before reassembling panels
Preventive Maintenance Tips
Keeping your car’s rear camera working well helps you drive safely. Simple care can stop many problems before they start.
This guide shows easy ways to keep your rear camera clean and functional. Follow these tips to avoid costly repairs.
Regular Cleaning Of The Lens
Dirt and dust on the camera lens make the image unclear. Clean the lens often to keep a clear view behind your car.
- Use a soft, clean cloth to wipe the lens gently.
- Apply a small amount of lens cleaner or water if needed.
- Avoid harsh chemicals that can damage the lens cover.
- Check the lens after rain or snow and clean if blurry.
Protecting Wiring From Damage
Wiring connects the camera to your car’s system. Damage to wires can stop the camera from working.
| Common Wiring Issues | Prevention Tips |
| Loose connections | Secure all plugs firmly |
| Frayed wires | Inspect wires regularly |
| Corrosion | Keep connectors dry and clean |
| Pinching or cuts | Protect wires with covers or tubes |
Periodic System Checks
Check your rear camera system often to catch problems early. Test the image and alerts regularly.
- Turn on the camera and look for a clear picture.
- Check for warning lights or error messages on your dashboard.
- Listen for unusual sounds from the camera system.
- Test the system in different lighting conditions.
- Schedule a professional inspection if you find issues.
When To Seek Professional Help
Fixing a car’s rear camera can be simple or complex. Some problems need expert attention.
Knowing when to call a professional saves time and avoids more damage.
Complex Electrical Issues
Electrical problems in your car’s rear camera system can be tricky. Faulty wiring or blown fuses are common causes. If you notice flickering images or no power, this might be the issue.
- Damaged wiring harness
- Blown fuse in the camera circuit
- Faulty connection at the display unit
- Short circuits causing system failure
These issues need special tools and knowledge. Attempting repairs without experience may lead to bigger problems.
Camera Module Replacement
If the rear camera is cracked, blurry, or not working after basic fixes, the camera module may need replacement. This part is delicate and requires precise handling.
| Signs of Camera Module Failure | Details |
| Cracked lens | Physical damage from impact |
| Blurry or distorted image | Internal lens or sensor damage |
| No image display | Complete camera failure |
Replacing the camera module involves disassembling parts of the car. Professionals have the right tools to do this safely.
Warranty And Support Options
Check if your car or camera is still under warranty before any repair. Repairs done by unauthorized people may void the warranty.
Here are common warranty and support options to consider:
- Manufacturer’s warranty covers defects in parts and labor
- Extended warranty plans might include camera repairs
- Authorized service centers provide certified repairs
- Some warranties require proof of professional repair
Frequently Asked Questions
How Do I Know If My Rear Camera Is Broken?
Check for a blank or distorted screen when in reverse. Inspect the camera lens for dirt or damage. Listen for clicking sounds when shifting to reverse. These signs often indicate a faulty rear camera needing repair.
What Tools Are Needed To Fix A Car Rear Camera?
You typically need screwdrivers, a multimeter, and cleaning supplies. Sometimes, a replacement camera or wiring kit is required. Having a user manual helps identify specific screws and wiring locations.
Can I Fix My Car Rear Camera Myself?
Yes, if you have basic tools and technical skills. Cleaning the lens or reconnecting loose wires is simple. Complex issues like wiring faults or module replacements may need professional help.
Why Is My Rear Camera Display Blurry Or Unclear?
A dirty or scratched lens often causes blurry images. Moisture inside the camera housing can also affect clarity. Cleaning the lens gently or replacing the camera can improve the display.
Conclusion
Fixing a car’s rear camera can seem tricky, but it’s doable. Identify the issue first. Check the wiring and connections. Ensure the camera lens is clean. Replace faulty parts if needed. Double-check all settings in the car’s system. Following these steps can save time and money.
A well-functioning rear camera enhances safety. It offers better visibility and helps in parking. Remember, regular maintenance prevents many issues. So, keep an eye on your rear camera. Stay safe on the road with a clear view behind.