Setting up your Midea air conditioner doesn’t have to be confusing or stressful. Imagine stepping into a cool, comfortable room just minutes after unboxing your new AC.
You’re just a few simple steps away from enjoying fresh, cool air tailored perfectly to your space. In this guide, you’ll learn exactly how to install your Midea air conditioner quickly and safely—no technical skills needed. Ready to take control of your comfort?
Let’s get started!
Preparing For Installation
Choose a locationthat is free from direct sunlight and strong winds. Ensure the wall can hold the weightof the air conditioner. The spot should allow good air flow and easy access for maintenance.
Gather tools like a drill, screwdriver, level, measuring tape, and pipe cutter. Prepare mounting brackets and screws that fit the model. Having all tools ready helps the installation go smoothly.
| Electrical Needs | Details |
|---|---|
| Power Supply | Check for a dedicated circuit with the right voltage |
| Wiring | Use wires that match the air conditioner’s specifications |
| Safety | Install a circuit breaker or fuse for protection |

Credit: www.midea.com
Installing The Indoor Unit
Secure the mounting bracket firmly to the wall using screws. Use a level to keep the bracket straight. Make sure it can hold the indoor unit’s weight.
Attach the drain hose to the indoor unit’s drain outlet. Point the hose downward to allow water to flow out easily. Avoid bending or kinking the hose.
Place the indoor unit onto the bracket carefully. Align it so the unit locks into place. Ensure the unit sits flat against the wall for proper airflow.
Installing The Outdoor Unit
Choose a flat and stable surfacefor the outdoor unit. Avoid areas exposed to direct sunlight or heavy rain. The spot should be close to the indoor unitto reduce pipe length.
Use strong brackets or a concrete base to secure the unit firmly. This prevents shaking and noise during operation. Check that the unit is level to ensure proper drainage.
Keep at least 12 inches of spacearound the unit for good air flow. Avoid placing the unit near walls, plants, or other objects that block air. Proper ventilation helps the unit work efficiently and last longer.

Credit: www.youtube.com
Connecting Indoor And Outdoor Units
Run the refrigerant pipescarefully between the indoor and outdoor units. Use a pipe bender to avoid sharp bends that can damage the pipes. Make sure the pipes are the correct length to prevent leaks.
Connect the electrical wiresfrom the indoor unit to the outdoor unit. Follow the wiring diagram in the manual exactly. Turn off power before starting any electrical work to stay safe.
Seal and insulatethe pipes well to keep the cold air inside. Use high-quality insulation tape or foam. Proper sealing stops air leaks and improves the air conditioner’s efficiency.
Testing And Final Adjustments
Checking for leaksis essential. Use soapy water on all joints and connections. Bubbles show where air or gas escapes. Fix leaks immediately to avoid damage or poor performance.
Before powering up, ensure all wires and pipes are correctly connected. Turn on the system and listen for unusual noises. Watch for error lights or unusual smells that may show problems.
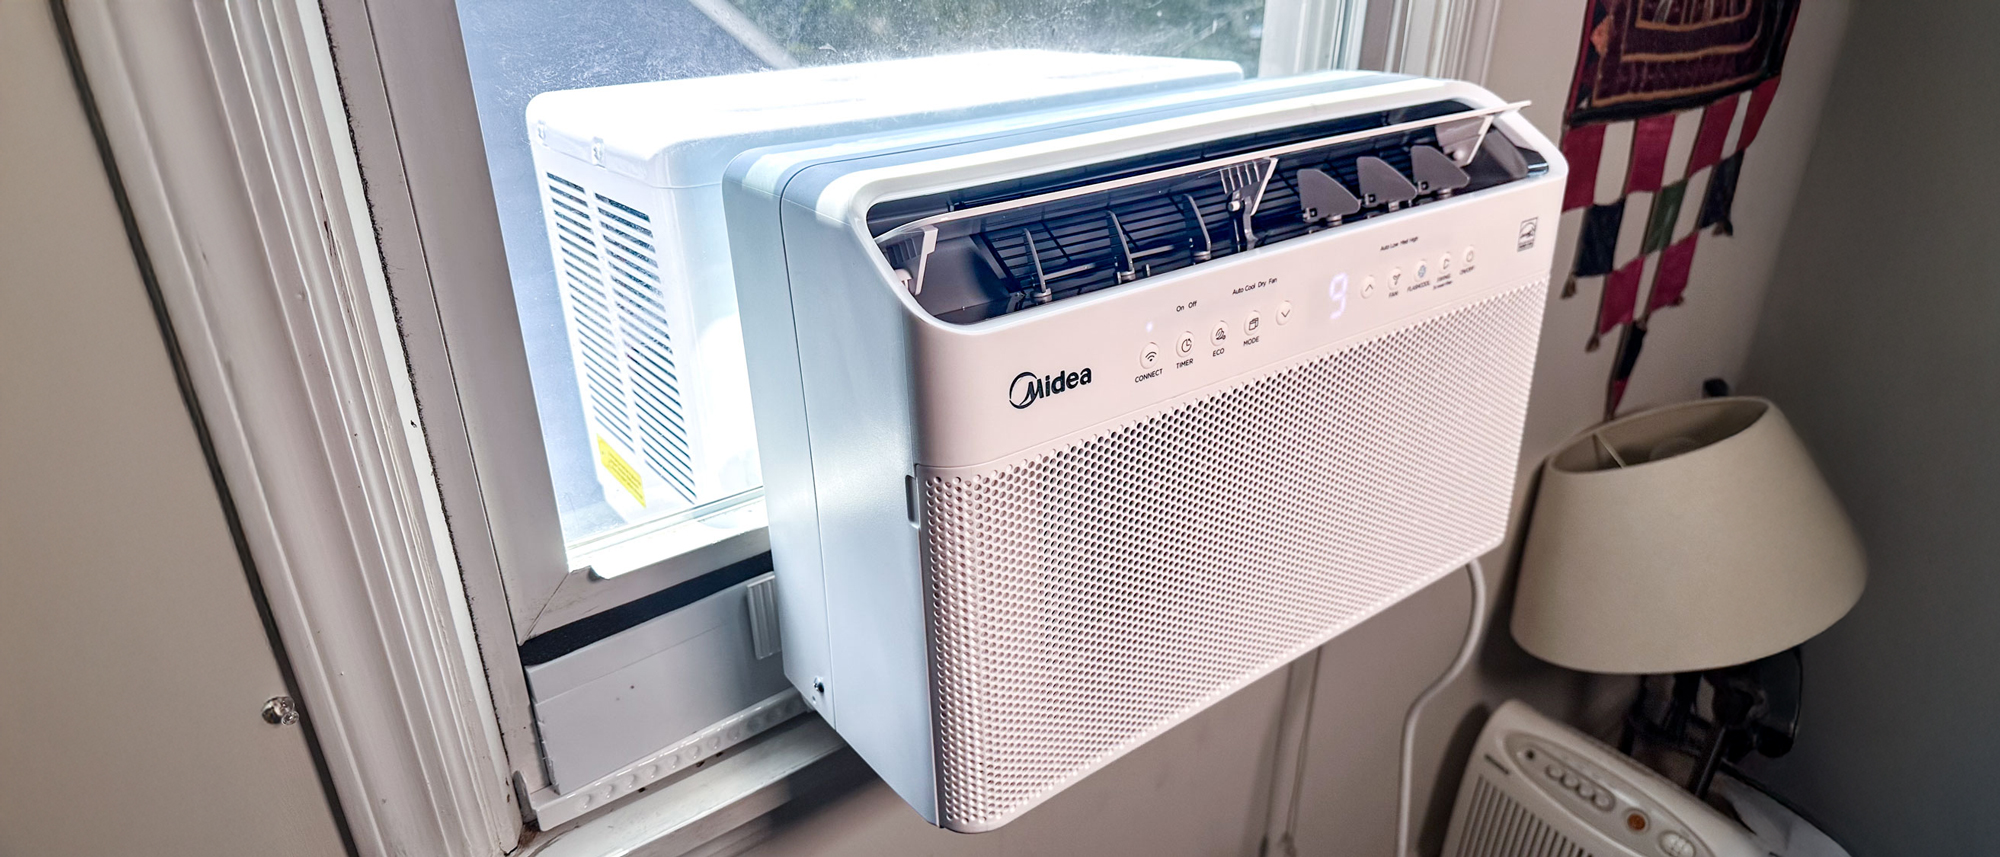
Adjust the settings for optimal performance. Set the temperature to a comfortable level. Use the timer to save energy. Adjust fan speed for better airflow. Check the remote control works well. Test the modes like cooling, heating, and fan only.
Credit: www.tomsguide.com
Maintenance Tips
Cleaning filters regularlyhelps keep air fresh and cool. Dirty filters block airflow and lower AC efficiency. Remove filters gently and wash them with warm water. Let filters dry completely before placing them back. This simple step can prevent dust buildup and improve air quality.
Scheduling professional servicingonce a year ensures the AC runs smoothly. Experts check for leaks, clean internal parts, and refill refrigerant if needed. This service extends the life of your unit and keeps it working well.
Troubleshooting common issuescan save time and money. Check if the AC turns on and the remote works. Clear any blockages around the outdoor unit. Reset the system by turning it off and on again. If problems continue, call a technician for help.
Frequently Asked Questions
How Do I Install A Midea Air Conditioner?
Start by choosing a suitable location with proper ventilation. Mount the indoor unit securely. Connect the outdoor unit and ensure proper electrical wiring. Follow the user manual for specific instructions and safety precautions.
What Tools Are Needed For Midea Ac Setup?
You will need a drill, screwdriver, pipe cutter, level, wrench, and electrical tape. These tools help mount units, connect pipes, and secure wiring properly. Always wear safety gear during installation.
How To Connect Midea Ac To Wi-fi?
Use the Midea app on your smartphone. Follow the in-app instructions to connect the AC to your home Wi-Fi network. This allows remote control and smart scheduling features.
How To Test Midea Ac After Installation?
Turn on the unit and check for cooling efficiency. Listen for unusual noises and ensure the remote control works. Verify there are no leaks or error codes displayed.
Conclusion
Setting up a Midea air conditioner is simple and straightforward. Follow the steps. Ensure you have the necessary tools and read the manual carefully. Start by selecting the right location for installation. Connect the unit securely to power. Adjust settings as per your comfort needs.
Regular maintenance keeps it running efficiently. Check filters and clean them periodically. With these steps, enjoy a cool and comfortable home environment. Remember, safety first during installation and maintenance. Enjoy your new Midea air conditioner. Stay cool and relaxed.