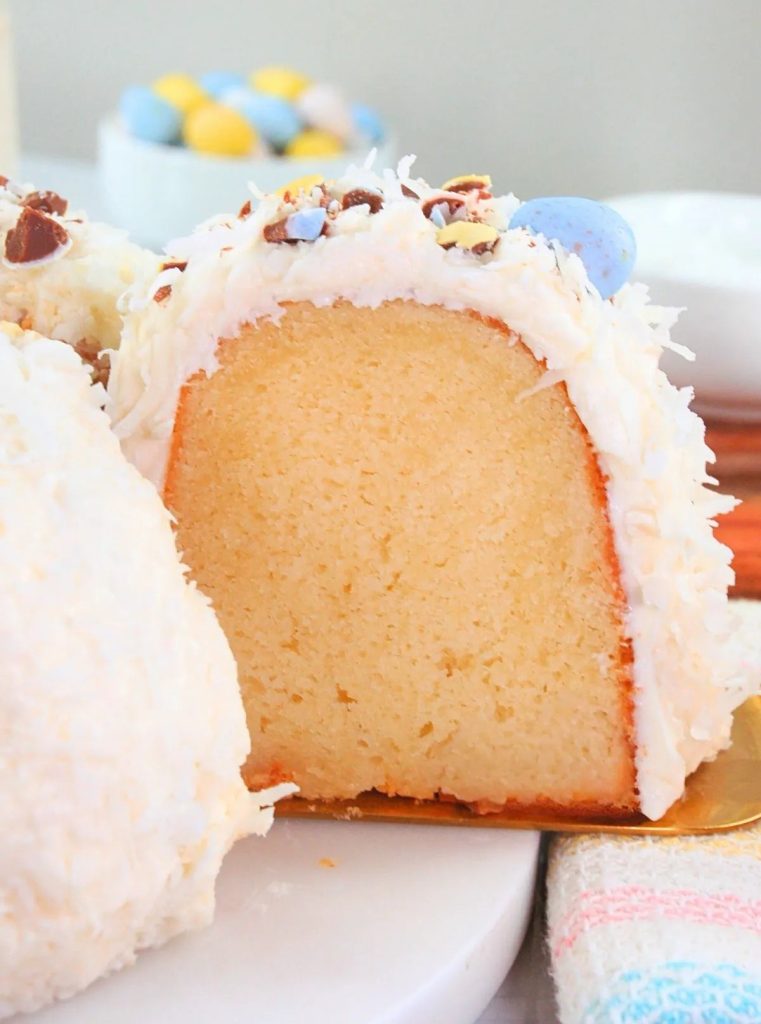
Have you ever baked a cake only to worry it might dry out or burn on top? Tent baking with foil is a simple trick that can save your cake and keep it perfectly moist.
In this guide, you’ll learn exactly how to tent a cake with foil so your dessert turns out just right every time. Whether you’re a beginner or just want to improve your baking skills, this easy method will give your cakes that flawless finish you’ve been aiming for.
Keep reading, and you’ll never have to guess if your cake is safe from overbaking again!
Why Tent A Cake
Tenting a cake means covering it loosely with foil while baking. This technique helps protect the cake during the baking process.
Many bakers use tenting to get better texture and color on their cakes. It controls heat and moisture around the cake surface.
Preventing Over-browning
Over-browning happens when the cake surface cooks too fast. Foil slows down the heat on the top, stopping it from burning.
- Shields cake from direct oven heat
- Allows the cake to bake fully without dark spots
- Helps keep the cake’s color even
Maintaining Moisture
Foil tent keeps steam close to the cake. This stops it from drying out and makes the cake soft inside.
Ensuring Even Baking
Tenting helps heat spread evenly around the cake. This stops edges from cooking faster than the middle.
| Without Foil | With Foil Tent |
| Edges brown quickly | Heat spreads evenly |
| Center may stay undercooked | Cake cooks through evenly |
| Dry crust forms on top | Moist, soft top layer |
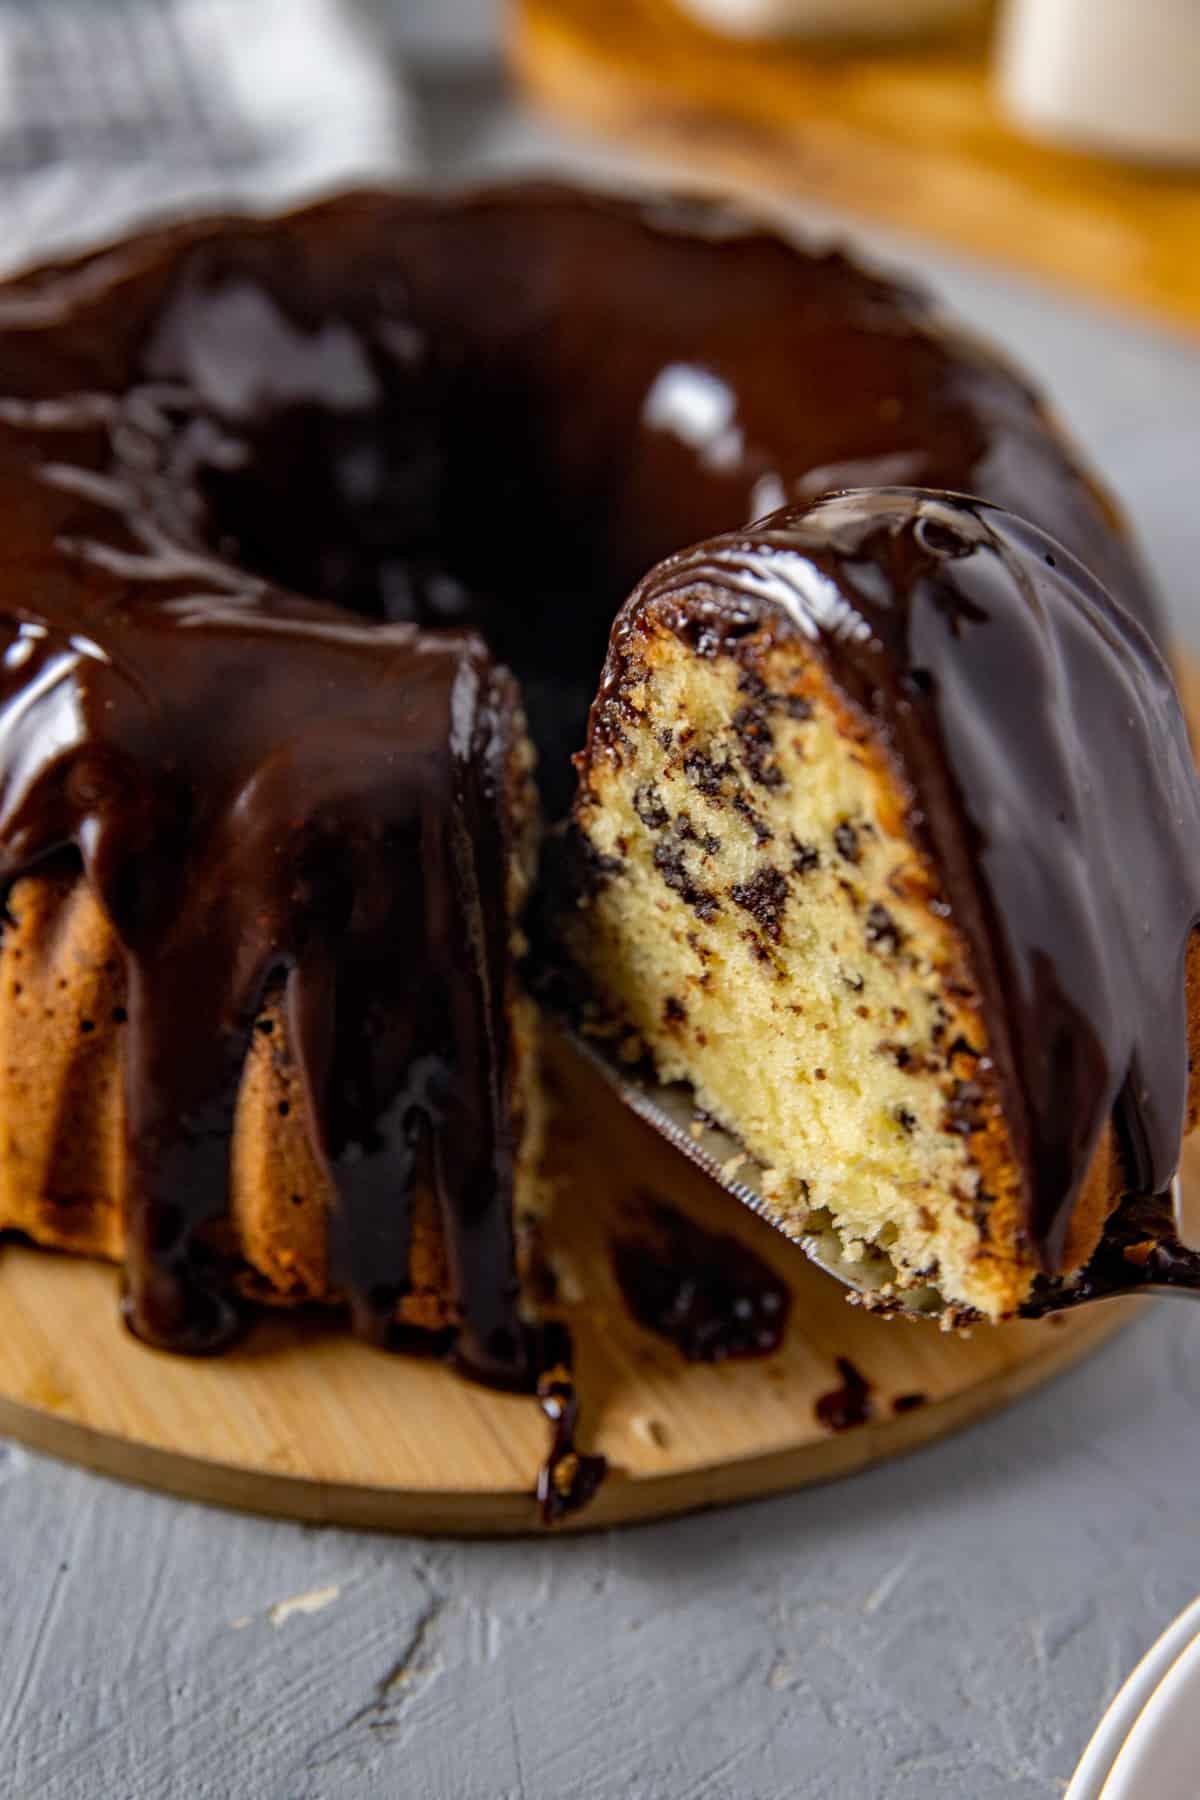
Credit: mykitchenserenity.com
Choosing The Right Foil
Tenting a cake with foil helps keep it moist while baking or cooling. Picking the right foil makes a big difference. The wrong foil can tear easily or not cover well.
This guide explains what to look for in foil. It covers heavy-duty versus regular foil and the right foil size and shape for your cake.
Heavy-duty Vs. Regular Foil
Heavy-duty foil is thicker and stronger than regular foil. It resists tearing and holds up better to heat. Regular foil is thinner and easier to tear but costs less.
- Heavy-duty foil:Best for larger cakes or long baking times.
- Regular foil:Works for small cakes or short tenting periods.
- Both types:Protect cakes from drying out and help even heat distribution.
Foil Size And Shape
Choose foil size that fully covers your cake without too much excess. The shape should match your cake’s shape to avoid gaps or folds.
| Cake Shape | Recommended Foil Type | Size Tips |
| Round | Heavy-duty or regular | Use a large square sheet, fold edges to fit |
| Square or Rectangle | Heavy-duty preferred | Cut foil to cover edges with 2-3 inches extra |
| Layered Cakes | Heavy-duty foil | Use extra-large sheets to avoid touching frosting |
Preparing The Foil Tent
Tenting a cake with foil helps keep it fresh and moist. It also protects the cake from drying out or burning.
To create the foil tent, you need to prepare the foil correctly. This ensures the tent fits well and does not touch the cake.
Cutting The Foil
Start by cutting a piece of foil larger than the cake. Leave enough extra foil on all sides.
A piece about twice the size of the cake works well. This gives room to fold and shape the tent.
- Use a sharp scissors or foil cutter
- Cut a square or rectangle piece
- Make sure edges are smooth to avoid tearing
Shaping The Tent
Fold the foil gently to create a tent shape. The tent should cover the cake completely.
Make a peak in the middle to allow air circulation. The sides should slope down without touching the cake.
- Fold foil at the edges to form sides
- Create a peak by folding the center up
- Keep the tent tall enough over the cake
Avoiding Contact With Cake
Make sure the foil tent does not touch the cake. Contact can ruin frosting or decorations.
Use small supports if needed. Toothpicks or small straws can keep the foil lifted above the cake.
- Check all sides for contact points
- Adjust foil shape to clear cake top and edges
- Use supports under foil if the tent sags
When To Apply The Foil Tent
Tenting a cake with foil helps prevent over-browning. It also keeps the cake moist during baking.
Knowing the right time to apply the foil tent is important. This guide explains when to cover your cake.
Timing During Baking
Start baking your cake without foil to get a good rise. Most cakes need the first part of baking uncovered.
Apply the foil tent in the last part of baking. This usually happens in the final 10 to 15 minutes.
- Remove cake from oven after the initial rise phase
- Cover loosely with foil to avoid touching the top
- Return cake to oven to finish baking
Signs To Start Tent
Look at your cake’s color and edges during baking. When the top starts to brown too fast, it is time to tent.
If the edges pull away from the pan and the top looks dark, cover it with foil. This stops burning.
- Top color changes to golden brown early
- Edges appear dry or crusty
- Cracks form on the cake surface
- Smell of overbaking or burning
Tips For Perfect Tenting
Tenting a cake with foil helps keep it moist and prevents burning. This technique is simple but needs care to work well.
Use these tips to tent your cake properly and keep it fresh and delicious.
Securing The Tent
Start by gently placing a piece of foil over the cake. Make sure the foil does not touch the frosting or decorations.
- Use a large enough foil sheet to cover the entire cake fully.
- Fold the edges down around the cake pan to hold the foil in place.
- Do not press the foil tightly on the cake surface.
- Leave some space between the cake and foil to avoid smudging.
Checking The Cake
Check the cake often while it is in the oven or cooling. This prevents overheating or moisture loss.
| What to Check | Why It Matters |
|---|---|
| Foil position | Prevents foil from touching and damaging the cake |
| Moisture level | Keeps cake soft and fresh |
| Heat exposure | Avoids burning or drying out |
Adjusting Tent As Needed
If the foil sags or touches the cake, adjust it carefully. Lift the foil slightly and reshape the tent.
Tips for adjusting tent:
- Use clean hands or a spatula to lift foil gently.
- Add small foil balls to hold up loose foil areas.
- Keep the foil loose to allow steam to escape.

Credit: everythingjustbaked.com
Common Mistakes To Avoid
Tenting a cake with foil helps keep it moist while cooling. Many people make simple mistakes that can harm the cake’s texture or look.
Knowing what not to do will save your cake from problems like soggy spots or cracked surfaces.
Foil Touching The Cake Surface
Letting foil touch the cake can cause it to stick and damage the frosting or delicate crust. It also traps steam in spots, making parts soggy.
Always make a tent that stands above the cake without pressing down. Use a small frame or bend the foil to create space.
- Foil directly on cake can tear frosting when removed
- Steam trapped between foil and cake makes the surface wet
- Foil touching the cake can leave shiny marks or dents
Using Tent Too Early
Covering a hot cake immediately after baking traps steam. This makes the cake wet and soft in unwanted ways.
Let the cake cool for a few minutes on a wire rack before tenting. This allows some steam to escape naturally.
- Wait 10-15 minutes before placing foil tent
- Cooling slightly prevents soggy cake layers
- Hot cakes release more steam that can cause condensation
Removing Tent Too Late
Leaving the foil tent on too long can make the cake lose its crisp edges. It may also create too much moisture build-up.
Remove the tent when the cake is mostly cool. This keeps the right texture and prevents a wet surface.
- Take off foil after 30-60 minutes, depending on cake size
- Check texture; if edges are soft, remove tent sooner next time
- Proper timing keeps cake moist but not soggy
Alternatives To Foil Tenting
Tenting a cake with foil helps it bake evenly and prevents burning. Sometimes, you might not have foil. There are other ways to cover your cake while baking.
These alternatives protect the cake’s top and keep moisture inside. They work well for different types of cakes and ovens.
Using Parchment Paper
Parchment paper is a good substitute for foil. It can cover the cake without sticking to it. Parchment lets steam escape, so the cake stays soft.
To use parchment paper, tear a large piece and shape it over the cake. Make sure it does not touch the cake’s surface directly. You can fold the edges to hold the paper in place.
Covering With A Baking Sheet
You can place a baking sheet upside down over the cake pan. This blocks direct heat and stops the cake from burning. It acts like a tent but is sturdier than foil.
Make sure the baking sheet is big enough to cover the cake pan fully. Leave some space for air to flow so the cake cooks evenly.

Credit: birchberryco.com
Frequently Asked Questions
What Is The Purpose Of Tenting A Cake With Foil?
Tenting a cake with foil protects it from direct heat during baking. It prevents over-browning and keeps the cake moist. This method helps ensure an evenly baked cake without burning the top.
How Do You Tent A Cake With Foil Properly?
To tent a cake, loosely cover it with aluminum foil. Create a dome shape above the cake without touching it. This allows heat circulation while shielding the surface from direct heat.
When Should You Tent A Cake With Foil?
Tent a cake when it starts browning too fast or near the baking’s end. This prevents burning and ensures the inside cooks fully without drying out the top.
Can Tenting A Cake With Foil Affect Baking Time?
Tenting a cake may slightly increase baking time by reducing direct heat. Check doneness with a toothpick and add extra minutes if needed for a fully cooked cake.
Conclusion
Tenting a cake with foil is simple yet effective. It keeps your cake moist and prevents over-browning. Always use a piece of foil large enough to cover the cake. This technique works well with different cake sizes. Remember to fold it gently to avoid touching the cake surface.
Practice makes perfect. With these steps, your cakes will bake evenly. Enjoy the process and the delicious results. Happy baking!