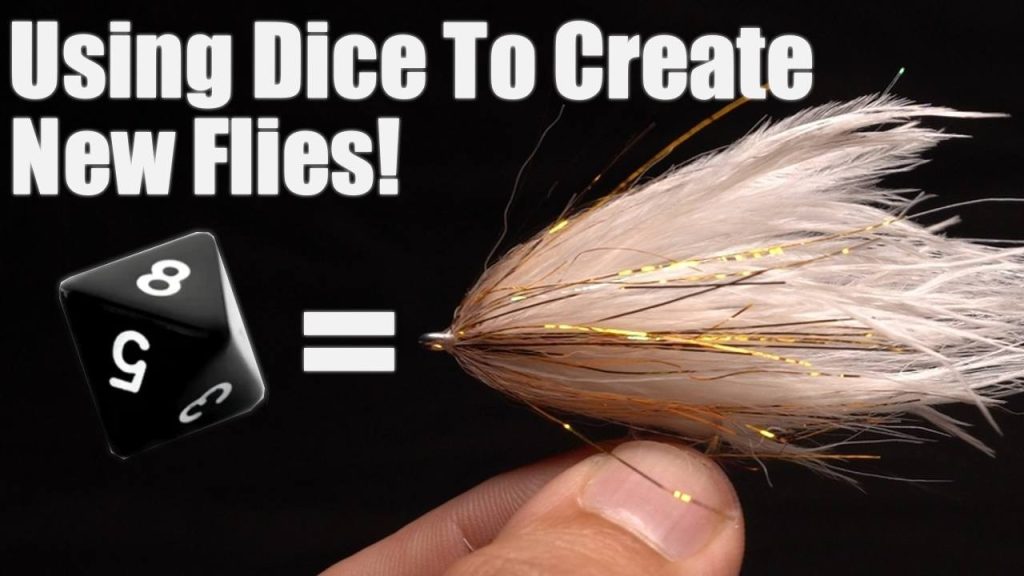
Are you ready to take your fly fishing to the next level? Making your own fly fishing lures gives you a unique edge on the water.
When you craft your own lures, you can match exactly what the fish are biting, save money, and enjoy a satisfying creative process. In this guide, you’ll discover simple steps to create effective, eye-catching lures that will improve your chances of landing that big catch.
Keep reading, and you’ll learn how to turn basic materials into powerful fishing tools that feel like they were made just for you.

Credit: www.youtube.com
Fly Fishing Lures Basics
Fly fishing lures are artificial flies that attract fish. They mimic insects or small creatures fish like to eat.
Making your own lures lets you customize them. It is a fun and creative part of fly fishing.
Types Of Fly Fishing Lures
There are many types of fly fishing lures. Each type copies a different kind of insect or bait.
Some popular types include dry flies, wet flies, nymphs, and streamers.
- Dry Flies:Float on water surface to imitate adult insects.
- Wet Flies:Sink below surface to mimic drowned insects.
- Nymphs:Look like insect larvae underwater.
- Streamers:Resemble small fish or leeches to attract bigger fish.
Materials Needed
To make fly fishing lures, gather some basic materials. These help create the fly’s body, wings, and tail.
- Hooks: The base to tie all materials on.
- Thread: Holds materials to the hook tightly.
- Feathers: Used for wings and tails.
- Fur and Hair: Adds texture and color.
- Beads or Eyes: Add weight or realism.
- Dubbing: Fine fibers for bodies.
Essential Tools
Some tools make tying lures easier and neater. You will need a few basic tools.
- Vise: Holds the hook steady while tying.
- Bobbin: Holds and controls thread tension.
- Scissors: Cut materials precisely.
- Hackle Pliers: Grip feathers for wrapping.
- Whip Finisher: Tie off thread securely.
- Hair Stacker: Align hair tips evenly.
Choosing Your Fly Patterns
Choosing the right fly patterns is key to successful fly fishing. The pattern you pick should fit the type of fish and where you are fishing.
Different flies work better in different places and times. Knowing this helps you catch more fish.
Popular Beginner Patterns
Beginners should start with simple, reliable fly patterns. These patterns imitate common insects that fish eat.
- Woolly Bugger
- Elk Hair Caddis
- Adams Dry Fly
- Pheasant Tail Nymph
- Royal Wulff
Matching Local Fish
Look at the insects and bait fish in your fishing area. Choose flies that look like these local food sources.
| Fish Species | Recommended Fly Pattern |
| Trout | Adams Dry Fly, Pheasant Tail Nymph |
| Bass | Woolly Bugger, Clouser Minnow |
| Salmon | Egg Patterns, Streamers |
| Panfish | Royal Wulff, Beetle Patterns |
Seasonal Considerations
Fish eat different insects depending on the season. Use flies that match these seasonal changes.
- Spring: Use nymphs and emergers to match hatching insects.
- Summer: Dry flies work well during insect hatches.
- Fall: Streamers and larger nymphs imitate baitfish and late insects.
- Winter: Smaller nymphs and wet flies suit cold water fishing.
Step-by-step Lure Making
Fly fishing lures imitate insects fish like to eat. Making your own lures can be fun and rewarding.
This guide walks you through creating a simple fly fishing lure from start to finish.
Preparing The Hook
Choose a sharp hook that fits the fish you want to catch. Clean it with a cloth to remove any dirt or oil.
Attaching The Thread
Start by wrapping the thread tightly around the hook’s shank. This will hold all materials firmly in place as you build the lure.
Adding The Tail And Body
- Cut a small bunch of fibers for the tail.
- Tie the tail fibers at the hook’s bend, secure with thread wraps.
- Select body material like dubbing or yarn.
- Wrap the body material forward along the hook to create thickness.
- Keep wraps neat and tight to avoid loose ends.
Creating The Wing And Hackle
Attach wing material on top of the hook near the body. Use feathers or synthetic fibers for the hackle. Wrap hackle around the hook to add movement and imitate legs.
Finishing Touches
| Step | Action |
| 1 | Secure all materials with tight thread wraps. |
| 2 | Trim any excess fibers carefully. |
| 3 | Add a drop of head cement to the thread wraps for durability. |
| 4 | Let the cement dry before using the lure. |

Credit: www.youtube.com
Tips For Effective Lure Making
Making your own fly fishing lures can be fun and rewarding. Good lures attract fish better and last longer.
Use simple steps to improve your lure making skills. Small changes can make a big difference.
Maintaining Consistency
Consistency helps your lures perform well every time. Make each lure with the same size and shape.
Use a pattern or template to keep your work steady. This helps fish recognize your lures easily.
- Measure materials before starting
- Use the same tying technique each time
- Check your lures against your pattern
- Practice tying regularly to improve
Using Quality Materials
Good materials make your lures last and look better. Use feathers, hooks, and threads that are strong and clean.
Choose materials that match the type of fish you want to catch. Quality tools also make tying easier and neater.
- Pick sharp hooks with the right size
- Use natural feathers or synthetic fibers
- Choose strong, thin thread for tying
- Keep materials dry and clean before use
Avoiding Common Mistakes
New lure makers often make simple mistakes that hurt lure quality. Watch for these errors to improve your results.
Take your time and check your work at each step. Fix problems before moving on to keep your lures effective.
- Do not use too much glue or thread
- Avoid uneven wrapping of materials
- Do not tie too tightly or too loose
- Check hook sharpness before tying
Storing And Caring For Your Lures
Fly fishing lures need proper care to stay effective. Good storage keeps them safe and ready to use.
Cleaning and fixing your lures after each trip extends their life and saves money.
Proper Storage Techniques
Store your lures in a dry place away from direct sunlight. Use containers with compartments to keep them separated.
- Use plastic or metal boxes with dividers
- Keep lures dry to prevent rust
- Avoid storing lures in damp bags
- Label compartments for easy access
- Check your collection regularly for damage
Cleaning After Use
Clean your lures after every fishing trip. Remove dirt, water, and fish slime to avoid damage.
| Cleaning Step | Purpose |
| Rinse with fresh water | Remove salt and dirt |
| Use soft brush | Clean hooks and body |
| Dry completely | Prevent rust and mold |
| Apply light oil | Protect metal parts |
Repairing Damaged Lures
Fix small damages quickly to keep lures working well. Check hooks, paint, and feathers for wear.
- Replace bent or broken hooks
- Touch up paint with waterproof markers
- Re-glue loose feathers or materials
- Use pliers for minor shape adjustments
- Keep repair tools in your tackle box

Credit: www.youtube.com
Advancing Your Skills
Making fly fishing lures takes practice and patience. As you learn, try new ways to improve your skills. This helps you create better lures and enjoy fishing more.
Keep challenging yourself by testing ideas, learning from others, and joining groups. These steps make your fly tying journey more fun and rewarding.
Experimenting With Custom Designs
Try making your own fly designs. Use different materials, colors, and shapes to see what works best. Experimenting helps you find new patterns that catch more fish.
Keep notes on what you try. This helps you remember which designs are successful and which need improvement.
- Mix feathers, fur, and synthetic materials
- Test bright and natural colors
- Change hook sizes and shapes
- Adjust weight for different water conditions
Learning From Experienced Fly Tiers
Watch skilled fly tiers to learn new techniques. You can find videos, books, or classes that show step-by-step instructions. Seeing others tie helps you understand details better.
Ask questions and try their tips. Practice what you learn to improve your own fly tying skills.
- Observe how they handle materials
- Notice their wrapping and knot styles
- Learn how they select colors and patterns
- Ask for feedback on your work
Joining Fly Fishing Communities
Join clubs or online groups focused on fly fishing and fly tying. Sharing your work and seeing others’ creations inspires you. Communities offer support and advice.
Participate in group events or challenges. This keeps you motivated and helps you learn from many different people.
- Share photos of your lures
- Ask for help or tips
- Join local fly fishing clubs
- Take part in online forums and social media groups
Frequently Asked Questions
What Materials Are Needed To Make Fly Fishing Lures?
To make fly fishing lures, you’ll need hooks, feathers, thread, beads, and synthetic fibers. Basic tools include scissors, a vise, and a bobbin. These materials help create lifelike patterns that attract fish effectively.
How Do You Tie A Basic Fly Fishing Lure?
Start by securing the hook in the vise. Wrap thread around the hook shank, attach materials like feathers or synthetic fibers, and finish with a secure knot. Practice ensures strong, durable flies that imitate natural prey.
What Types Of Flies Are Best For Beginners?
Simple dry flies and nymphs are ideal for beginners. They are easier to tie and effective for various fish species. Starting with these builds skills and confidence before trying complex patterns.
How Long Does It Take To Make A Fly Fishing Lure?
Making a basic fly fishing lure typically takes 10 to 20 minutes. More complex patterns may take longer. With practice, tying time decreases, improving efficiency and fly quality.
Conclusion
Creating your own fly fishing lures can be rewarding and fun. You gain control over design and materials. This leads to better fishing experiences. Start with simple designs. Practice makes perfect. Experiment with colors and shapes. Each lure is unique and personal.
Crafting lures saves money too. You learn new skills and boost confidence. Share your creations with friends. Enjoy the process and the catch. Happy fishing!