Have you ever wanted to create your own fishing lures that stand out on the water? Making your own fishing lure molds is easier than you think, and it gives you total control over the shape, size, and design of your lures.
Imagine crafting unique baits that attract more fish and save you money at the same time. In this guide, you’ll discover simple steps to make high-quality fishing lure molds right at home. Ready to take your fishing game to the next level?
Keep reading, and you’ll learn everything you need to get started.
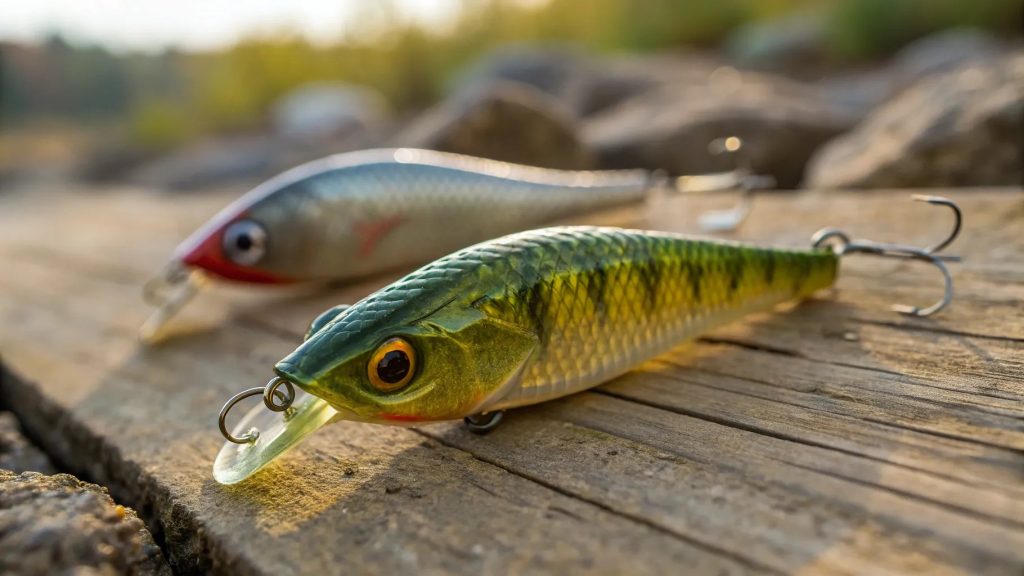
Credit: www.battlbox.com
Materials Needed
Making fishing lure molds requires the right materials. These materials help you create strong and detailed molds.
This guide covers the materials you need for mold making. It includes mold materials, tools, and safety gear.
Choosing Mold Materials
Select mold materials based on the type of lure you want to make. Silicone rubber is popular for its flexibility and detail capture. You can also use latex or polyurethane rubber.
- Silicone rubber for easy mold release and durability
- Latex rubber for flexible molds but less durable
- Polyurethane rubber for tough, long-lasting molds
- Clay or plasticine to shape the original lure
- Mixing containers and stir sticks for preparing rubber
Essential Tools
| Tool | Purpose |
| Mixing cups | To measure and mix mold materials |
| Stir sticks | For blending rubber and catalysts |
| Measuring scale | To get accurate material ratios |
| Clay sculpting tools | To shape the lure model |
| Release agent spray | To prevent sticking of mold and lure |
Safety Gear
Safety gear protects you from harmful chemicals and sharp tools. Always wear gloves and eye protection while working.
- Disposable gloves to protect skin
- Safety goggles to shield eyes
- Protective apron to keep clothes clean
- Well-ventilated workspace or mask to avoid fumes
- First aid kit nearby for emergencies
Designing Your Lure
Designing a fishing lure requires careful thought. The right design helps attract fish effectively.
This guide covers selecting shapes, making prototypes, and adding details to your lure.
Selecting Lure Shapes
Choose a lure shape that fits the type of fish you want to catch. Each shape moves differently in water.
- Use long, slim shapes for fast swimmers like trout.
- Round shapes work well for slow fish like bass.
- Flat shapes create more water disturbance to attract attention.
- Consider natural baitfish shapes for a realistic look.
Creating A Prototype
Make a prototype to test how your lure looks and moves. Use simple materials like clay or foam.
- Shape your material to match the lure design.
- Check the balance and weight for proper swimming action.
- Adjust size to fit the target fish’s mouth.
- Test the prototype in water to see how it moves.
Incorporating Details
Add details to make your lure more attractive and realistic. Details affect how fish react.
| Detail | Purpose |
| Paint colors | Match local baitfish colors |
| Eyes | Make lure look alive |
| Scales or texture | Create light reflection |
| Rattles | Produce sound to attract fish |
Preparing The Mold
Making fishing lure molds starts with preparing the mold properly. A good mold helps create perfect lures every time.
Follow these steps to set up your workspace, mix the mold compound, and pour the mold correctly.
Setting Up The Work Area
Choose a clean, flat surface with plenty of space. Make sure the area is well-ventilated to avoid fumes.
Gather all your tools and materials before starting. This helps keep your work organized and safe.
- Use a sturdy table or workbench
- Cover the surface with newspaper or plastic
- Keep gloves and safety glasses nearby
- Have clean containers ready for mixing
Mixing Mold Compound
Follow the instructions on your mold compound package. Measure the parts carefully for the right mix.
Mix slowly to avoid air bubbles. Stir until the color and texture are even.
- Use separate cups for each part of the compound
- Pour one part into the other gradually
- Stir gently for 2 to 3 minutes
- Avoid whipping air into the mix
Pouring The Mold
Pour the mixed compound slowly over your lure model. Start from one corner to reduce bubbles.
Fill the mold container until the model is fully covered. Tap the container gently to release trapped air.
- Hold the container steady while pouring
- Pour in a thin stream to avoid splashing
- Fill at least half an inch above the model
- Tap or shake lightly to remove air pockets

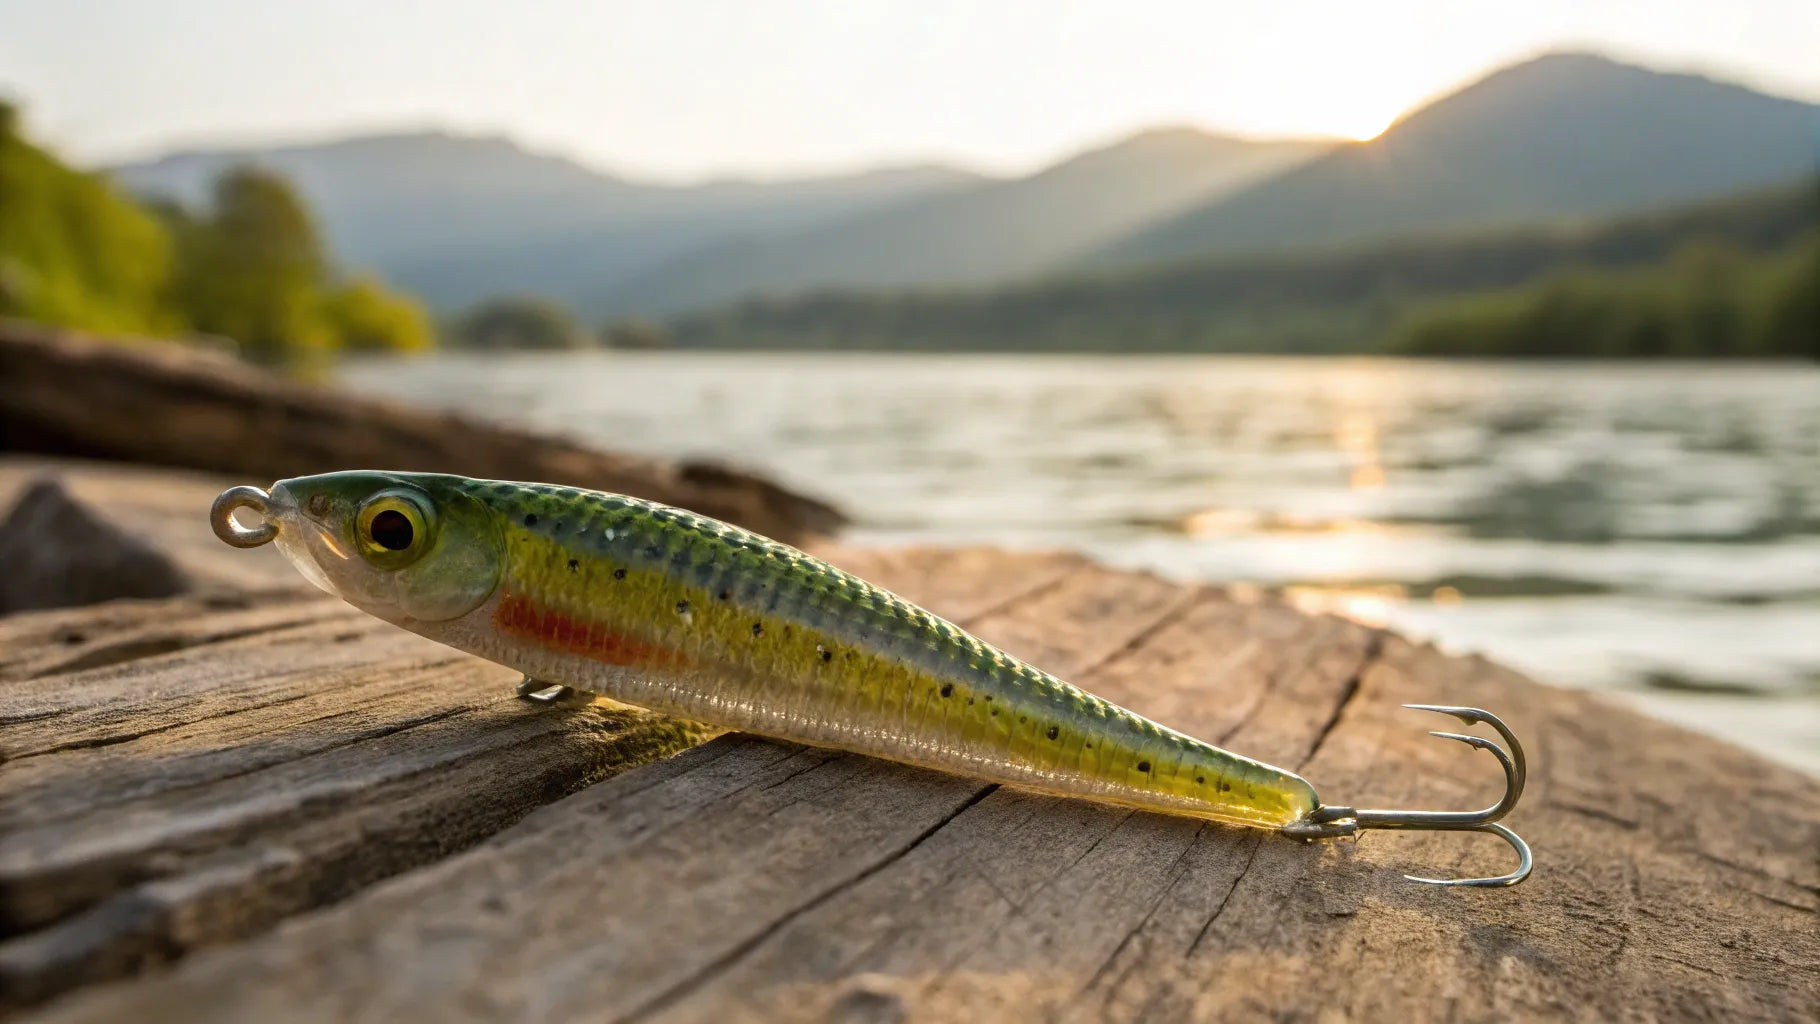
Credit: www.reddit.com
Curing And Demolding
Making fishing lure molds needs careful curing and demolding. These steps help keep the mold strong and clear.
Follow the right timing and handling to avoid damage and get good results.
Curing Time Tips
Curing sets the mold material hard. It needs the right temperature and time.
- Check the product instructions for exact curing time.
- Keep the mold in a dry place with steady temperature.
- Do not rush the process; curing too soon can cause soft spots.
- Use a timer to track curing periods precisely.
- Longer curing may improve strength but avoid over-curing.
Removing The Mold
Remove the mold gently to keep its shape. Too much force can cause cracks.
- Start by loosening the edges carefully with your fingers.
- Slowly pull the mold away from the lure pattern.
- If stuck, use a soft tool like a plastic spatula.
- Do not use sharp tools that can tear the mold.
- Allow the mold to relax if it feels tight before removing.
Inspecting Mold Quality
Check your mold before use. A good mold gives better lures.
| Aspect | What to Look For | Fix or Replace? |
| Surface | Smooth and free of bubbles | Fix minor bubbles, replace if many |
| Edges | Clean and not torn | Trim small tears, replace if large |
| Flexibility | Mold bends without cracking | Replace if brittle |
| Detail | Clear imprint of lure design | Replace if unclear |
Casting Your Lure
Casting your fishing lure is a key step in making lure molds. You must prepare the materials well and pour the bait carefully. This helps create a strong and detailed mold.
This guide covers choosing casting materials, pouring the bait, and adding finishing touches. Follow each step to get the best results.
Choosing Casting Materials
Pick the right materials to make your mold last long and hold fine details. Common materials include silicone, latex, and urethane rubber. Each has strengths for different types of lures.
- Silicone: Flexible and captures detail well
- Latex: Affordable but less durable
- Urethane rubber: Strong and heat resistant
- Mixing tools: Use clean containers and sticks
- Release agent: Helps remove the lure from the mold
Pouring The Bait
Pour the bait slowly into your mold frame to avoid air bubbles. Keep the mold steady and pour from one side. This helps the material fill all spaces evenly.
| Tip | Reason |
| Pour slowly | Prevents air bubbles |
| Use a stirring stick | Mix materials evenly |
| Tap the mold gently | Releases trapped air |
| Let cure undisturbed | Ensures firm mold |
Finishing Touches
After curing, remove the mold carefully. Trim any rough edges with a sharp knife. Test the mold by casting a lure to check for flaws.
- Remove air bubbles from the mold
- Trim excess material neatly
- Clean the mold before casting
- Store mold in a cool, dry place
Troubleshooting Common Issues
Making fishing lure molds can be tricky. Problems like air bubbles, mold tears, and poor detail clarity often occur. Fixing these issues helps create better molds.
This guide covers simple ways to solve common problems. Follow these tips to improve your mold-making process and get better results.
Fixing Air Bubbles
Air bubbles in your mold can cause flaws in the final lure. These bubbles form when mixing or pouring silicone. Removing or reducing them is important.
- Mix silicone slowly to avoid trapping air.
- Use a vacuum chamber to remove bubbles after mixing.
- Pour silicone in a thin, steady stream to push out air.
- Tap the mold gently to bring bubbles to the surface.
- Let the silicone sit for a few minutes before pouring.
Preventing Mold Tears
Mold tears happen when silicone rips during removal. This usually occurs with thin or weak mold areas. Prevent tears by using the right silicone and careful handling.
| Cause | Solution |
| Thin silicone walls | Make walls at least 1/4 inch thick |
| Poor silicone quality | Choose high-quality, flexible silicone |
| Forcing mold removal | Remove mold slowly and gently |
| Sharp edges on the model | Round sharp edges before molding |
Improving Detail Clarity
Clear details in your mold create better-looking lures. Blurry or missing details reduce quality. Use these methods to improve clarity.
- Apply a thin coat of mold release to the model.
- Use silicone with a low viscosity for better flow.
- Pour slowly to avoid disturbing fine details.
- Keep the model clean and dry before molding.
- Work in a dust-free environment to avoid debris.
Tips For Long-lasting Molds
Making fishing lure molds takes time and effort. Proper care keeps molds strong and useful. Long-lasting molds save money and improve your fishing lure making.
Use simple steps to store, clean, and maintain your molds. This guide shows easy tips to extend mold life and keep them working well.
Proper Mold Storage
Store your molds in a dry, cool place away from sunlight. Heat and moisture can damage the mold’s shape and material.
Keep molds separate from sharp tools or heavy objects. Avoid stacking molds on top of each other to stop warping or cracks.
- Use airtight containers or sealable bags
- Place molds on soft surfaces like foam or cloth
- Label molds to avoid unnecessary handling
Regular Maintenance
Clean molds after each use to remove residue and dirt. Use mild soap and warm water, then dry completely before storing.
Check molds for small cracks or damage. Fix minor issues early to prevent bigger problems later.
- Use soft brushes or cloths for cleaning
- Avoid harsh chemicals that weaken mold material
- Inspect molds regularly for wear and tear
Extending Mold Life
Use molds only for their intended materials. Using wrong plastics or resins can cause damage and shorten mold life.
Apply mold release agents before pouring lures. This prevents sticking and makes demolding easier, reducing mold stress.
- Store molds away from direct sunlight and heat
- Handle molds gently to avoid cracks
- Use mold releases compatible with mold material
- Keep molds clean and dry after each use

Credit: www.youtube.com
Frequently Asked Questions
How Do You Create Fishing Lure Molds At Home?
To create fishing lure molds, start by designing your lure shape. Use silicone rubber to make the mold. Pour the silicone over your model and let it cure. This process results in a flexible mold ideal for casting lures at home.
What Materials Are Best For Fishing Lure Molds?
Silicone rubber is the best material for fishing lure molds. It captures fine details and is flexible for easy removal. It also withstands repeated use and various casting materials like resin and plastic. Choose high-quality silicone for durable, precise molds.
Can Beginners Make Fishing Lure Molds Easily?
Yes, beginners can make fishing lure molds with basic tools. Start with simple designs and use silicone rubber kits available online. Follow step-by-step instructions carefully. Practice helps improve mold quality and lure casting skills over time.
How Long Does It Take To Make A Fishing Lure Mold?
Making a fishing lure mold typically takes 24 to 48 hours. Silicone rubber needs 12 to 24 hours to cure fully. Preparation and setup add a few hours. Planning allows for efficient mold making without rushing.
Conclusion
Creating fishing lure molds can be rewarding. It’s a hands-on experience. You gain control over your lures. Save money and customize designs. Use simple materials and tools. Follow the steps carefully. Safety is crucial. Wear protective gear and work in a ventilated area.
Experiment with different shapes and colors. Enjoy the process and improve your skills. Share your creations with friends. Fishing becomes more fun with homemade lures. Start today and explore new possibilities. Happy fishing and crafting!