Have you ever wanted to create your own fishing rod that fits your style and needs perfectly? Making your own fishing rod can be easier than you think, and it gives you a unique tool that matches your fishing adventures.
In this guide, you’ll discover simple steps and tips to build a fishing rod from scratch. Whether you’re a beginner or looking to improve your gear, this article will help you craft a rod that feels just right in your hands and makes every catch more rewarding.
Keep reading to unlock the secrets of making your own fishing rod and take your fishing game to the next level!
Choosing Materials
Making a fishing rod starts with choosing the right materials. Good materials affect how the rod feels and works.
This guide covers the main parts you need to pick: rod blanks, guides, reel seats, and handles.
Types Of Rod Blanks
Rod blanks are the main part of the fishing rod. They come in different materials, each with its own strength and flexibility.
- Fiberglass: Strong and flexible, good for beginners.
- Graphite: Light and sensitive, best for feeling bites.
- Composite: Mix of fiberglass and graphite, offers a balance.
Selecting Guides And Reel Seats
Guides and reel seats connect other parts and hold the reel in place. Choosing the right ones helps your rod last longer.
| Component | Material | Benefit |
| Guides | Stainless Steel | Resist rust and strong |
| Guides | Ceramic | Reduce line wear and heat |
| Reel Seats | Aluminum | Lightweight and durable |
| Reel Seats | Graphite | Corrosion resistant and light |
Handle Options
Handles affect how comfortable the rod feels in your hand. Different materials give different grips and weight.
- Cork: Soft and light, easy to hold for long times.
- EVA Foam: Durable and offers good grip when wet.
- Wood: Classic look but heavier than cork or foam.
Tools And Supplies
Making fishing rods requires specific tools and materials. The right supplies help build strong and reliable rods.
This guide covers essential tools, adhesives and finishes, plus wrapping threads you need to start.
Essential Tools
You need good tools to shape, assemble, and finish your fishing rod. Each tool helps with a special task.
- Rod blank – the main shaft of the rod
- Rod drying jig – holds the rod while you work
- Thread tensioner – controls thread tightness during wrapping
- Burnishing tool – smooths thread wraps
- Cutting knife – trims thread and materials
- Small scissors – precise cutting of wraps
- Measuring tape – measures rod length and guides
- Sandpaper – smooths rod surface before finishing
- Brushes – apply adhesives and finishes
Adhesives And Finishes
Adhesives keep parts of the rod together. Finishes protect the rod and give it shine.
| Type | Purpose | Notes |
| Epoxy Resin | Seals thread wraps and strengthens rod | Use slow cure for smooth finish |
| Super Glue (Cyanoacrylate) | Quickly bonds guides and small parts | Dries fast but brittle |
| Polyurethane Finish | Protects rod from water and UV damage | Apply several thin coats |
| Varnish | Gives glossy look and protection | Use marine grade for durability |
Wrapping Threads
Wrapping threads hold guides in place and add decoration. Choose the right type and color.
- Nylon thread – strong and elastic, good for beginners
- Polyester thread – durable and smooth finish
- Silk thread – traditional and delicate, needs extra care
- Fluorocarbon thread – resistant to water and abrasion
Preparing The Rod Blank
Preparing the rod blank is the first step in making a fishing rod. This process shapes the blank for strength and balance.
It includes measuring, sanding, and applying primer. Each step helps create a smooth, durable rod.
Measuring And Marking
Start by measuring the rod blank carefully. Mark spots for guides, handle, and reel seat with a pencil.
- Use a tape measure for accuracy
- Mark guide positions evenly along the blank
- Mark the handle length based on comfort
- Double-check all marks before sanding
Sanding And Shaping
Sanding smooths the blank and shapes it for a better grip. Use fine grit sandpaper and sand evenly.
| Sandpaper Grit | Purpose |
|---|---|
| 120-180 | Remove rough spots and initial shaping |
| 220-320 | Smooth surface for primer |
| 400+ | Final finish before applying primer |
Applying Primer
Apply primer to protect the blank and help paint stick better. Use a brush or spray for even coverage.
- Clean the blank before priming
- Apply a thin, even coat
- Let the primer dry completely
- Lightly sand if needed before painting
Credit: mudhole.com
Installing Guides
Guides are important parts of a fishing rod. They help the line move smoothly. Installing guides well makes the rod work better.
This guide shows how to position, secure, and protect the guides on your rod.
Positioning Guides
Place the guides in a straight line along the rod. Start near the handle and space them evenly. The first guide should be the biggest. Guides get smaller toward the tip.
Good spacing helps the fishing line flow without tangles or friction.
- Start the first guide about 6 inches from the handle
- Space guides closer near the tip
- Keep all guides aligned on the same side
- Use a rod wrapping jig if possible for accuracy
Securing With Thread Wraps
Use special thread to wrap the guide feet to the rod. Wrap tightly and evenly to hold guides in place. Make sure the thread covers all guide feet.
Keep the wraps neat to avoid weak spots. Use a rod wrapping jig for clean wrapping if you can.
- Start wrapping a few inches before the guide foot
- Wrap over the guide foot several times
- Finish wrapping a few inches past the foot
- Tie off the thread securely
Applying Epoxy Coating
Coat the thread wraps with epoxy to protect and seal them. Use a thin, even coat for the best finish. This makes the wraps strong and smooth.
Apply the epoxy slowly and spin the rod to avoid drips. Let it dry fully before using the rod.
- Mix epoxy according to instructions
- Use a small brush for even coating
- Spin the rod slowly during drying
- Allow 24 hours for full cure
Attaching The Reel Seat And Handle
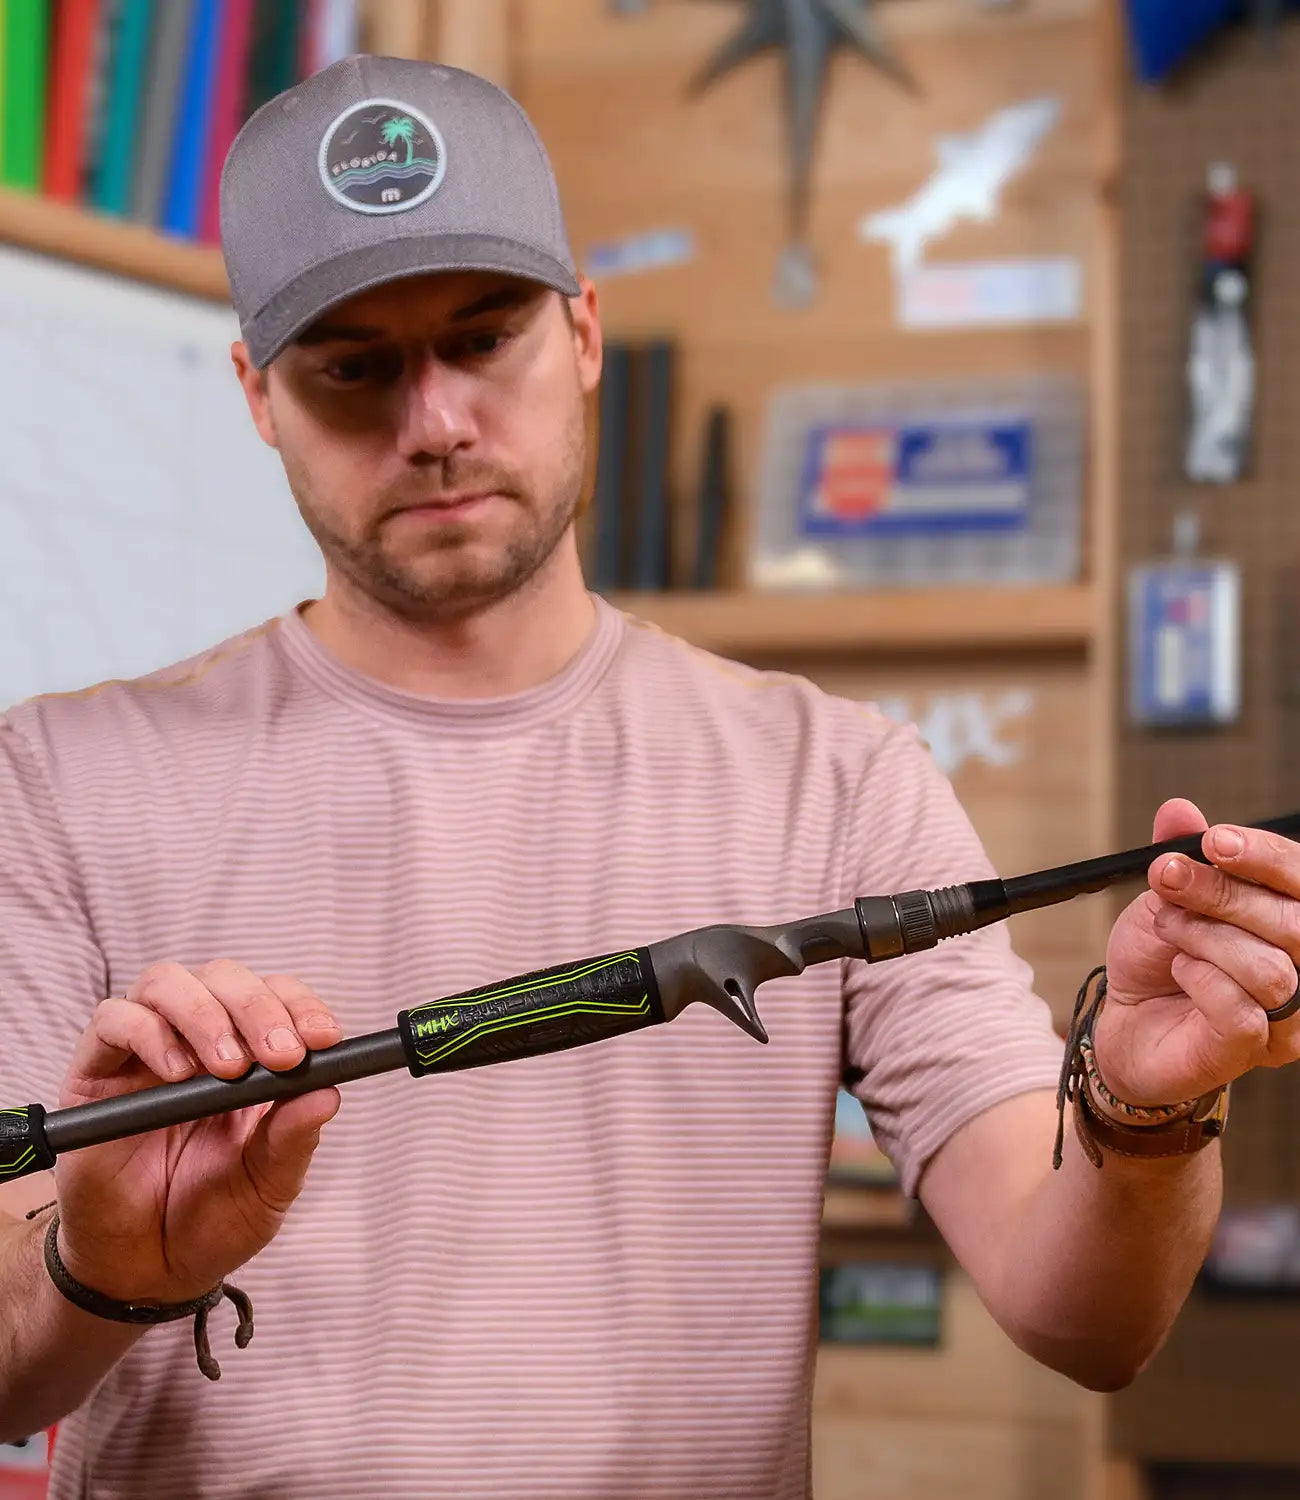
Attaching the reel seat and handle is an important part of making a fishing rod. These parts hold the reel and give you a good grip. The process needs care to make sure everything fits well and is strong.
This guide shows how to fit the reel seat, secure the handle, and add finishing touches. Follow these steps to build a solid and comfortable fishing rod.
Fitting The Reel Seat
Start by choosing the right reel seat for your rod blank. The reel seat should match the rod’s thickness and length. Slide the reel seat onto the rod blank to check the fit before gluing.
Apply a thin coat of epoxy or rod-building glue inside the reel seat. Carefully slide it back onto the rod blank. Make sure it is straight and in the correct position.
- Check the reel seat size matches the rod blank
- Test fit before applying glue
- Use epoxy or strong rod glue
- Align the reel seat straight on the rod
Securing The Handle
The handle gives you a firm grip while fishing. Most handles are made from cork or EVA foam. Cut the handle material to the right length for your rod.
Use epoxy glue to attach the handle to the rod blank. Slide the handle over the blank and press firmly. Rotate the handle slowly to spread the glue evenly.
- Cut handle material to fit the rod
- Use epoxy glue for strong bonding
- Slide handle carefully onto rod blank
- Rotate handle to spread glue evenly
Finishing Touches
After the reel seat and handle are attached, let the glue dry fully. Check that both parts are secure and straight. Sand any rough edges on the handle for comfort.
Add a thin coat of finish or sealant to protect the handle and reel seat. This helps keep your rod looking good and lasting longer.
- Allow glue to dry completely
- Check reel seat and handle are secure
- Sand rough edges for smooth grip
- Apply finish or sealant for protection

Credit: anglersresource.net
Customizing Your Rod
Making a fishing rod your own adds special meaning to your gear. You can change how it looks and feels. Customizing helps you enjoy fishing more.
There are many ways to add personal touches. You can add designs, choose colors, and add small decorations called inlays.
Adding Personal Designs
Personal designs make your rod unique. You can paint or wrap it with patterns that you like. This shows your style and makes the rod easy to spot.
- Use waterproof paint for durability
- Try wrapping with colored thread or tape
- Draw simple shapes or initials
- Keep designs small near the handle or reel seat
Color And Finish Options
Colors and finishes protect your rod and give it a nice look. You can choose shiny, matte, or textured finishes. Pick colors that you enjoy or that match your gear.
| Finish Type | Look | Durability |
| Glossy | Shiny and bright | High |
| Matte | Soft and smooth | Medium |
| Textured | Rough or patterned | High |
Incorporating Inlays
Inlays are small pieces of material set into the rod. They add style and detail. You can use wood, metal, or shell inlays to decorate your rod.
Tips for adding inlays:
- Choose materials that match your rod’s colors.
- Place inlays near the handle or along the blank.
- Seal inlays well to keep them safe from water.
Testing And Maintenance
Testing and maintenance are important for fishing rods. They keep rods safe and working well.
Regular checks help find problems early. Proper care makes rods last longer.
Strength And Flexibility Tests
Test the rod’s strength by bending it slowly. It should bend without breaking.
Check flexibility by bending the rod in different directions. It should flex smoothly.
- Hold the rod firmly and bend it downwards.
- Look for cracks or sounds while bending.
- Try bending the rod sideways gently.
- Ensure it returns to its original shape.
Routine Care Tips
Clean your fishing rod after each use. Remove dirt, salt, and water to prevent damage.
Store rods in a dry place. Avoid direct sunlight to stop fading and cracking.
- Wipe the rod with a soft cloth after fishing.
- Use mild soap and water for cleaning.
- Dry the rod completely before storing.
- Keep rods in a rod holder or case.
- Check guides and reel seats for dirt.
Repairing Common Issues
Fix small cracks or chips quickly to avoid bigger damage. Use rod repair glue or tape.
Replace broken guides or tips. This keeps the line from getting caught or damaged.
- Clean the damaged area before repair.
- Apply rod repair glue to cracks and let dry.
- Use rod tape for temporary fixes.
- Buy replacement guides that fit your rod.
- Attach new guides with strong adhesive.

Credit: anglersresource.net
Frequently Asked Questions
What Materials Are Needed To Make Fishing Rods?
To make fishing rods, you need fiberglass or graphite blanks, guides, reel seats, cork handles, and epoxy glue. These materials ensure strength, flexibility, and durability for effective fishing.
How Long Does It Take To Make A Fishing Rod?
Making a fishing rod typically takes 3 to 5 hours, depending on skill level. This includes assembling, wrapping guides, and curing the epoxy finish.
Can Beginners Make Their Own Fishing Rods?
Yes, beginners can make fishing rods with basic tools and materials. Starting with simple designs helps build skills and confidence over time.
What Is The Best Rod Length For Beginners?
A 6 to 7-foot rod is best for beginners. It offers good control, casting distance, and versatility for various fishing situations.
Conclusion
Making your own fishing rod can be a fun and rewarding project. It helps you understand the parts and how they work together. You can choose the materials that suit your style and needs. With patience and care, you will build a rod that feels right in your hands.
Enjoy the process and learn from each step. Soon, you will be ready to fish with a rod you made yourself. Try it once, and you might want to make more!