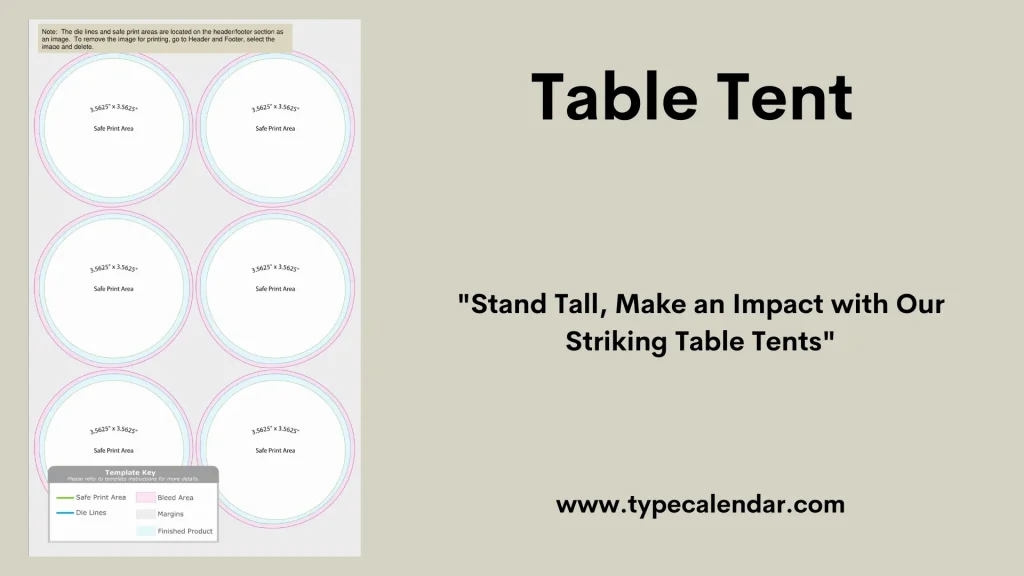
Are you looking to make your events, meetings, or promotions stand out? Table tents are a simple and effective way to grab attention right where it matters—on the table.
If you’ve ever wondered how to create eye-catching table tents without complicated design software, you’re in the right place. This guide will show you step-by-step how to make professional-looking table tents using Microsoft Word. By the end, you’ll have the skills to design your own table tents quickly and easily, saving you time and money.
Ready to make your message impossible to miss? Let’s get started!

Credit: www.goldimageprinting.com
Prepare Your Content
Creating table tents in Word starts with good content preparation. Clear and simple content helps your table tents look great and easy to read.
Focus on what information to share and how it will appear. This makes your table tents effective and attractive.
Choose Key Information
Pick the most important facts to include on your table tents. Keep the text short and to the point.
Think about what your audience needs to know at a glance. Use headings, bullet points, or short sentences.
- Event name or date
- Menu items or specials
- Contact details
- Brief descriptions or offers
Select Fonts And Colors
Choose fonts that are easy to read from a distance. Use simple fonts for clear communication.
Pick colors that stand out but do not clash. Make sure the text color contrasts with the background.
- Use bold fonts for headings
- Keep body text simple and clean
- High contrast colors improve visibility
- Limit colors to two or three

Credit: formsofaddress.info
Set Up Document Layout
Creating table tents in Word needs a clear document layout. This setup helps print and fold the tents correctly.
Start by adjusting the page size and margins. These steps make sure your design fits well on the paper.
Adjust Page Size
Table tents usually use smaller paper sizes than regular documents. You can change the page size in Word to match your tent size.
Go to the Layout tab and select Size. Choose a size like 5×7 inches or set a custom size to fit your needs.
- Click Layout tab
- Select Size
- Pick a preset size or choose More Paper Sizes
- Enter custom width and height
- Click OK to apply
Configure Margins
Margins control the space between your content and the edge of the paper. Setting small margins helps maximize space.
Use the Layout tab to open Margins. Choose Narrow or set custom margins for top, bottom, left, and right.
- Open Layout tab
- Click Margins
- Select Narrow or Custom Margins
- Set margins to about 0.25 inches
- Confirm with OK
Design Table Tent Shape
Creating table tents in Word starts with designing the right shape. The shape should be easy to fold and stand on its own.
The most common table tent shape is triangular. It offers good stability and plenty of space for text and images.
Insert A Triangular Shape
To insert a triangular shape, go to the Insert tab and choose Shapes. Select the triangle shape from the list.
Draw the triangle on your page. You can adjust the size by dragging the corners. Make sure the triangle is large enough for your content.
Use Text Boxes For Content
Text boxes let you place content exactly where you want it inside the triangle. Insert a text box and move it over the shape.
- Click Insert and then Text Box
- Draw the text box inside the triangle
- Type your message or details
- Resize the box to fit your text
- Format the font style and size
| Text Box Setting | Recommended Value |
| Font Size | 14-18 pt |
| Font Style | Sans Serif (Arial, Calibri) |
| Text Alignment | Center or Left |
| Box Color | Transparent or Light Shade |
Add Text And Images
Creating table tents in Word is easy and helps you display information clearly. You can add both text and images to make your table tents look good.
This guide will show you how to format text and insert images in your table tents using Word.
Format Text For Readability
Use simple fonts and sizes that are easy to read from a distance. Avoid using too many font styles in one table tent.
Keep your text short and clear. Use bullet points or short sentences to organize information.
- Choose a clean font like Arial or Calibri
- Set font size to at least 14 points for visibility
- Use bold text for important headings
- Keep line spacing comfortable, around 1.15
- Align text to the center or left for easy reading
Insert And Position Images
Adding images makes your table tents more attractive. Insert pictures that match your message and resize them properly.
Place images near related text. Use Word’s tools to align and wrap text around images for a neat layout.
- Click “Insert” then “Pictures” to add an image
- Resize images by dragging corners to keep proportions
- Use “Wrap Text” options like Square or Tight for better flow
- Align images to the left, right, or center as needed
- Keep images balanced with text to avoid clutter
Duplicate And Arrange Tents
Creating multiple table tents in Word saves time and keeps your design consistent. You can copy your original tent and paste it as many times as needed.
After duplicating, arrange the tents neatly on your page. This helps make your display look professional and clear.
Copy And Paste Designs
To copy a table tent design, select the entire tent content. Press Ctrl+C (or Command+C on Mac) to copy it.
Next, place your cursor where you want the new tent. Press Ctrl+V (or Command+V) to paste the design. Repeat this process to create as many tents as you need.
- Select the tent design with your mouse
- Use keyboard shortcuts to copy and paste
- Adjust the content inside each new tent if needed
- Save your file often to avoid losing work
Align Multiple Tents
Proper alignment of table tents makes your page look tidy. You can use Word’s alignment tools to place tents evenly.
| Alignment Tool | Use |
|---|---|
| Gridlines | Show gridlines to help position tents |
| Snap to Grid | Make tents snap to grid points for even spacing |
| Align Left/Center/Right | Align tents horizontally for uniformity |
| Distribute Horizontally/Vertically | Space tents evenly across the page |
Print And Fold
Creating table tents in Word is easy and fun. You only need to print your design and fold it correctly. This guide will help you choose the right paper and folding style.
Table tents are useful for events, menus, and displays. A good paper and fold make them stand out.
Select Paper Type
Choosing the right paper helps your table tent look professional. Use thick paper for stability. Glossy paper can make colors pop, while matte paper gives a soft look.
- Cardstock (200-300 gsm) is best for durability
- Glossy photo paper for shiny images
- Matte paper for a non-reflective finish
- Recycled paper for an eco-friendly option
Folding Techniques
Folding your printed paper into the right shape is key. The most common fold is the tent fold. It makes a triangle shape that stands on its own.
| Fold Type | Description | Use |
|---|---|---|
| Tent Fold | Fold paper in half lengthwise, forming a triangle | Menus, place cards |
| Z Fold | Fold paper in a zig-zag style with two folds | Brochures, detailed info |
| Half Fold | Fold paper in half widthwise | Simple table tents |
Tips For Effective Table Tents
Table tents are small signs that sit on tables. They help share messages clearly. Making them easy to read is very important.
Good design keeps the message clear and grabs attention. Use simple layouts and sharp images for best results.
Keep It Simple
Simple table tents get noticed faster. Use few words and clear fonts. Avoid clutter to keep the focus on your message.
- Use large, easy-to-read fonts
- Keep text short and to the point
- Choose high contrast colors for readability
- Limit the amount of information
- Use whitespace to separate elements
Use High-quality Graphics
Clear images and logos make table tents look professional. Avoid blurry or pixelated graphics. High-quality visuals draw attention quickly.
| Graphic Type | Recommended Format | Tip |
| Logos | Vector (SVG, EPS) | Keep transparent background |
| Photos | High Resolution JPG or PNG | Use sharp and bright images |
| Icons | SVG or PNG | Simple and clear design |
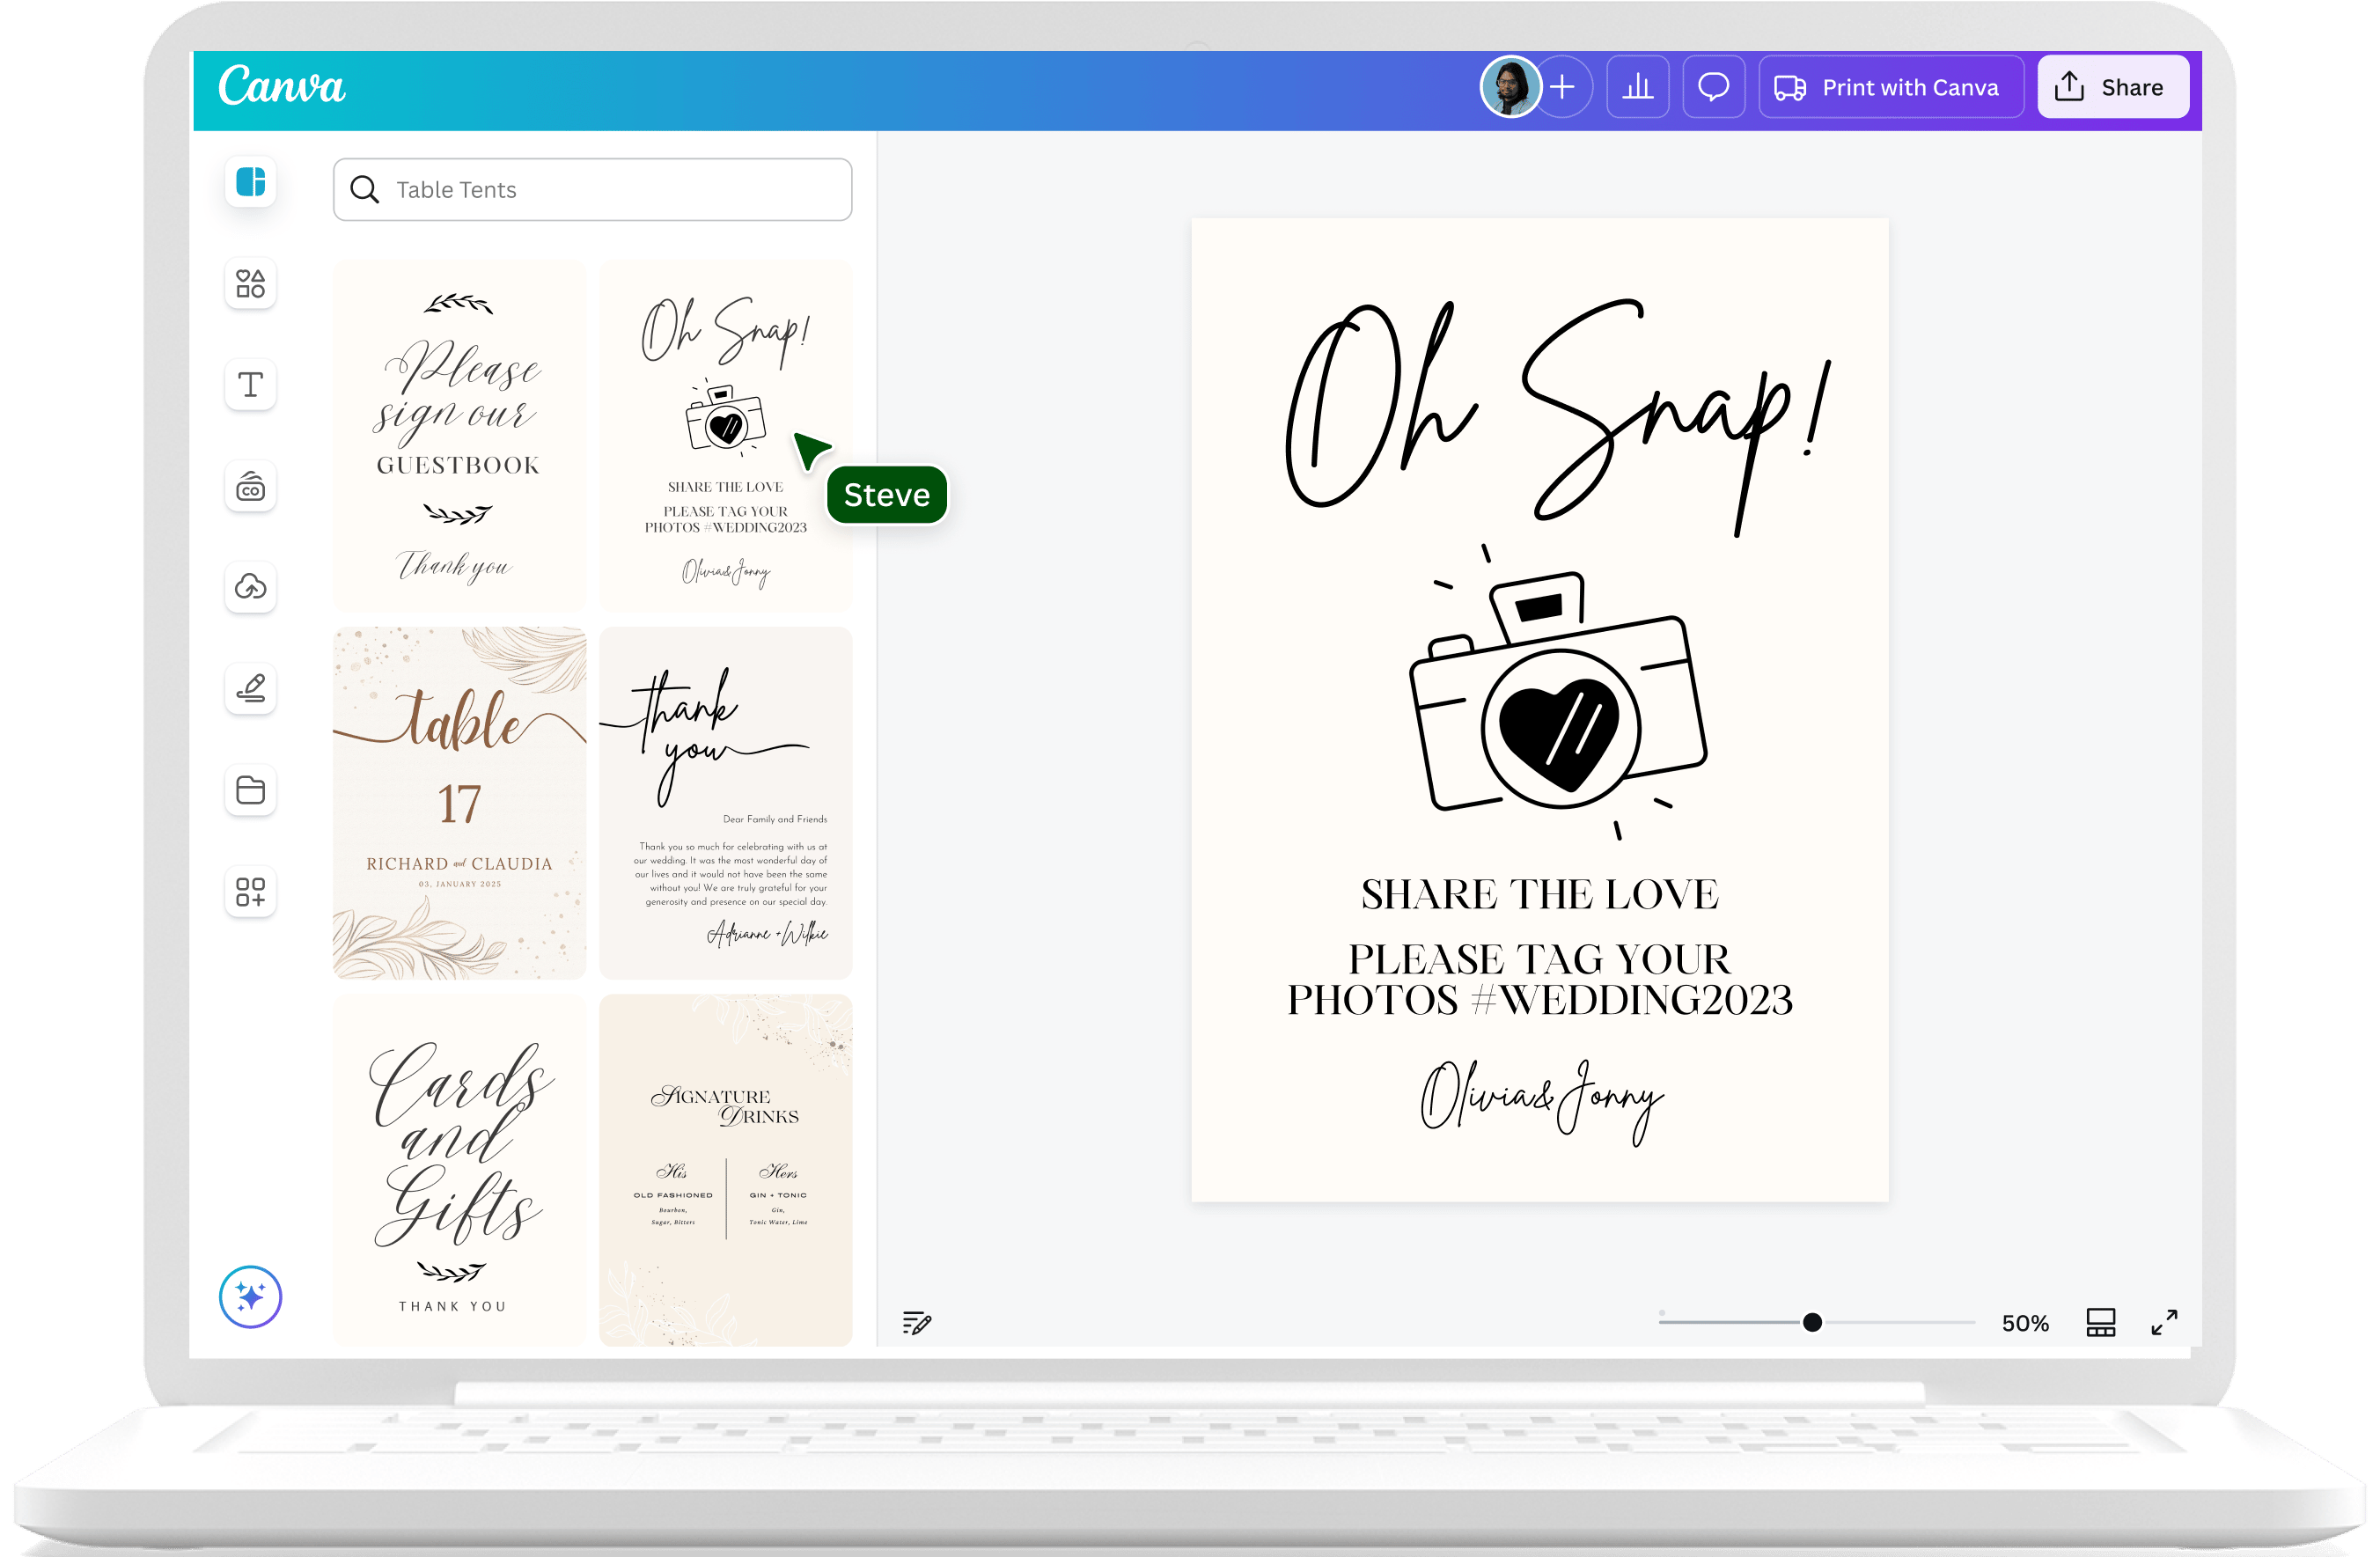
Credit: www.canva.com
Frequently Asked Questions
How Do I Start Creating Table Tents In Word?
Open a new Word document and select the “Insert” tab. Choose “Shapes” to create the tent’s panels. Adjust size for your table tent.
What Size Should Table Tents Be In Word?
A common table tent size is 4×6 inches or 5×7 inches. Adjust these dimensions in Word’s “Size” settings for best fit.
Can I Add Images To Table Tents In Word?
Yes, insert images via the “Insert” tab. Resize and position them inside your table tent design easily.
How Do I Fold Table Tents After Printing?
Print on sturdy paper. Cut along the edges and fold the tent shape along the center crease for standing display.
Conclusion
Creating table tents in Word is simple and quick. You only need a few steps to design and print them. These tents can help share information clearly and attract attention. Try different styles to fit your needs and make your message stand out.
Practice a bit, and you will get better every time. Now, you can make professional-looking table tents with ease. Keep experimenting and enjoy your creative work!