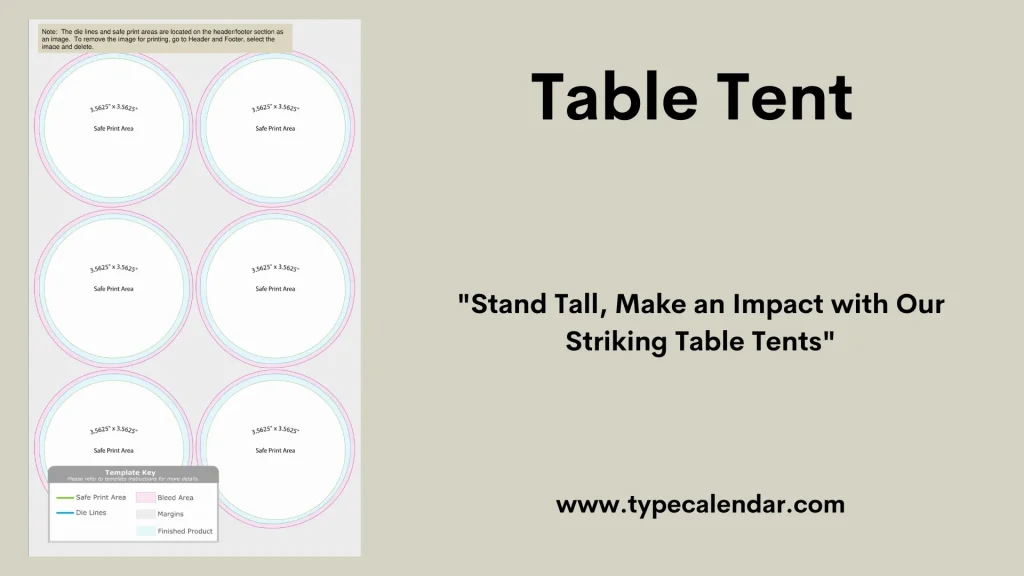
Are you looking for a simple way to create professional-looking name tents using Word? Whether you need them for a meeting, classroom, or event, making name tents can be quick and hassle-free.
In this guide, you’ll discover easy steps to design and print your own name tents without any special skills. Keep reading, and you’ll be ready to impress everyone with personalized name tents in no time!

Credit: formsofaddress.info
Setting Up Your Document
Creating name tents in Word starts with setting up your document properly. This makes it easy to design and print name tents that look neat.
Adjusting the page size, margins, and orientation helps you fit the tents on the paper. Let’s look at how to do this.
Choosing The Right Page Size
Select a page size that matches the paper you will use. Most name tents fit well on standard letter size paper.
You can also choose smaller sizes if you want tents that are easy to handle or fit on small tables.
- Go to the Layout or Page Setup menu in Word
- Pick Letter (8.5 x 11 inches) for common use
- Try A4 size if you use international paper
- Use custom sizes for special projects
Adjusting Margins And Orientation
Set narrow margins to get more tents per page. Wide margins reduce space and waste paper.
Use landscape orientation to make tents wider. This lets you fold the paper easily to stand the tents up.
- Open the Layout or Page Setup tab
- Set margins to Narrow or Custom (around 0.5 inch)
- Change Orientation to Landscape
- Check the print preview to see how tents fit

Credit: www.seaofknowledge.org
Creating A Table For Name Tents
Name tents help people see names easily at meetings or events. You can make them quickly using Microsoft Word.
Using tables in Word is a simple way to create name tents. Tables keep names organized and easy to read.
Inserting A Table
Open your Word document where you want the name tents. Go to the Insert tab on the ribbon.
Click on the Table button. Choose the number of columns and rows you need for your name tents.
- Columns represent the name tents across the page.
- Rows represent the different tents down the page.
- Start with one row and one column if you want one tent per page.
Customizing Table Dimensions
After inserting the table, adjust the size to fit your name tents. Click inside the table to see the table tools.
Use the Layout tab to change the height and width of each cell. Make sure the cells are wide enough for names.
- Set the width to about 3-4 inches for each tent.
- Set the height to about 2-3 inches for enough space.
- Adjust cell size by dragging borders or using the size boxes.
Designing Name Tent Layout
Creating name tents in Word helps organize seating and adds a personal touch to events. Designing a clear layout is key for easy reading and neat appearance.
A well-planned layout makes it simple to add names and decorations. It also ensures the tent folds correctly and stands well on tables.
Adding Text And Formatting
Start by inserting a text box where the name will go. Choose a font style that is easy to read from a distance.
Use font size and bolding to make the name stand out. Align the text to the center for balance and neatness.
- Select a clear, simple font like Arial or Calibri
- Set font size between 24 and 36 points
- Use bold to highlight the name
- Center-align the text inside the text box
Inserting Decorative Elements
Decorative elements add style but should not distract from the name. Use shapes, lines, or icons to frame the text.
Place decorations at the edges or corners. Keep decorations simple and match colors to the event theme.
- Insert simple shapes like rectangles or circles
- Add thin lines above or below the name for separation
- Use small icons that fit the occasion
- Choose colors that complement the text color
Duplicating And Aligning Name Tents
Creating name tents in Word can save time for events and meetings. Duplicating and aligning them neatly on a page keeps your work professional.
This guide explains how to copy table cells and align multiple name tents in Word. Follow these simple steps to make your name tents look great.
Copying Table Cells
Use table cells to make name tents. Copying cells lets you duplicate tents quickly without starting over.
- Select the cells with the name tent content.
- Right-click and choose “Copy” or press Ctrl+C.
- Click where you want the new tents to go.
- Right-click and choose “Paste” or press Ctrl+V.
- Adjust the text inside each copied cell as needed.
Aligning Multiple Name Tents On A Page
Aligning name tents ensures they look tidy and fit well on the page. Use Word’s table tools to adjust spacing and alignment.
| Action | How to Do It |
| Center text inside cells | Select cells > Layout tab > Align Center |
| Distribute rows evenly | Right-click table > Distribute Rows |
| Distribute columns evenly | Right-click table > Distribute Columns |
| Adjust table position on page | Select table > Table Properties > Position |
Finalizing And Printing
After creating your name tents in Word, you need to finalize the design. This step ensures everything looks right before printing.
Printing your name tents correctly helps avoid wasted paper and ink. Follow the next steps for the best results.
Previewing Your Name Tents
Use the Print Preview feature to see how your name tents will look on paper. This helps you find mistakes before printing.
Check that text is centered and fits inside the tent shape. Look for any spelling errors or formatting issues.
- Go to File and select Print Preview
- Confirm the layout matches your design
- Adjust margins or font size if needed
- Make sure each name tent fits on one page
Setting Print Options
Choose the right print settings to save paper and get clear results. Select the correct paper size and orientation.
Set the printer to print on both sides if your tents fold in the middle. Use high-quality print mode for sharp text.
- Select the correct printer from the list
- Choose Letter or A4 paper size
- Pick Landscape orientation for folding tents
- Enable double-sided printing if available
- Use quality settings for best print clarity
- Print a test page before printing all tents
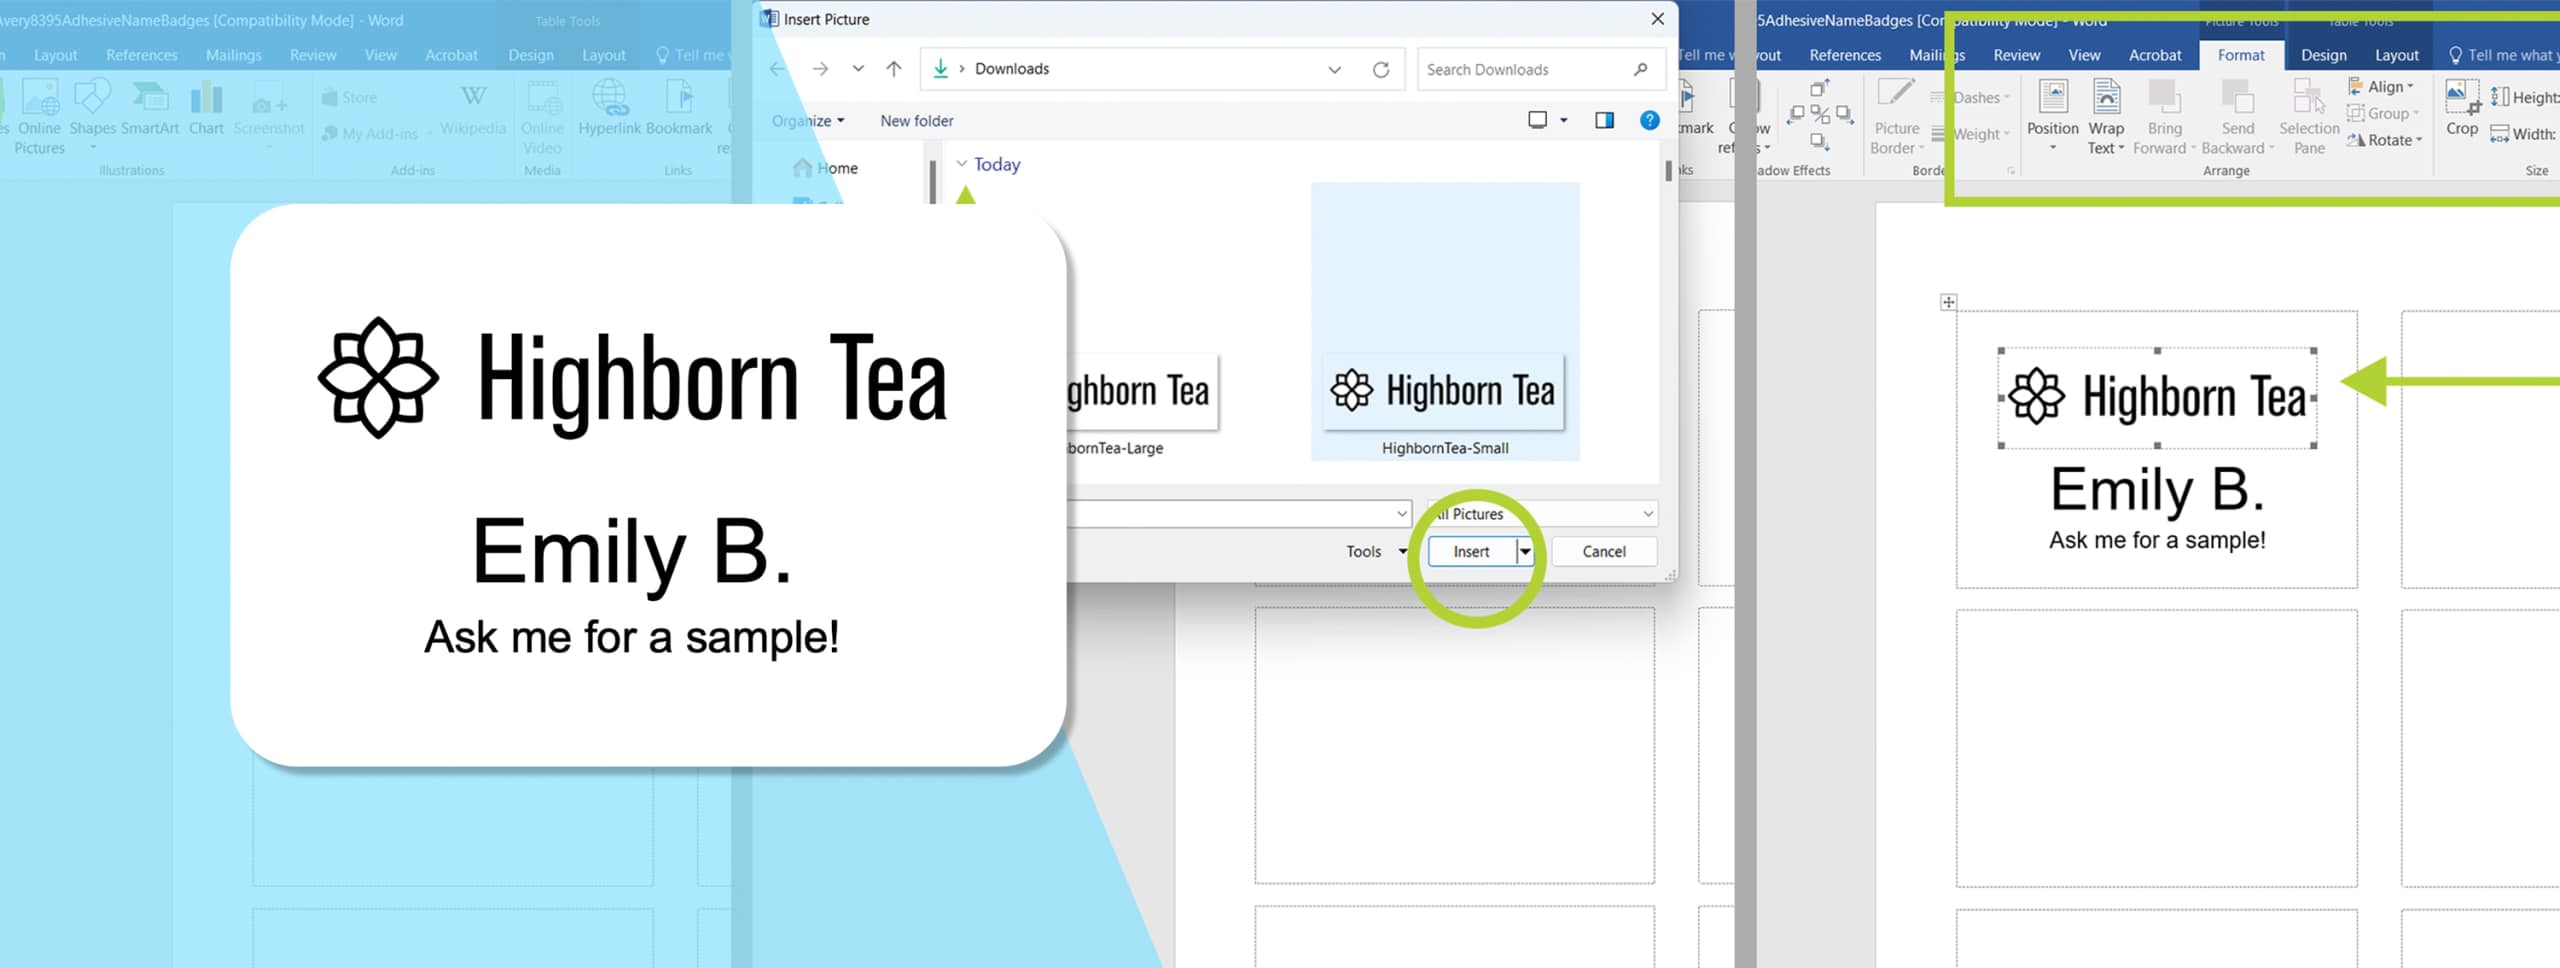
Credit: www.avery.com
Frequently Asked Questions
How Do I Create Name Tents In Word Quickly?
To create name tents fast, use Word’s table or text box feature. Insert a table, type names, and fold paper after printing.
Can I Customize Font And Colors On Name Tents?
Yes, Word allows font and color customization. Select text, choose fonts, sizes, and colors to match your event theme.
What Paper Size Is Best For Name Tents In Word?
Use standard letter size (8. 5×11 inches) paper. It folds easily and fits most printers for clear, professional name tents.
How Do I Print Multiple Name Tents On One Page?
Insert a table with multiple cells, each cell for a name tent. Print the page and cut along cell borders.
Conclusion
Creating name tents in Word is simple and quick. You can customize fonts, colors, and sizes easily. This helps make your event or meeting look organized. Using Word saves time and effort compared to other methods. Try different styles to find what fits best.
Practice a few times to feel confident. Now you are ready to create clear, neat name tents anytime. Enjoy making your events more personal and professional!