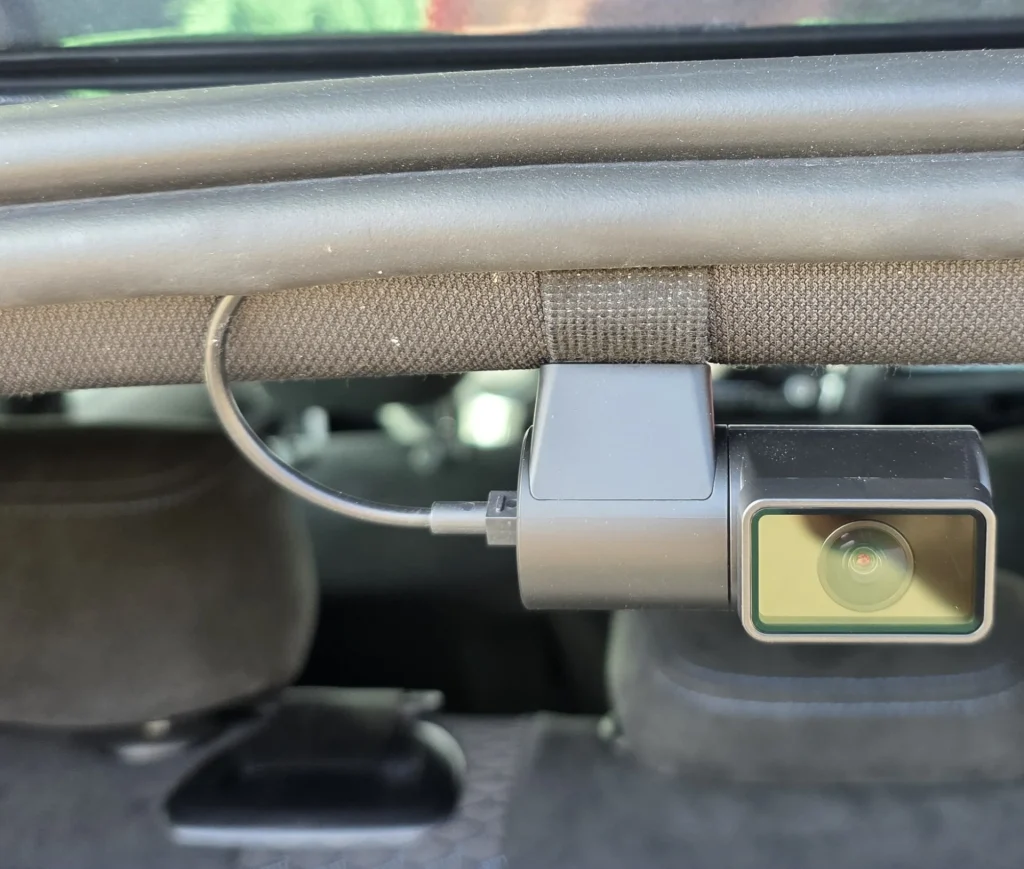
Have you ever struggled to park your car or worried about what’s behind you while reversing? Installing a rear camera can change that experience completely.
Imagine having a clear view of your blind spots and backing up with confidence every time. In this guide, you’ll learn simple, step-by-step instructions to install a rear camera in your car—no technical skills required. Keep reading to discover how you can boost your safety and make parking easier than ever.
Choosing The Right Rear Camera
Installing a rear camera in your car helps you park safely. Picking the right camera is important for clear views and easy use.
This guide explains the types of rear cameras, key features to look for, and how to check if a camera fits your car.
Types Of Rear Cameras
There are several kinds of rear cameras for cars. Each type has different shapes and ways to install.
- Wired Cameras:Connect to the car’s monitor with cables. They give stable video but need more work to install.
- Wireless Cameras:Send video signals without cables. Easier to install but may have signal delay.
- License Plate Cameras:Mount on or near the license plate. They fit most cars and show a wide view.
- Flush Mount Cameras:Installed inside the car’s body. They look neat and are harder to damage.
- Surface Mount Cameras:Stick to the car’s surface. They are easy to add but may be more visible.
Key Features To Consider
Look for features that make your rear camera useful and clear. These features help you see well and use the camera easily.
- Wide Viewing Angle:Shows a large area behind the car to avoid blind spots.
- Night Vision:Helps you see in low light or dark places.
- Waterproof Rating:Protects the camera from rain and car washes.
- Image Resolution:Higher resolution gives clearer pictures.
- Parking Lines:Guides that help you park within lines safely.
- Durability:Strong build to handle bumps and weather.
Compatibility With Your Car
Not all rear cameras fit every car. Check your car’s system and space before buying a camera.
Look at your car’s monitor type and power supply to match the camera. Also, check where the camera will be installed.
- Check if your car has a built-in screen or needs an external monitor.
- Make sure the camera’s power needs match your car’s battery or wiring.
- Measure the space where you want to mount the camera for proper fit.
- Confirm if the camera connects via RCA cable, USB, or wirelessly with your system.

Credit: www.youtube.com
Gathering Necessary Tools And Materials
Installing a rear camera in your car needs some tools and materials. Getting everything ready makes the process easier.
Use the right tools for a safe and neat installation. This guide will list the main items you will need.
Tools Required
You need basic tools to install a rear camera correctly. These tools help you open parts of your car and connect wires.
- Screwdrivers (flathead and Phillips)
- Wire stripper and cutter
- Electric drill with drill bits
- Panel removal tool
- Multimeter for checking connections
- Measuring tape or ruler
- Electrical tape
- Zip ties for cable management
Additional Accessories
Along with tools, some accessories make the installation easier and cleaner. These help protect wires and hold parts in place.
- Rear camera kit including camera and monitor
- Extension cables for power and video
- Fuse tap or add-a-circuit fuse holder
- Double-sided tape or mounting brackets
- Heat shrink tubing for wire protection
- Wire connectors or crimp terminals
Preparing Your Car For Installation
Installing a rear camera requires careful preparation of your car. This helps ensure a smooth setup and proper camera function.
Before starting, take time to plan where the camera will go and prepare the mounting area well.
Locating The Installation Area
Choose a spot on the rear of your car that gives a clear view behind. Most cameras mount near the license plate or on the trunk lid.
- Look for a flat surface that faces backward.
- Avoid areas blocked by the bumper or spare tire.
- Make sure the location does not interfere with lights or sensors.
- Check that cables can reach from the camera to the car’s interior.
Cleaning And Accessing The Mounting Spot
Clean the chosen area to help the camera attach firmly. Dirt and grease reduce adhesion and may cause problems later.
| Cleaning Task | Tools Needed | Purpose |
| Remove dirt and dust | Soft cloth, mild soap, water | Clear surface for better grip |
| Degrease area | Rubbing alcohol, cloth | Remove oil and wax residues |
| Dry surface | Clean dry cloth | Prevent moisture under camera |
Mounting The Rear Camera
Mounting the rear camera correctly is important for safety and clear views. It helps you see behind your car while parking or reversing.
This guide shows how to place and secure the rear camera on your vehicle for the best performance.
Positioning The Camera
Place the camera where it has a clear view of the area behind your car. Avoid spots blocked by the bumper or trunk.
Mount the camera near the license plate or above the rear bumper for the best angle. Keep it centered for balanced views.
- Choose a spot with a wide field of view
- Avoid areas with dirt or water buildup
- Keep the camera low but visible
- Make sure the lens is not blocked
Securing The Camera Properly
Use screws or strong adhesive to fix the camera firmly. It must not move or fall off during driving.
Check for loose wires and secure them to prevent damage. Seal any holes to keep water out and protect the camera.
- Use mounting brackets or adhesive pads
- Tighten screws but do not crack the camera
- Secure cables with clips or tape
- Seal openings with waterproof material
Wiring The Camera System
Installing a rear camera in your car requires careful wiring. This ensures the camera works properly and safely.
Follow the wiring steps to connect the camera to power and the display monitor in your vehicle.
Routing The Wires
Start by planning the wire path from the rear camera to the front dashboard. Avoid sharp edges and moving parts.
- Run wires along the car’s frame under the door seals.
- Use wire clips or zip ties to secure cables.
- Keep wires away from heat sources like the engine.
- Leave extra wire length near connection points.
Connecting To Reverse Light Power
The rear camera needs power from the reverse light to turn on automatically when you back up.
| Wire Color | Purpose |
| Red | Connect to reverse light power (+12V) |
| Black | Ground connection (negative) |
| Yellow | Video signal to the display |
Use a multimeter to find the reverse light wire. Connect the camera’s red wire to it and secure the connection with electrical tape.
Connecting To The Display Monitor
Next, connect the camera video wire to your display monitor input. This shows the rear view on the screen.
Follow these steps to connect the camera to the monitor:
- Locate the video input port on the monitor.
- Plug the camera’s video cable into this port.
- Connect the monitor to a power source, usually the car’s fuse box.
- Test the system by shifting into reverse gear.

Credit: m.youtube.com
Testing The Rear Camera
After installing your car’s rear camera, testing it is important. This step ensures the camera works well and shows clear images.
Testing helps find any problems early. You can fix issues before driving the car.
Powering On And Checking The Display
Turn on your car’s ignition to power the rear camera system. The camera should activate automatically when you shift to reverse.
Look at the display screen inside your car. Check if the camera feed appears clearly without flickering or delay.
- Make sure the screen turns on when reversing
- Check for a clear and stable image
- Verify there are no black or frozen spots
- Listen for any unusual sounds from the camera system
Adjusting Camera Angle
Adjust the camera angle to get the best view of the area behind your car. Aim to see the ground and any obstacles clearly.
Loosen the camera mount slightly, move it to the desired position, and then tighten it again to hold the angle firmly.
- Check the view on the display while adjusting
- Set the angle so you see the rear bumper and ground
- Avoid pointing the camera too high or low
- Tighten the mount securely after adjusting
Troubleshooting Common Issues
If the rear camera does not work correctly, try simple fixes first. Many issues come from loose wires or dirty lenses.
Check connections and clean the camera lens to improve the image quality.
- Make sure all cables are connected tightly
- Clean the camera lens with a soft cloth
- Test the system in a dark area for better image check
- Reset the car’s electronics by turning off and on
- Consult the camera manual for specific error codes
Finalizing Installation
After mounting the rear camera and connecting all wires, you must finish the setup carefully.
This final step ensures your camera works well and looks neat inside your car.
Securing Loose Wires
Loose wires can cause problems or damage if not properly secured. Use these tips to keep wires tidy and safe.
- Use cable ties to bundle wires together.
- Attach wires to the car frame with clips or adhesive mounts.
- Keep wires away from moving parts and sharp edges.
- Check all connections are tight and insulated.
- Leave some slack to avoid wire strain when driving.
Reassembling Car Panels
After securing wires, put back all removed panels carefully to restore your car’s interior.
| Panel | Tips for Reassembly |
| Door Panel | Align clips and press firmly until you hear a click. |
| Dashboard Panel | Reconnect any switches or connectors before snapping it back. |
| Trunk Trim | Check for hidden screws and tighten them securely. |

Credit: www.youtube.com
Frequently Asked Questions
How Do I Install A Rear Camera In My Car?
To install a rear camera, first choose a compatible model. Mount it near the license plate. Connect wiring to the reverse light and display screen. Test the camera before securing all components to ensure proper function.
What Tools Are Needed For Rear Camera Installation?
You typically need a screwdriver, drill, wire strippers, electrical tape, and a multimeter. These tools help mount the camera, connect wires, and ensure secure, safe installation. Having them ready makes the process smoother and faster.
Can I Install A Rear Camera Without Professional Help?
Yes, many rear cameras come with DIY kits and instructions. Basic knowledge of car wiring and tools is necessary. Follow the manual carefully to avoid damage. Watching tutorial videos can also help for a successful installation.
How Long Does It Take To Install A Rear Camera?
Installation usually takes 1 to 2 hours depending on experience and vehicle type. New installers may take longer to route wires and mount the camera properly. Preparing tools and instructions beforehand speeds up the process.
Conclusion
Installing a rear camera in your car boosts safety and ease. Follow steps carefully to avoid mistakes. Choose the right camera and tools before starting. Connect wires securely for a clear, steady image. Test the camera after installation to ensure it works well.
This simple upgrade helps with parking and reversing. Enjoy better view and peace of mind on the road. Keep instructions handy for future reference or repairs. Safe driving starts with good vehicle visibility.