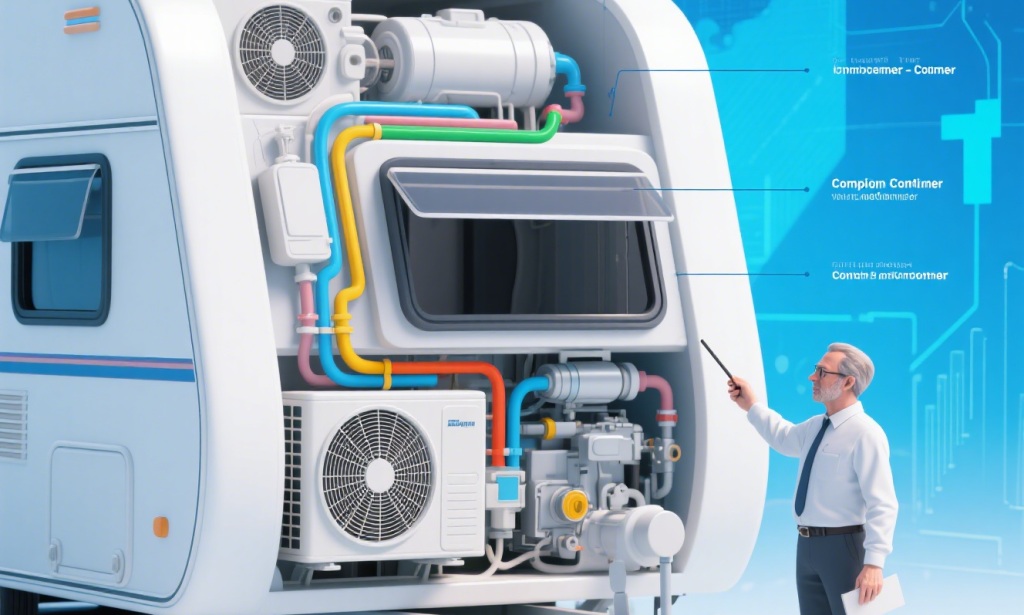
Is your RV air conditioner struggling to keep you cool on those hot summer days? If you’ve noticed it’s not blowing cold air like it used to, it might be time to add Freon.
But don’t worry—adding Freon to your RV air conditioner is something you can do yourself with the right steps. In this guide, you’ll learn exactly how to safely and effectively recharge your AC, so you can enjoy the comfort you deserve on every trip.
Keep reading, and by the end, you’ll have the confidence to fix your RV’s cooling system and beat the heat no matter where the road takes you.
Signs Your Rv Ac Needs Freon
Your RV air conditioner may need Freon if it does not cool properly. Freon is the coolant that helps your AC blow cold air.
Low Freon levels can cause several problems. Watch for these signs to know when to add Freon.
Cooling Inefficiency
If your RV AC struggles to cool the air, low Freon may be the cause. The air might feel warm or only slightly cooler than outside air.
- AC runs longer but cools less
- Temperature inside RV stays high
- Fan blows weak or lukewarm air
Unusual Noises
Listen for strange sounds from your AC unit. Low Freon can make the compressor work harder, causing noises.
| Noise Type | Possible Cause |
|---|---|
| Hissing | Freon leak in the system |
| Rattling | Compressor strain due to low coolant |
| Clicking | Electrical issues from AC stress |
Ice Buildup On Coils
Ice can form on the AC coils when Freon is low. This stops proper heat exchange and reduces cooling.
- Check if coils look frozen or wet
- Feel cold air flow drop suddenly
- Turn off AC to let ice melt before adding Freon
Tools And Materials Required
Adding Freon to an RV air conditioner needs the right tools and materials. Using proper items helps keep the AC working well.
Below are the main tools and materials you need before starting the process.
Freon Type Selection
Select the correct Freon type for your RV air conditioner. Most newer models use R-410A, while older ones use R-22. Check the AC unit label or manual to find the right type.
- R-410A for newer RV air conditioners
- R-22 for older RV air conditioners
- Do not mix different Freon types
- Use only approved refrigerants for your unit
Pressure Gauge Set
A pressure gauge set helps you check the Freon levels and pressure in the system. It comes with hoses and gauges to connect to the AC unit.
| Component | Purpose |
| Low-pressure gauge | Measures suction side pressure |
| High-pressure gauge | Measures discharge side pressure |
| Hoses | Connect gauges to service ports |
| Valve connectors | Control flow of Freon |
Protective Gear
Wear protective gear to stay safe while handling Freon. It can cause skin and eye irritation, and inhaling fumes is harmful.
- Safety goggles to protect eyes
- Gloves to protect hands
- Long sleeves to cover arms
- Work in a well-ventilated area
Preparing Your Rv Air Conditioner
Adding Freon to your RV air conditioner helps it stay cool. Before starting, you must prepare the unit properly. This ensures safety and good results.
Preparation includes finding key parts, turning off power, and following safety steps. These tasks help you work safely and avoid damage.
Locating The Service Ports
Service ports let you add Freon to the air conditioner. You need to find both the low-pressure and high-pressure ports. Usually, the low-pressure port is the one used for adding Freon.
Look near the compressor or the outdoor unit. The ports are small valves with caps that may say “L” for low or “H” for high. Make sure you use the correct port for adding Freon.
- Find the outdoor unit of the air conditioner.
- Look for two valve caps, one labeled “L” and one “H”.
- Use the low-pressure port (usually marked “L”) to add Freon.
- Do not open the high-pressure port for adding Freon.
Turning Off The Power
Before adding Freon, turn off the RV’s power supply. This stops the air conditioner from running and keeps you safe. You can switch off the main breaker or unplug the RV.
Check that the air conditioner is completely off. Wait a few minutes to let the system cool down. This step helps avoid electrical shocks or accidents.
- Switch off the RV’s main power breaker.
- Unplug the RV from the external power source, if possible.
- Confirm the air conditioner has stopped running.
- Wait 5 minutes to let the system cool.
Safety Precautions
Handling Freon can be dangerous. Always wear safety glasses and gloves to protect your eyes and skin. Work in a well-ventilated area to avoid breathing harmful gases.
Never mix different types of refrigerants. Use the correct type for your RV air conditioner. Keep children and pets away during the process.
- Wear safety glasses and gloves.
- Work outdoors or in a ventilated space.
- Use the correct Freon type for your AC unit.
- Keep children and pets away from the work area.
- Avoid direct skin or eye contact with Freon.
Checking Current Freon Levels
Adding Freon to your RV air conditioner needs care. First, check the current Freon levels. This helps avoid overcharging or damaging the system.
Use pressure gauges to see how much Freon is inside. Follow these steps to check safely and correctly.
Connecting The Pressure Gauges
Attach the pressure gauges to the correct service ports on the air conditioner. The low-pressure gauge goes to the larger port, and the high-pressure gauge to the smaller port.
- Turn off the air conditioner before connecting.
- Locate the low and high pressure ports on the unit.
- Securely connect the blue hose to the low-pressure port.
- Attach the red hose to the high-pressure port.
- Make sure the connections are tight to prevent leaks.
Reading The Pressure Values
Turn on the air conditioner and let it run for a few minutes. Then, read the pressure values shown on the gauges. Both low and high side pressures are important.
| Gauge | Normal Pressure Range (psi) |
| Low Side | 25 – 45 |
| High Side | 150 – 250 |
Interpreting Results
Compare your gauge readings to the normal ranges. If the low side is below 25 psi, the Freon level is likely low. High side pressures much above 250 psi may mean overcharge or blockage.
- Low low-side pressure means add Freon.
- High high-side pressure means check for blockages.
- Normal pressures mean no need to add Freon.
- If unsure, consult a professional technician.
Adding Freon To The System
Adding Freon to your RV air conditioner helps keep it cool and efficient. This process requires care and the right tools.
Follow the steps below to add Freon safely and correctly to your system.
Attaching The Freon Canister
First, find the low-pressure service port on your RV air conditioner. It usually has a blue cap. Remove the cap carefully.
Next, attach the Freon canister’s hose to the service port. Make sure it fits tightly to avoid leaks.
Releasing Freon Slowly
Open the valve on the Freon canister slowly. This lets Freon flow into the system without causing pressure spikes.
- Keep the canister upright during release.
- Do not open the valve fully at once.
- Release Freon in short bursts to control flow.
- Stop if you hear hissing or notice leaks.
Monitoring Pressure Levels
Use a pressure gauge to check the system’s pressure as you add Freon. The correct pressure keeps your air conditioner working well.
| Temperature (°F) | Ideal Pressure (PSI) |
| 70 | 30-40 |
| 80 | 35-45 |
| 90 | 40-50 |

Credit: www.rvacunit.com
Post-refill Checks
After adding Freon to your RV air conditioner, it is important to complete some checks. These steps ensure your system works properly and stays safe.
Follow these key tasks carefully to protect your air conditioner and enjoy cool air on your travels.
Sealing Service Ports
Once the Freon refill is done, seal the service ports tightly. This prevents leaks and keeps dirt out.
- Replace the valve caps securely on all service ports.
- Check for any signs of damage on the ports before sealing.
- Use a wrench to tighten caps without overdoing it.
- Inspect the sealing areas for any residue or debris and clean if needed.
Testing The Air Conditioner
After sealing the ports, test your air conditioner to confirm it runs well. Check cooling power and listen for odd noises.
| Test | What to Check | Expected Result |
|---|---|---|
| Cooling Performance | Air temperature near vent | Should feel noticeably cooler |
| Noise Level | Sound from AC unit | Should be smooth and quiet |
| Pressure Check | Gauge readings on service ports | Within manufacturer’s recommended range |
| Leak Inspection | Look around sealed ports | No visible leaks or moisture |
Cleaning Up
Clean the area around the air conditioner and tools after the refill. This keeps your workspace safe and ready for future use.
- Wipe down any spilled Freon or oil with a clean cloth.
- Store all tools in their proper places.
- Dispose of used materials according to local rules.
- Keep a record of the refill date for maintenance tracking.
Common Mistakes To Avoid
Adding Freon to your RV air conditioner needs care. Mistakes can damage the system or cause safety risks.
This guide shows common errors to avoid when adding Freon. Follow these tips to keep your AC running well.
Overcharging The System
Putting too much Freon in the system can harm the AC. It causes high pressure and may break parts.
- Too much Freon reduces cooling efficiency.
- Excess pressure can cause leaks or damage.
- Overcharged AC uses more power and wears out faster.
Ignoring Safety Measures
Adding Freon involves risks. Ignoring safety steps may lead to injury or accidents.
- Wear gloves and eye protection.
- Work in a well-ventilated area.
- Keep away from open flames or sparks.
- Do not inhale refrigerant gas.
- Follow manufacturer instructions carefully.
Using Wrong Freon Type
Using the wrong Freon type can damage the AC or make it stop working.
| Freon Type | Common Use | Notes |
| R-22 | Older RV AC units | Phased out, less available |
| R-410A | Newer RV AC units | More efficient and eco-friendly |
| R-134a | Cars and some appliances | Not for RV AC units |

Credit: www.youtube.com

Credit: www.youtube.com
Frequently Asked Questions
How Do You Know If Your Rv Needs Freon?
If your RV’s air conditioner isn’t cooling effectively, it might need Freon. Check for warm air from the vents, unusual noises, or ice buildup. These are indicators of low refrigerant levels. Always ensure to check for leaks before adding Freon to prevent further issues.
Can You Add Freon To An Rv Yourself?
Yes, you can add Freon to an RV yourself. Ensure you have the right tools and safety gear. First, locate the service port and attach the refrigerant can. Follow the manufacturer’s instructions carefully. However, if you’re unsure, consulting a professional is always recommended.
What Tools Are Needed To Add Freon To An Rv?
To add Freon, you need a refrigerant can, a gauge, and safety gear. It’s crucial to use the correct type of Freon for your specific RV model. Additionally, having a pressure gauge helps monitor the refrigerant levels accurately during the process.
How Often Should Freon Be Added To An Rv?
Freon doesn’t need regular topping off unless there’s a leak. If your air conditioner isn’t cooling properly, it might be time to check the refrigerant level. Regular maintenance and inspections can prevent the need for frequent Freon additions and ensure efficient cooling.
Conclusion
Adding Freon to your RV air conditioner keeps it cool and comfortable. Check the system for leaks before starting. Use the right type of Freon for your unit. Follow safety steps to avoid accidents or damage. Regular maintenance helps your air conditioner last longer.
Stay cool on every trip with proper care. Simple steps make a big difference in performance. Keep your RV ready for warm days ahead.