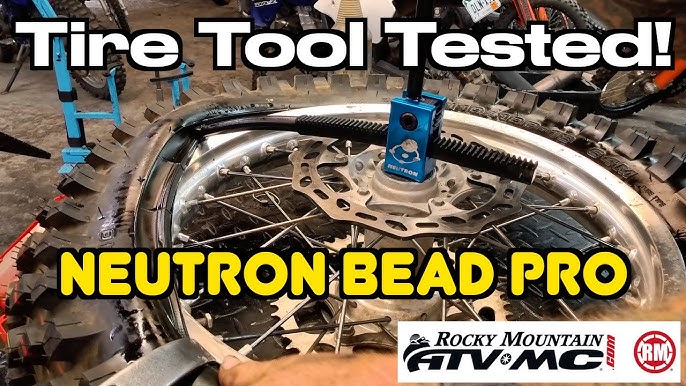
Are you tired of struggling with your motorcycle tire when it needs changing? Removing a motorcycle tire might seem tricky, but with the right steps, you can do it yourself easily and safely.
Imagine saving time and money by handling this task on your own. In this guide, you’ll discover simple, clear instructions to remove your motorcycle tire without stress. Ready to take control of your bike maintenance? Let’s dive in and get your tire off smoothly!
Credit: www.k1600forum.com
Tools Needed
Removing a motorcycle tire requires the right tools. Using proper tools makes the job easier and safer. Without them, you risk damaging the tire or wheel.
This guide covers essential tools and some helpful extras. Prepare these before you start your tire removal process.
Essential Tire Removal Tools
These tools are needed to safely remove a motorcycle tire from the rim. They help you loosen and separate the tire without damage.
- Tire Irons:Sturdy levers for prying the tire off the rim.
- Valve Core Tool:Used to remove the valve core and release air.
- Bead Breaker:A device to break the tire bead from the rim.
- Air Compressor or Pump:For reinflating the tire after installation.
- Wrenches or Socket Set:To remove the wheel from the motorcycle.
- Lubricant:Helps the tire slip off easier without damage.
Optional Helpful Accessories
These extras can make the tire removal faster or more comfortable. They are not required but improve the experience.
| Accessory | Purpose |
| Tire Mounting Paste | Reduces friction when mounting or removing tires |
| Wheel Stand or Lift | Keeps the wheel steady during work |
| Protective Gloves | Protect hands from sharp edges and dirt |
| Rim Protectors | Prevent scratches on the wheel rim |
| Torque Wrench | Ensures proper tightening of axle bolts |

Credit: www.youtube.com
Preparing The Motorcycle
Removing a motorcycle tire needs careful preparation. Start by making sure the bike is stable and safe to work on.
Check your tools and space to avoid problems during the tire removal process.
Securing The Bike
Before removing the tire, secure the motorcycle to stop it from moving. Use a sturdy stand or lift designed for motorcycles.
If you do not have a stand, lean the bike carefully against a solid surface. Make sure it cannot fall or roll.
- Use a center stand or paddock stand if available
- Check that the bike is on a flat and stable surface
- Engage the parking brake or put the bike in gear
- Remove any loose items that could cause imbalance
Removing The Wheel
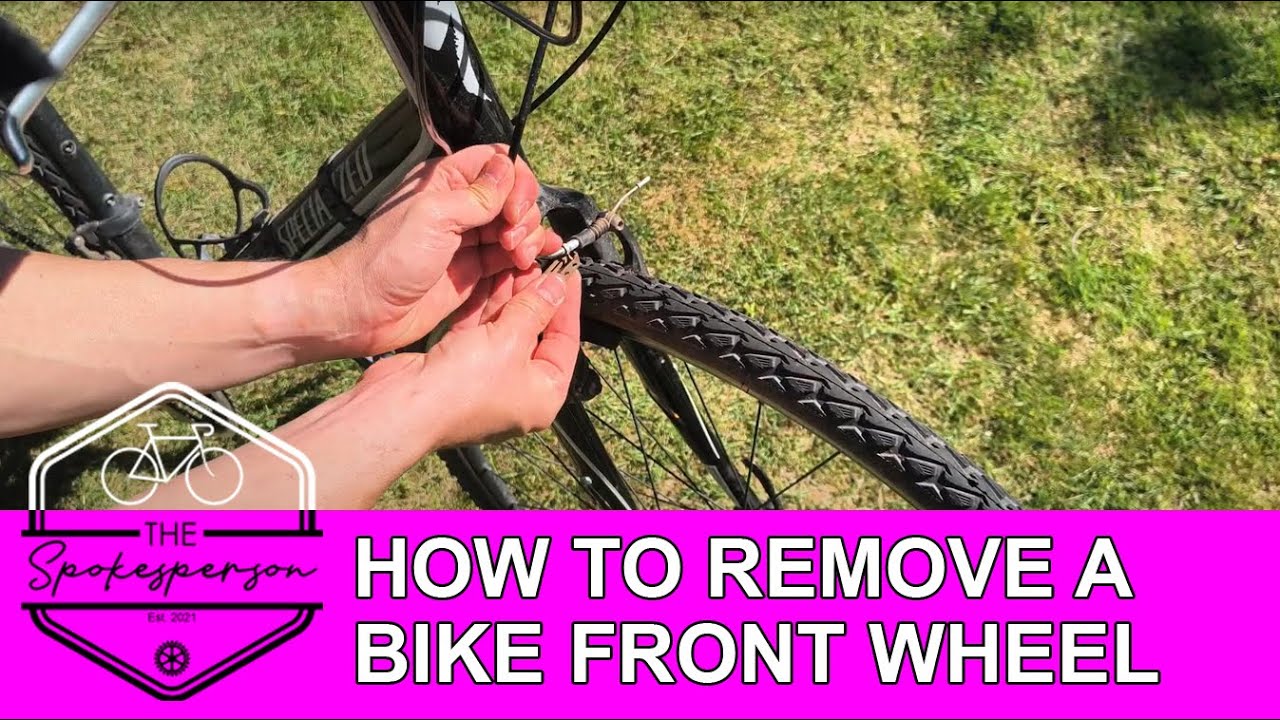
Start by loosening the axle nut or bolts that hold the wheel. Do this while the bike is supported to avoid accidents.
After loosening, carefully lift the wheel off the forks or swingarm. Keep all nuts and bolts in a safe place.
- Loosen axle nuts with the correct wrench
- Remove brake caliper if it blocks wheel removal
- Slide the wheel out gently to avoid damage
- Place the wheel on a clean surface for further work
Deflating The Tire
Removing a motorcycle tire starts with letting the air out safely. Deflating the tire helps to avoid accidents and makes tire removal easier.
Follow clear steps to find the valve and release air without damage. Safety is key during this process.
Locating The Valve
The valve is where air enters and leaves the tire. It looks like a small metal or rubber tube sticking out from the wheel rim.
- Look closely around the wheel rim for the valve stem.
- It may have a cap that screws on to protect it.
- Remove the cap to access the valve core.
- Check if the valve is straight or angled, as this affects air release.
Releasing Air Safely
Deflate the tire slowly to avoid sudden air bursts. Use the right tool to press the valve core and release air in a controlled way.
| Tool | Purpose |
| Valve Core Remover | Removes valve core for full deflation |
| Small Screwdriver | Presses valve pin for slow air release |
| Air Pressure Gauge | Checks remaining air pressure |
Breaking The Bead
Breaking the bead is the first step to remove a motorcycle tire. The bead is the edge of the tire that seals tightly against the rim. You need to separate it from the rim to take off the tire safely.
This process requires careful techniques and the right tools. It helps avoid damage to the tire and rim during removal.
Techniques For Bead Breaking
One common way to break the bead is to apply pressure evenly around the tire. You can use your body weight or a special tool to push the tire away from the rim. Make sure the tire is deflated before starting.
- Place the tire on a flat surface with the valve stem up.
- Press down firmly on the sidewall near the rim.
- Work your way around the tire, repeating pressure points.
- Check if the bead has separated from the rim all around.
Using Bead Breaker Tools
Bead breaker tools make this job easier and safer. They come in different styles such as manual levers, hydraulic presses, or clamp systems. Choose one that fits your tire size and workspace.
| Tool Type | Best For | Notes |
| Manual Lever | Small to medium tires | Affordable and portable |
| Hydraulic Press | Large or stiff tires | Requires power and space |
| Clamp System | Various tire sizes | Secure grip, less risk to rim |
Removing The Tire
Removing a motorcycle tire is a careful process. You need the right tools and a clear plan.
This guide helps you take the tire off safely and easily.
Inserting Tire Irons
Use tire irons to lift the tire bead away from the rim. Insert the first iron under the tire edge.
Place the second iron a few inches away to hold the bead up. This keeps the tire loose around the rim.
- Start opposite the valve stem
- Push the tire iron under the bead
- Keep irons about 4 inches apart
- Work slowly to avoid damage
Lifting The Tire Off
After the bead is loose, lift the tire over the rim edge. Use your hands or tire irons to pull it up.
Work around the rim until one side of the tire is free. Then remove the tire completely by pulling it off.
- Lift the bead over the rim edge
- Move slowly to avoid breaking the bead
- Remove one side of the tire first
- Pull the tire off fully when loose
Credit: www.youtube.com
Tips For Stubborn Tires
Removing a motorcycle tire can be hard if it is stuck on the rim. This happens often with old or tight tires. Using the right methods helps make the job easier and safer.
Two good ways to handle stubborn tires are applying lubricants and using heat carefully. Both methods reduce friction and help the tire slide off the rim.
Applying Lubricants
Lubricants make the tire bead slippery. This helps the tire move away from the rim without damage. Use the right lubricant and apply it well for best results.
- Use soapy water or a special tire lubricant.
- Apply the lubricant around the tire bead and rim edge.
- Let the lubricant soak for a few minutes before trying to remove the tire.
- Do not use oil or grease as they can damage rubber.
- Clean the rim and tire surface before applying lubricant.
Using Heat Carefully
Heat softens the tire rubber and makes it easier to stretch. Use heat safely to avoid damage to the tire or rim. Follow these guidelines to apply heat correctly.
| Heat Source | Use | Safety Tips |
| Heat Gun | Warm the tire bead evenly | Keep moving, do not overheat |
| Hot Water | Pour hot water over the tire | Use water below boiling point |
| Warm Air Compressor | Blow warm air around the bead | Avoid direct flame |
Safety Precautions
Removing a motorcycle tire needs care and safety. Always prepare before starting the job.
Using the right tools and techniques keeps you safe and protects your bike parts.
Protective Gear
Wear protective gear to stop injuries from sharp edges or flying debris. Gloves protect your hands from cuts.
Use safety glasses to shield your eyes from dirt and tire parts that can fly off.
- Thick gloves for hand safety
- Safety glasses or goggles
- Long-sleeved shirt to protect arms
- Closed-toe shoes to guard feet
- Helmet if working outdoors near traffic
Avoiding Common Injuries
Keep your workspace clean to avoid slips and falls. Clear oil or water spills right away.
Use tire levers carefully to prevent pinching your fingers. Do not rush the process.
- Check tire pressure before removal
- Do not use excessive force on tools
- Lift tires with your legs, not your back
- Keep fingers clear of pinch points
- Work in a well-lit area
Frequently Asked Questions
How Do You Remove A Motorcycle Tire?
To remove a motorcycle tire, first secure the bike on a stand. Loosen the axle nuts and remove the brake calipers. Slide the wheel off the bike. Use tire levers to break the bead, then pry the tire off the rim.
Ensure to follow safety precautions throughout the process.
What Tools Are Needed For Tire Removal?
You’ll need a motorcycle stand, axle nut wrench, tire levers, and a bead breaker. Additionally, having a valve core remover and air compressor is beneficial. These tools make the process smoother and help prevent any damage to the tire or rim.
Can I Remove A Tire Without A Bead Breaker?
Yes, you can remove a tire without a bead breaker. Use tire levers and manual force to break the bead. It requires more effort and patience. Ensure to work carefully to avoid damaging the tire or rim. Proper technique is crucial in achieving success without a bead breaker.
How Long Does It Take To Remove A Tire?
Removing a motorcycle tire typically takes 30 to 60 minutes. This depends on your experience and tools. Beginners may take longer, while experienced individuals might finish quicker. Preparing all necessary tools and following a systematic approach can help speed up the process.
Conclusion
Removing a motorcycle tire can seem tough at first. Take your time and follow each step carefully. Use the right tools to avoid damage. Stay safe by working in a clean, flat space. Practice helps you get better and faster.
Now you can handle tire changes yourself. Save money and feel more confident on the road. Tire removal is a useful skill for every rider. Keep your bike ready for any trip ahead.