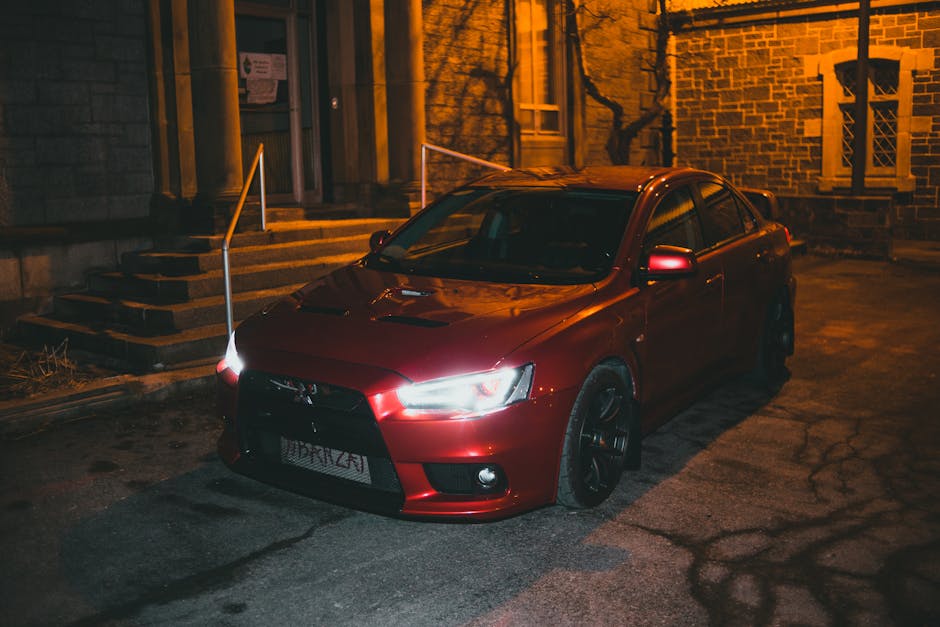
Have you ever noticed your car headlight flickering or dimming? It’s not just annoying—it can also be dangerous while driving at night.
Changing your car headlight might seem tricky, but it’s actually easier than you think. In this guide, you’ll discover simple, step-by-step instructions to replace your headlight quickly and safely. Imagine saving time and money by doing it yourself, without needing to visit a mechanic.
Keep reading, and you’ll gain the confidence to fix your headlights like a pro.

Credit: www.youtube.com
Tools Needed
Changing a car headlight is a simple task with the right tools. Using the correct tools makes the job easier and safer.
Before you start, gather all the tools you need. This helps avoid interruptions during the process.
Screwdrivers
Screwdrivers help remove screws that hold the headlight assembly. Usually, you need both flathead and Phillips types.
Socket Wrench Set
A socket wrench set is useful for bolts that are hard to reach with a screwdriver. Make sure to have different socket sizes.
Gloves
Gloves protect your hands from dirt and sharp edges. They also keep the new bulb clean from oils on your skin.
Replacement Bulb
Choose the right replacement bulb that fits your car model. Check the owner’s manual or the old bulb for the correct type.
Additional Tools
- Plastic pry tool to safely open clips
- Clean cloth for wiping the bulb
- Flashlight to see inside the engine area
Safety First
Changing a car headlight can be simple. Safety is important before starting the task.
Proper steps help avoid injury and damage. Always prepare well to stay safe.
Park Your Car Safely
Stop your car in a safe place away from traffic. Use a flat surface to avoid rolling.
Turn Off Engine And Lights
Switch off the engine and all lights before you start. This stops electrical shocks and burns.
Wear Protective Gear
- Wear gloves to protect your hands from sharp parts
- Use safety glasses to shield your eyes
- Wear long sleeves to avoid scratches
Disconnect The Battery
Always disconnect the car battery to stop electrical flow. This lowers the risk of shocks or short circuits.
Handle The Bulb Carefully
Do not touch the glass part of the new bulb. Oils from your skin can cause it to overheat and break.
Use a clean cloth or gloves when handling bulbs.
Check Your Tools And Area
| Tool | Purpose |
| Screwdriver | Remove screws on headlight cover |
| Gloves | Protect hands from cuts and dirt |
| Cloth | Handle bulb without touching glass |
| Flashlight | See clearly in dark places |
Accessing The Headlight
Changing a car headlight starts with gaining easy access to the light. You need to reach the headlight assembly inside the car’s engine bay.
Follow simple steps to open the hood and find the headlight assembly. This guide helps you get ready for the headlight replacement.
Open The Hood
Open the hood to access the engine bay where the headlights are located. Most cars have a hood release lever inside the driver’s side.
- Locate the hood release lever near the driver’s seat.
- Pull the lever to unlock the hood.
- Go to the front of the car and find the secondary latch under the hood.
- Lift the hood fully and secure it with the support rod or hood struts.
Locate The Headlight Assembly
Once the hood is open, find the headlight assembly. It holds the bulbs and wiring for the headlights.
| Part | Description |
| Headlight Lens | The clear cover at the front of the car |
| Headlight Bulb Holder | Holds the bulb inside the assembly |
| Wiring Connector | Connects the bulb to the car’s power |
| Adjustment Screws | Used to aim the headlights properly |
Removing The Old Bulb
Changing a car headlight bulb starts with safely removing the old bulb. This process helps avoid damage to the headlight or electrical system.
Follow the steps carefully to disconnect the power and release the bulb holder. This guide explains these two key actions clearly.
Disconnect The Power Connector
First, locate the power connector at the back of the headlight assembly. This connector supplies electricity to the bulb.
- Turn off the car and open the hood.
- Find the power connector attached to the bulb.
- Press the tab or clip on the connector to release it.
- Gently pull the connector away from the bulb socket.
- Avoid pulling on wires to prevent damage.
Release The Bulb Holder
The bulb holder secures the bulb inside the headlight. You need to unlock or remove it carefully to take out the old bulb.
| Type of Bulb Holder | How to Release |
| Spring Clip | Push and lift the clip away from the bulb. |
| Plastic Ring | Turn the ring counterclockwise to unlock it. |
| Twist Lock | Rotate the bulb holder gently and pull it out. |
After unlocking the holder, pull the old bulb straight out. Hold the bulb by its base, not the glass.
Choosing The Right Replacement
Replacing your car headlight needs the right bulb. Picking the correct replacement keeps you safe on the road.
Different cars need different bulbs. You should know what fits before buying a new one.
Check Bulb Type
Look at your car manual to find the bulb type. It tells you the size and shape needed for your headlights.
Using the wrong bulb can cause poor lighting or damage. Make sure to get the exact type for your car model.
Consider Brightness And Color
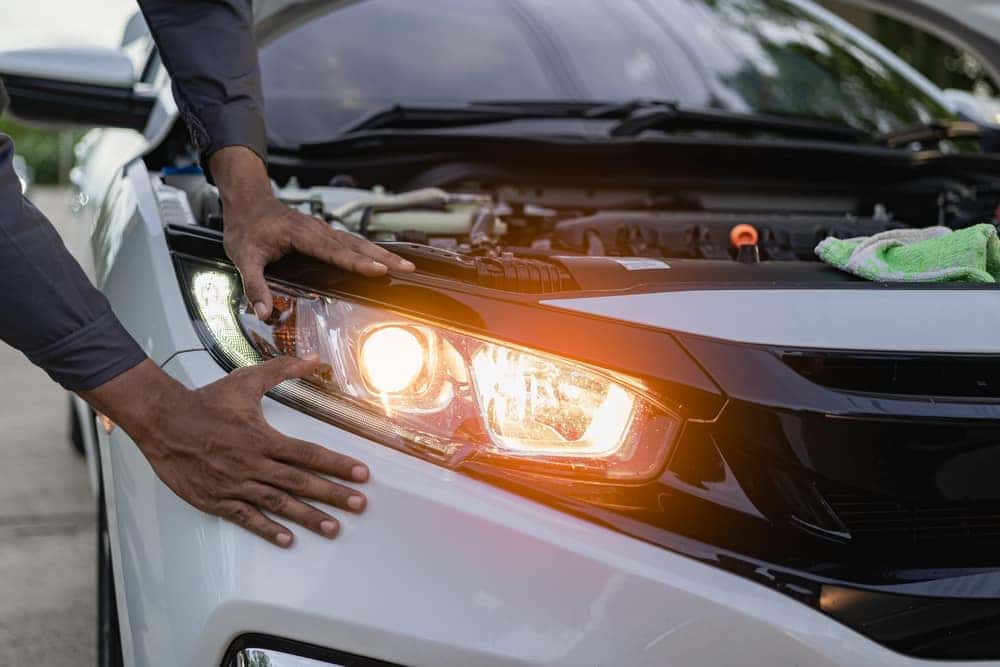
Brightness affects how well you see at night. Choose a bulb that is bright but not too strong to blind others.
Color temperature changes the light’s look. Some bulbs shine white, others have a yellow or blue tint.
- Cool white light improves visibility in fog
- Warm yellow light reduces glare for other drivers
- Match bulb color to your car’s style and safety needs
Credit: www.infinitidanbury.com
Installing The New Bulb
Installing a new car headlight bulb is a task you can do yourself. It saves time and money. Follow the steps carefully to avoid damage.
This guide covers how to handle the bulb, secure it, and reconnect the power safely.
Handle Bulb Carefully
Always hold the new bulb by its base. Avoid touching the glass with your fingers. Oil and dirt can cause the bulb to burn out quickly.
- Wear clean gloves or use a cloth
- Keep the bulb away from dust and moisture
- Do not drop or shake the bulb
Secure Bulb In Place
Insert the bulb carefully into the socket. Make sure it fits snugly to avoid loose connections. Lock the bulb with the clip or ring provided.
| Type of Fastener | How to Secure |
| Metal Clip | Push clip over bulb base until it snaps |
| Plastic Ring | Turn ring clockwise until tight |
| Screw Cap | Tighten screws evenly to hold bulb |
Reconnect Power
Once the bulb is in place, reconnect the power connector. Check that the wires fit firmly. Test the headlight before closing the cover.
- Attach the power plug firmly to the bulb
- Turn on the headlights to check brightness
- Replace the headlight cover securely
Testing The New Headlight
After you install a new car headlight, it is important to test it. Testing ensures the light works well and is safe to use.
Proper testing helps you avoid problems on the road and keeps your car visible at night.
Check The Light Brightness
Turn on the new headlight and look at how bright it is. The light should be clear and strong.
If the light is dim or flickers, the bulb may not be installed correctly or could be faulty.
Test The Headlight Alignment
Park your car facing a wall about 25 feet away. Turn on the headlights and check the light beams.
The beams should be even and aimed slightly downward to avoid blinding other drivers.
- Both headlights should shine at the same height.
- The light should not spread too wide or too high.
- Adjust the aim if the beam is off-center.
Verify The Headlight Switch And Wiring
Turn the headlight switch on and off several times. The new headlight should respond immediately.
Check the wiring for any loose connections or damage that could cause the light to fail.
Test High Beam And Low Beam Functions
Switch between high beam and low beam settings to make sure both work properly.
Each beam should turn on clearly and without delay when you use the switch.
Check For Flickering Or Unusual Sounds
Observe the headlight for any flickering while it is on. Flickering can mean a bad connection.
Listen for any buzzing or unusual sounds coming from the headlight area. These could signal electrical issues.

Credit: www.youtube.com
Adjusting Headlight Aim
Properly aimed headlights help you see the road clearly at night. They also prevent blinding other drivers.
This guide explains how to adjust your car’s headlight aim safely and correctly.
Prepare Your Vehicle And Tools
Park your car on a level surface facing a flat wall. Keep the car about 25 feet away from the wall.
You will need a tape measure, a screwdriver or wrench, and masking tape.
- Park on level ground
- Keep 25 feet distance from the wall
- Gather tape measure, screwdriver or wrench, masking tape
Mark Reference Points On The Wall
Turn on the low beam headlights. Use masking tape to mark the horizontal and vertical center lines of the light beams on the wall.
Measure the height from the ground to the center of your headlights. Mark this height on the wall for each beam.
- Turn on low beams
- Mark center of each beam on the wall
- Mark headlight height on the wall
Adjust The Headlight Aim
Open the hood and locate the adjustment screws on the headlights. Usually, one screw adjusts vertical aim and another adjusts horizontal aim.
Turn the vertical screw to align the beam with the horizontal tape mark. Turn the horizontal screw to center the beam on the vertical mark.
- Find vertical and horizontal adjustment screws
- Adjust vertical aim to match horizontal tape line
- Adjust horizontal aim to match vertical tape line
Test The Headlight Adjustment
After adjusting, test your headlights by driving in a dark area. Check if the lights illuminate the road well without glare.
Make small adjustments if needed until the headlights are properly aimed.
- Drive in a dark area
- Check light coverage and glare
- Make small adjustments if needed
Common Troubleshooting Tips
Changing a car headlight can be simple, but some issues may arise. Knowing common problems helps you fix them fast.
This guide gives easy tips to solve headlight troubles. Follow these tips for safe and bright lights on the road.
Headlight Does Not Turn On
Check if the bulb is properly installed. A loose bulb may not connect with the socket.
Also, inspect the fuse box. A blown fuse can stop power to the headlights.
- Make sure the bulb clicks into place
- Replace the fuse if it is damaged
- Check the headlight switch for damage
Headlight Flickers Or Dims
Flickering lights may signal a loose connection or bad wiring. Check the wiring near the headlight.
Battery problems can also cause dim lights. Test the battery voltage to ensure it is strong enough.
- Inspect and tighten wiring connections
- Replace damaged wires or connectors
- Test battery and charging system
Headlight Lens Is Foggy Or Cloudy
Foggy lenses reduce light brightness. Clean the lens using a headlight restoration kit or mild cleaner.
Protect the lens by applying a UV sealant. This prevents future clouding from sun damage.
- Use a soft cloth and cleaner for cleaning
- Apply a UV protectant after cleaning
- Repeat cleaning every few months
Bulb Burns Out Quickly
Check for proper bulb type and wattage. Using the wrong bulb can cause fast burnout.
Vibration can also shorten bulb life. Ensure the bulb is tightly secured and the headlight assembly is stable.
- Use the recommended bulb from the manual
- Secure the bulb firmly in the socket
- Check for loose or broken headlight parts
Headlight Aiming Is Off
Misaligned headlights can blind other drivers or reduce your vision. Adjust the aim using the adjustment screws.
Park on a level surface and measure the height of the light beam on a wall. Adjust to the recommended height.
- Check your vehicle manual for aiming instructions
- Use the adjustment screws near the headlight
- Test the beam pattern after adjustment
Frequently Asked Questions
How Do You Change A Car Headlight?
To change a car headlight, first, turn off the engine. Open the hood and locate the headlight bulb holder. Unscrew the holder and remove the old bulb. Insert the new bulb, ensuring it’s secure. Finally, reattach the holder and close the hood.
Test the new headlight before driving.
What Tools Are Needed For Headlight Replacement?
To replace a headlight, you’ll typically need a screwdriver, gloves, and a new bulb. Some vehicles might require additional tools like a socket wrench. Always consult your vehicle’s manual for specific tool requirements. Using the right tools ensures a smooth and safe replacement process.
Can I Change Car Headlights Myself?
Yes, you can change car headlights yourself. It’s a straightforward process if you follow the right steps. Ensure you have the necessary tools and a compatible bulb. However, if you’re unsure, consult a professional or refer to your vehicle’s manual for guidance.
Safety should always be your priority.
How Often Should Headlights Be Replaced?
Headlights should be replaced every 500 to 1,000 hours of use. However, if you notice dimming, flickering, or damage, replace them immediately. Regularly check your headlights for optimal performance. Ensuring they function correctly is crucial for safe nighttime and low-visibility driving conditions.
Conclusion
Changing a car headlight is simple and quick. You only need a few tools and some patience. Always check your car manual for specific steps. Make sure the new bulb fits well and works before finishing. Good headlights keep you safe on the road at night.
Take your time and follow the steps carefully. Now, you can fix your headlights without extra help. Drive safely with bright, clear lights.