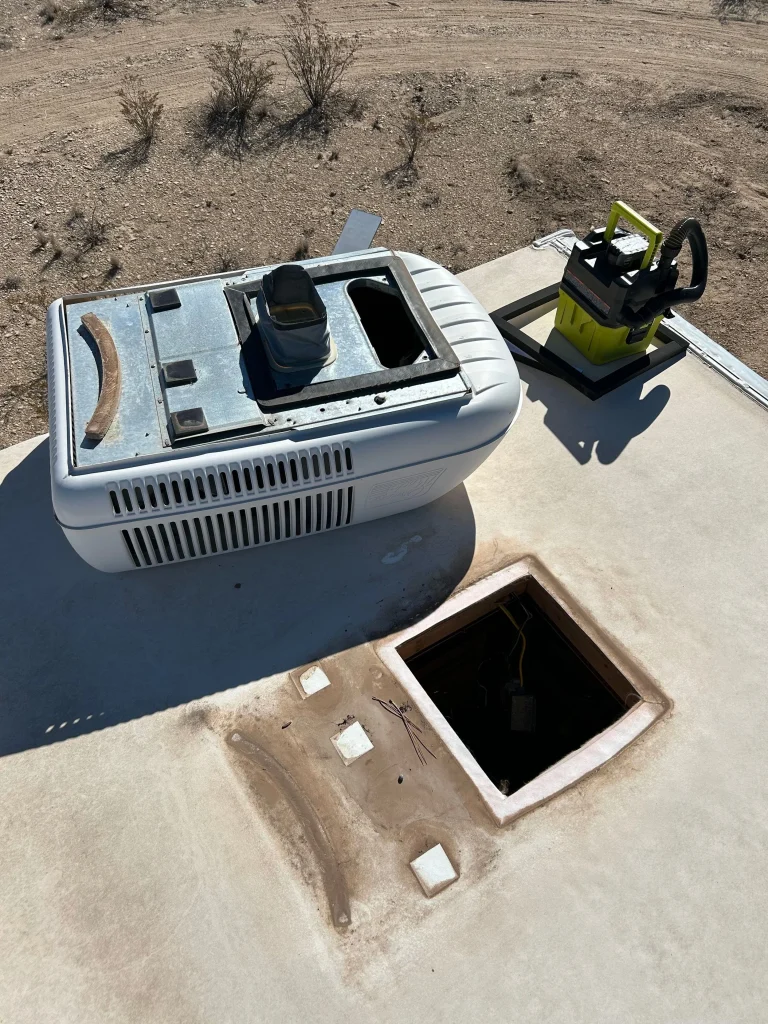
Is your RV air conditioner not cooling like it used to? You might feel frustrated when your comfort depends on it, especially during those hot summer trips.
But don’t worry—servicing your RV air conditioner yourself is easier than you think. In this guide, you’ll discover simple steps to keep your AC running smoothly, save money on repairs, and enjoy a cool, relaxing ride every time. Ready to take control of your comfort?
Let’s get started.
Preparing Your Rv Air Conditioner
Servicing your RV air conditioner keeps it working well. Proper preparation helps you avoid damage.
Before starting, gather the right tools and know safety steps. This makes the job easier and safer.
Gathering Tools And Supplies
Collect all tools and materials before you begin. This saves time and prevents interruptions during service.
- Screwdrivers (flathead and Phillips)
- Soft brush or vacuum cleaner
- Replacement air filters
- Coil cleaner spray
- Clean cloths or rags
- Gloves to protect your hands
- Bucket for water or cleaning solution
Safety Precautions
Follow safety rules to avoid injury or damage. Air conditioners use electricity and chemicals.
| Precaution | Reason |
| Unplug the unit | Prevents electric shock |
| Wear gloves | Protects hands from sharp parts |
| Work in a well-ventilated area | Reduces inhaling fumes from cleaners |
| Do not use water on electrical parts | Avoids short circuits |
| Read the owner’s manual | Ensures correct service steps |
Cleaning The Exterior And Filters
Keeping your RV air conditioner clean helps it work better and last longer. Dirt and dust can build up on the outside and in the filters.
Regular cleaning prevents problems and keeps the air fresh inside your RV. Focus on the filters and the outer parts of the unit.
Removing And Washing Filters
First, turn off the air conditioner and unplug it. Find the filter cover on the unit and open it carefully.
Take out the filters gently. Use a soft brush or vacuum to remove loose dirt. Then wash the filters with warm water and mild soap.
- Do not use hot water to avoid damage
- Rinse the filters well to remove all soap
- Let the filters dry completely before putting them back
Wiping Down The Unit
Use a soft cloth dampened with water to clean the outside of the air conditioner. Wipe off dust and dirt gently.
Check the vents and remove any debris or leaves. Keep the unit dry to prevent rust and damage.
- Do not spray water directly on the unit
- Use a mild cleaner if needed, but avoid harsh chemicals
- Clean the unit regularly for best performance
Inspecting The Electrical Components
Servicing an RV air conditioner requires careful inspection of electrical parts. This helps to ensure safe and efficient operation.
Look closely at wiring, connections, and controls. Fixing small issues early can prevent bigger problems later.
Checking Wiring And Connections
Start by turning off the power supply to the air conditioner. Then, check all wires for damage or loose ends.
- Look for cracked or frayed wires
- Make sure wire connections are tight
- Check that terminals are clean and free of corrosion
- Use a multimeter to test wire continuity
- Replace any damaged wires immediately
Testing The Thermostat
Check if the thermostat is working correctly by measuring its response to temperature changes.
| Test Action | Expected Result |
| Set thermostat lower than room temperature | AC unit should turn on |
| Set thermostat higher than room temperature | AC unit should turn off |
| Measure voltage at thermostat terminals | Voltage should match power supply |
| Check thermostat wiring | Wires should be intact and secure |
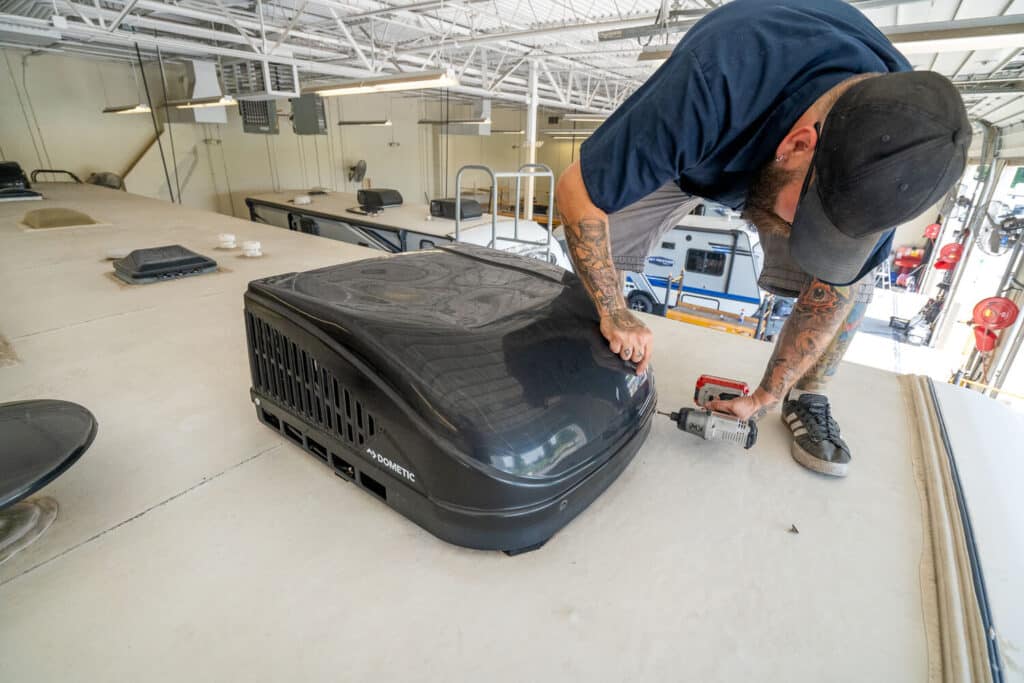
Credit: blog.campingworld.com
Maintaining The Cooling Coils And Fins
Keeping the cooling coils and fins clean helps your RV air conditioner run well. Dust and dirt can stop air flow and reduce cooling power.
Regular maintenance keeps your system efficient and saves energy. You can do this easily with some basic tools and care.
Cleaning Evaporator Coils
Evaporator coils remove heat from the air. Dirt on the coils blocks air and lowers cooling. Clean them often to keep cool air flowing.
Use a soft brush or cloth to remove dust. If very dirty, use a no-rinse coil cleaner spray. Let it dry fully before turning on the air conditioner.
- Turn off power before cleaning
- Remove loose dirt gently
- Apply coil cleaner spray if needed
- Let coils dry completely
- Check coils monthly in dusty areas
Straightening Bent Fins
Bent fins block airflow and reduce cooling. Straighten fins carefully with a fin comb or small flat tool. This helps air pass through better.
Work slowly and avoid breaking the fins. Fix only the bent fins you can reach. Proper airflow improves the air conditioner’s performance.
- Turn off power before working
- Use a fin comb to straighten fins
- Move gently to avoid damage
- Check fins regularly for bends
- Replace fins if badly damaged
Checking The Drainage System
Servicing an RV air conditioner includes checking the drainage system. This keeps the unit running smoothly and avoids water damage.
Drainage problems can cause leaks or mold. Regular checks help prevent these issues.
Clearing Drain Lines
Drain lines can get blocked with dirt or algae. Clear them to allow water to flow out freely.
Use a thin wire or a small brush to gently clean the drain lines. Avoid using sharp tools that may damage the pipes.
- Locate the drain lines under the air conditioner.
- Check for visible clogs or buildup.
- Use a wire or brush to remove blockages carefully.
- Flush the lines with water to ensure they are clear.
Ensuring Proper Water Flow
Water must flow out of the drainage system without any obstruction. This prevents water from pooling inside the unit.
Check the drain pan and lines for cracks or holes. Fix any damage to keep water flowing correctly.
- Inspect the drain pan for cracks or rust.
- Make sure the drain lines slope downward for good flow.
- Clear any debris blocking the exit point of the drain.
- Test the system by pouring water into the drain pan and watching it flow out.
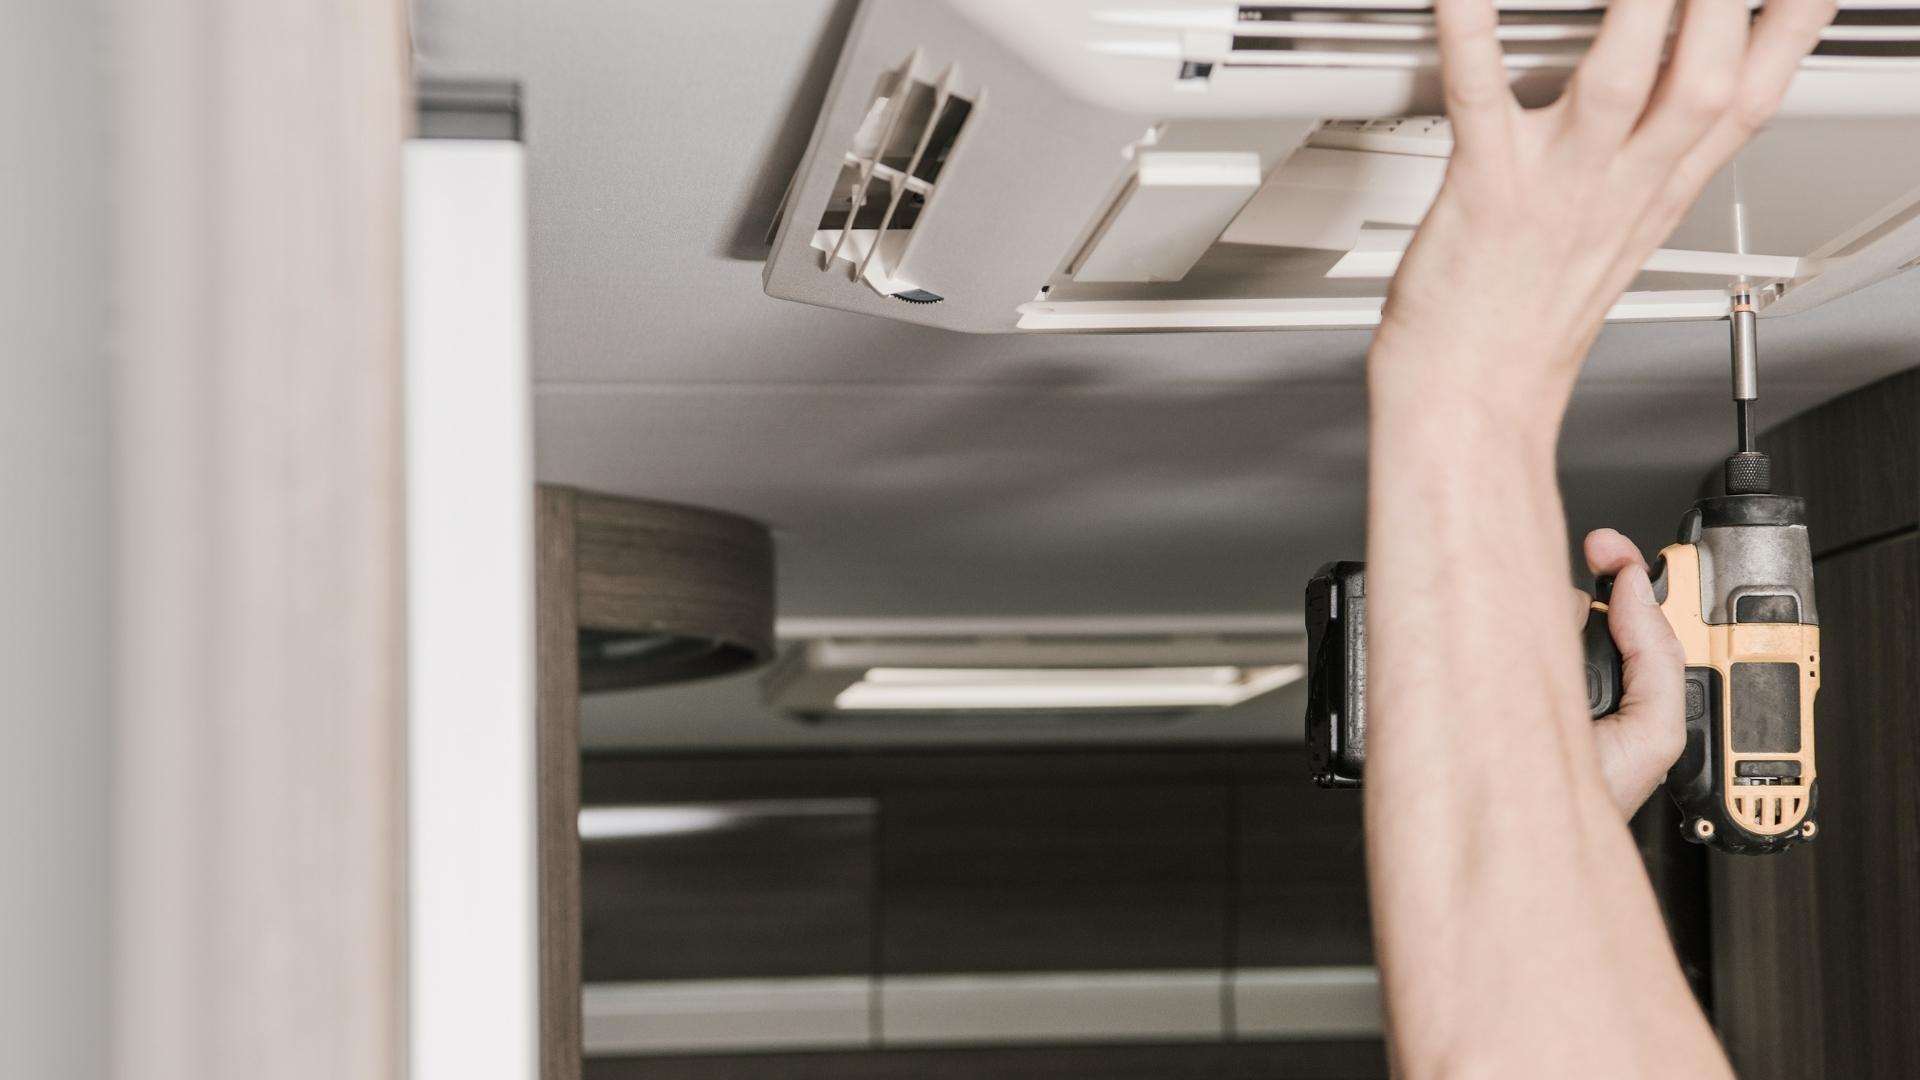
Credit: www.thervgeeks.com
Lubricating Moving Parts
Keeping your RV air conditioner’s moving parts lubricated helps it run smoothly. It reduces friction and prevents wear. This simple care step can extend the unit’s life.
Focus on key parts like the fan motor and fan blades. Regular checks and oiling keep them working quietly and efficiently.
Oiling The Fan Motor
Start by locating the fan motor on your RV air conditioner. Use a few drops of light machine oil on the motor’s oil ports. Avoid over-oiling, as excess oil can attract dirt.
- Turn off the power to the air conditioner.
- Remove the cover to access the fan motor.
- Find the oil ports; they usually look like small holes or caps.
- Apply 2-3 drops of light machine oil per port.
- Rotate the fan blades by hand to spread the oil evenly.
- Replace the cover and restore power.
Inspecting The Fan Blades
Check the fan blades for dirt buildup or damage. Clean blades help the air conditioner move air better. Worn or bent blades can cause noise and reduce performance.
| Issue | What to Do |
| Dirt on blades | Wipe gently with a damp cloth |
| Bent blades | Straighten carefully or replace |
| Loose blades | Tighten screws or fasteners |
| Rust spots | Clean and apply rust inhibitor |
Testing The Air Conditioner Performance
Testing your RV air conditioner’s performance helps keep it working well. Checking it regularly ensures cool air flows properly.
This guide shows how to run a cooling cycle and adjust settings for better efficiency.
Running A Cooling Cycle
Start your RV air conditioner and set it to cool mode. Let it run for about 15 minutes to reach steady cooling.
Check if the air coming out is cold and steady. Listen for unusual noises during the cycle.
- Turn on the AC and set to the lowest temperature.
- Wait 15 minutes for the system to stabilize.
- Feel the air from the vents for coolness.
- Note any strange sounds or vibrations.
Adjusting Settings For Efficiency
Adjust your thermostat and fan speed to save energy. Use higher fan speeds for quick cooling.
Keep doors and windows closed to keep the cool air inside. This helps the air conditioner work less.
- Set thermostat to a comfortable temperature, not too low.
- Use higher fan speed when starting the cool cycle.
- Close all doors and windows before running the AC.
- Clean or replace air filters to maintain airflow.
Credit: www.lippert.com
Regular Maintenance Tips
Keeping your RV air conditioner in good shape helps it run longer. Regular checks stop small problems from growing big.
Follow simple steps to clean and inspect parts. This makes sure your AC cools well and uses less power.
Seasonal Servicing Schedule
Check your RV AC before each season. Clean filters and check parts every few months. This keeps the unit working well all year.
- Spring: Clean or replace air filters and check the thermostat.
- Summer: Inspect the condenser coils and clear debris around the unit.
- Fall: Check coolant levels and tighten electrical connections.
- Winter: Cover the AC and store it properly if not in use.
Preventing Common Issues
Some problems happen a lot with RV air conditioners. Fix these early to avoid costly repairs and keep cool air flowing.
| Issue | Cause | Prevention |
| Weak airflow | Dirty filters | Clean or replace filters regularly |
| Ice buildup | Low refrigerant | Check refrigerant levels and repair leaks |
| Strange noises | Loose parts or debris | Tighten screws and clear debris |
| Unit won’t start | Electrical faults | Inspect wiring and fuses often |
Frequently Asked Questions
How Often Should I Service My Rv Air Conditioner?
It’s recommended to service your RV air conditioner every 6 to 12 months. Regular maintenance ensures optimal performance and extends the unit’s lifespan. Check the filters, clean the coils, and inspect for any damage. This routine helps in maintaining efficient cooling and prevents costly repairs.
What Tools Are Needed For Servicing An Rv Ac?
You’ll need a screwdriver, a soft brush, a vacuum cleaner, and mild detergent. These tools help in cleaning and maintaining the air conditioner effectively. A ladder is essential for reaching roof-mounted units. Regular maintenance with these tools ensures efficient operation and longevity of your RV air conditioner.
Can I Service My Rv Ac Myself?
Yes, you can service it yourself with basic tools and guidance. Regularly clean filters and coils for optimal performance. Ensure the unit is turned off before starting. However, consult a professional for major repairs or if unsure about the process.
This keeps your unit in good working condition.
What Are The Signs My Rv Ac Needs Servicing?
Look for reduced cooling efficiency, unusual noises, or water leaks. These are signs your RV AC needs servicing. Regular maintenance helps prevent these issues. Check for dirty filters and clogged coils. Addressing these problems early can prevent costly repairs and ensure your unit runs efficiently.
Conclusion
Servicing your RV air conditioner keeps it running cool and smooth. Clean filters and check parts often to avoid problems. Regular care saves money and stops breakdowns on the road. A well-maintained AC helps you enjoy your trips better. Stay safe and comfortable by giving your unit attention.
Small efforts now prevent big troubles later. Keep your RV air conditioner ready for every adventure.