Is your through the wall air conditioner no longer keeping your room cool? Replacing it might seem tricky, but with the right steps, you can do it yourself and save time and money.
Imagine enjoying a fresh, cool breeze again without waiting for a technician. In this guide, you’ll learn exactly how to replace your unit safely and efficiently. Keep reading to discover simple tips that make the whole process easier than you think!

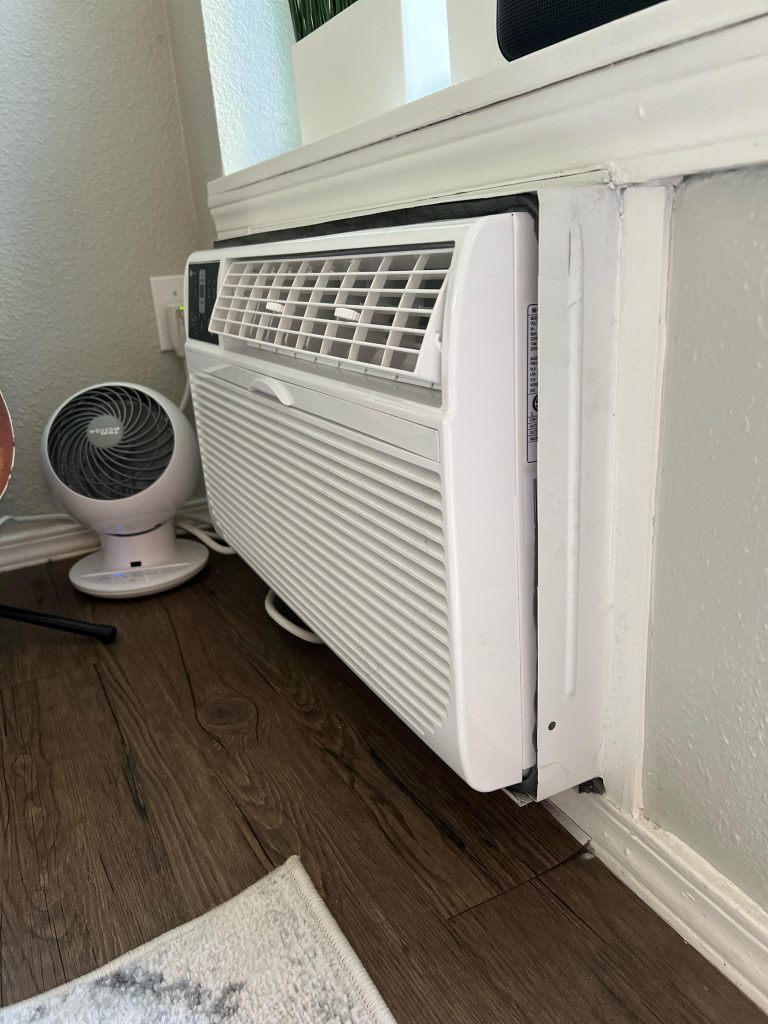
Credit: www.reddit.com
Tools And Materials Needed
Gather the right toolsand materials before starting. This ensures a smooth replacement process.
- Measuring tapeto check the wall opening size.
- Screwdriverset for removing and installing screws.
- Drill
- Levelto keep the air conditioner straight.
- Caulk and caulking gunto seal gaps around the unit.
- Weatherstripping
- New through the wall air conditionerthat fits the opening.
- Safety gloves and gogglesfor protection during work.
Having all these items ready helps avoid delays and keeps work safe.
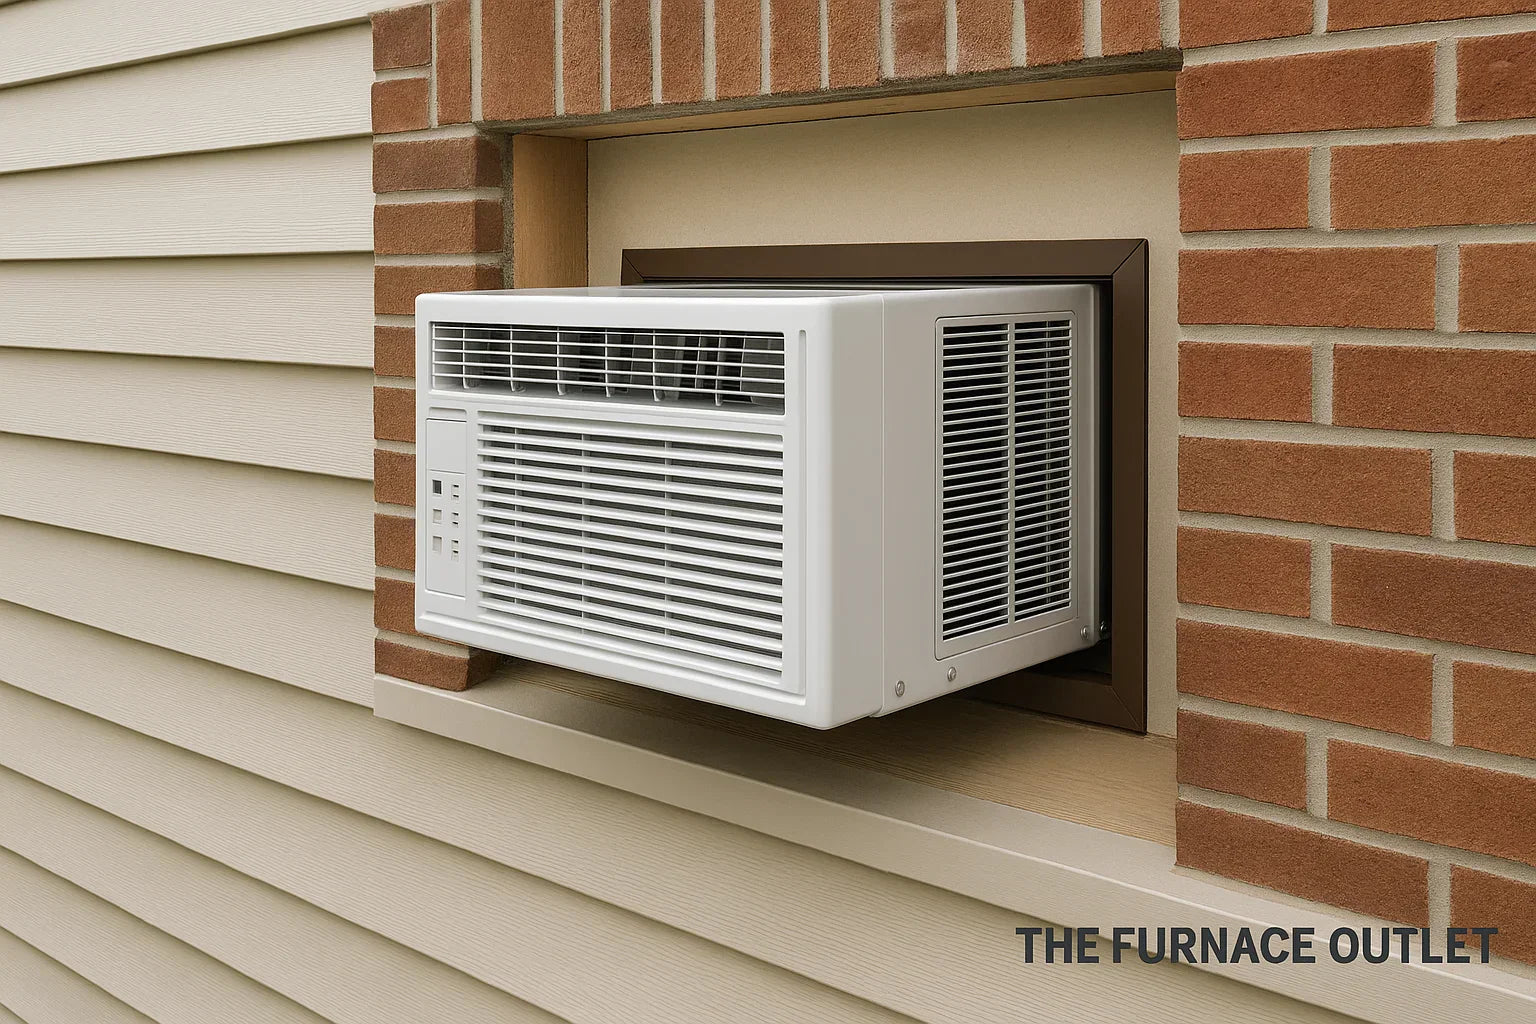
Credit: thefurnaceoutlet.com
Preparing The Workspace
Clear the workspace around the air conditioner to avoid accidents. Remove any furniture, curtains, or objects blocking the unit. This makes the process safer and easier.
Turn off the power to the air conditioner at the circuit breaker. This step is important for safety. Double-check that the unit is not receiving power before proceeding.
Remove any window treatments like blinds or curtains near the unit. This allows better access and prevents damage to these items during removal or installation.
Removing The Old Unit
First, turn off the powerto the air conditioner. This is important for safety. Locate the circuit breaker or unplug the unit from the wall.
Next, carefully remove the front coverof the air conditioner. Unscrew any screws holding the unit in place. Gently pull the unit out from the wall.
- Find and unscrew the support bracketsholding the unit.
- Remove the brackets to free the air conditioner.
- Have a helper hold the unit while you detach it.
Be gentle to avoid damage to the wall or the unit. Keep all screws and brackets for the new installation.
Inspecting And Cleaning The Wall Opening
Start by looking closely at the wall opening. Check for any cracks, holes, or broken partsaround the edges. These can cause air leaks and reduce the air conditioner’s efficiency.
Seal any gaps using weatherproof caulk or foam. This stops air and water from getting inside your home. A tight seal also keeps bugs out.
Clean the area well. Remove dirt, dust, and old insulation. Use a brush or vacuum cleaner. A clean space helps the new unit fit properly and work better.
Installing The New Air Conditioner
Place the new air conditioner carefully into the wall opening. Make sure it fits snugly and is level. Check that the unit does not tilt forward or backward. This helps with proper drainage and cooling.
Use brackets to secure the air conditioner firmly. Attach the brackets to the wall and unit tightly. This keeps the air conditioner stable during operation. Tighten all screws to avoid any movement.
Connect the power cord to a suitable outlet. Ensure the power source matches the unit’s voltage requirements. Avoid using extension cords to prevent electrical hazards. Test the unit by turning it on to confirm power connection is working.
Sealing And Insulating
Weather strippingcreates a tight seal around the air conditioner. It stops drafts and keeps air from leaking. Cut strips to fit the edges of the unit. Press them firmly in place. This simple step helps keep your home cooler and saves energy.
Foam insulationfills gaps between the air conditioner and the wall. It blocks outside air and noise. Use expanding foam for larger gaps. Let it dry completely before trimming the excess. This keeps the unit steady and energy efficient.
Caulkseals cracks and small holes around the unit. Apply it smoothly with a caulk gun. Focus on corners and edges where air can escape. Allow the caulk to dry fully. This final step ensures a strong, weatherproof seal.
Testing The New Unit
Plug in the new air conditioner and switch it on. Listen for unusual sounds. The unit should start smoothly and quietly. Check if the power indicator light is on.
Look around the edges of the unit for any water or air leaks. Use your hand to feel for cool air escaping. Tighten seals or screws if leaks appear.
Let the unit run for 10 minutes. Feel the air coming out. It should be cool and steady. If not, adjust the settings or check the filter.

Credit: thefurnaceoutlet.com
Maintenance Tips For Longevity
Regular cleaningkeeps the air conditioner running well. Dust and dirt block airflow and lower cooling power. Clean the filters every month during use. Wipe the outside and inside parts gently with a soft cloth. Avoid using harsh chemicals that may damage the unit.
Filter replacementis key to good air quality. Replace the filter every 3 months or as the manual says. A clean filter stops dust and allergens from spreading in the room. It also helps the unit use less energy and stay cool longer.
Seasonal storage advicehelps the unit last many years. Before storing, clean the unit thoroughly and let it dry. Cover the unit to keep dust and bugs out. Store it in a dry place away from direct sunlight and moisture. Check for any damage before reinstalling next season.
Frequently Asked Questions
How Do I Remove A Wall Air Conditioner?
To remove a wall air conditioner, first unplug the unit and remove the front cover. Unscrew the mounting bracket and slide the unit out carefully. Ensure you have assistance to avoid injury. Seal the opening with a temporary cover if not replacing immediately.
What Tools Are Needed For Replacement?
You’ll need a screwdriver, level, measuring tape, and sealant for the replacement. These tools ensure a secure fit and proper insulation. Having the right tools makes the process efficient and safe.
Can I Replace It Myself?
Yes, replacing it yourself is possible with basic DIY skills. Follow the manufacturer’s instructions for safety. Ensure you have the necessary tools and assistance to handle the unit securely.
How Long Does Replacement Take?
Replacement typically takes 2 to 3 hours. This depends on experience and the complexity of your installation. Proper preparation can help streamline the process significantly.
Conclusion
Replacing a through the wall air conditioner is not too hard. Follow the steps carefully and take your time. Make sure to measure the space and buy the right size unit. Remove the old air conditioner safely and check the wall opening.
Install the new unit tightly to stop air leaks. Test it to confirm it works well. With patience, you can do this job yourself. Stay safe and enjoy a cooler room soon!