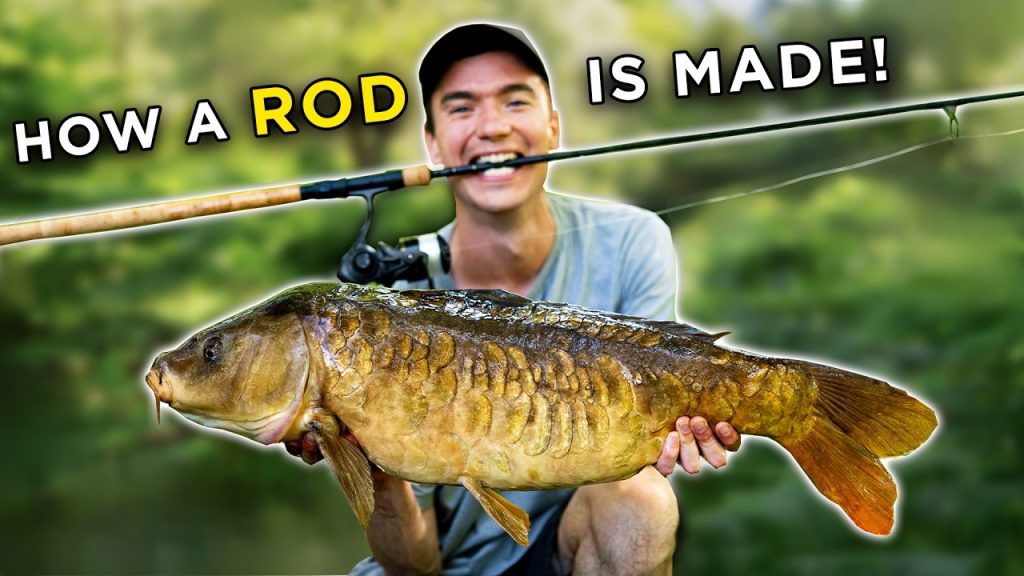
Have you ever wondered how to make a fishing rod that’s just right for you? Imagine holding a rod you built yourself, designed perfectly for your style and favorite fishing spots.
Making your own fishing rod isn’t as hard as you might think. You’ll discover simple steps to create a rod that feels like an extension of your own arm. Ready to dive in and craft something truly personal? Keep reading, and by the end, you’ll have everything you need to start building your very own fishing rod.

Credit: fishingbooker.com
Choosing Materials
Making a fishing rod starts with picking the right materials. Each part affects the rod’s strength and performance.
Good material choices help you build a rod that feels balanced and lasts long.
Selecting The Rod Blank
The rod blank is the main shaft of the rod. It needs to be light but strong. Graphite and fiberglass are common choices.
- Graphite is light and sensitive for feeling bites.
- Fiberglass is heavier but very durable and flexible.
- Composite blanks mix graphite and fiberglass for balance.
Picking The Reel Seat
The reel seat holds the reel in place. It should fit your reel tightly and resist corrosion.
| Material | Benefits |
| Plastic | Lightweight and affordable |
| Aluminum | Strong and corrosion resistant |
| Graphite | Light and durable |
Choosing Guides And Tip-top
Guides and the tip-top guide direct the fishing line. They must be smooth and strong to prevent line wear.
- Stainless steel guides last long and resist rust.
- Ceramic inserts reduce friction for better casting.
- Lightweight guides improve rod balance.
Selecting Handle Material
The handle affects comfort and grip. Common materials include cork and EVA foam.
- Cork feels natural and offers good grip when wet.
- EVA foam is durable and easy to clean.
- Handles can combine materials for better feel and strength.
Gathering Tools
Making a fishing rod starts with gathering the right tools. Having the correct tools helps you build the rod properly. This step is important before you start working.
Some tools are essential, while others can make the job easier. Knowing which ones to use will save time and effort.
Essential Tools List
You need basic tools to make a fishing rod. These tools help shape, assemble, and finish the rod.
- Measuring tape – to measure rod parts accurately
- Hacksaw – to cut the rod blank and other materials
- Sandpaper – to smooth rough edges
- Drill with small bits – to make holes for guides
- Epoxy glue – to secure guides and reel seat
- Clamps – to hold parts steady while drying
- Marker – to mark measurements and guide positions
Optional Accessories
Some extra tools are not required but can help make the process easier and neater. They add precision and comfort.
- Rod wrapping jig – to wrap thread guides evenly
- Heat gun – to cure epoxy faster
- Fine paintbrush – for applying epoxy smoothly
- Utility knife – for cutting thread and tape cleanly
- Guide spacing chart – to place guides correctly
Preparing The Rod Blank
Preparing the rod blank is a key step in making a fishing rod. It ensures the rod is the right size and smooth for use.
This process includes measuring, cutting, sanding, and smoothing the blank before adding other parts.
Measuring And Cutting
Start by measuring the rod blank to your desired length. Mark the spot clearly with a pencil or tape.
Use a fine-toothed saw or rod blank cutter to make a clean cut. Keep the cut straight to avoid weak points.
- Measure twice to ensure accuracy
- Mark the cutting point clearly
- Use a sharp saw for a smooth cut
- Cut slowly to avoid splintering
- Wear safety glasses to protect your eyes
Sanding And Smoothing
After cutting, sand the edges to remove rough spots. Use fine-grit sandpaper for a smooth finish.
| Sanding Grit | Purpose |
|---|---|
| 80-120 grit | Remove large splinters and shape edges |
| 220-320 grit | Smooth rough areas for a clean finish |
| 400+ grit | Final polish for smoothness |
Sand evenly around the blank. Check often to avoid removing too much material.
Attaching The Reel Seat
Attaching the reel seat is a key step in making a fishing rod. The reel seat holds the reel firmly while you fish. You must place and fix it carefully to ensure comfort and stability.
This section explains how to position the reel seat and secure it with epoxy for a strong bond.
Positioning The Seat
Choose the right spot on the rod handle for the reel seat. The position affects how you hold the rod and use the reel. Place the seat where your hand feels natural and balanced.
- Measure the handle length to find the center point.
- Align the reel seat so the reel foot fits snugly.
- Check that the seat does not block your grip.
- Make sure the reel seat is straight along the rod axis.
Securing With Epoxy
Use epoxy to fix the reel seat permanently. Epoxy creates a strong, waterproof bond that holds the seat in place during fishing.
| Material | Purpose | Tips |
| Epoxy Resin | Strong adhesive | Mix well before use |
| Reel Seat | Reel holder | Clean before gluing |
| Clamps or Tape | Hold seat while drying | Apply gentle pressure |
Installing Guides
Installing guides on a fishing rod is an important step. Guides help the fishing line move smoothly.
Good guide installation makes casting easier and protects the rod from damage.
Spacing The Guides
Space the guides evenly along the rod. Start with the tip guide, then place the others.
Spacing depends on the rod length and type. Use a ruler or tape to measure.
- Place the tip guide first at the rod end
- Space the middle guides evenly along the rod
- Place the largest guide near the handle
- Keep guides aligned in a straight line
Wrapping With Thread
Wrap the guide feet with strong thread to hold them in place. Use thin, durable thread.
Start wrapping tightly at one end. Cover the guide foot fully and finish with tight wraps.
- Use a bobbin to hold the thread
- Wrap tightly without gaps
- Make several layers for strength
- Secure the thread with a knot or glue
Applying Finish Coating
Apply a finish coating over the wrapped guides. This protects the thread and adds shine.
Use epoxy or rod finish. Apply thin coats and let each dry before adding more.
- Mix the finish carefully
- Use a small brush for even coating
- Rotate the rod while drying
- Apply 2 to 3 coats for durability

Credit: anglersresource.net
Adding The Handle
The handle is an important part of a fishing rod. It gives you a good grip and control while fishing. Making the handle right takes care and attention.
This section explains how to shape the grip, attach the handle, and finish it properly.
Shaping The Grip
Start by choosing a comfortable material for the grip. Cork and EVA foam are popular choices because they feel good in your hand.
Use sandpaper to smooth the grip. Make sure the shape fits well in your hand. The grip should be thick enough for comfort but not too bulky.
Attaching The Handle
First, clean the rod’s end where you will attach the handle. This helps the glue stick better. Use strong epoxy glue for a firm hold.
Push the handle onto the rod’s end. Twist slightly to spread the glue evenly. Hold it in place until it feels secure.
- Clean rod end with alcohol or cloth
- Apply epoxy glue inside the handle
- Insert handle and twist gently
- Hold or clamp for 10-15 minutes
- Let glue cure fully before use
Sealing And Finishing
After the handle is attached, seal the surface to protect it from water and wear. Use a clear varnish or sealant made for fishing rods.
Apply thin coats and let each coat dry well. Sand lightly between coats for a smooth finish. The seal helps the handle last longer and look good.
Final Assembly And Testing
Making a fishing rod involves careful final steps. These steps ensure the rod works well on the water.
The last part includes attaching the reel, stringing the line, and testing the rod’s flex and balance.
Attaching The Reel
Start by fixing the reel seat onto the rod handle. Tighten it securely so the reel does not move.
Place the reel foot into the seat. Lock the reel by turning the seat’s locking ring or screws.
- Check that the reel is aligned with the rod guides
- Tighten the reel seat firmly but avoid over-tightening
- Ensure the reel handle can turn freely
Stringing The Line
Pull the fishing line through the guides starting from the tip of the rod. Make sure the line flows smoothly.
Attach the line to the reel spool using a knot or clip. Wind the line evenly onto the spool.
- Thread the line through each guide carefully
- Keep the line tight while winding
- Check for twists or tangles in the line
Testing Flex And Balance
Bend the rod gently to check its flex. The rod should bend smoothly without feeling weak or stiff.
Hold the rod in your hand to feel its balance. A well-balanced rod feels comfortable and steady.
- Test the rod by flexing it slowly and evenly
- Check that the rod returns to a straight position
- Adjust components if the rod feels off balance
Credit: www.littlegeniusworkshop.com
Tips For Diy Success
Making a fishing rod by yourself can be fun and rewarding. It needs patience and the right tools.
Focus on choosing good materials and following each step carefully. This helps you build a strong rod.
Common Mistakes To Avoid
One common mistake is using weak or low-quality materials. These can break easily during fishing.
Another mistake is poor alignment of the guides. Misaligned guides cause the line to tangle or wear out.
- Do not rush the drying time for glue or coatings
- Avoid using the wrong type of thread for wrapping guides
- Check that all parts fit well before final assembly
- Keep your hands clean to avoid dirt in glue or paint
Maintenance And Care
Taking care of your fishing rod extends its life and keeps it working well. Clean it after each use.
Store the rod in a dry place away from direct sunlight. This stops damage to the materials.
- Wipe the rod with a soft cloth to remove dirt
- Check guides and reel seats regularly for damage
- Apply light oil to metal parts to prevent rust
- Avoid bending the rod sharply to keep its shape
Frequently Asked Questions
What Materials Are Needed To Make A Fishing Rod?
To make a fishing rod, you’ll need a blank rod, reel seat, guides, and grip. Common materials include graphite or fiberglass for the rod, cork or EVA foam for grips, and stainless steel for guides. These components ensure durability and functionality for a successful fishing experience.
How Do You Attach Fishing Rod Guides?
Attach guides using strong adhesive and thread. Position them along the rod, ensuring even spacing. Secure each guide by wrapping thread tightly around the base. Finish with a protective coat of rod varnish for durability. Properly aligned guides ensure smooth line flow and casting efficiency.
What Is The Best Rod Length For Beginners?
For beginners, a rod length of 6 to 7 feet is ideal. This length provides a balance of casting distance and control. It’s versatile for various fishing environments and species. Shorter rods offer precision, while longer rods enhance casting range, making them suitable for different fishing styles.
How Do You Choose The Right Reel Seat?
Choose a reel seat that fits your rod’s diameter and your hands comfortably. Consider the type of fishing you plan to do, as well as the rod’s weight and balance. A good reel seat ensures secure attachment of the reel, enhancing overall fishing performance and comfort.
Conclusion
Making your own fishing rod takes patience and care. Each step helps build a rod that fits your needs. You choose the parts and put them together carefully. This process gives you a better feel for fishing gear. Plus, it can save money and add fun to your hobby.
Try it yourself and enjoy the pride of catching fish with your own rod. Simple tools and some practice can lead to great results. Keep learning and improving with each rod you make.