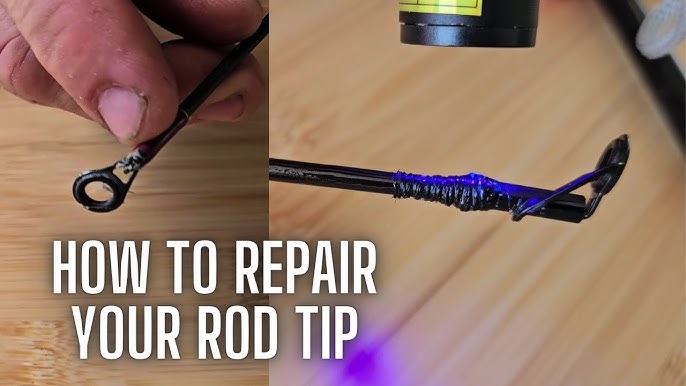
A broken fishing rod can ruin your day on the water, but it doesn’t have to. You don’t need to rush out and buy a new one just yet.
Fixing your rod yourself is easier than you think, and it can save you time and money. In this guide, you’ll discover simple steps to bring your fishing rod back to life. Imagine casting your line again, feeling confident that your gear is strong and ready.
Keep reading, and you’ll learn how to fix your fishing rod quickly and get back to what you love—fishing.
Identify The Damage
Fixing a broken fishing rod starts with finding the exact damage. You need to look closely at each part. This helps you decide what repairs are needed.
Some damage is easy to see. Other problems need careful inspection. Use a good light and check every piece.
Check For Cracks And Splits
Look along the rod blank for cracks or splits. These can cause the rod to break more if you fish with it. Pay close attention to the areas near the guides and handle.
- Run your fingers slowly over the rod surface.
- Look for lines or gaps in the material.
- Use a flashlight to spot fine cracks.
- Check if the rod feels weaker in some spots.
Inspect The Guides And Tip
Guides and the rod tip take most of the stress. Broken or bent guides can damage your line. A cracked tip can cause the rod to fail during use.
| Problem | Signs | Effect |
| Broken Guide | Missing rings or sharp edges | Line may cut or tangle |
| Bent Guide | Guide not straight | Line may rub or break |
| Cracked Tip | Visible crack or split | Rod can snap easily |
Assess Handle And Reel Seat
The handle and reel seat hold your reel and provide grip. Damage here can make fishing hard or unsafe. Check for loose parts or cracks.
- Check if the reel seat screws tightly.
- Look for cracks in the handle material.
- Test for wobbling or loose fittings.
- Inspect foam or cork for damage or wear.
Gather Repair Tools
Fixing a broken fishing rod needs the right tools. Gathering these tools first helps you work faster.
Some tools are basic and must-have. Others help but are not always needed.
Essential Supplies
You need some basic supplies to fix most fishing rods. These items help you repair the rod securely.
- Epoxy or strong glue to join broken parts
- Sandpaper to smooth rough edges
- Scissors or a sharp knife for trimming
- Replacement rod tip or ferrule if broken
- Cloth or paper towels for cleanup
- Masking tape to hold parts while drying
Optional Repair Kits
Repair kits have extra tools and parts. They make fixing easier but are not needed for all repairs.
- Rod tip repair kits with tips and glue
- Thread wraps for securing rod guides
- Heat shrink tubing for extra support
- Small clamps to hold parts firmly
- Guide replacement sets for damaged guides
- Brushes for applying epoxy neatly
Fixing Rod Blanks
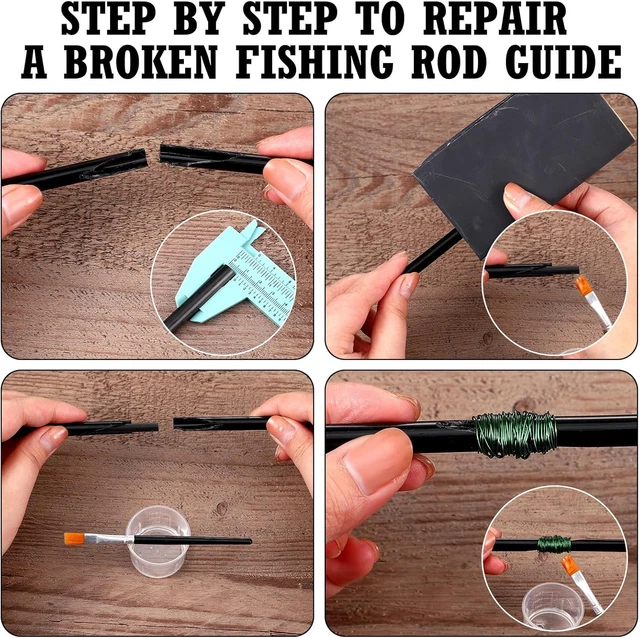
A broken fishing rod blank can be repaired with simple tools and materials. Fixing the rod blank helps you save money and keep fishing.
Use careful steps to join the broken pieces. This guide shows how to fix rod blanks using epoxy resin, fiberglass tape, and thread wrap.
Using Epoxy Resin
Epoxy resin is a strong glue that bonds the broken parts of the rod blank. It holds the pieces tightly together.
Clean the broken surfaces before applying epoxy. Use a small brush to spread the resin evenly. Let it dry for 24 hours for best strength.
Applying Fiberglass Tape
Fiberglass tape adds extra support to the repaired area. It covers the break and stops it from bending again.
Wrap the fiberglass tape tightly around the broken spot. Overlap the layers to build strength. Use scissors to cut the tape cleanly.
- Start wrapping 1 inch before the break
- Cover the break fully with tape
- Wrap 1 inch past the break for support
Reinforcing With Thread Wrap
Thread wrap helps keep the fiberglass tape in place. It also improves the rod’s look after repair.
Use strong nylon or polyester thread to wrap over the tape. Wrap tightly and evenly. Finish with a drop of glue to hold the thread.
- Start wrapping 1 inch before the tape
- Wrap in smooth, tight turns
- Secure the end with glue or epoxy
Credit: picclick.ca
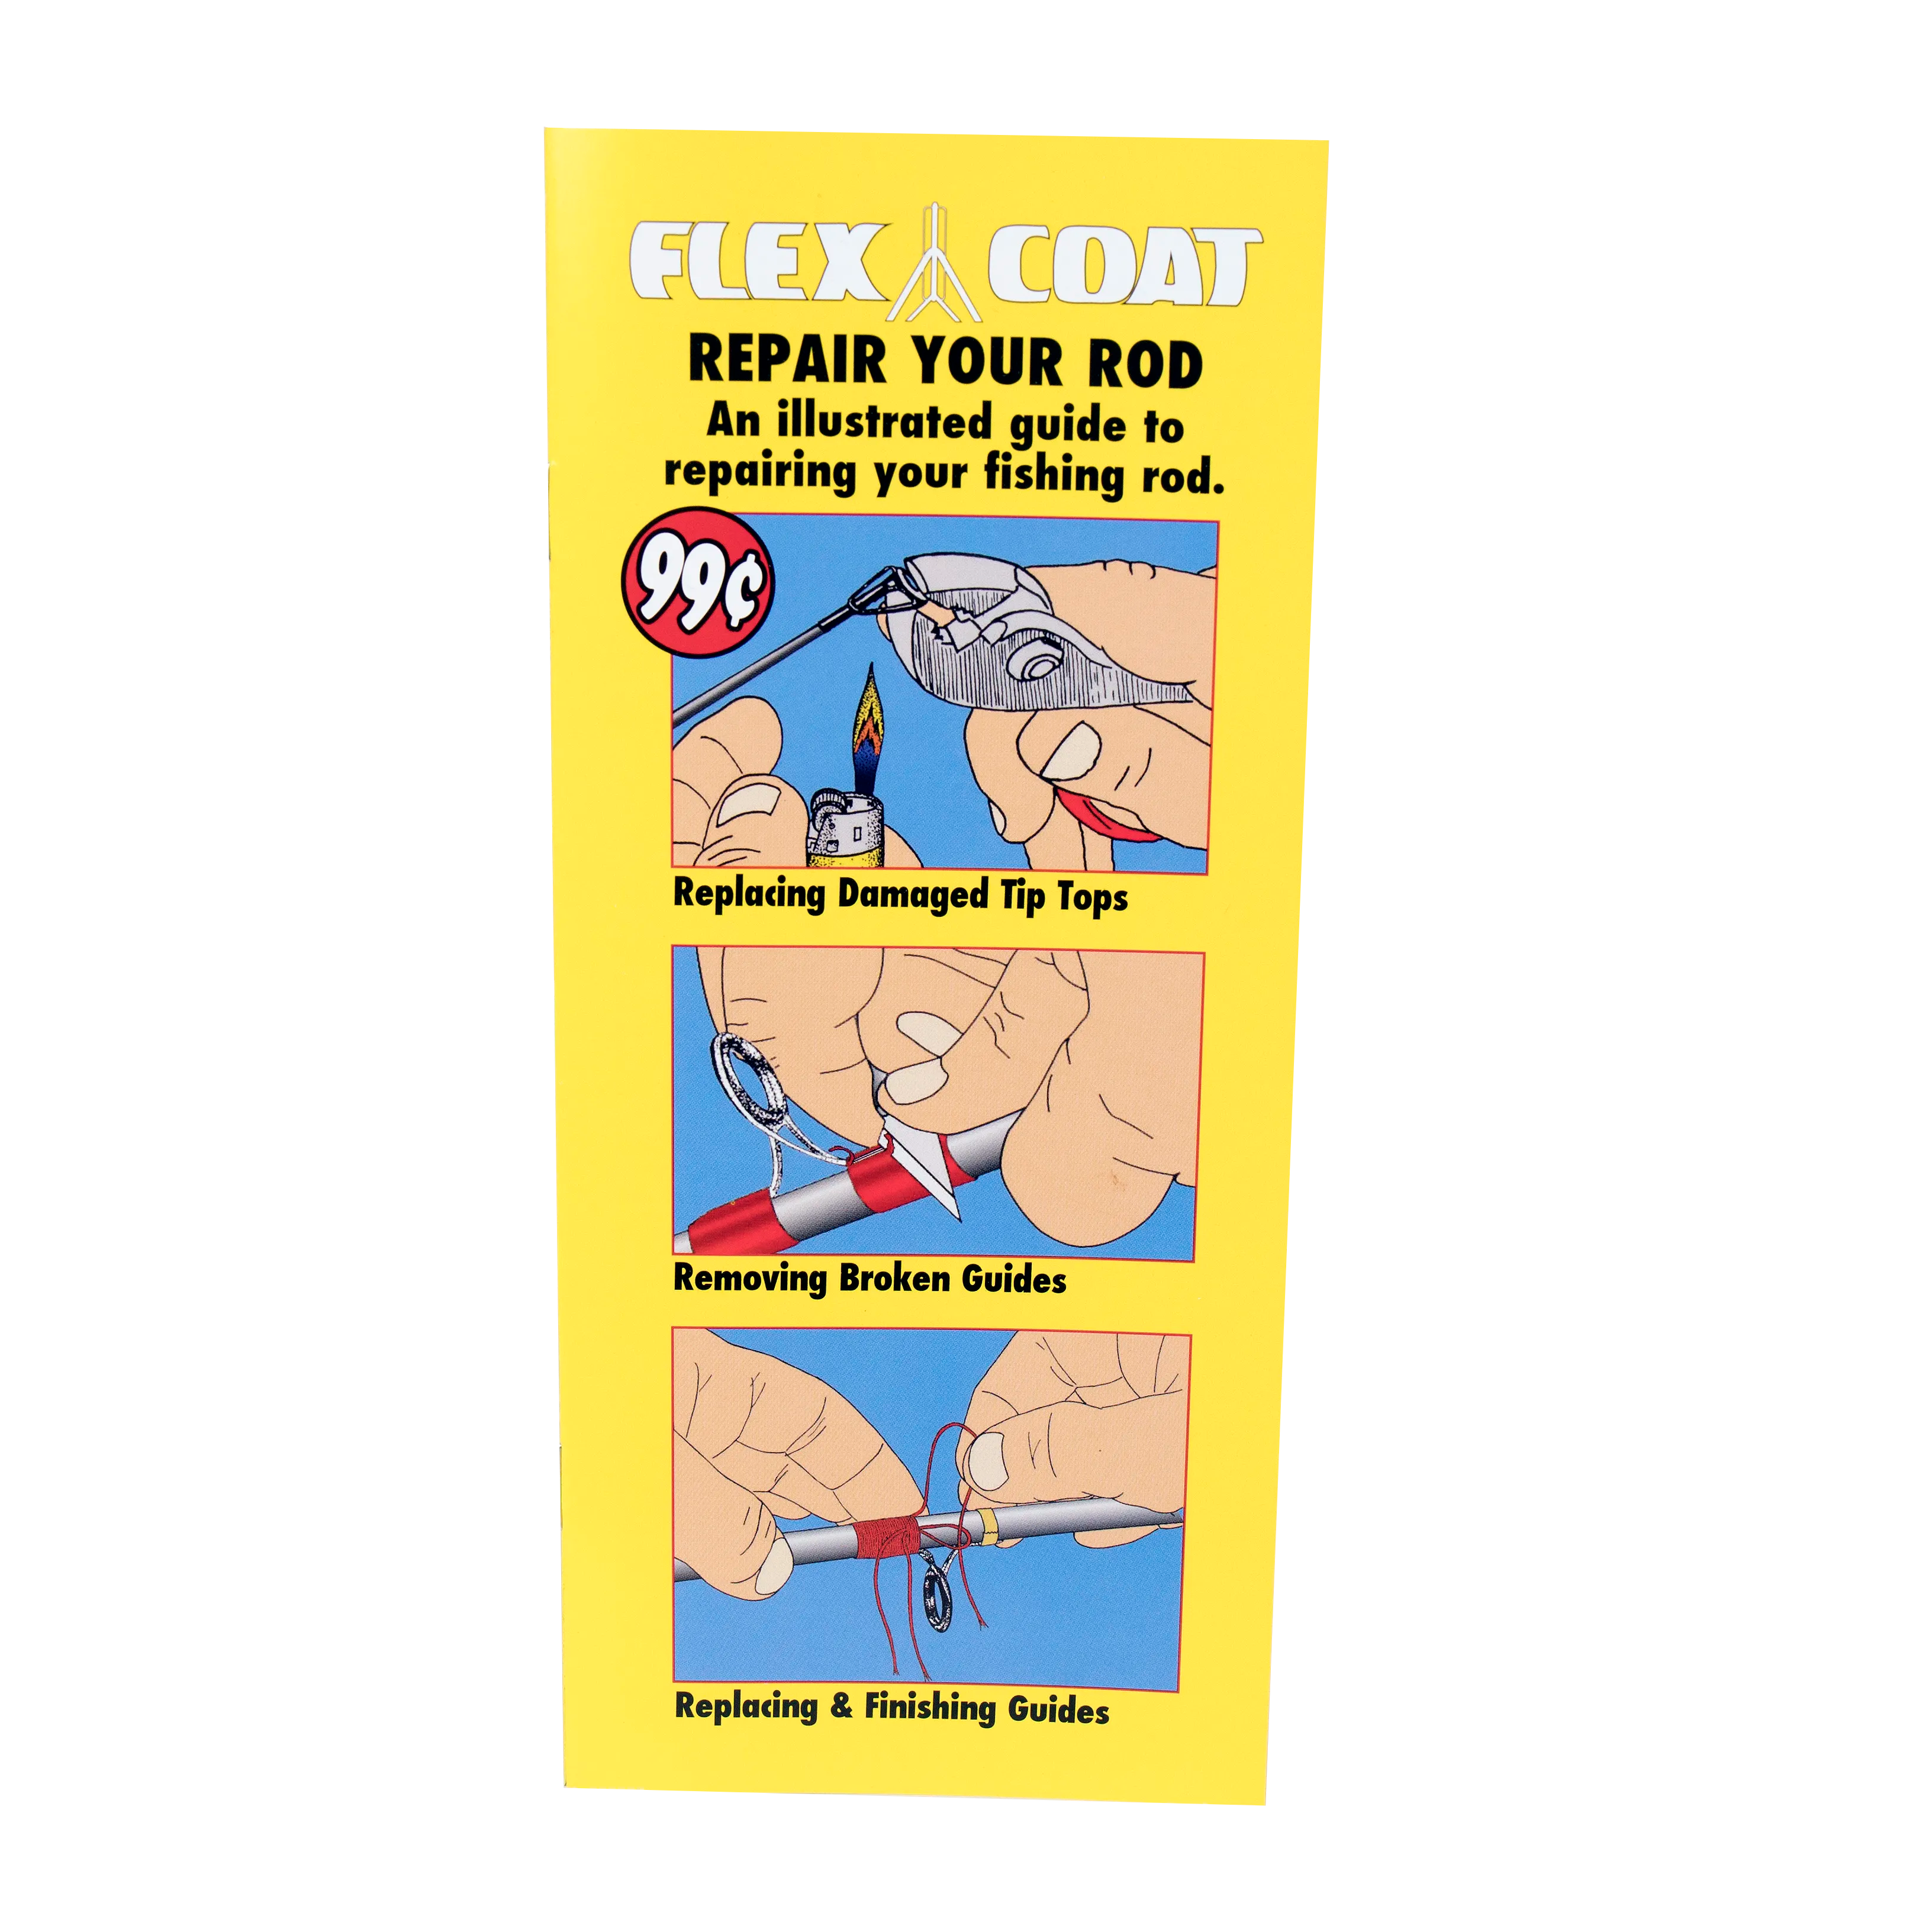
Repairing Broken Guides
Broken guides can stop your fishing rod from working well. Fixing them helps you fish longer and better.
This guide shows how to remove damaged guides, add new ones, and secure them properly.
Removing Damaged Guides
First, remove the broken guide carefully. Use a sharp blade to cut the thread wrapping the guide. Be gentle to avoid hurting the rod blank.
After cutting, pull the guide off the rod. Clean off any leftover glue or thread with fine sandpaper or a cloth.
Installing New Guides
Place the new guide in the right spot. Make sure it lines up with other guides for smooth casting.
- Slide the new guide onto the rod.
- Check alignment from handle to tip.
- Adjust position for even spacing.
- Hold the guide steady before wrapping.
Securing With Thread And Epoxy
Wrap the guide foot with strong thread. Keep the wraps tight and neat to hold the guide firmly.
| Material | Purpose |
|---|---|
| Thread | Wraps guide for a tight hold |
| Epoxy | Seals and protects the thread |
After wrapping, cover the thread with epoxy. Let it dry fully to keep the guide in place and safe from water.
Fixing The Rod Tip
A broken rod tip can stop your fishing quickly. Fixing the tip saves money and time.
This guide shows how to select and attach a new rod tip properly. Follow these steps for a strong repair.
Selecting A Replacement Tip
Choose a tip that fits your rod’s size and action. The tip should match the rod’s length and flexibility.
Measure the broken tip and compare it with available replacements. Use the same material, like stainless steel or ceramic.
- Measure the outside diameter of the rod tip
- Match the tip length to your rod
- Choose a tip with similar ring size and shape
- Pick the same type of material for durability
Attaching And Securing
Clean the broken rod end before attaching the new tip. Remove old glue and dirt for a tight fit.
Use strong rod tip glue or epoxy. Slide the tip onto the rod and hold it until set. Check alignment carefully.
- Sand the rod tip end lightly for better glue grip
- Apply a small amount of glue inside the new tip
- Push the tip onto the rod slowly and firmly
- Align the tip with the rod guides
- Hold the tip in place until glue dries fully
Handle And Reel Seat Repairs
Fixing a broken fishing rod often means repairing the handle and reel seat. These parts hold the rod firmly and affect how you fish.
We will look at how to replace cork or foam handles and how to tighten or replace reel seats to keep your rod working well.
Replacing Cork Or Foam Handles
Old handles can crack or wear out. Replacing cork or foam handles makes the rod comfortable and strong again.
- Remove the old handle by heating it slightly to soften the glue.
- Clean the rod blank to remove all glue and dirt.
- Cut a new cork or foam handle to fit the rod.
- Use waterproof epoxy to glue the new handle in place.
- Let the glue dry fully before using the rod.
Tightening Or Replacing Reel Seats
A loose reel seat can cause problems while fishing. Tightening or replacing it helps hold the reel firmly.
| Problem | Solution |
| Reel seat is loose | Use a small screwdriver to tighten screws |
| Reel seat cracks or breaks | Remove old seat and glue in a new one |
| Reel seat does not fit reel | Adjust or replace with a compatible seat |
Drying And Curing
Fixing a broken fishing rod requires careful drying and curing. These steps help the repair hold strong and last longer.
Proper drying and curing improve the bond between broken parts. It also prevents future damage to the rod.
Proper Curing Times
Curing time depends on the glue or epoxy used to fix the rod. Follow the instructions on the product label for best results.
Usually, curing takes between 24 and 72 hours. Avoid using the rod until the curing is fully complete.
- Epoxy glue often needs 24 to 48 hours to cure
- Super glue dries fast but may take longer to fully cure
- Temperature affects curing time: warmer conditions speed it up
- Keep the rod still during the entire curing period
Ensuring Strong Bonds
Strong bonds depend on clean surfaces before gluing. Remove dirt and old glue for better adhesion.
Clamp or tape the broken parts tightly while drying. This keeps the pieces aligned and the bond strong.
- Sand the broken ends lightly to create a rough surface
- Use a cloth to clean dust or oil from the rod
- Apply glue evenly on both broken surfaces
- Hold the parts firmly with clamps or tape until cured

Credit: www.youtube.com
Testing The Repair
After fixing your fishing rod, you must test it carefully. Testing ensures the rod works well and is safe to use.
Two main checks help confirm the repair: flex and strength, plus real-world field testing. Both checks show if the rod is ready for fishing again.
Flex And Strength Check
Begin by gently bending the rod to check its flexibility. The repaired section should bend smoothly without cracking or feeling weak.
- Hold the rod firmly near the handle.
- Slowly bend the tip downward.
- Watch for any unusual bends or sounds.
- Release the bend and see if the rod returns to its original shape.
- Press lightly on the repaired area to test strength.
Field Testing Tips
Take the rod to a safe outdoor area for a real fishing test. This helps check how the rod handles casting and catching fish.
| Test Action | What to Observe | Result You Want |
| Cast the line several times | Rod feels balanced and smooth | No cracks or weak spots appear |
| Apply pressure simulating a fish pull | Rod flexes without damage | Repaired area holds strong |
| Check reel and guides | Line flows without snagging | All parts work well together |
Preventing Future Breaks
Fixing a broken fishing rod is just the first step. You need to keep your rod safe to avoid breaks later.
Proper care and smart habits help your rod last longer and perform well every time you fish.
Proper Storage Techniques
Store your fishing rod in a dry, cool place away from direct sunlight. Heat and moisture can weaken the rod material.
- Use a rod rack to keep rods upright and prevent bending.
- Avoid leaning rods against walls or in corners where they can warp.
- Keep rods in protective sleeves or cases when not in use.
- Do not place heavy objects on top of stored rods.
Routine Maintenance Tips
Regular checks and cleaning help spot problems early and keep rods strong.
| Maintenance Task | Frequency | Details |
| Clean Rod | After every use | Wipe down with fresh water and dry fully. |
| Inspect Guides | Monthly | Check for cracks or rust on the line guides. |
| Check Reel Seat | Monthly | Tighten and clean to avoid looseness. |
| Lubricate Moving Parts | Every 3 months | Use light oil on reel handles and joints. |
Credit: flexcoat.com
Frequently Asked Questions
How Do You Repair A Broken Fishing Rod Tip?
To repair a broken rod tip, remove the damaged section. Use a new tip top guide and apply epoxy glue. Slide the new tip over the rod’s end. Ensure it aligns with other guides. Allow the glue to dry completely before use.
Can You Fix A Broken Fishing Rod Yourself?
Yes, you can fix a broken rod yourself. Identify the damage, gather necessary tools like glue and replacement parts. Follow step-by-step instructions to ensure a successful repair. DIY repairs can save money and extend your rod’s life.
What Tools Are Needed To Repair Fishing Rods?
To repair fishing rods, you’ll need epoxy glue, sandpaper, and a replacement tip or guide. A lighter or heat source is also necessary for removing old glue. Basic tools like pliers or a knife can help with cutting or adjusting parts.
How Can I Prevent Fishing Rod Breakage?
Prevent rod breakage by handling it with care and avoiding high-stress situations. Store it properly in a protective case. Regularly inspect for any signs of wear or damage. Clean it after each use to prevent deterioration and extend its lifespan.
Conclusion
Fixing a broken fishing rod can save time and money. Small cracks and breaks need quick attention. Use the right tools and materials for best results. Take your time to follow each step carefully. Repairs help keep your rod strong and ready.
Soon, you will enjoy fishing with your rod again. Keep it safe to avoid future damage. A little effort goes a long way. Try these tips next time your rod breaks. Fishing stays fun when your gear works well.