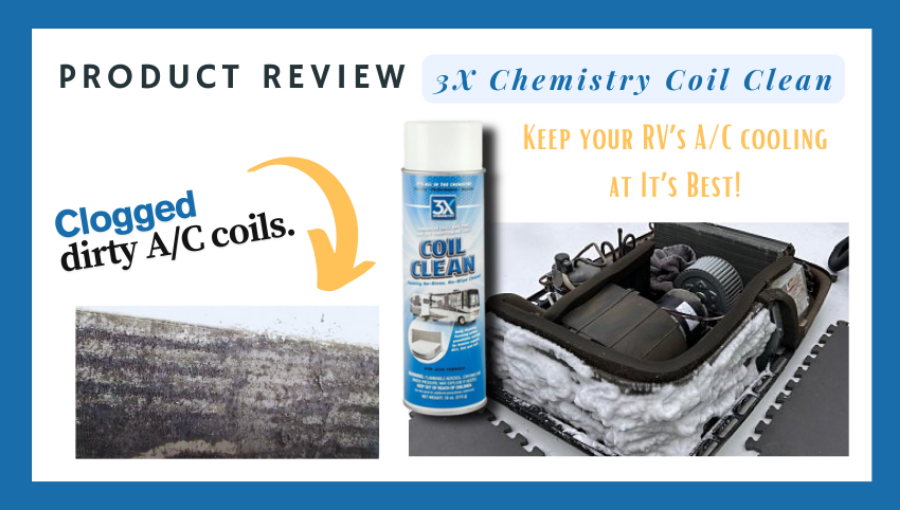
Your RV air conditioner is key to staying cool and comfortable on the road. But if it’s dirty, it won’t work well—and that can ruin your trip.
You might not realize it, but cleaning your RV air conditioner regularly can save you money and keep the air fresh. In this guide, you’ll discover simple steps to clean your unit quickly and safely. Keep reading to learn how to make your RV air conditioner run like new again—and enjoy every mile in cool comfort.
Prepare The Rv Air Conditioner
Cleaning your RV air conditioner keeps it running well. Proper preparation makes the job easier and safer.
Before you start cleaning, follow some important steps to protect yourself and your unit.
Turn Off Power
Always turn off the power to the air conditioner before cleaning. This prevents electric shock and damage to the unit.
- Locate the circuit breaker or fuse that controls the air conditioner.
- Switch off the breaker or remove the fuse.
- Check that the unit is not running before you begin cleaning.
Gather Cleaning Supplies
Use the right tools and cleaners to clean the air conditioner effectively. Having everything ready saves time.
- Soft brush or vacuum with brush attachment
- Mild detergent or specialized AC cleaner
- Spray bottle with water
- Clean cloths or towels
- Screwdriver or nut driver for panel removal
- Protective gloves and safety glasses
| Supply | Purpose |
| Soft Brush | Remove dust from fins and coils |
| Detergent | Clean dirt and grime |
| Spray Bottle | Rinse cleaner gently |
| Cloths | Dry and wipe surfaces |
| Gloves and Glasses | Protect hands and eyes |
Remove The Air Conditioner Cover
Cleaning your RV air conditioner starts with removing the cover. This lets you access the inside parts easily.
Take your time to avoid damage and prepare your tools before you begin.
Unscrew And Detach
First, find all screws holding the cover in place. Use a screwdriver that fits well to avoid stripping the screws.
- Turn off the RV power to ensure safety.
- Locate and remove all screws around the cover.
- Keep the screws in a small container to avoid losing them.
- Gently lift the cover off the unit.
Clean The Cover
After removing the cover, clean it to remove dirt and debris. This helps your air conditioner work better.
| Cleaning Tool | Purpose |
| Soft brush | Remove loose dirt |
| Mild soap and water | Clean sticky grime |
| Cloth or towel | Dry the cover |
Clean Or Replace The Air Filter
Keeping your RV air conditioner’s filter clean helps it work well. A dirty filter blocks airflow and lowers cooling power.
Regular cleaning or changing the filter keeps the air fresh and the unit efficient. Follow these steps to care for the filter.
Remove The Filter
First, turn off the air conditioner and unplug it for safety. Open the front panel carefully to reach the filter.
Pull the filter out gently. Check it for dust, dirt, or damage before deciding to clean or replace it.
Wash Or Replace
Check the filter type before cleaning. Some filters can be washed, and others need replacing.
- If washable, rinse the filter with lukewarm water.
- Use mild soap if the filter is very dirty.
- Let the filter dry completely before reinstalling it.
- If the filter is torn or very old, replace it with a new one.
| Filter Type | Cleaning Method | Replacement Frequency |
| Washable Foam | Rinse with water, mild soap if needed | Every 3 months or as needed |
| Disposable Paper | Do not wash | Replace every 1-2 months |
| Electrostatic | Rinse gently with water | Replace every 6 months |
Clean The Evaporator Coils
Cleaning the evaporator coils of your RV air conditioner helps it cool better. Dirt and dust can block airflow and reduce efficiency. Regular cleaning keeps your system working well.
This guide covers how to access the coils, use coil cleaner, and remove debris safely.
Access The Coils
First, turn off the RV air conditioner and unplug it. Remove the cover or panel to reach the evaporator coils. Use a screwdriver if needed. Be careful not to damage any parts while opening the unit.
Use Coil Cleaner
Pick a coil cleaner made for air conditioners. Spray the cleaner evenly on the coils and let it sit for 10 to 15 minutes. The cleaner will dissolve dirt and grime. Avoid using harsh chemicals that can damage the coils.
- Wear gloves and eye protection when handling coil cleaner
- Follow the instructions on the cleaner’s label
- Do not rinse the coils with water unless the product says to
Remove Debris
After using the coil cleaner, remove loose debris gently. Use a soft brush or a vacuum with a brush attachment. Clean both sides of the coils if possible. Avoid bending the delicate fins on the coils.
| Tool | Purpose |
| Soft brush | Remove dirt without damaging fins |
| Vacuum with brush | Pick up dust and debris carefully |
| Compressed air (optional) | Blow out hidden dirt gently |
Clean The Condenser Coils
Cleaning the condenser coils of your RV air conditioner helps it run cooler and last longer. Dust and debris block airflow, lowering efficiency.
Regular cleaning keeps the air conditioner working well. Follow these simple steps to clean the coils safely.
Locate The Coils
The condenser coils are usually found on the outside unit of the RV air conditioner. They look like thin metal fins or tubes wrapped around the compressor.
Check your RV air conditioner manual if you have trouble finding the coils. Make sure the unit is off before you start cleaning.
Use A Soft Brush
Use a soft brush to remove dirt and dust from the coils. A paintbrush or a coil cleaning brush works well without bending the fins.
- Gently brush along the direction of the fins.
- Do not use hard or metal brushes to avoid damage.
- Brush away any large debris like leaves or grass.
- Wear gloves to protect your hands from sharp edges.
Rinse Gently
After brushing, rinse the coils with water to wash away remaining dirt. Use a gentle spray to avoid bending the fins.
Follow these rinsing tips:
- Use a garden hose with low pressure.
- Spray water at an angle to the coils, not directly on them.
- Do not use a pressure washer, as it may damage the coils.
- Let the unit dry before turning it back on.

Credit: www.rvacunit.com
Clear The Drain Pan And Drain Line
Cleaning the drain pan and drain line keeps your RV air conditioner working well. Dirt and water can cause clogs and damage.
Regular cleaning stops water from backing up and prevents bad smells inside your RV.
Remove Standing Water
Start by checking the drain pan under the air conditioner. If water has collected, remove it carefully.
Use a sponge or small container to soak up and dispose of the water. Avoid spilling it inside the RV.
- Turn off the air conditioner before cleaning
- Use gloves to keep hands clean and dry
- Empty all water to stop mold growth
Flush The Drain Line
Next, clear the drain line to remove any blockages. This helps water flow out smoothly.
Pour water or a mild cleaning solution through the drain line. This washes away dirt and debris inside.
- Use a clean water source
- Pour slowly to avoid overflow
- Repeat flushing if water drains slowly
Reassemble And Test
After cleaning your RV air conditioner, you need to put it back together correctly.
Testing the unit ensures it works well and cools properly.
Replace Cover And Filter
Start by placing the air filter back into its slot. Make sure it fits snugly without gaps.
- Align the cover with the unit’s frame.
- Secure the cover with screws or clips removed earlier.
- Check that all edges are sealed to prevent air leaks.
Turn On And Check Cooling
Power on the RV air conditioner and select the cooling mode.
| Check | What to Look For |
|---|---|
| Airflow | Strong and steady airflow from vents |
| Temperature | Cool air that lowers cabin temperature |
| Noises | Quiet operation without rattles or hums |
| Leaks | No water or air leaks around the unit |
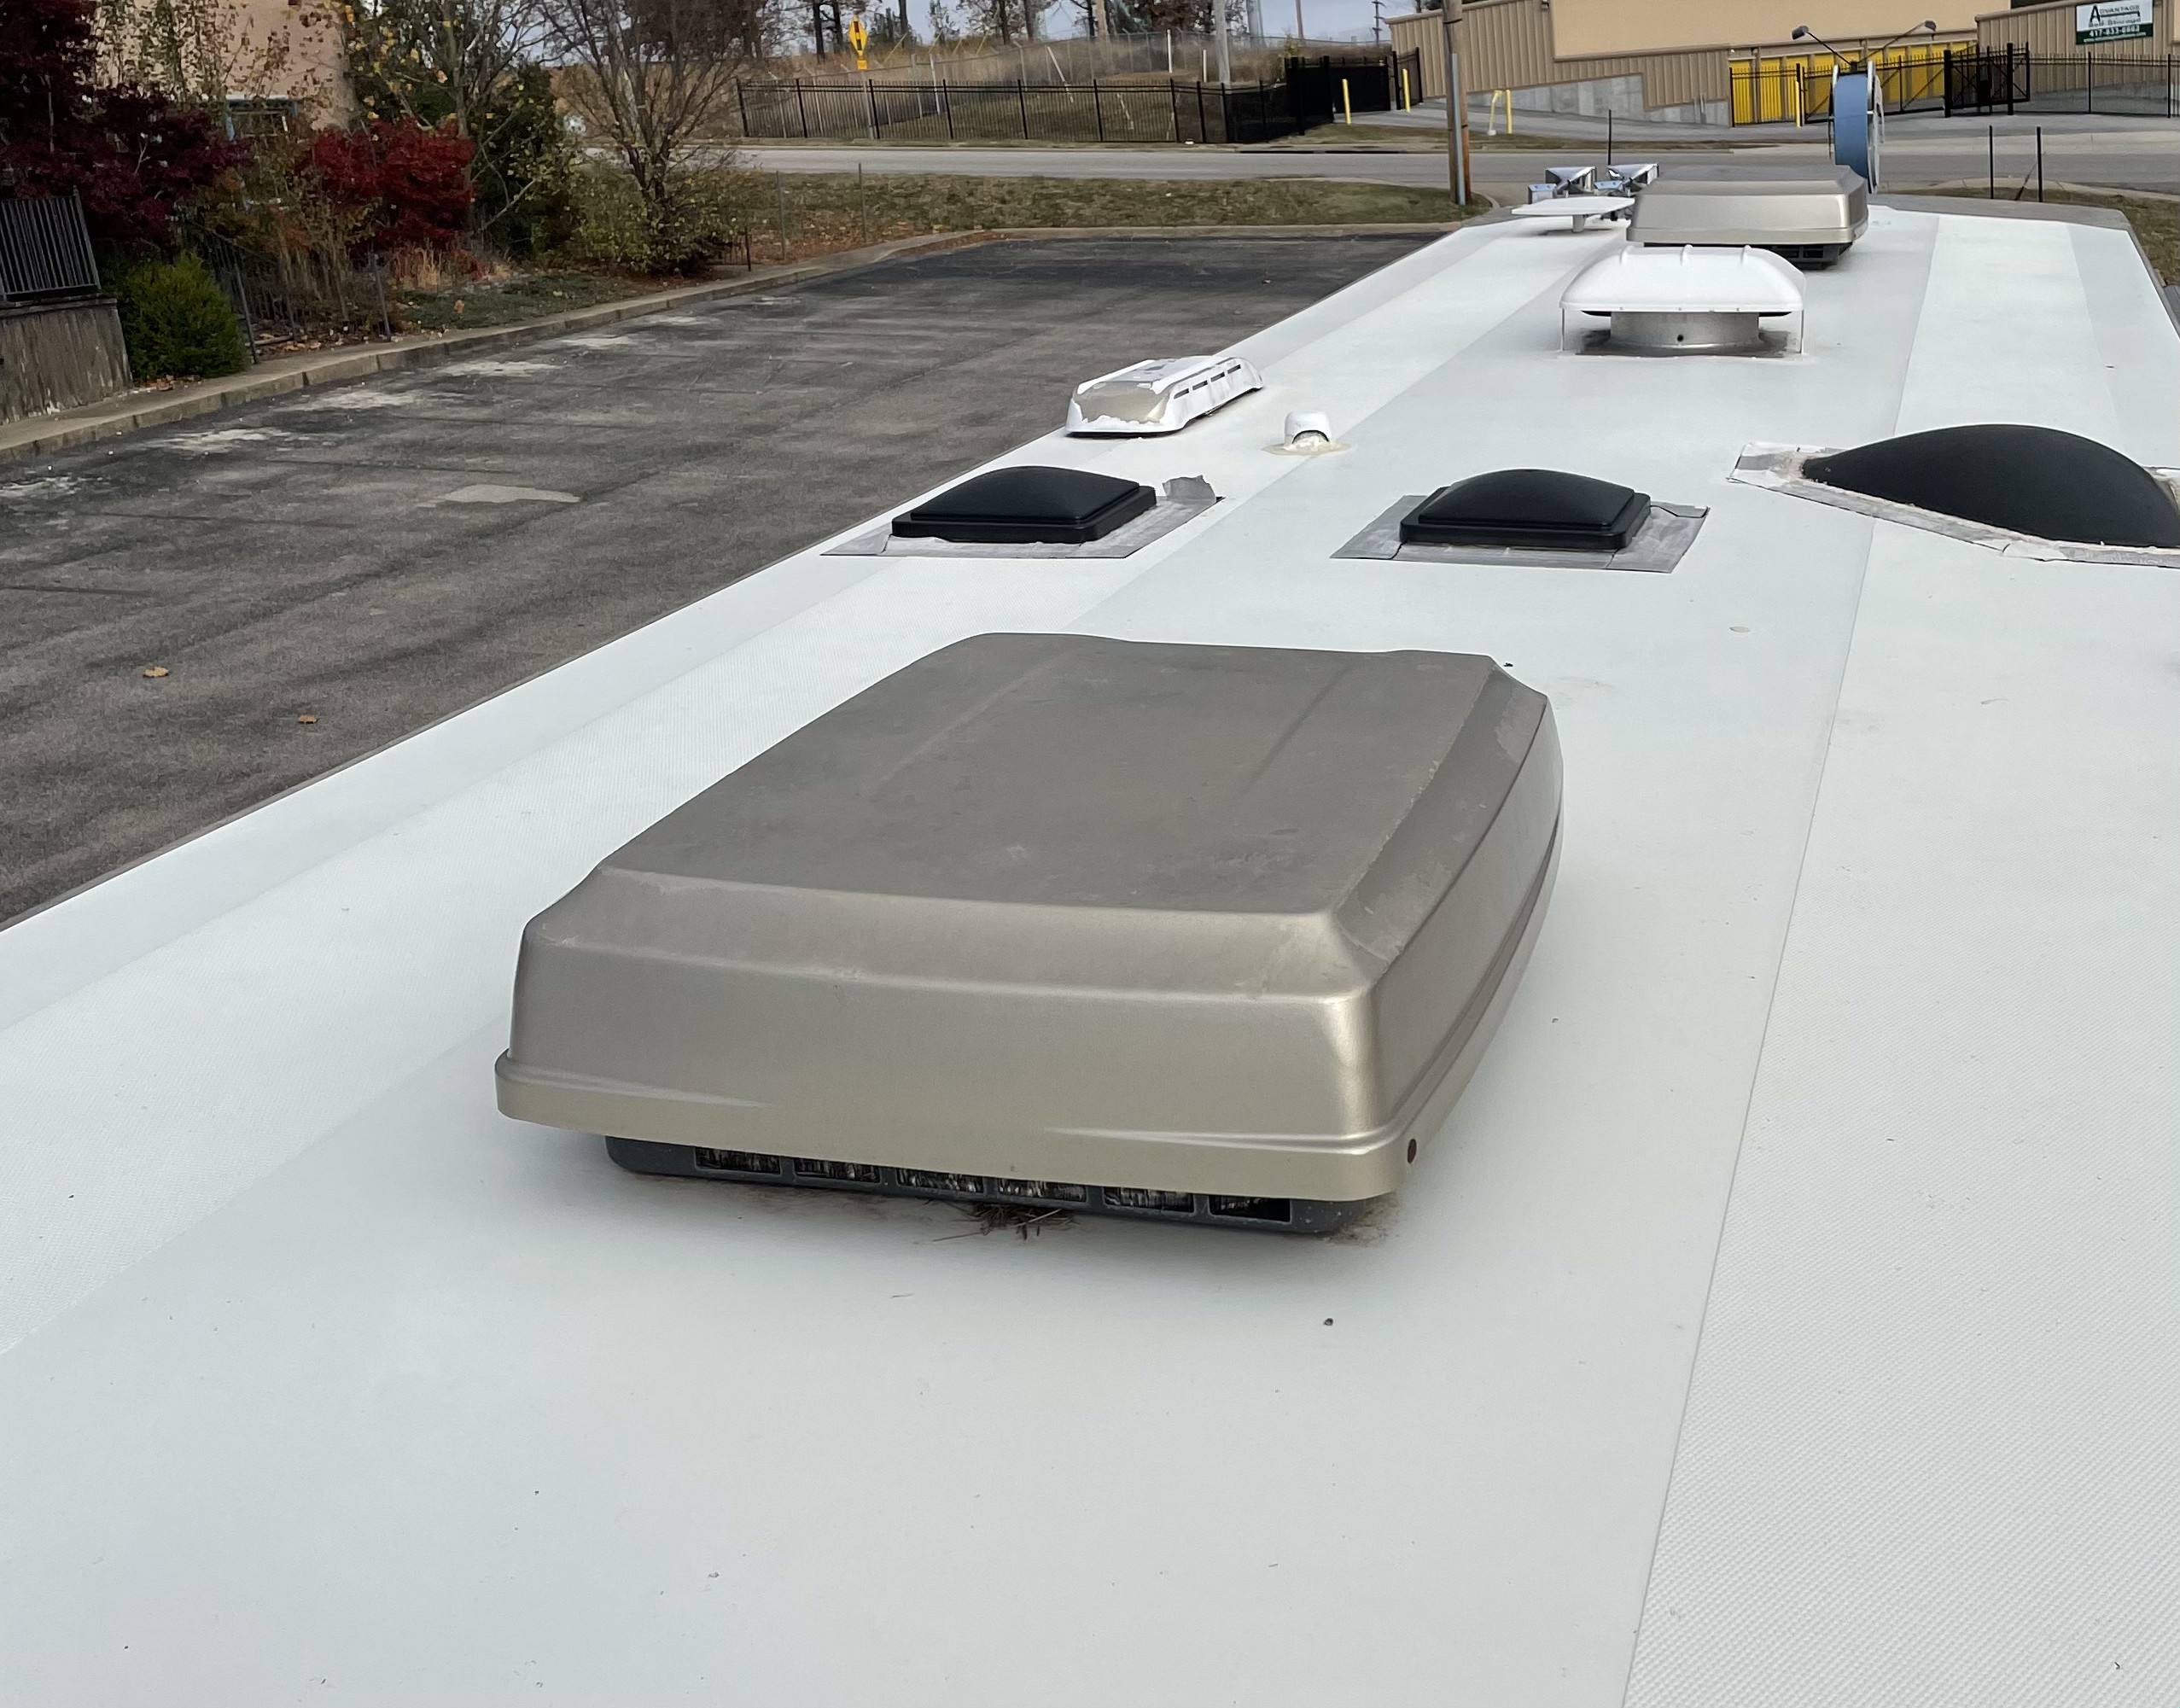
Credit: rvhelp.com
Maintenance Tips For Longevity
Keeping your RV air conditioner clean helps it work well for many years. Dirt and dust can cause damage and reduce cool air flow. Regular care stops costly repairs and keeps you comfortable on trips.
Follow simple steps to clean and check your air conditioner. This guide covers key tasks to protect your unit and keep it running smoothly.
Regular Cleaning Schedule
Cleaning your RV air conditioner often prevents buildup and improves air quality. Focus on these areas to keep the system fresh and efficient.
- Remove and wash the air filter every two weeks.
- Clear debris from the exterior cover and vents monthly.
- Clean the evaporator and condenser coils twice a year.
- Wipe down the fan blades to remove dust buildup.
- Use a mild detergent and water; avoid harsh chemicals.
- Allow parts to dry completely before reassembling.
Monitor For Issues
Check your air conditioner for signs of trouble regularly. Early detection helps fix problems before they grow.
| Issue | Signs to Watch For | Action |
| Clogged Filter | Weak airflow, bad smell | Clean or replace filter |
| Leaking Water | Water spots inside RV | Clear drain lines |
| Strange Noises | Grinding or rattling sounds | Tighten parts or call technician |
| Ice Build-Up | Frost on coils | Turn off unit and defrost |
| Poor Cooling | Warm air output | Check refrigerant levels |

Credit: www.rvacunit.com
Frequently Asked Questions
How Often Should I Clean My Rv Air Conditioner?
Clean your RV air conditioner at least twice a year. Regular cleaning prevents dust buildup and improves efficiency. More frequent cleaning is needed in dusty or humid environments to maintain optimal performance.
What Materials Do I Need To Clean An Rv Air Conditioner?
You need a soft brush, mild detergent, water, fin comb, and a vacuum. These tools help safely remove dirt, debris, and clean condenser fins without causing damage.
Can I Clean My Rv Air Conditioner Myself?
Yes, cleaning is a simple DIY task if you follow safety steps. Always unplug the unit and handle components gently to avoid damage. Regular maintenance keeps your air conditioner running smoothly.
How Do I Clean The Air Conditioner Filters?
Remove the filters and wash them with warm, soapy water. Rinse thoroughly and let them air dry before reinstalling. Clean filters improve airflow and air quality inside your RV.
Conclusion
Regular cleaning keeps your RV air conditioner efficient. It ensures cool air flows smoothly. Dirt and debris can block airflow, causing strain. Clean filters and coils to prevent damage. Use mild soap and a soft brush for gentle cleaning. Check for any loose parts or unusual noises.
Regular maintenance extends your air conditioner’s life. Keeps it working at its best. Always follow safety guidelines during cleaning. This simple routine saves money on repairs. Enjoy your travels with fresh, cool air. A clean air conditioner means a comfortable RV experience.
Ready for your next adventure? Keep it cool and clean.