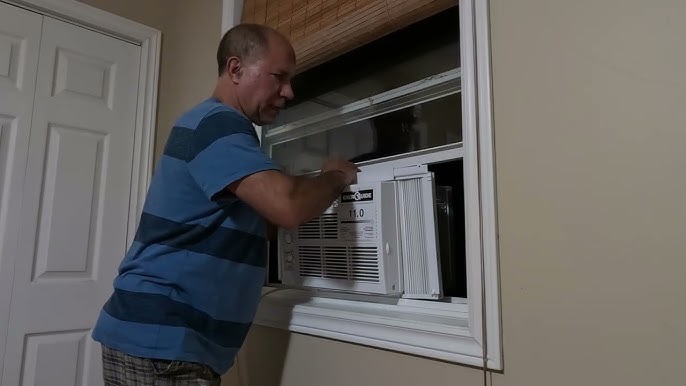
Are you tired of sweating through hot days and nights? Installing a wall unit air conditioner can be the perfect solution to keep your space cool and comfortable.
But the idea of setting it up yourself might feel overwhelming. Don’t worry—you’re closer to enjoying that refreshing breeze than you think. In this guide, you’ll find clear, step-by-step instructions that make installation simple and stress-free. Keep reading, and you’ll discover how easy it is to transform your room into a cool haven with your very own wall unit air conditioner.
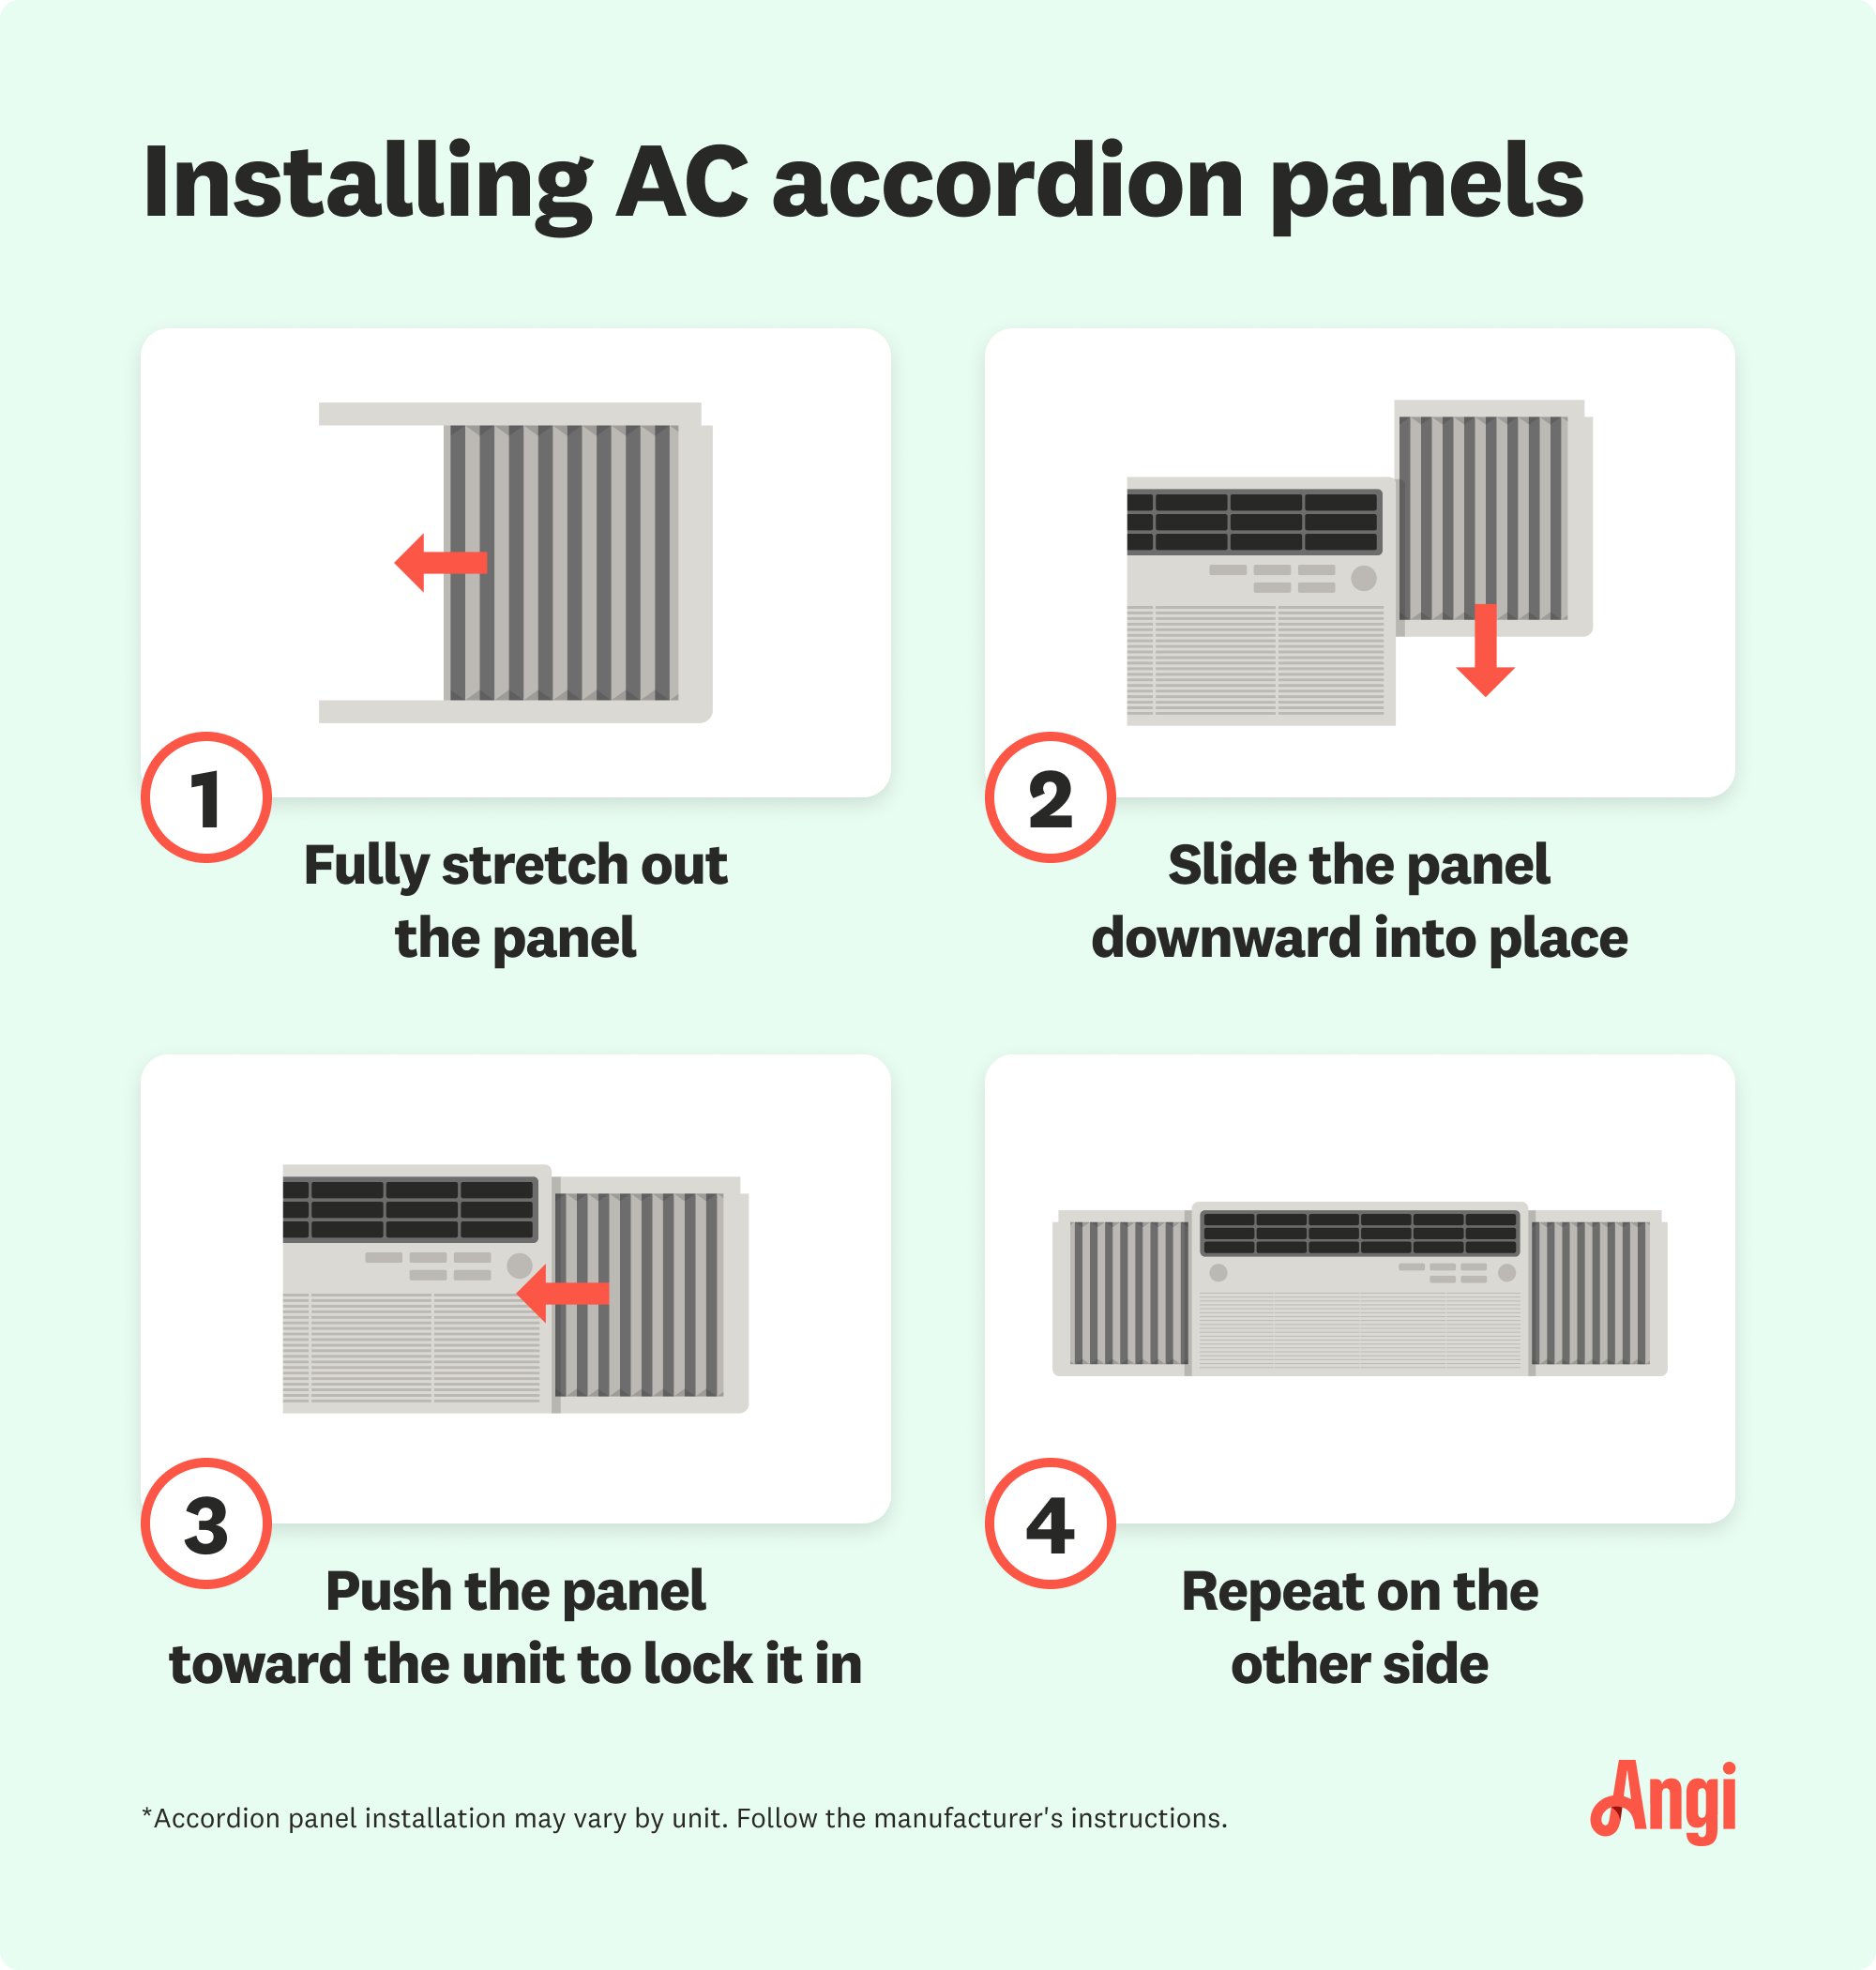
Credit: www.angi.com
Choosing The Right Wall Unit Ac
Choosing the right wall unit air conditioner is important for comfort and energy savings. You need to think about your room size, the type of AC, and its energy use.
This guide will help you find the right AC for your space and needs.
Assessing Room Size And Cooling Needs
Measure the room size to find the right cooling power. Larger rooms need stronger units. Also, consider how many people and devices generate heat in the room.
- Calculate the square footage of the room.
- Note the number of windows and sunlight exposure.
- Think about how many people use the room daily.
- Include heat from electronics and lighting.
Types Of Wall Unit Air Conditioners
There are different wall unit AC types. Each type works best in certain spaces and budgets. Choose one that fits your room and comfort needs.
| Type | Description | Best For |
| Through-the-Wall | Installed through a wall opening. No window needed. | Rooms without windows or with small windows. |
| Window Unit | Fits into a window frame. Easy to install and remove. | Rooms with suitable windows. |
| Portable Wall AC | Mobile units that vent through a wall or window. | Temporary cooling or rented homes. |
Energy Efficiency Ratings
Energy efficiency ratings tell you how much power the AC uses. Higher ratings save money and reduce power use. Look for units with good ratings before buying.
- Check the SEER (Seasonal Energy Efficiency Ratio) rating.
- Look for ENERGY STAR certified models.
- Compare power use labels on different units.
- Choose units with energy-saving features like timers.
Tools And Materials Needed
Installing a wall unit air conditioner requires the right tools and materials. Having them ready makes the job easier and safer.
This guide explains the essential tools and extra materials you will need for a proper setup.
Essential Installation Tools
These tools help you measure, cut, and secure the air conditioner in place. Using the right tools ensures a safe and stable installation.
- Power drill with drill bits
- Screwdrivers (flathead and Phillips)
- Measuring tape
- Level
- Utility knife
- Stud finder
- Wrench set
- Caulking gun
- Safety goggles
- Work gloves
Additional Materials For Setup
Besides tools, you need other materials to complete the installation. These materials help seal, support, and protect the air conditioner.
- Wall bracket or mounting kit
- Weather stripping or foam seal
- Caulk or silicone sealant
- Screws and anchors
- Insulation tape
- Drip pan (if not included)
- Extension cord (if needed)
- Plastic sheet or tarp to protect the area
Preparing The Installation Site
Installing a wall unit air conditioner needs careful preparation. A good site ensures the unit works well and lasts long.
This guide covers how to prepare the wall for installing your air conditioner.
Selecting The Best Wall Location
Pick a wall that gets good airflow and easy access. Avoid walls near heat sources or direct sunlight.
Make sure the wall is outside-facing so the unit can vent properly.
- Choose a wall with no obstructions like pipes or wires
- Avoid walls with lots of noise or dust
- Pick a spot near an electrical outlet
Measuring And Marking The Wall
Measure the air conditioner’s size before marking. Mark where the unit will sit on the wall.
Use a level to make sure your marks are straight. This helps the unit fit well.
- Measure the height and width of the unit
- Mark the top and bottom edges on the wall
- Check the marks with a level for accuracy
Ensuring Proper Support And Ventilation
The wall must support the air conditioner’s weight. Use strong materials to hold it safely.
Ventilation keeps the unit cool and working. Clear space around the unit helps air flow.
- Check the wall studs for strength
- Use anchors or brackets if needed
- Leave at least 6 inches of space around vents
- Keep the area free from dust and debris
Installing The Wall Bracket
Installing the wall bracket is an important step for your wall unit air conditioner. The bracket holds the unit securely in place.
It is important to mount the bracket on a strong part of the wall. This helps keep the air conditioner safe and stable.
Locating Studs For Secure Mounting
Find the wooden studs inside your wall. These studs provide the best support for the bracket.
Use a stud finder tool to locate the studs. Mark their position with a pencil on the wall.
- Run the stud finder along the wall surface
- Mark the edges of each stud
- Measure between marks to find the stud center
Attaching The Bracket To The Wall
Hold the bracket against the wall where the studs are marked. Make sure it is level and aligned.
Use a drill to screw the bracket into the studs. Tighten the screws firmly to hold the bracket in place.
- Position the bracket at the correct height
- Use a level tool to check alignment
- Drill pilot holes into the stud marks
- Insert screws and tighten securely
Mounting The Air Conditioner
Mounting a wall unit air conditioner needs care to keep it secure. Proper installation helps the unit work well and last longer.
This guide covers how to lift and position the unit and how to secure it to the bracket safely.
Lifting And Positioning The Unit
Always lift the air conditioner with two or more people. The unit is heavy and can be damaged or cause injury if dropped.
- Wear gloves to protect your hands.
- Lift from the bottom and sides for a firm grip.
- Keep the unit level to avoid spilling any internal liquid.
- Position the unit close to the wall opening before mounting.
- Make sure the electrical cord is not caught or stretched during lifting.
Securing The Unit To The Bracket
Attach the air conditioner to the mounting bracket using screws or bolts. This keeps the unit stable and prevents it from falling out.
| Tool | Purpose |
| Screwdriver | Tighten screws on the bracket |
| Wrench | Secure bolts firmly |
| Level | Check unit is straight |
| Drill | Make holes if needed for screws |
Check the unit is level and tight after securing. Loose mounting can cause noise and damage.
Connecting Electrical Components
Installing a wall unit air conditioner needs careful electrical work. You must connect wires correctly to keep the unit safe and running well.
This section explains how to handle the electrical parts safely and how to plug in or hardwire your air conditioner.
Wiring Safety Tips
Always turn off the power before working on electrical connections. This helps prevent shocks or damage.
Use the right tools like wire strippers and voltage testers. Check wires for damage before connecting them.
- Turn off the main power switch
- Wear insulated gloves for protection
- Use a voltage tester to confirm power is off
- Follow the air conditioner’s wiring diagram exactly
- Keep wires neat and secure to avoid shorts
Plugging In Or Hardwiring Options
Wall unit air conditioners can be plugged into an outlet or hardwired. Choose the best option for your setup.
Plugging in is easier. Use a properly rated outlet near the unit. Hardwiring needs an electrician but is more permanent.
- Plugging In:Use a grounded outlet that matches the unit’s plug type.
- Hardwiring:Connect the unit directly to your home’s electrical system.
- Hardwiring requires a dedicated circuit to avoid overload.
- Follow local electrical codes for safety.
Sealing And Insulating
Proper sealing and insulation improve your wall unit air conditioner’s performance. They stop air leaks and keep your room comfortable.
Good sealing also protects your home from water damage and pests. Use weatherstripping and caulk to close gaps and cracks around the unit.
Using Weatherstripping And Caulk
Weatherstripping blocks air from entering through the edges of the air conditioner. Caulk seals smaller cracks and gaps around the frame.
- Clean the surface before applying weatherstripping or caulk.
- Choose weatherstripping that fits the size of the gap.
- Apply caulk evenly around the edges and joints.
- Check for any missed spots and seal them properly.
- Replace weatherstripping if it becomes worn or damaged.
Preventing Air And Water Leaks
Air and water leaks reduce efficiency and can cause damage. Proper sealing keeps moisture out and maintains indoor air quality.
| Leak Type | Cause | Solution |
| Air Leak | Gaps around unit edges | Apply weatherstripping and caulk |
| Water Leak | Poor sealing and drainage | Seal edges and check drainage slope |
| Pest Entry | Unsealed cracks | Use caulk and mesh screens |

Credit: www.youtube.com
Testing The Air Conditioner
After installing your wall unit air conditioner, testing it is important. This ensures it works correctly and cools your room well.
Testing includes powering on the unit, checking for issues, and adjusting settings to get the best cooling.
Powering On And Initial Checks
Start by plugging in the air conditioner and turning on the power switch. Listen for any unusual sounds and watch for warning lights on the display.
- Check if the fan is running smoothly.
- Ensure the air flows out cold and steady.
- Look for any water leaks around the unit.
- Confirm the remote control responds properly.
Adjusting Settings For Optimal Cooling
Use the control panel or remote to set the mode and temperature. Adjust settings to match the room size and outside temperature.
| Setting | Description | Tip |
| Mode | Cool, Fan, Dry, Auto | Choose “Cool” for hot days |
| Temperature | Set desired room temperature | Keep between 72°F and 78°F |
| Fan Speed | Low, Medium, High | Use High for quick cooling |
| Timer | Set auto on/off times | Save energy by scheduling |
Maintenance Tips For Longevity
Keeping your wall unit air conditioner in good shape helps it last longer. Regular care improves its performance and saves money.
Simple maintenance steps can prevent problems and keep your air conditioner running smoothly for years.
Cleaning Filters Regularly
Cleaning the filters keeps the air conditioner efficient. Dirty filters block airflow and reduce cooling power.
- Turn off the unit before cleaning
- Remove the filter carefully
- Use a vacuum or wash with water to clean dust
- Let the filter dry completely before reinstalling
- Clean filters every two weeks during heavy use
Scheduling Professional Servicing
Professional servicing checks parts you cannot reach. Experts clean coils and check refrigerant levels.
| Service Task | Recommended Frequency |
| Check refrigerant levels | Once a year |
| Clean coils and fins | Once a year |
| Inspect electrical components | Once a year |
| Test thermostat and controls | Once a year |

Credit: thelenmechanical.com
Frequently Asked Questions
How Do I Prepare My Wall For Ac Installation?
Before installing a wall unit air conditioner, ensure the wall is sturdy and free of obstructions. Use a stud finder to locate studs for secure mounting. Clear the area of any decorations or shelves. Ensure the wall surface is clean and dry to prevent any installation issues.
What Tools Are Needed For Ac Installation?
To install a wall unit air conditioner, you’ll need a drill, screwdriver, level, measuring tape, and a wall bracket. Additionally, having a stud finder and a pencil for marking will be helpful. Ensure you have all necessary tools ready before starting the installation process.
Can I Install The Ac Myself?
Yes, you can install a wall unit air conditioner yourself with basic tools. Follow the manufacturer’s instructions carefully for the best results. Ensure safety measures are in place, especially when handling heavy equipment. If unsure, consult a professional to avoid potential damage or injury.
How Long Does Ac Installation Take?
Installing a wall unit air conditioner typically takes about 2 to 4 hours. This time includes preparing the wall, mounting the unit, and ensuring it operates correctly. Experience and familiarity with tools can reduce installation time. Always allocate additional time for any unexpected issues.
Conclusion
Installing a wall unit air conditioner can cool your room quickly. Follow the steps carefully for a safe setup. Measure the space and secure the unit firmly. Check the power connection before turning it on. Clean the filter regularly to keep it working well.
Enjoy a comfortable, cool space all summer long. Simple steps make the process easy and stress-free. Now, you can stay cool without calling for help.