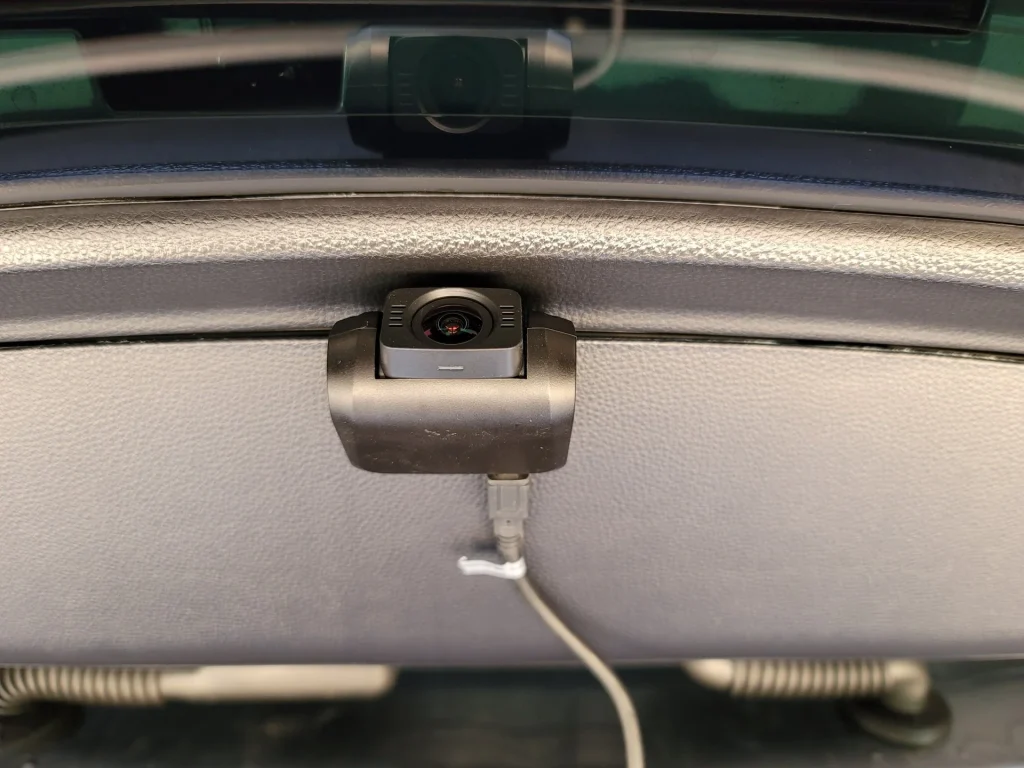
Is your rear view camera acting up or completely dark when you need it most? You rely on this small but powerful tool every day to keep your driving safe and stress-free.
When it stops working, it can feel frustrating and even dangerous. But don’t worry—fixing your rear view camera might be easier than you think. You’ll discover simple steps to troubleshoot and repair your camera quickly. Keep reading, and you’ll be back to parking with confidence in no time.
Credit: dashcamtalk.com
Common Rear View Camera Issues
Rear view cameras help drivers see behind their cars. Problems with these cameras can be unsafe. Fixing common issues can restore clear vision.
This guide explains common rear view camera problems and how to fix them. Learn what causes each issue and what to check first.
No Image Displayed
If your screen is blank when you shift to reverse, the camera may not send a signal. Check the camera lens for dirt or damage. Also, check the wiring and fuse.
- Clean the camera lens
- Check the fuse and replace if blown
- Inspect wiring for loose connections
- Test the display unit
Blurred Or Distorted View
A blurry or strange image may mean the lens is dirty or scratched. Moisture inside the camera can also blur the view. Clean the lens and dry the camera housing.
– Use a soft cloth to clean the lens gently.
– Avoid harsh chemicals that may damage the lens.
– Check for cracks and replace the camera if needed.
– Ensure the camera is mounted correctly and not loose.
Flickering Screen
A flickering image can distract and confuse drivers. This issue often comes from loose wires or a weak power supply. Check the connections and battery voltage.
| Cause | Solution |
| Loose wiring | Secure and reconnect wires |
| Low voltage | Check battery and alternator |
| Faulty display | Test and replace screen if needed |
Camera Not Activating
The camera may not turn on when reversing. This can happen if the reverse gear switch or wiring is faulty. Test the reverse light switch and the camera power.
- Check if reverse lights turn on
- Inspect the reverse gear switch
- Test camera power supply with a multimeter
- Look for damaged wiring or connectors

Credit: www.youtube.com
Basic Troubleshooting Steps
The rear view camera on your car helps you see behind when parking. Sometimes, it may stop working. You can try simple checks to fix it yourself.
These steps cover common problems. Follow them to find and fix the issue before visiting a mechanic.
Check Camera Lens
Start by looking at the camera lens on the back of your car. Dirt, water, or scratches can block the view.
- Clean the lens gently with a soft cloth.
- Remove any mud, snow, or dust.
- Check if the lens is cracked or damaged.
Inspect Wiring And Connections
Loose or damaged wires can cause the camera to fail. Look under the rear bumper and inside the trunk area.
Check these wiring points:
- Camera connector plug
- Wiring harness for cuts or wear
- Connections at the fuse box
Fix any loose or broken wires carefully.
Test Fuse And Power Supply
The rear view camera uses a fuse to protect its circuit. If the fuse blows, the camera will not work.
| Check | How to Test |
| Fuse | Locate fuse box, find camera fuse, check if blown |
| Power Supply | Use a multimeter to test voltage at camera wires |
| Replace Fuse | Use same rating fuse to replace if blown |
Restart The Infotainment System
The car’s screen or infotainment system may freeze or glitch. Restarting it can fix the camera display.
- Turn off your car engine.
- Open and close the driver’s door to shut down the system.
- Wait for one minute before starting the car again.
- Check if the rear view camera shows the image properly.
Fixing Wiring Problems
Rear view cameras in cars need proper wiring to work well. Wiring problems can cause the camera to stop working or show a poor image.
Fixing wiring issues often involves finding broken wires, fixing connectors, and making sure all connections are tight and secure.
Locate Damaged Wires
Check the wiring from the camera to the car’s monitor. Look for cuts, cracks, or worn spots in the wires. Use a flashlight to see hidden areas.
- Inspect wires for visible damage
- Gently move wires to find hidden breaks
- Use a multimeter to test wire continuity
- Mark any damaged sections for repair
Repair Or Replace Connectors
Connectors join wires and let signals pass. Broken or dirty connectors can stop the camera from working. Clean or replace bad connectors to fix the issue.
| Connector Issue | Fix |
| Corrosion or dirt | Clean with electrical contact cleaner |
| Loose pins | Pin straightening or replacement |
| Broken plastic housing | Replace connector |
| Damaged wires at connector | Cut and reattach wires |
Secure Loose Connections
Loose connections cause poor signal or no image. Secure all wire joints and connectors firmly. Use tape or clamps to keep wires from moving.
- Check all plugs and sockets for tight fit
- Use zip ties to bundle loose wires
- Wrap connections with electrical tape
- Test camera after securing connections
Replacing The Rear View Camera
Replacing a rear view camera can improve your car’s safety. A damaged camera gives a poor view or no image at all.
This guide shows you how to pick the right camera and install it correctly.
Choosing The Right Replacement Camera
Select a camera that fits your car model and connects easily to your system. Check the resolution and lens size for a clear picture.
- Match the camera with your car’s make and model
- Choose a camera with good image quality
- Verify the connector type (wired or wireless)
- Check the camera’s size and mounting style
- Look for weather-resistant features
Removing The Old Camera
Turn off your car and disconnect the battery to avoid electrical problems. Locate the old camera, usually near the license plate.
- Remove screws or clips holding the camera in place
- Carefully disconnect the camera’s wiring harness
- Gently pull out the old camera from its mount
Installing The New Camera
Place the new camera in the mount and connect the wiring. Make sure all connections are secure to avoid signal loss.
| Installation Step | Details |
|---|---|
| Mount Camera | Fit the camera into the existing bracket or location |
| Connect Wiring | Attach the wiring harness firmly to the new camera |
| Secure Camera | Use screws or clips to lock the camera in place |
| Test Camera | Turn on the car and check the camera image on the screen |
Adjusting Camera Settings
Fixing your car’s rear view camera often means adjusting its settings. Proper settings help improve image clarity and safety. This guide covers key adjustments for better camera performance.
Follow simple steps to calibrate the camera angle, configure display options, and update the camera’s firmware. These actions keep your camera working well.
Calibrating The Camera Angle
Check the camera’s angle to ensure it shows a clear view behind your car. The angle should cover the road and any obstacles without showing too much of the ground or sky.
- Park your car on a flat surface.
- Look at the camera display and note what it shows.
- Loosen the camera mount screws slightly.
- Adjust the camera up or down to fix the view.
- Tighten the screws once the angle is correct.
- Test the view again in different lighting.
Configuring Display Settings
Adjusting display settings helps you see a clearer image on the screen. Brightness, contrast, and guidelines can be changed to suit your needs.
| Setting | Description | Recommended Adjustment |
|---|---|---|
| Brightness | Controls how light or dark the image appears | Set to medium for daylight; increase for low light |
| Contrast | Adjusts the difference between light and dark areas | Set to medium for balanced colors |
| Guidelines | Shows lines for parking assistance | Turn on for easier parking |
Updating Firmware
Firmware updates improve camera features and fix bugs. Follow these steps to update the system safely.
- Check your car manual for update instructions.
- Download the update file from the official website.
- Transfer the file to a USB drive.
- Insert the USB into the car’s port.
- Navigate to the camera settings menu.
- Select “Update Firmware” and follow the prompts.
Do not turn off the car during the update process.

Credit: luview.com
Preventive Maintenance Tips
Keeping your car’s rear view camera working well is important for safety. Simple care can prevent many problems. This guide gives tips to keep your camera in good shape.
Follow these easy steps to avoid common issues and keep your camera clear and functional every day.
Regular Cleaning Of Camera Lens
Dirt and dust on the camera lens can blur the view. Clean the lens often to keep the image clear. Use a soft cloth and gentle cleaner for the lens.
Do not use harsh chemicals or rough materials. Clean after driving in rain, mud, or snow to remove buildup quickly.
- Use a microfiber cloth for cleaning
- Apply mild soap or lens cleaner if needed
- Wipe gently to avoid scratching the lens
- Clean the lens after bad weather or dusty roads
Protecting Wiring From Damage
The rear view camera wires carry the video signal. If wires get damaged, the camera will stop working. Check wiring for cracks or loose connections regularly.
Keep wires away from sharp edges and heat sources. Use protective covers or tape to shield wires from wear and tear.
- Inspect wiring every few months
- Secure loose wires to avoid pulling
- Cover wires with protective sleeves
- Avoid placing wires near hot engine parts
Routine System Checks
Test the rear view camera system regularly. Turn on the car and check the camera display to ensure clear images.
Look for flickering, black screens, or odd colors. Fix small issues early to avoid bigger problems later.
- Check the camera image before driving
- Listen for unusual sounds from the system
- Reset the system if the image is blurry or missing
- Consult a mechanic if problems continue
Frequently Asked Questions
How Do I Reset My Car’s Rear View Camera?
To reset the rear view camera, turn off the car and restart it. Check the camera settings in your vehicle’s infotainment system. If problems persist, disconnect the car battery for a few minutes to reset the camera system.
Why Is My Rear View Camera Blurry Or Unclear?
A blurry rear view camera is often due to dirt, moisture, or scratches on the lens. Clean the camera lens gently with a soft cloth. Also, check for condensation inside the camera housing, which may require professional attention.
What Causes The Rear View Camera To Stop Working?
Common causes include blown fuses, damaged wiring, or faulty camera modules. Inspect the fuse box and wiring connections. Replace any damaged parts or consult a professional if the problem continues.
Can I Fix A Rear View Camera Myself?
Yes, minor issues like cleaning the lens or checking fuses can be fixed at home. However, complex problems with wiring or camera replacement require professional help to avoid further damage.
Conclusion
Fixing a rear view camera can be simple. Follow the steps above carefully. Regular maintenance helps avoid future issues. Always check the camera connections first. They often cause the problem. Clean the camera lens for a clear view. Dust and dirt can block it.
If these tips don’t work, consider professional help. A mechanic can ensure everything’s working right. A clear rear view camera is essential for safe driving. It helps you see obstacles and park easily. Keep it in good shape for peace of mind.
Safe driving depends on a clear view.