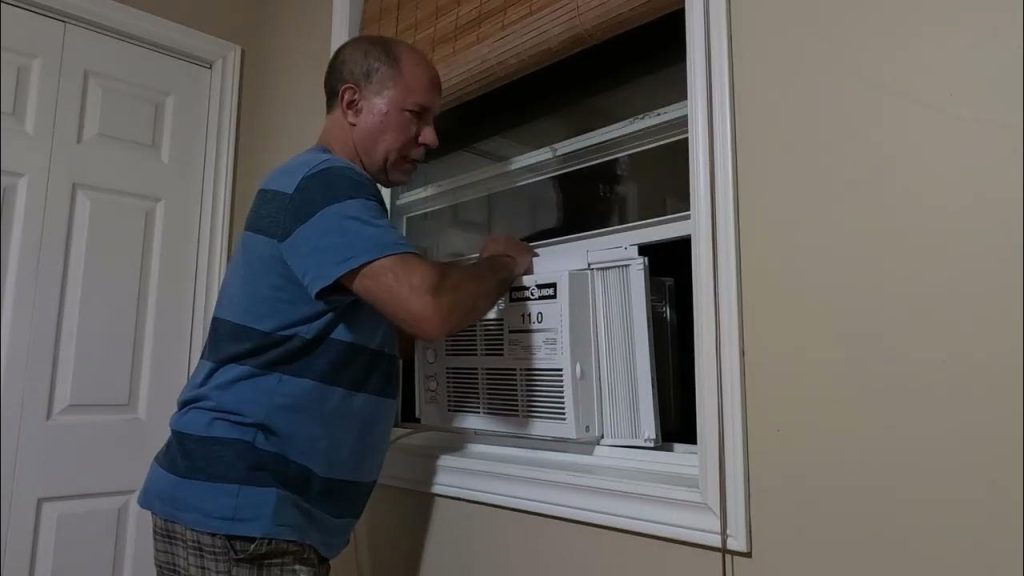
Are you tired of sweltering heat and high energy bills? Installing a through the wall air conditioner could be the perfect solution for your home.
But how do you get it done without calling a costly professional? This guide breaks down the process into simple, easy steps you can follow yourself. By the end, you’ll have the confidence to install your unit safely and efficiently, saving you time and money.
Ready to take control of your comfort? Let’s dive in and make your home cool and comfortable all summer long.
Tools And Materials Needed
Installing a through the wall air conditioner needs some basic tools and materials. Prepare all before starting. This helps the work go smoothly and fast.
- Measuring tape:To check the wall and unit size.
- Drill:For making holes in the wall.
- Screwdriver:To fix screws and brackets.
- Level:To keep the unit straight and balanced.
- Caulk and sealant:To block air leaks.
- Mounting brackets:To hold the air conditioner in place.
- Safety gloves and goggles:To protect hands and eyes.
- Stud finder:To find strong wall spots.
- Utility knife:To cut insulation and foam.
Having these tools ready saves time and helps ensure a safe, tight fit.

Credit: www.youtube.com
Choosing The Right Location
Choose a wall that is strong enough to hold the air conditioner. Check for any pipes or wires inside the wall before cutting. A solid wall will keep the unit stable and safe.
Find a spot near an electrical outlet. The air conditioner needs power, so make sure it can plug in easily. Avoid using long extension cords for safety.
Measure the air conditioner’s size carefully. The hole in the wall must fit the unit snugly. Measure height, width, and depth before cutting the wall.
Preparing The Wall
Start by measuring the air conditioner unit’s dimensions carefully. Use a pencil to mark the cutout areaon the wall. Make sure the marks are straight and level. Double-check measurements before cutting.
Cut the hole safely using the right tools. Wear protective gloves and goggles. Use a saw that fits the wall type. Cut slowly to avoid damage or injury. Remove any debris and smooth the edges.
Install support brackets to hold the unit securely. Attach brackets to the wall studs for strong support. Use screws that fit the brackets and wall material. Check the brackets’ level before tightening screws.

Credit: www.doityourself.com
Installing The Air Conditioner
Place the air conditioner carefully into the wall opening. Make sure it fits snugly without forcing it. Check that the unit is level to avoid water leaks and damage.
Secure the unit firmly by tightening screws or brackets. Use the hardware that comes with the air conditioner. This keeps the unit stable and safe during operation.
Seal around the edges with weatherproof caulk or foam. This stops air leaks and keeps insects out. Ensure the seal is complete for better energy efficiency.
Electrical Connections
Check the air conditioner’s power labelbefore installation. It shows the required voltage and amperage. Make sure your home’s circuit matches these needs to avoid electrical problems. Use a dedicated circuit if recommended. This protects both the unit and your home wiring.
Connect the unit’s power cord to a grounded outlet. If hardwiring, turn off the main breaker first. Follow the manufacturer’s wiring instructions carefully. Use appropriate wire size and connectors for safety.
After connections, turn on the power. Test the unit by setting the thermostat low to start cooling. Listen for any unusual sounds and check that air flows smoothly. Verify that all functions work properly before finalizing installation.

Credit: www.youtube.com
Final Adjustments And Maintenance Tips
Check the unit position after installation. It should be leveland secure. A tilted unit may cause water leaks. Adjust the brackets or screws if needed to keep it steady. Make sure the sealaround the unit is tight to prevent air leaks.
Clean the filtersregularly. Dust and dirt block airflow and reduce cooling. Remove the filters and wash them with warm water. Let them dry fully before putting them back. Clean the unit’s exterior with a soft cloth to keep it looking good.
Common issues include poor cooling or strange noises. Check if the power is connected well. Make sure the filters are clean. If water leaks inside, check the drain hole for blockages. Strange noises may mean loose parts; tighten screws carefully.
Frequently Asked Questions
How Do I Prepare The Wall For A Through The Wall Ac?
Measure the wall thickness and cut an opening accordingly. Ensure the wall has a sturdy frame. Seal any gaps to prevent air leaks. Proper preparation ensures a secure and efficient AC installation.
What Tools Are Needed For Through The Wall Ac Installation?
You will need a drill, screwdriver, level, measuring tape, saw, and sealant. These tools help create the opening and secure the AC unit. Having the right tools makes installation easier and safer.
Can I Install A Through The Wall Ac Myself?
Yes, if you follow instructions carefully and have basic DIY skills. Ensure electrical connections are safe or hire an electrician. Proper installation guarantees unit efficiency and room cooling.
How Do I Seal Gaps After Installing The Ac?
Use weatherproof sealant or foam insulation around the AC edges. This prevents air leaks and improves energy efficiency. Proper sealing also protects against moisture and pests.
Conclusion
Installing a through the wall air conditioner is easier than you think. Follow each step carefully and take your time. Measure well and secure the unit tightly for best results. A good installation keeps your home cool and saves energy.
Always check the instructions that come with your air conditioner. With patience and care, you can enjoy a cooler room all summer. Ready to feel the cool breeze? Just start the process and see how simple it can be.