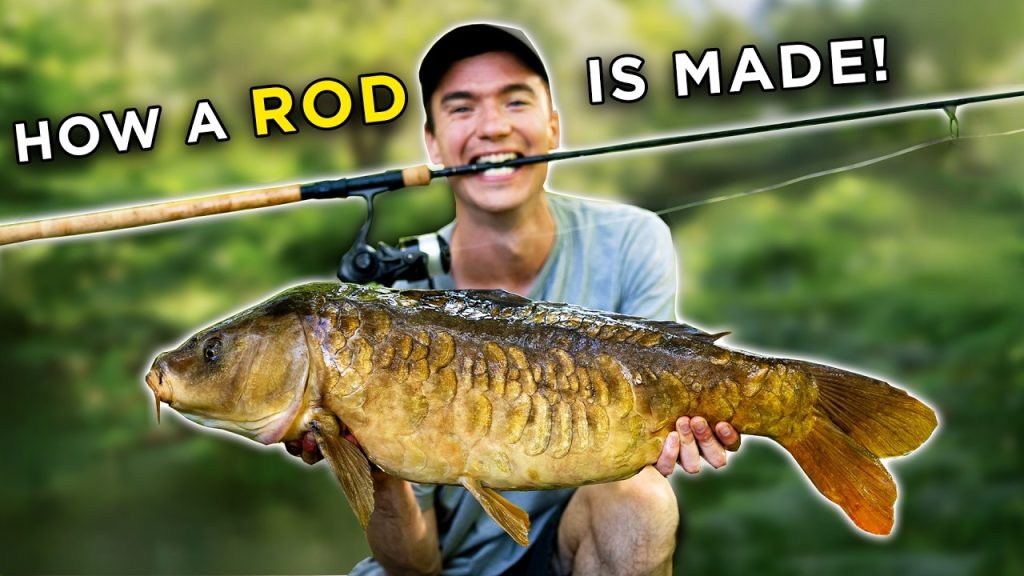
Have you ever wanted to catch your own fish using a rod you made yourself? Making a fishing rod might sound tricky, but with the right steps, you can create a strong, reliable rod that suits your style perfectly.
Imagine the pride you’ll feel holding a rod crafted by your own hands, ready to reel in your next big catch. In this guide, you’ll discover simple tips and easy techniques to build your fishing rod from scratch. Keep reading, and soon you’ll be ready to enjoy fishing like never before.
Choosing Materials
Making a fishing rod starts with picking the right materials. This choice affects how the rod feels and works.
You need to select parts that fit your fishing style and budget. Let’s look at the main materials you need.
Selecting The Rod Blank
The rod blank is the main body of the rod. It must be strong and flexible. Most blanks are made from graphite, fiberglass, or composite materials.
- Graphite:Light and sensitive but can be fragile.
- Fiberglass:Durable and flexible but heavier.
- Composite:A mix of graphite and fiberglass for balance.
Picking The Handle Material
The handle holds the rod comfortably in your hand. Common materials include cork and EVA foam. Cork feels natural and looks nice. EVA foam is soft and lasts longer.
| Material | Features | Price |
| Cork | Lightweight, natural grip | Medium |
| EVA Foam | Soft, durable, water-resistant | Low |
Choosing Guides And Reel Seat
Guides help the fishing line move smoothly. The reel seat holds the reel in place. Both need to be strong and rust-resistant.
- Stainless steel: Strong and rustproof
- Aluminum oxide rings: Smooth line flow
- Graphite reel seats: Lightweight and resistant
Gathering Tools
Making a fishing rod requires the right tools. These tools help you build a strong and reliable rod.
Start by collecting basic tools. Then gather some specialized equipment for better results.
Basic Tools Needed
Basic tools are easy to find. They help you with cutting, measuring, and assembling parts.
- Measuring tape or ruler to get exact lengths
- Sharp scissors or a craft knife for cutting materials
- Screwdriver for tightening small screws
- Sandpaper to smooth the rod surface
- Pliers for bending and holding small parts
Specialized Equipment
Specialized tools make the rod stronger and easier to use. They help with detailed work.
| Tool | Purpose |
| Rod dryer | Dries the rod evenly after coating |
| Wrapping jig | Keeps thread tight when wrapping guides |
| Epoxy mixer | Mixes resin for coating the rod |
| Guide alignment tool | Helps position guides straight along the rod |
Preparing The Rod Blank
Preparing the rod blank is a key part of making a fishing rod. It shapes how the rod will perform and feel.
This stage involves cutting the blank to the right length and making its surface smooth for building.
Cutting To Desired Length
Cut the rod blank to the length you want using a fine saw. Be sure to measure twice before cutting.
- Mark the length on the blank with a pencil.
- Use a fine-toothed saw for a clean cut.
- Cut slowly to avoid splintering.
- Check the cut end for straightness.
- Smooth rough edges with sandpaper.
Sanding And Smoothing
Sanding helps remove rough spots and prepares the blank for wrapping and finishing.
| Sandpaper Grit | Purpose |
| 120 | Remove large rough spots |
| 220 | Smooth surface further |
| 400 | Prepare for final finish |
Credit: www.littlegeniusworkshop.com
Attaching The Handle
Attaching the handle to your fishing rod is a key step. It gives you grip and control when fishing.
This guide covers fitting the handle to the blank and securing it with epoxy.
Fitting The Handle To The Blank
First, slide the handle onto the rod blank to check the fit. It should be snug but not too tight.
- Clean the rod blank and handle inside with rubbing alcohol.
- Test the handle’s position on the blank.
- Trim the handle if it is too long or does not fit well.
- Make sure the handle aligns with the reel seat and guides.
Securing With Epoxy
Use epoxy to fix the handle firmly to the blank. Epoxy is strong and waterproof.
| Material | Use |
|---|---|
| Two-part epoxy | Bond handle to blank |
| Mixing container | Mix epoxy parts |
| Brush or stick | Apply epoxy evenly |
| Clamps or tape | Hold handle in place while drying |
Apply mixed epoxy inside the handle and on the rod blank. Slide handle into place quickly.
Use clamps or tape to keep the handle steady until the epoxy cures, usually 24 hours.
Installing Guides
Installing guides on a fishing rod is key for smooth casting and reeling. Guides keep the fishing line aligned and reduce friction.
Careful placement and secure wrapping ensure the guides stay firmly attached during use.
Marking Guide Positions
Mark the guide locations before wrapping. Place the first guide near the rod tip. Space the others evenly along the rod blank.
- Measure the rod length and divide it into equal sections.
- Mark each section with a pencil or tape.
- Position the guides on the marks, aligning them straight with the rod.
- Check alignment by sighting down the rod from the handle.
Wrapping And Gluing Guides
Wrap the guide feet tightly with thread to secure them. Use slow, even wraps to avoid gaps and loose spots.
| Material | Purpose |
|---|---|
| Thread | Wrap around the guide feet to hold in place |
| Epoxy Glue | Coat wraps to seal and strengthen the bond |
After wrapping, apply epoxy glue over the thread. Let it dry fully before handling the rod. This protects the wraps from wear and water.
Adding The Reel Seat
The reel seat is the part of the fishing rod that holds the reel. It must be added carefully to ensure good balance and strength. A well-placed reel seat helps you fish comfortably and control the line better.
This section explains how to position the reel seat and secure it properly on your fishing rod.
Positioning The Reel Seat
Place the reel seat where your hand will hold the rod comfortably. Usually, it goes near the bottom of the rod handle. Make sure it is easy to reach and does not block your grip.
Check that the reel seat aligns with the rod guides. This alignment keeps the line straight and reduces tangles while fishing.
- Hold the rod as you would when fishing
- Mark a spot near the handle’s end
- Ensure the reel seat lines up with the guides
- Adjust position for comfort and balance
Securing In Place
Once you have the reel seat in the right spot, you need to fix it firmly. Use strong glue or epoxy made for fishing rods. This keeps the reel seat from moving or slipping during use.
Wrap the reel seat with thread or tape while the glue dries. This adds extra strength and stops it from shifting. Let it dry completely before using the rod.
- Apply a thin layer of epoxy inside the reel seat
- Slide the reel seat onto the rod handle
- Wrap with thread or tape tightly
- Let the glue cure for at least 24 hours
- Remove wrapping once dry and test stability
Finishing Touches
After assembling your fishing rod, the final steps add protection and shine. These finishing touches make your rod strong and ready for fishing.
Focus on applying the epoxy finish carefully and allowing it to cure fully. This ensures the rod lasts longer and looks great.
Applying Epoxy Finish
Use a clear epoxy to coat the entire rod. This layer seals the rod and protects it from water and damage.
- Mix the epoxy resin and hardener as per instructions.
- Use a small brush to apply a thin, even coat.
- Cover all parts, especially joints and wraps.
- Remove any drips or bubbles gently with the brush.
- Let the first coat dry before adding more layers.
Curing And Drying
Proper curing and drying time is key to a strong finish. The epoxy needs time to harden fully.
| Condition | Time Needed |
| Initial dry (touch safe) | 6 to 8 hours |
| Full cure at room temperature | 48 to 72 hours |
| Accelerated cure (warm environment) | 24 hours |

Credit: anglersresource.net
Testing The Rod
Testing your fishing rod is important to ensure it works well. It helps you find any problems before using it in real fishing.
Check the rod’s flexibility and strength. These tests show if your rod can handle different fishing conditions.
Flexibility And Strength Check
Hold the rod with both hands and bend it gently. The rod should bend smoothly without cracks or sounds. This shows good flexibility.
- Check if the rod returns to its original shape quickly.
- Look for any weak spots or cracks during bending.
- Test the rod’s tip for sensitivity by tapping it lightly.
- Make sure the rod holds firm without bending too much under pressure.
Making Adjustments
If you find weak spots or poor flexibility, fix them before using the rod. Small changes can improve the rod’s performance and safety.
| Issue | Adjustment |
| Weak guide rings | Tighten or replace the rings |
| Loose reel seat | Secure the reel seat with glue or new fittings |
| Rod too stiff | Sand the rod lightly to increase flexibility |
| Cracks or splinters | Apply epoxy or replace damaged sections |

Credit: fishingbooker.com
Frequently Asked Questions
What Materials Do I Need To Make A Fishing Rod?
To make a fishing rod, you need fiberglass or graphite blank, guides, reel seat, cork handle, and strong glue. These materials ensure durability and flexibility for effective fishing.
How Do I Assemble The Fishing Rod Guides?
Place guides evenly along the rod blank, starting from the tip. Secure them using thread wraps and epoxy glue for stability and smooth line movement.
Can I Customize The Fishing Rod Length And Action?
Yes, you can choose blank length and action to suit fishing style. Longer rods cast farther, while faster action rods improve sensitivity and control.
How Do I Attach The Reel Seat To The Rod?
Slide the reel seat onto the blank, positioning it near the handle. Use epoxy glue to secure it firmly, ensuring it holds the reel tightly during fishing.
Conclusion
Making a fishing rod can be a fun and rewarding project. You only need a few basic materials and some patience. Each step helps you understand fishing better. Crafting your own rod also saves money. Plus, it gives you pride in using something you made.
Try it out and enjoy fishing with your new rod. Simple tools and effort bring great results. Give it a go and see how it feels. Fishing becomes more special with a rod you built yourself.