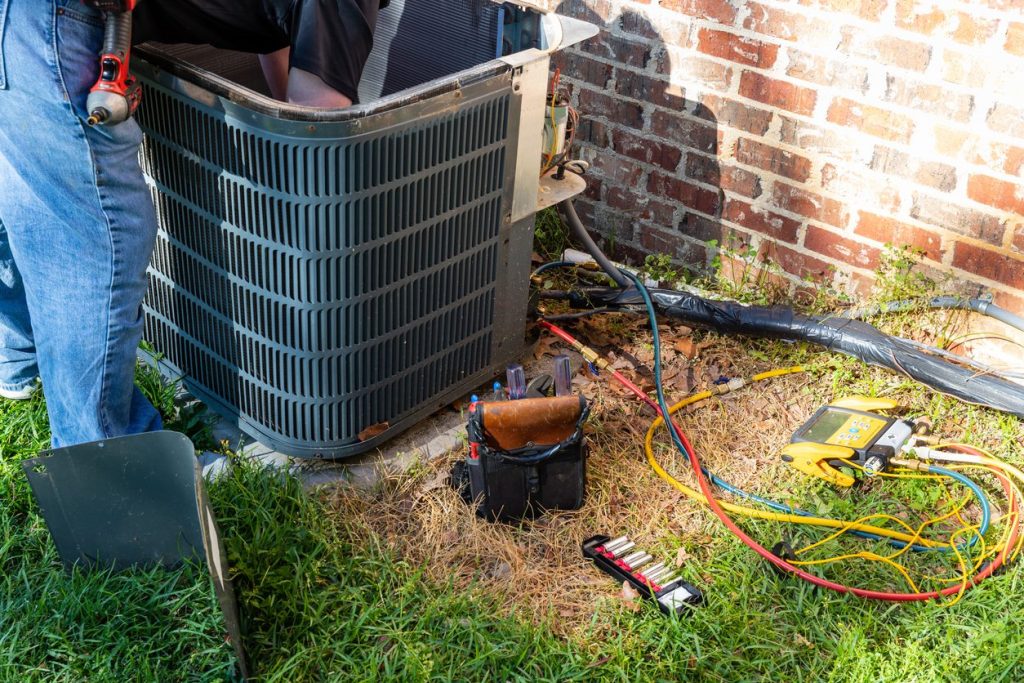
Is your air conditioner not cooling like it used to? A leak in your AC coil could be the reason.
Fixing this problem might sound tricky, but with the right steps, you can handle it yourself and save money. You’ll learn simple and effective ways to find and fix a leak in your air conditioner coil. Keep reading, and soon your AC will be running smoothly again, keeping your home cool and comfortable.
Signs Of A Leaking Ac Coil
A leaking air conditioner coil can cause many problems in your cooling system. Spotting the signs early helps you fix the issue before it gets worse.
Leaks in the AC coil reduce cooling efficiency and can damage other parts. Knowing what to look for saves money and keeps your home comfortable.
Common Symptoms
When the AC coil leaks, your system shows clear signs. These symptoms help you identify the problem quickly.
- Reduced cooling power inside your home
- Frequent cycling of the AC unit on and off
- Ice buildup on the evaporator coil or refrigerant lines
- Higher energy bills without increased use
- Hissing or bubbling sounds near the coil area
- Warm air blowing from the vents instead of cold air
Potential Causes
Leaks happen for different reasons. Understanding what causes the leaks helps you prevent future problems.
- Corrosion from moisture buildup on the coil
- Physical damage during installation or maintenance
- Wear and tear from age and constant use
- Vibration that loosens coil connections
- Manufacturing defects in the coil material
Safety Precautions Before Repair
Fixing a leak in an air conditioner coil can be dangerous. Safety is very important to avoid injury.
Follow these precautions before starting any repair work on your air conditioner coil.
Power Off And Disconnect
Always turn off the power before repairing the coil. This stops electric shocks and accidents.
- Find the main power switch for the air conditioner.
- Turn off the power to the unit completely.
- Unplug the unit from the electrical outlet if possible.
- Use a voltage tester to check no electricity flows to the unit.
Protective Gear
Wear the right protective gear to protect your body during the repair. This keeps you safe from chemicals and sharp parts.
| Protective Gear | Purpose |
| Gloves | Protect hands from sharp edges and refrigerants |
| Safety Glasses | Protect eyes from debris and chemical splashes |
| Long Sleeve Shirt | Protect skin from refrigerant exposure |
| Face Mask | Prevent inhaling dust or harmful fumes |
Tools And Materials Needed
Fixing a leak in an air conditioner coil requires specific tools and materials. Having the right items makes the repair easier and safer.
Gather all necessary tools before starting. This helps avoid delays and ensures a smooth process.
Essential Tools
Use these tools to locate and repair the leak in the coil effectively.
- Leak detector or UV light
- Refrigerant gauge set
- Pipe cutter
- Soldering torch or brazing kit
- Vacuum pump
- Manifold gauge
- Adjustable wrench
- Safety goggles and gloves
Materials For Repair
These materials help seal the leak and restore the coil’s function.
| Material | Purpose | Notes |
| Solder or brazing rod | Seal small holes and cracks | Use compatible with copper coils |
| Refrigerant | Refill after repair | Match system specifications |
| Flux | Improve solder flow | Apply before soldering |
| Leak sealant (optional) | Temporary leak fix | Use only if soldering is not possible |
| Cleaning solvent | Prepare coil surface | Removes dirt and grease |
Safety Equipment
Protect yourself during the repair with proper safety gear. This prevents injuries and accidents.
- Safety goggles to protect eyes
- Heat-resistant gloves
- Long-sleeve clothing
- Face mask if using chemicals
Locating The Leak
Finding a leak in your air conditioner coil is the first step to fixing it. Leaks reduce cooling efficiency and waste refrigerant.
This guide explains how to locate leaks using two common methods: visual inspection and leak detectors.
Visual Inspection
Look closely at the coil for signs of damage or leaks. Small holes or oily spots often show where refrigerant escapes.
- Turn off the air conditioner and unplug it.
- Remove any covers to access the coil.
- Check for corrosion or rust on the coil surface.
- Look for oily stains or wet spots.
- Inspect joints and connections carefully.
Using Leak Detectors
Leak detectors help find leaks you cannot see. They sense refrigerant gas escaping from the coil.
| Leak Detector Type | How It Works | Best Use |
| Electronic Leak Detector | Senses refrigerant gas electronically | Small and hard-to-see leaks |
| Ultraviolet (UV) Dye | Dye glows under UV light | Visible leaks after running AC with dye |
| Soap Bubble Test | Creates bubbles on leak spots | Quick check for larger leaks |
Quick Fixes For Minor Leaks
Minor leaks in an air conditioner coil can cause cooling problems. Fixing these leaks quickly helps prevent bigger issues.
Some simple repairs can stop leaks temporarily. These fixes keep your AC working until a professional can check it.
Applying Sealants
Sealants are materials that block small holes and cracks in the coil. They stop refrigerant from leaking out.
Use a sealant made for AC coils. Clean the area around the leak first. Then apply the sealant over the hole.
- Turn off the AC and unplug it before starting.
- Dry the coil surface near the leak.
- Apply a thin layer of sealant directly on the leak.
- Let the sealant dry as directed by the product.
- Restart the AC and check if the leak stops.
Using Tape Solutions
Special tape can cover small leaks on the coil temporarily. It seals the hole and prevents refrigerant loss.
Use foil-backed or HVAC repair tape. Clean and dry the area before applying the tape for a better seal.
- Turn off power to the AC unit.
- Clean the coil surface where the leak is located.
- Cut a piece of tape that covers the leak fully.
- Press the tape firmly on the coil to stick well.
- Check after a few hours to ensure the tape holds.
Credit: www.topahill.com
Permanent Repair Methods
Fixing a leak in an air conditioner coil requires a lasting solution. Temporary fixes can fail quickly. Permanent repairs stop leaks and keep your system working well.
This guide covers two main methods for permanent coil repair. You will learn about soldering and brazing, and how to replace damaged sections safely.
Soldering And Brazing
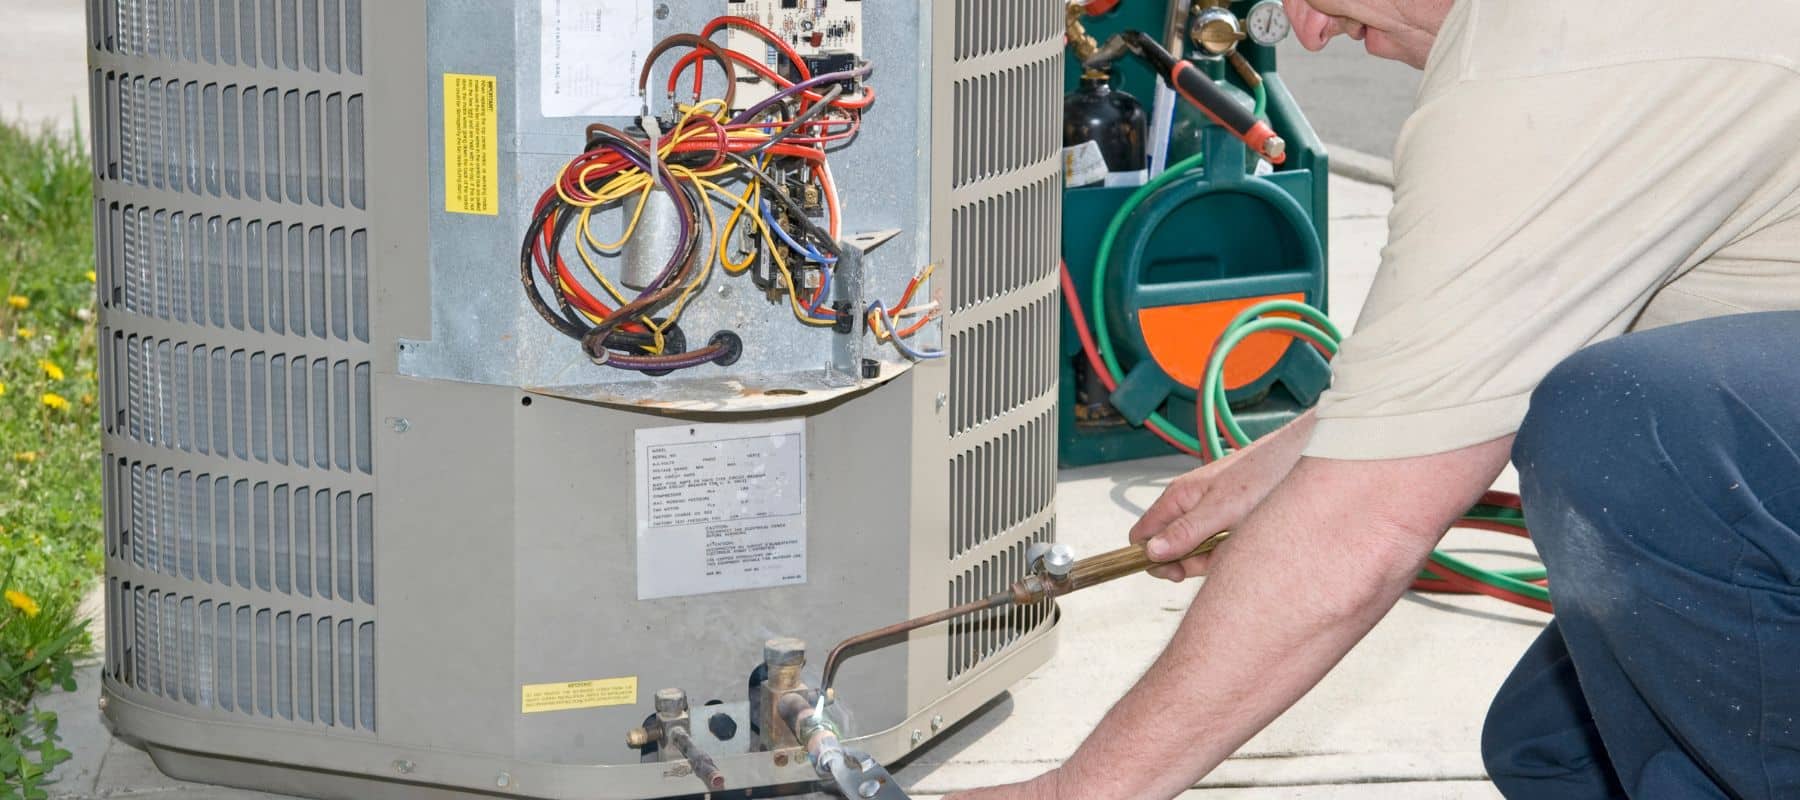
Soldering and brazing seal small leaks in the coil by joining metal parts. Both methods use heat to melt filler metal. This metal flows into the joint and creates a strong bond.
- Soldering: Uses lower temperatures and soft filler metals like tin.
- Brazing: Uses higher heat and stronger metals like silver alloys.
- Clean the coil area before starting to ensure good adhesion.
- Apply heat evenly to avoid damage to the coil.
- Use proper safety gear such as gloves and eye protection.
These methods work best for small holes or cracks. They restore the coil’s integrity and prevent refrigerant loss. Proper technique is important for a leak-proof seal.
Replacing Damaged Sections
Sometimes the coil damage is too large for soldering or brazing. In these cases, replacing the damaged section is best. This method removes the bad part and installs a new coil piece.
| Step | Action |
| 1 | Turn off the AC and release refrigerant safely. |
| 2 | Cut out the damaged coil section using a tubing cutter. |
| 3 | Prepare the new coil piece by cleaning and fitting it precisely. |
| 4 | Join the new section with soldering or brazing. |
| 5 | Test the repair for leaks before recharging refrigerant. |
Replacing damaged sections restores the coil’s full function. It requires careful handling to avoid further damage. Always follow safety rules during this repair.
Recharging The Refrigerant
Fixing a leak in an air conditioner coil often requires recharging the refrigerant. This process restores the cooling power of the unit. It is important to use the correct type of refrigerant and to charge it properly.
Adding refrigerant involves handling chemicals under pressure. Always follow safety rules and use the right tools for best results.
Types Of Refrigerants
Air conditioners use different types of refrigerants depending on their design and age. Each type has unique properties and environmental impacts.
| Refrigerant Type | Common Use | Environmental Impact |
| R-22 | Older AC units | High ozone depletion |
| R-410A | Newer AC units | Lower ozone depletion |
| R-32 | Modern systems | Low global warming potential |
Proper Charging Techniques
Charging refrigerant correctly is key to fixing leaks and making the air conditioner work well. Follow these steps carefully to avoid damage or poor performance.
- Turn off the air conditioner and connect the gauge set.
- Check for leaks using a leak detector or soapy water.
- Evacuate air and moisture from the system with a vacuum pump.
- Open the refrigerant cylinder valve slowly.
- Add refrigerant while monitoring pressure and temperature.
- Stop charging when the system reaches the recommended levels.
- Close the cylinder valve and disconnect the gauges.
- Turn on the air conditioner and test its cooling performance.

Credit: vernonairconditioning.com
Testing The Repair
After fixing a leak in the air conditioner coil, testing the repair is important. This helps to make sure the system works well and no leaks remain.
Two main checks include pressure testing and monitoring system performance. These confirm the repair is effective and the AC runs smoothly.
Pressure Testing
Pressure testing shows if the coil repair holds under normal working pressure. It can detect tiny leaks that are not visible.
- Attach a pressure gauge to the coil system.
- Pressurize the coil with nitrogen or air to the recommended level.
- Watch the pressure gauge for 15 to 30 minutes.
- If pressure stays steady, the repair is good.
- If pressure drops, there is still a leak.
Monitoring System Performance
Check the air conditioner after repair by tracking its performance. This shows if the coil works well and cools air properly.
| Performance Metric | What to Check | Signs of Problem |
|---|---|---|
| Cooling Efficiency | Temperature drop from air intake to output | Small or no temperature difference |
| Refrigerant Levels | Correct refrigerant pressure and amount | Low pressure or frequent need to refill |
| System Noise | Normal running sounds without hissing | Hissing or unusual noises near coil |
| Energy Use | Expected power consumption | Higher than usual electricity bills |
Preventing Future Leaks
Fixing a leak in your air conditioner coil is important. You want to stop leaks from happening again. This helps keep your AC working well.
Taking simple steps can protect your AC coil. These steps save money and avoid damage to the system.
Regular Maintenance Tips
Check your air conditioner often to find problems early. Clean the coils and parts regularly. This keeps the system strong and stops leaks.
Replace old filters on time. Dirty filters make the AC work hard. Hard work can cause coil damage and leaks.
- Inspect coils for dirt and damage monthly
- Clean coils gently to remove dust and debris
- Change filters every 1-3 months
- Check refrigerant levels and refill if needed
- Schedule yearly professional AC checkups
Environmental Considerations
Keep trees and plants away from your AC unit. Leaves and dirt can clog the coils. This can cause leaks over time.
Protect your AC from harsh weather. Use covers in winter to stop ice damage. Avoid direct sun by shading the unit. This keeps coils safe.
- Clear plants and debris around the AC unit
- Use a cover during cold months
- Install shade to reduce heat on the unit
- Avoid watering plants near the AC to prevent moisture buildup

Credit: www.youtube.com
Frequently Asked Questions
How Can I Identify A Leak In Ac Coil?
Look for reduced cooling, hissing sounds, or oily residue on the coil. These signs often indicate a refrigerant leak in the AC coil.
What Tools Are Needed To Fix Ac Coil Leaks?
You will need a leak detector, refrigerant gauge, epoxy or sealant, and protective gloves. These tools help locate and seal minor coil leaks safely.
Can I Fix An Ac Coil Leak Myself?
Yes, minor leaks can be sealed using epoxy or sealant. However, major leaks require professional repair to avoid system damage.
How Long Does It Take To Repair An Ac Coil Leak?
Minor repairs typically take 1-2 hours, including leak detection and sealing. Larger leaks may require longer time due to coil replacement.
Conclusion
Fixing a leak in an air conditioner coil isn’t hard. Follow the steps carefully. Ensure safety by turning off power first. Gather all necessary tools. Inspect the coil for visible leaks. Clean the area around the leak. Use sealant to patch the leak effectively.
Allow the sealant to dry fully. Test the air conditioner for proper function. Regular maintenance prevents future leaks. Keep your air conditioner in top shape. Enjoy cool, comfortable air at home. Remember, a little effort saves energy costs. Keep learning and stay proactive with home repairs.