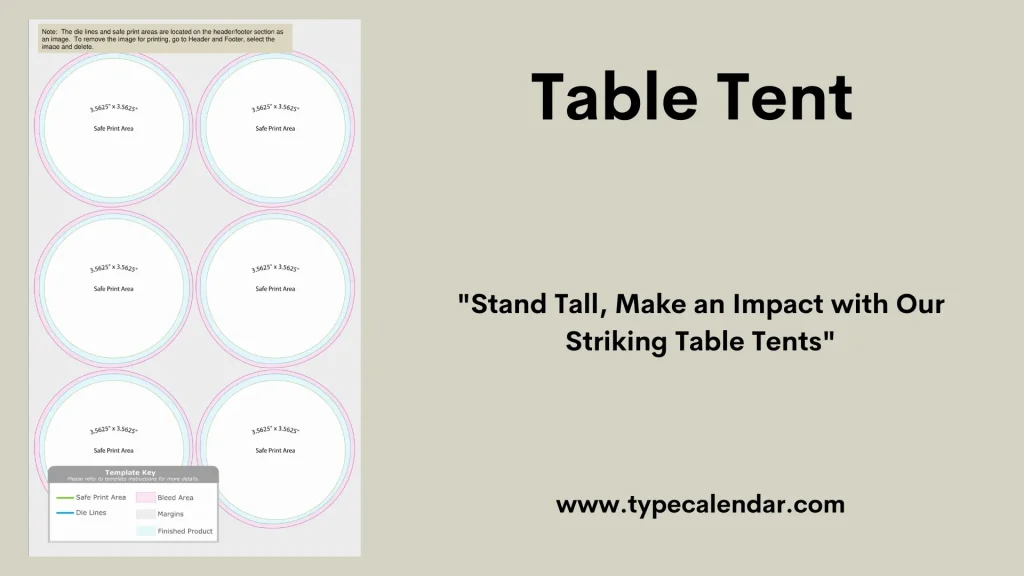
Are you looking to make your events more organized and professional? Creating tent cards in Word is easier than you think.
Whether you need them for meetings, parties, or special occasions, tent cards help guide your guests and add a personal touch. You’ll learn simple steps to design and print your own tent cards quickly. By the end, you’ll have everything you need to create eye-catching tent cards that stand out—without spending a fortune or needing advanced design skills.
Ready to get started? Let’s dive in!
Credit: www.etsy.com
Choose Tent Card Size
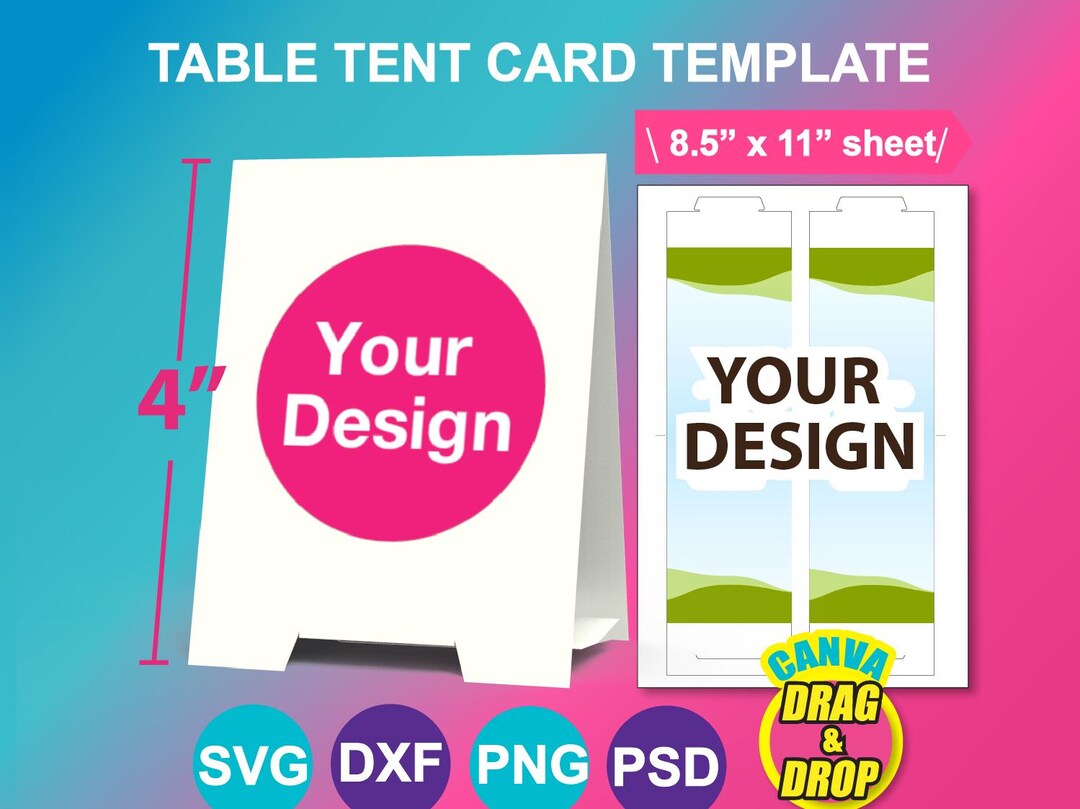
Choosing the right size for your tent card is important. It affects how much information you can add and how it looks on tables.
Different sizes work better for different events and spaces. Knowing the common sizes helps you pick the best fit.
Common Tent Card Sizes
Tent cards come in many sizes. The most popular ones balance visibility and space on your table. Smaller cards save space. Larger cards show more details.
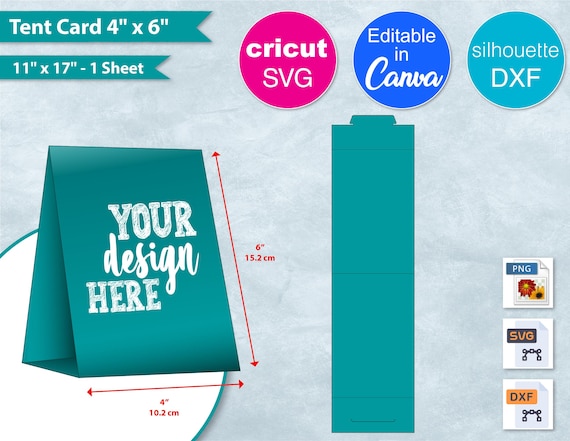
- 4 x 6 inches – small and simple
- 5 x 7 inches – medium size, common choice
- 6 x 9 inches – large, for more information
- 8.5 x 11 inches – like a small flyer
Consider Your Content
Think about how much text and images you want on your tent card. If you have a lot to say, choose a bigger size.
Short messages or names work well on smaller cards. Choose size based on your message length and design.
Standard Tent Card Dimensions Table
| Size (inches) | Folded Dimensions (inches) | Use Case |
|---|---|---|
| 4 x 6 | 4 x 3 | Place cards, simple names |
| 5 x 7 | 5 x 3.5 | Menus, event details |
| 6 x 9 | 6 x 4.5 | Promotions, product info |
| 8.5 x 11 | 8.5 x 5.5 | Detailed flyers, schedules |

Credit: www.avery.com
Set Up Page Layout
Setting up your page layout is important for creating tent cards in Word. A good layout helps your text and design fit well on the card.
You can change margins and page orientation to make your tent card look neat and professional.
Adjust Margins
Margins control the space between your content and the edges of the page. Setting smaller margins gives you more space to work with.
To adjust margins in Word, go to the Layout tab and select Margins. Choose narrow margins or customize them to fit your tent card size.
- Click Layout > Margins
- Select Narrow or Custom Margins
- Set margins to fit your card dimensions
- Click OK to apply changes
Select Orientation
Orientation changes the page direction. You can choose portrait or landscape for your tent card.
Landscape orientation works well for wide tent cards. Portrait is good for taller, narrow cards.
- Go to Layout > Orientation
- Choose Portrait or Landscape
- Pick the option that fits your card design
- Click to apply the orientation
Create Card Template
Creating a tent card template in Word is simple and useful. This template helps you make cards that stand on tables.
You will learn how to insert a table for the card structure and how to divide the card for folding.
Insert Table For Structure
Start by inserting a table to form the basic shape of your tent card. The table helps keep the layout neat and aligned.
- Open Word and go to the Insert tab.
- Click on Table and choose a 2×1 table (two columns, one row).
- Adjust the width of each cell to match the size of each side of the card.
- Set the table borders to visible or invisible based on your design preference.
Divide For Folding
Divide the card so it folds easily and stands up properly. Use lines or spaces to mark the fold area.
Here is a simple HTML example to add a visible fold line between the two table cells:
| Front Side | Back Side |
Add Text And Images
Creating tent cards in Word is easy and useful for many events. You can add text and images to make your cards clear and attractive.
Use simple steps to add and format your content. This guide helps you add text and pictures for a neat tent card.
Format Text
Start by typing your message on the tent card. Choose a font size and style that is easy to read from a distance.
Use bold or italics to highlight important information. Align the text in the center for a balanced look.
- Select the text you want to format
- Use the toolbar to change font size and style
- Apply bold or italics for emphasis
- Center the text for better alignment
Insert Graphics
Adding images can make your tent card more attractive. Use logos or small pictures that fit well on the card.
Insert graphics by using the Insert Picture tool. Resize the image to keep your card neat and readable.
- Click Insert and choose Picture
- Select an image from your computer
- Resize the image by dragging corners
- Place the image near the text for balance
Customize Design Elements
Customizing your tent cards makes them look unique and professional. You can change fonts, colors, borders, and shading to match your style.
These design changes help your tent cards stand out and deliver your message clearly.
Choose Fonts And Colors
Pick fonts that are easy to read from a distance. Use colors that fit your brand or event theme.
Use bold fonts for titles and simple fonts for details. Choose colors with good contrast for better visibility.
- Use sans-serif fonts like Arial or Calibri for clarity
- Select two or three colors for a clean look
- Use dark text on a light background or vice versa
Apply Borders And Shading
Borders frame your tent card and make it neat. Shading adds depth and highlights important sections.
Use thin borders to keep the design simple. Apply light shading behind text to improve readability.
- Choose solid or dotted borders based on style
- Apply shading to title or special offers
- Keep colors subtle to avoid distraction
Preview And Print
After designing your tent cards in Word, previewing and printing are key steps. Preview helps you check how your cards will look.
Printing lets you create physical copies that stand on tables or desks. Careful setup ensures the best results.
Check Alignment
Check alignment to make sure text and images fit properly on the card. Misalignment can cause parts to cut off when printed.
- Use Word’s print preview to see the layout.
- Look for any text or graphics outside the card edges.
- Adjust margins or spacing if needed.
- Print a test page on plain paper first.
Select Paper Type
Choose the right paper for your tent cards. Paper type affects the card’s look and durability.
| Paper Type | Description | Best Use |
| Cardstock | Thick and sturdy paper. | Durable tent cards for long use. |
| Glossy Paper | Shiny surface that enhances colors. | Vibrant and eye-catching cards. |
| Matte Paper | Non-shiny, smooth finish. | Professional and easy-to-read cards. |
Fold And Assemble
Creating tent cards in Word is easy once you know how to fold and assemble them. This step gives your card the right shape to stand on tables.
Follow these instructions to fold your tent cards neatly and make them look professional. Proper folding helps the card stay stable.
Score Fold Lines
Scoring fold lines makes folding easier and cleaner. It creates a small crease where the paper bends.
You can score fold lines by using a ruler and a blunt tool like a butter knife. Press gently along the fold lines.
- Place the ruler on the fold line
- Run the blunt tool along the ruler
- Do not cut through the paper
- Score all fold lines before folding
Create Tent Shape
After scoring, fold the paper along the lines to form a tent shape. Fold the card in half with the printed side out.
Make sure the edges line up neatly. Press the folds firmly to keep the tent card standing upright.
- Fold the card at the center fold line
- Bend the sides along the scored lines
- Check the card stands without support
- Adjust folds to improve balance if needed
Credit: www.etsy.com
Troubleshoot Common Issues
Tent cards in Word can have small problems that affect their look. Fixing these issues helps your cards look neat and clear.
Two common problems are alignment and print settings. Fixing these will improve your tent cards easily.
Fix Alignment Problems
Sometimes text or images on your tent cards do not line up correctly. This can make your cards look unprofessional.
- Check the table or text box alignment settings.
- Use the ruler to set margins and indents evenly.
- Make sure all elements use the same alignment (left, center, or right).
- Use gridlines to help position objects precisely.
- Preview your card in print layout view before printing.
Adjust Print Settings
Incorrect print settings can cut off parts of your tent card or change its size.
| Problem | Solution |
| Text or image is cut off | Check page margins and reduce if needed |
| Card prints too large or small | Set paper size to match your card size |
| Print is blurry or faint | Use high-quality print mode and fresh ink |
| Card prints on wrong page | Choose correct page range in print options |
Frequently Asked Questions
How Do I Set Up Tent Card Dimensions In Word?
Open a new document, go to Layout > Size, and set custom dimensions. Tent cards are usually 4×6 inches, folded in half.
Can I Add Images To My Tent Cards In Word?
Yes, insert images via Insert > Pictures. Resize and position them to fit your design neatly on the card.
What Is The Best Font Size For Tent Cards?
Use font sizes between 18 and 24 points for readability. Choose clear, simple fonts to ensure text is easily seen.
How Do I Fold Tent Cards After Printing?
Print on cardstock, then fold the card in half vertically. Use a bone folder for a crisp, professional fold.
Conclusion
Creating tent cards in Word is simple and fun. With these steps, anyone can do it. You just need to follow the guide carefully. Customize your design to suit your needs. Experiment with fonts and colors. Add images for a personal touch.
Print carefully to ensure the best outcome. Tent cards are great for events, meetings, and parties. They organize seating and add a professional look. Try making your own today. Enjoy the process and impress your guests. Crafting tent cards has never been easier.
You’ll be proud of your creation!