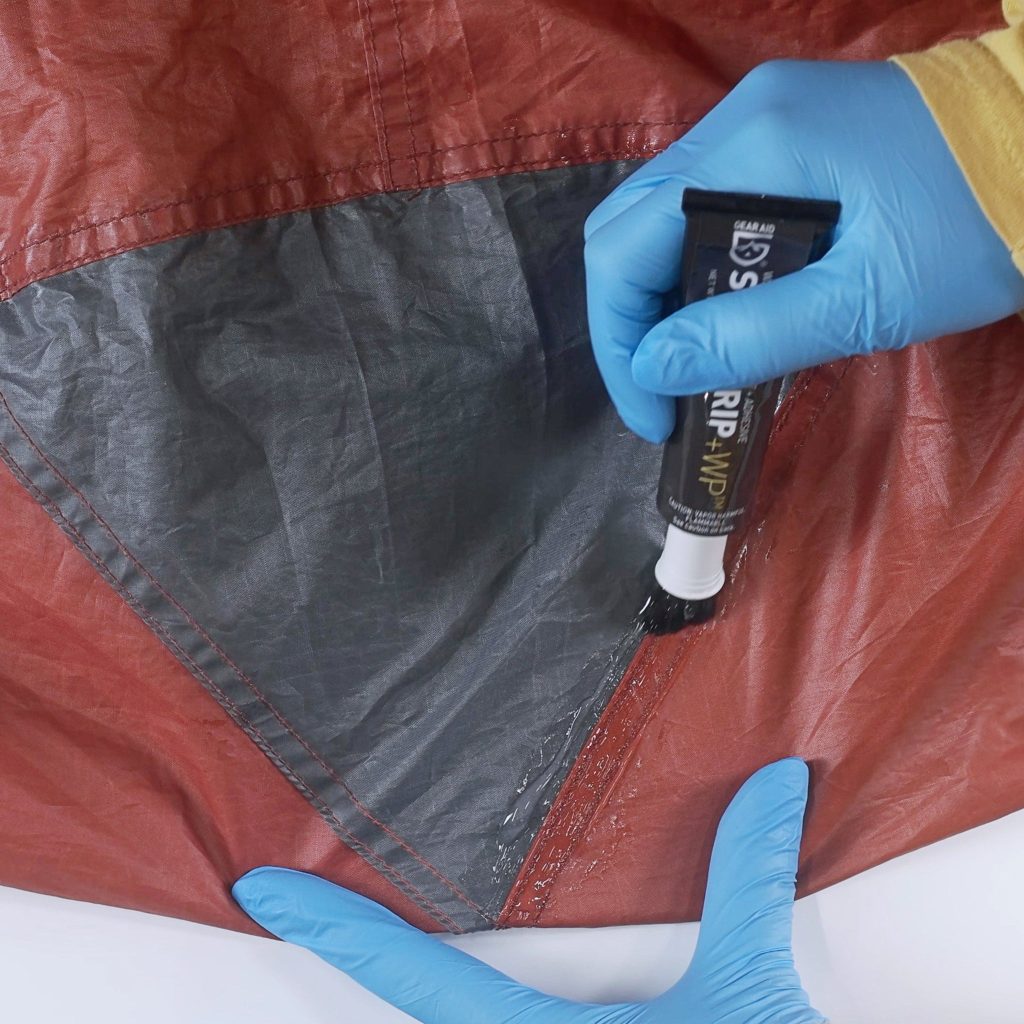
Your tent is your shelter, your safe space in the wild. But what happens when it tears?
That small rip can quickly turn your adventure into a stressful mess. You might feel stuck, unsure how to fix it without spending a fortune or losing precious time. Don’t worry—repairing your tent tear is easier than you think. You’ll learn simple, effective ways to patch up your tent quickly and keep it strong for your next trip.
Keep reading, and you’ll be ready to handle any tear like a pro.
Identify The Tear Type
Fixing a tent tear starts with knowing the type of damage. Different tears need different repairs.
Look closely at the tear to decide how to fix it right. This helps your tent stay strong and safe.
Pinholes And Small Rips
Pinholes are tiny holes often caused by sharp objects or wear. Small rips are short tears usually under two inches long.
These small damages are easy to fix with patches or sealants. Clean the area and apply a patch that covers the hole fully.
Large Tears And Gashes
Large tears are longer than two inches and may have jagged edges. Gashes are big cuts that can weaken the tent fabric.
- Trim loose threads around the tear
- Use a strong patch or repair tape
- Sew the edges if possible for extra strength
- Apply seam sealer to prevent water leaks
Seam Damage
Seam damage happens where two pieces of fabric join. It can cause leaks and affect the tent’s shape.
| Type of Seam Damage | Signs | Repair Tips |
|---|---|---|
| Stitch Breaks | Loose threads or gaps along the seam | Sew new stitches along the seam line |
| Seam Tape Peel | Tape lifting or falling off | Replace with new seam tape and press firmly |
| Fabric Tear at Seam | Fabric pulls away near the seam | Patch fabric and reinforce stitching |
Gather Repair Materials
Fixing a tear in your tent starts with the right materials. You need to prepare before you begin the repair.
Gather all tools and supplies to make the process smooth and effective.
Patch Kits And Tape
Patch kits and tape are designed to cover and seal tears quickly. They come in various materials to match your tent fabric.
- Fabric patches that match your tent’s material
- Waterproof tape for quick fixes
- Adhesive patches with sticky backing
- Seam tape for reinforcing stitched areas
Adhesives And Sealants
Adhesives and sealants help bond the patch to the tent and keep water out. Use products made for outdoor fabrics.
| Type | Use | Drying Time |
| Silicone Sealant | Waterproof sealing | 24 hours |
| Polyurethane Glue | Strong fabric bonding | 12 hours |
| Vinyl Cement | For vinyl tents | 4 hours |
Tools You’ll Need
Having the right tools makes the repair easier and more durable. These items help prepare the tent and apply the patch.
- Scissors or a sharp knife to trim patches
- Sandpaper or cloth to clean the torn area
- Brush or applicator for glue or sealant
- Measuring tape to cut the right patch size
- Clamps or heavy objects to hold the patch in place
Prepare The Tent Fabric
Fixing a tear in your tent starts with preparing the fabric properly. Proper preparation ensures the repair holds strong and lasts longer.
Before you begin patching, take time to clean and ready the torn area carefully. This prevents dirt and moisture from weakening the fix.
Clean The Area
Remove dirt, dust, and debris from the torn section. Use a soft brush or damp cloth to clean the fabric gently.
- Brush off loose dirt with a soft brush
- Wipe the area with a damp cloth
- Use mild soap if necessary
- Avoid harsh chemicals that can damage fabric
Dry Completely
Make sure the fabric is fully dry before applying any patch or adhesive. Moisture can weaken the glue and cause the patch to peel.
- Air dry in a shaded, ventilated area
- Avoid direct sunlight to prevent fading
- Check that the fabric feels dry to the touch
Trim Loose Threads
Cut any loose or hanging threads around the tear. This helps create a smooth surface for the patch and prevents further unraveling.
| Tool | Purpose |
|---|---|
| Small scissors | Trim threads close to the fabric |
| Tweezers | Remove tiny fibers carefully |
| Lint roller | Clear loose bits after trimming |

Credit: www.amazon.ca
Apply Temporary Fixes
Tent tears can spoil your outdoor plans. Fixing them quickly helps keep you dry and safe. Temporary fixes can hold the fabric together until you make a permanent repair.
Using simple materials like repair tape or a needle and thread can stop the tear from getting worse. Here are easy ways to apply temporary fixes to your tent.
Using Repair Tape
Repair tape is a quick way to seal small tears or holes. It sticks well to most tent fabrics and keeps water out. Make sure the tent surface is clean and dry before applying the tape.
- Cut a piece of repair tape larger than the tear.
- Round the edges of the tape to prevent peeling.
- Press the tape firmly onto the tear from inside or outside the tent.
- Let the tape set for a few minutes before packing the tent.
Emergency Sewing Tips
Sewing a tent tear can hold the fabric together longer than tape. Use a strong needle and thread made for outdoor gear. Keep stitches close but not too tight to avoid new holes.
| Tip | Details |
| Thread Type | Nylon or polyester thread works best |
| Needle Size | Use a sharp, medium-sized needle |
| Stitch Style | Use a running or backstitch for strength |
| Stitch Spacing | Keep stitches 1/8 inch apart |
| Finish | Tie knots securely and trim excess thread |
Perform Permanent Repairs
Fixing a tear in your tent can keep it safe and dry. A permanent repair stops the tear from growing. It also keeps water and bugs out.
There are three main ways to repair a tent tear. Sewing the tear, applying patches, and using seam sealant help make your tent strong again.
Sewing Techniques
Sewing is a good way to fix small or medium tears. Use a needle and strong thread made for outdoor fabrics. Try to sew with small, tight stitches.
- Start by cleaning the torn area and let it dry.
- Use a curved needle for easier stitching on thick fabric.
- Sew along the tear edges, pulling the thread tight but not too tight.
- Make a knot at the end to keep the thread in place.
- Check your stitches for holes or loose ends.
Applying Patches
Patches add extra fabric over the tear. Use patches made from waterproof material. Cut the patch larger than the tear by at least one inch on all sides.
| Patch Type | Best For | Application Method |
|---|---|---|
| Iron-On Patch | Small tears | Heat from iron melts glue |
| Sew-On Patch | Large or moving areas | Sewn with needle and thread |
| Adhesive Patch | Quick fixes | Sticky backing |
Clean and dry the area before patching. Follow the patch instructions carefully to make sure it sticks well.
Using Seam Sealant
Seam sealant stops water from leaking through stitches or small holes. It works like glue for fabric seams.
- Clean and dry the area around the tear.
- Apply the sealant evenly over the stitches or tear.
- Let the sealant dry completely before using the tent.
- Repeat the application if needed for extra protection.

Credit: www.reddit.com
Test And Reinforce Repairs
Fixing a tent tear is not complete until you check that the repair holds. Testing helps find any missed holes. Reinforcing the area keeps your tent strong in bad weather.
Follow simple steps to ensure your repair lasts. These tips help you keep your tent safe and dry on every trip.
Check For Leaks
After fixing the tear, check carefully for leaks. A small hole can let water in and spoil your camping gear.
- Set up your tent indoors or outside on a dry day.
- Spray water lightly on the repaired area using a spray bottle.
- Look inside the tent for any water droplets or damp spots.
- If you see leaks, dry the area and reapply the patch or seam sealer.
- Repeat the test until no water passes through.
Strengthen Weak Spots
Even after a repair, some parts of the tent may stay weak. Reinforce these spots to prevent future tears.
| Weak Spot | How to Reinforce |
|---|---|
| Seams | Apply seam tape or extra seam sealer |
| Tent Corners | Use patches or extra fabric layers |
| Flysheet | Attach repair tape over thin or worn areas |
| Guy Lines | Check knots and replace worn lines |
Prevent Future Damage
Fixing a tent tear is important. Stopping more damage keeps your tent strong. You can protect your tent with good habits.
Taking care of your tent helps it last for many trips. Follow simple tips to avoid new tears.
Proper Tent Setup
Setting up your tent carefully prevents stress on the fabric. Avoid sharp objects under your tent to stop holes.
Use a footprint or groundsheet below your tent. This adds a layer between the ground and tent floor.
- Clear rocks and sticks from the area before setup
- Do not stretch the fabric too tight
- Secure tent poles properly to avoid bending
- Keep zippers clean and avoid forcing them
Storage And Maintenance
Store your tent in a dry place to stop mold and mildew. Make sure it is completely dry before packing away.
Clean your tent gently after each trip. Use mild soap and water. Avoid harsh chemicals that weaken the fabric.
- Air out the tent before folding
- Fold loosely to prevent creases
- Keep tent away from direct sunlight in storage
- Check for small tears regularly and repair quickly

Credit: www.amazon.ca
Frequently Asked Questions
How Can I Repair A Tent Tear Quickly?
To fix a tent tear quickly, use a repair kit. Clean the area around the tear first. Apply the adhesive patch over the tear. Press it firmly to ensure a strong bond. Let it dry for a few hours before using the tent again.
What Materials Do I Need For Tent Repair?
For tent repair, you’ll need a tent repair kit. This typically includes adhesive patches and seam sealer. Scissors and a cleaning cloth are also essential. Ensure you have everything before starting the repair to avoid interruptions.
Can I Use Duct Tape On A Tent Tear?
Yes, duct tape can temporarily fix a tent tear. Clean the area before applying the tape. Press it firmly for a strong hold. However, it’s best for short-term fixes. Consider using a proper repair kit for a more durable solution.
How Do I Prevent Future Tent Tears?
Prevent future tent tears by handling your tent with care. Avoid setting up on sharp objects. Regularly inspect for wear and tear. Store it in a dry, cool place. Consider using a groundsheet for extra protection against rough surfaces.
Conclusion
Fixing a tent tear is easier than it seems. Small tears can become big problems fast. Act quickly to keep your tent strong and dry. Use the right materials and follow simple steps. Regular checks help spot damage early. This saves money and extends your tent’s life.
Camping stays fun and safe with a well-maintained tent. Try these tips next time you see a tear. Your tent will thank you for the care.